
More Chassis...And Maybe A Sub-Floor
Have we mentioned that Tybee is a hoot? Really dogs in general are just great to have in your life because they are uninhibited, honest, and kind-hearted. While Tybee and Tyki haven't bonded in the sense that they lay around the house curled up against one another or share sticks to chew on. But they have bonded in their own unique way - at least I choose to think so.
Tybee loves to stand between the front seats and look out the car window. What she loves even more is to lay her head on our shoulder while we're driving or if we get really lucky she will lay her head on our arm when it's controlling the wheel. And if Tyki's in the way. Well, he's put to use.
And Tyki? Clearly he just takes it.
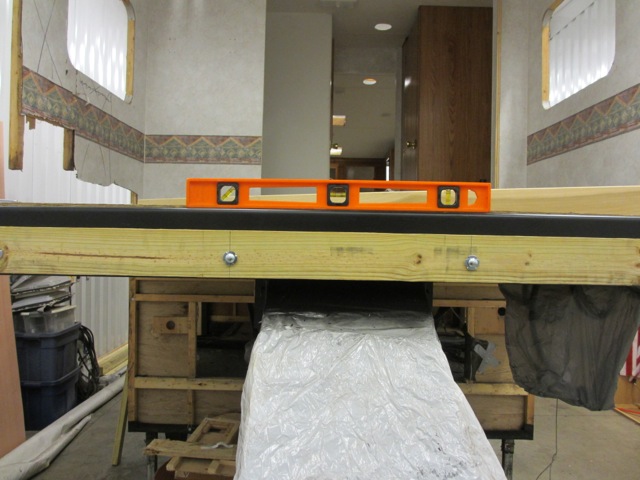
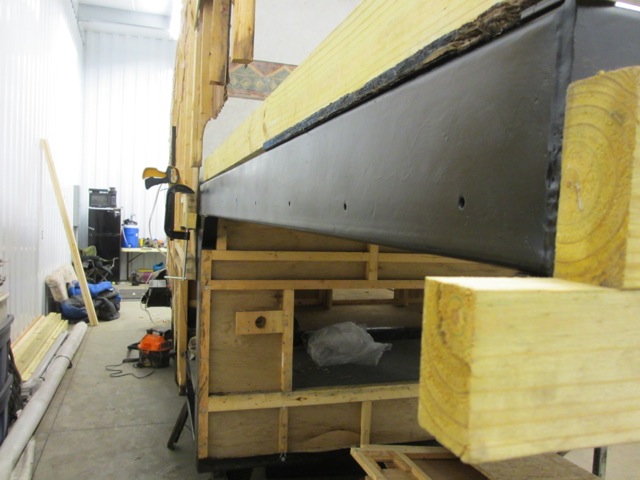
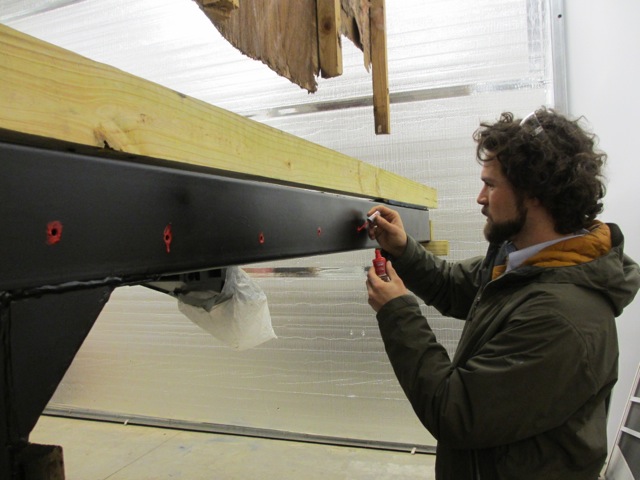
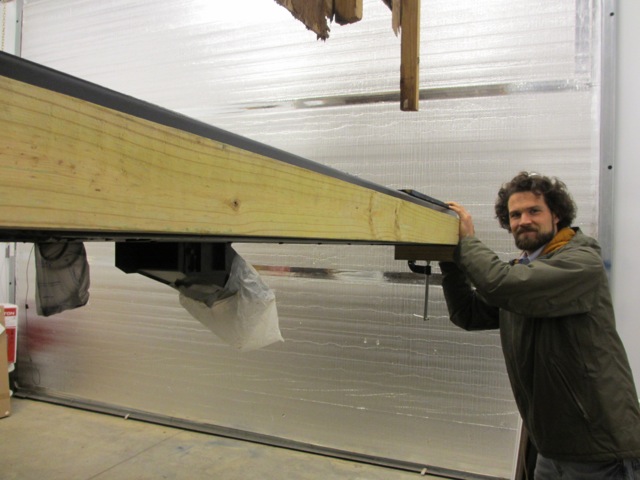
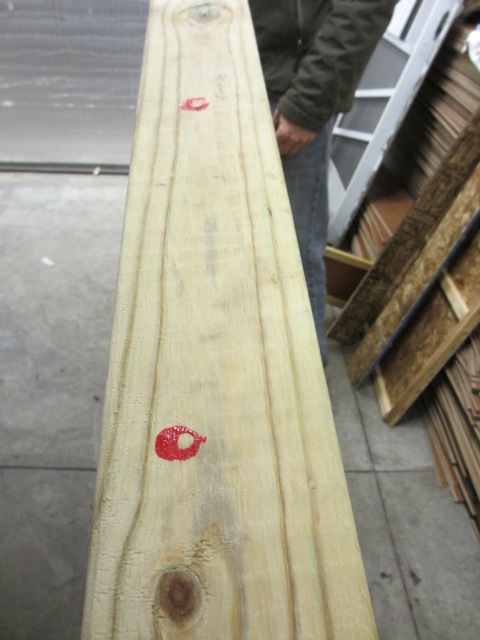
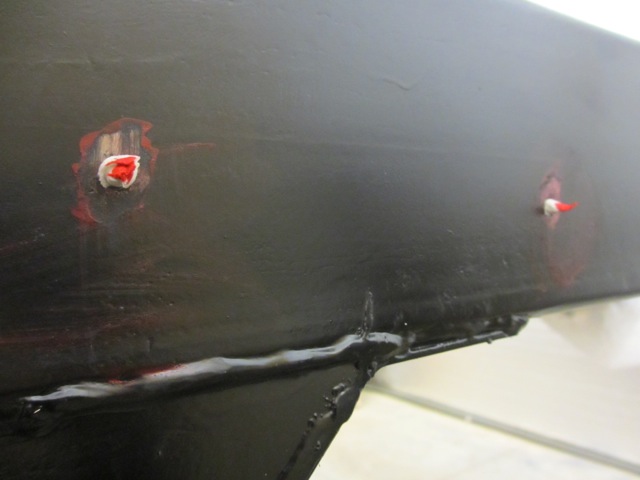
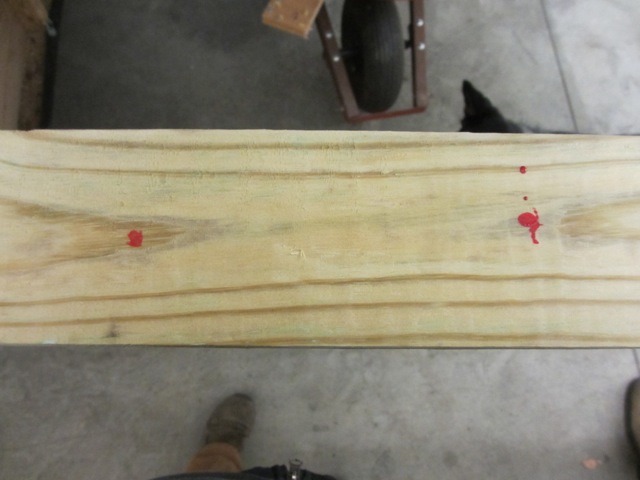
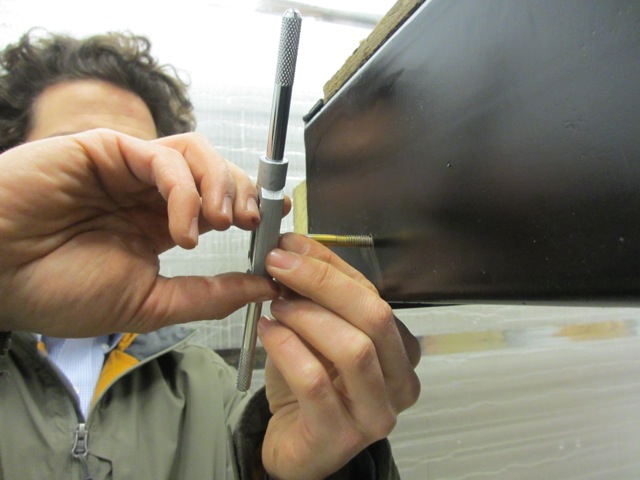
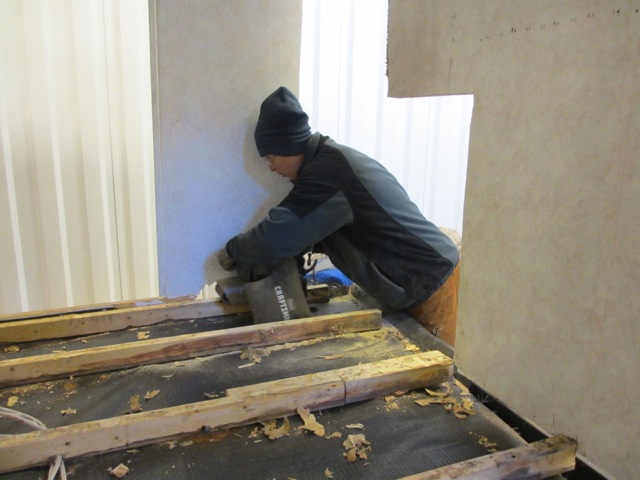
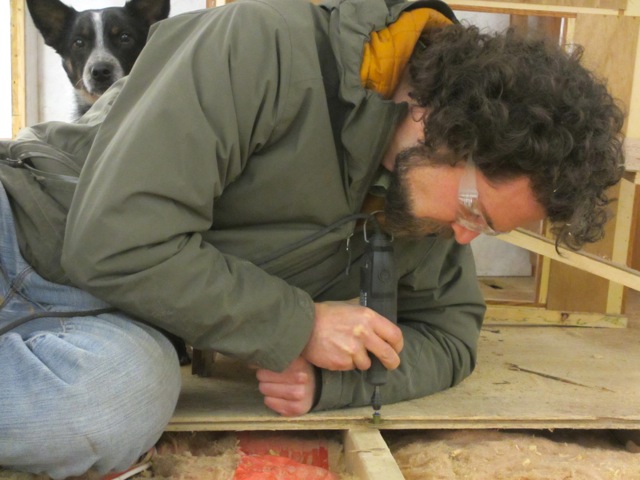
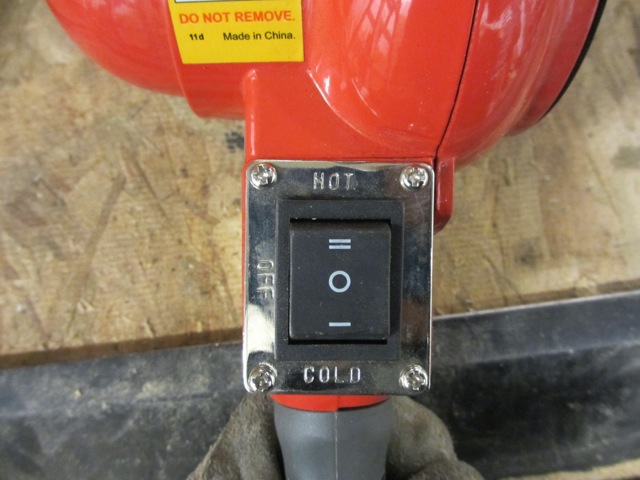
Back to RV work and more chassis talk. The chassis in the front of the RV needed to have wood boards screwed into it so the bedroom wall beams will have something to screw into once its built.
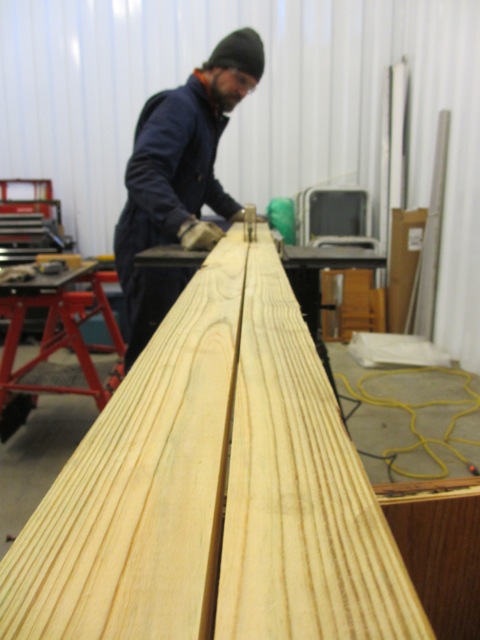
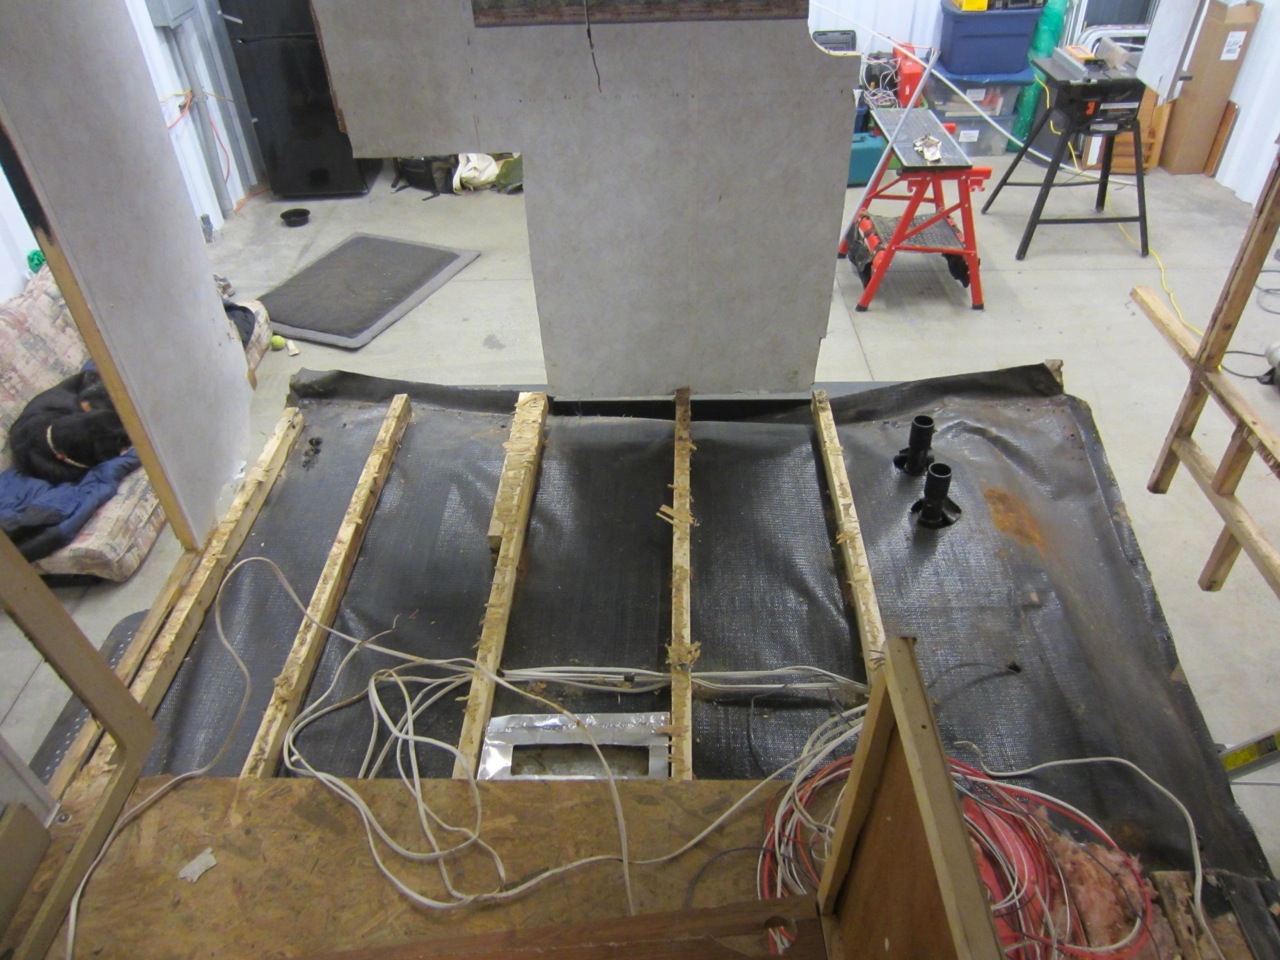
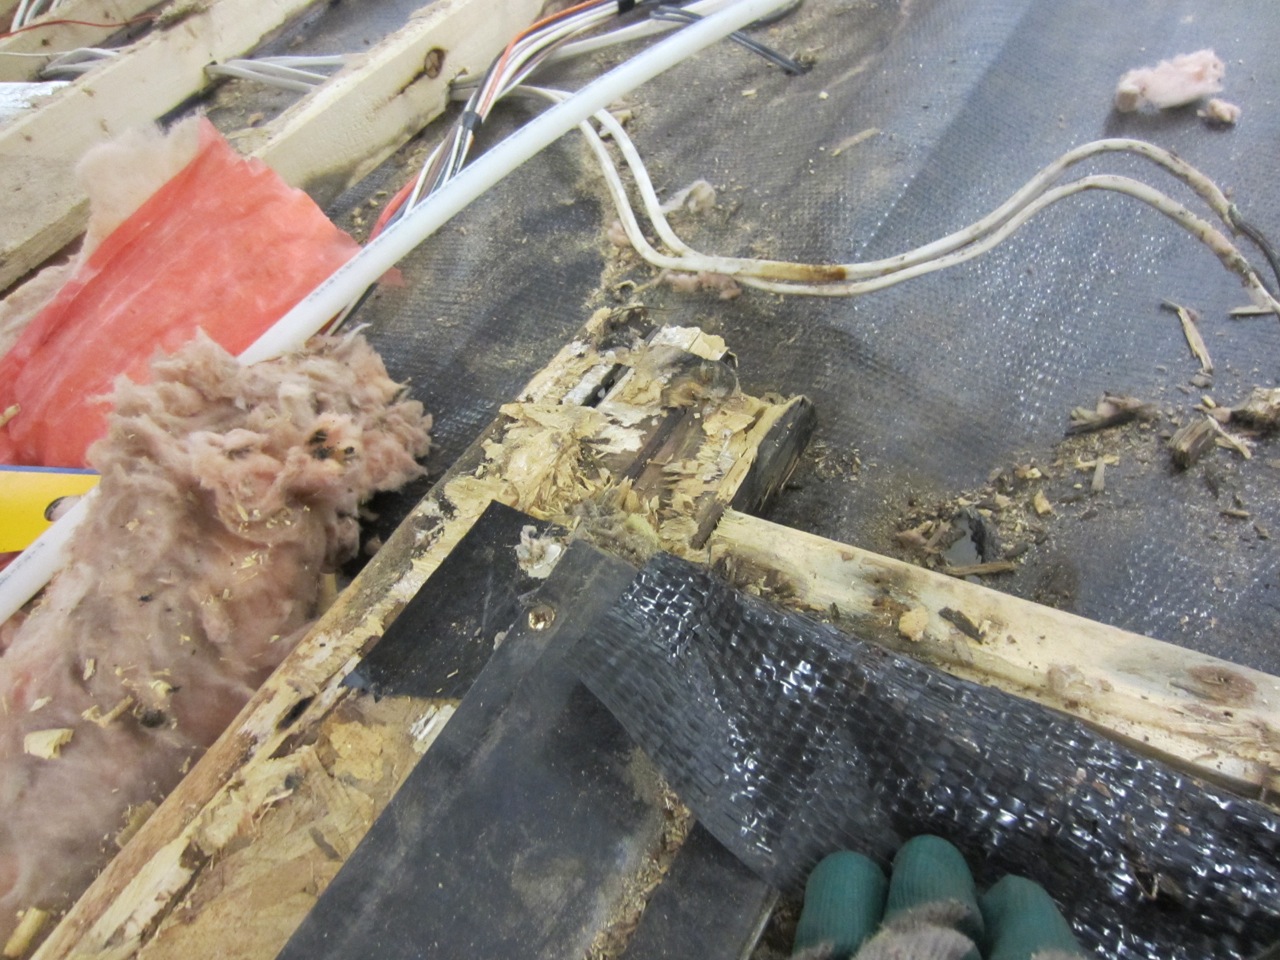
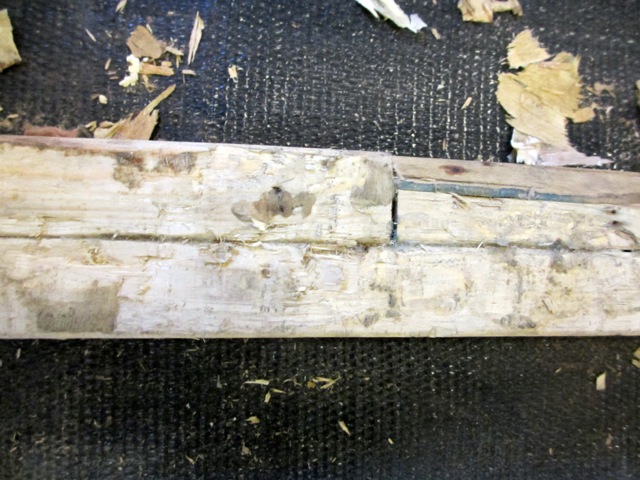
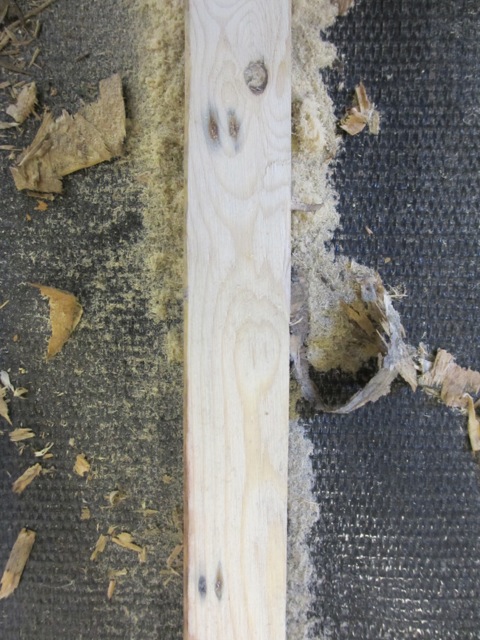
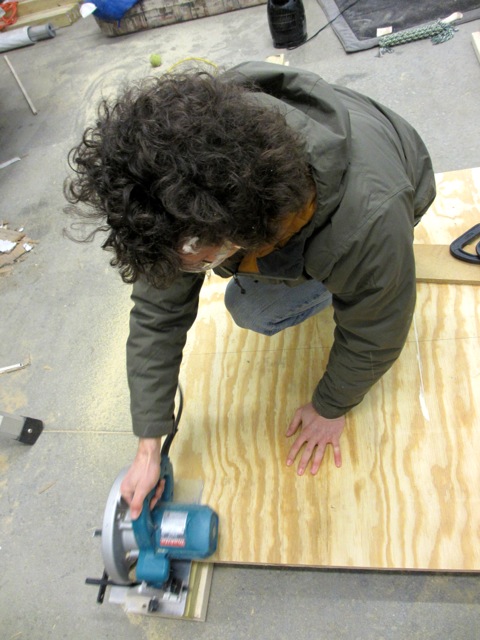
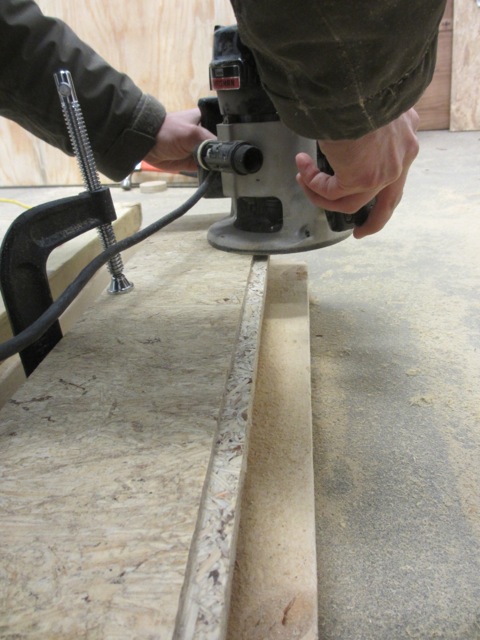
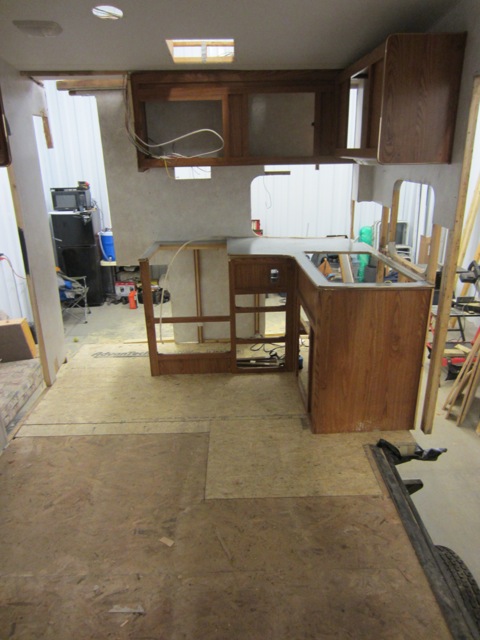
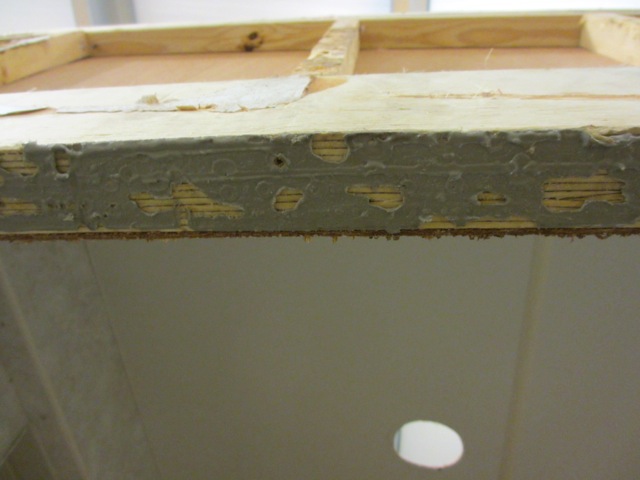
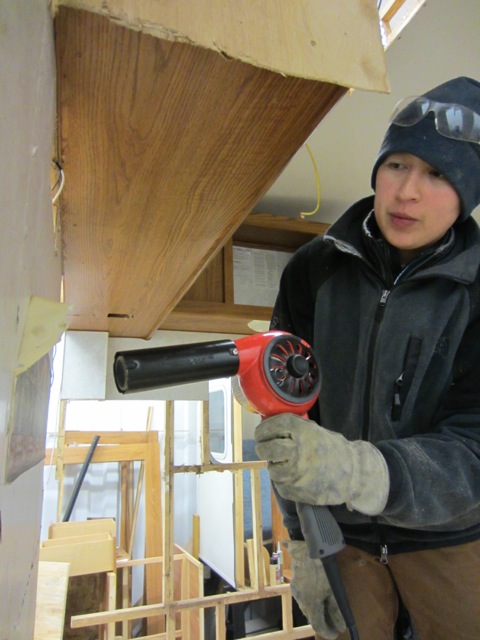
We move onto working on the kitchen floor. Jerud and Andrew had cut out the sub-floor weeks ago due to water damage. We realized that we need a floor in place before we can rebuild the back of the RV. Then we realized that the floor can't be installed until the RV wiring that's located under the sub-floor is identified and Jerud figures out where the new wiring has to go. But in the meantime, he was going to cut new pieces of the floor so that it would be ready to be installed when the time came.

I've learned that working on a project like this I have to find bitch work to do at times. It's not because I like bitch work or Jerud hates me. Because I'm not as handy with tools as Jerud or able to tackle more complicated work on my own. This means there are times when he's working on something and I'm projectless. But there are so many small pain in the ass things that need to be done sooner or later. I've learned to find something to work on when I can't help out with a bigger project. This is fine with me because I hate not doing anything.
The weather is still cold. Cold enough that there's ice in the creeks. But it's super pretty.

Richmond Hill is a park close to home and we really enjoy hiking there with the dogs.

More ice on rocks with bits of ice fingers starting to form.