Chassis
We had to take a few extra days off from working on the RV because the weather got insanely cold, especially for western North Carolina! The polar vortex came through Asheville and the temperatures dropped to a record low of -1 °, more like -teens° with the wind chill. Everyone in town pulled out their warmest clothes and put them all on. I finally put a use to my burly Sorel winter/snow boots! The inside of our front door at home froze!

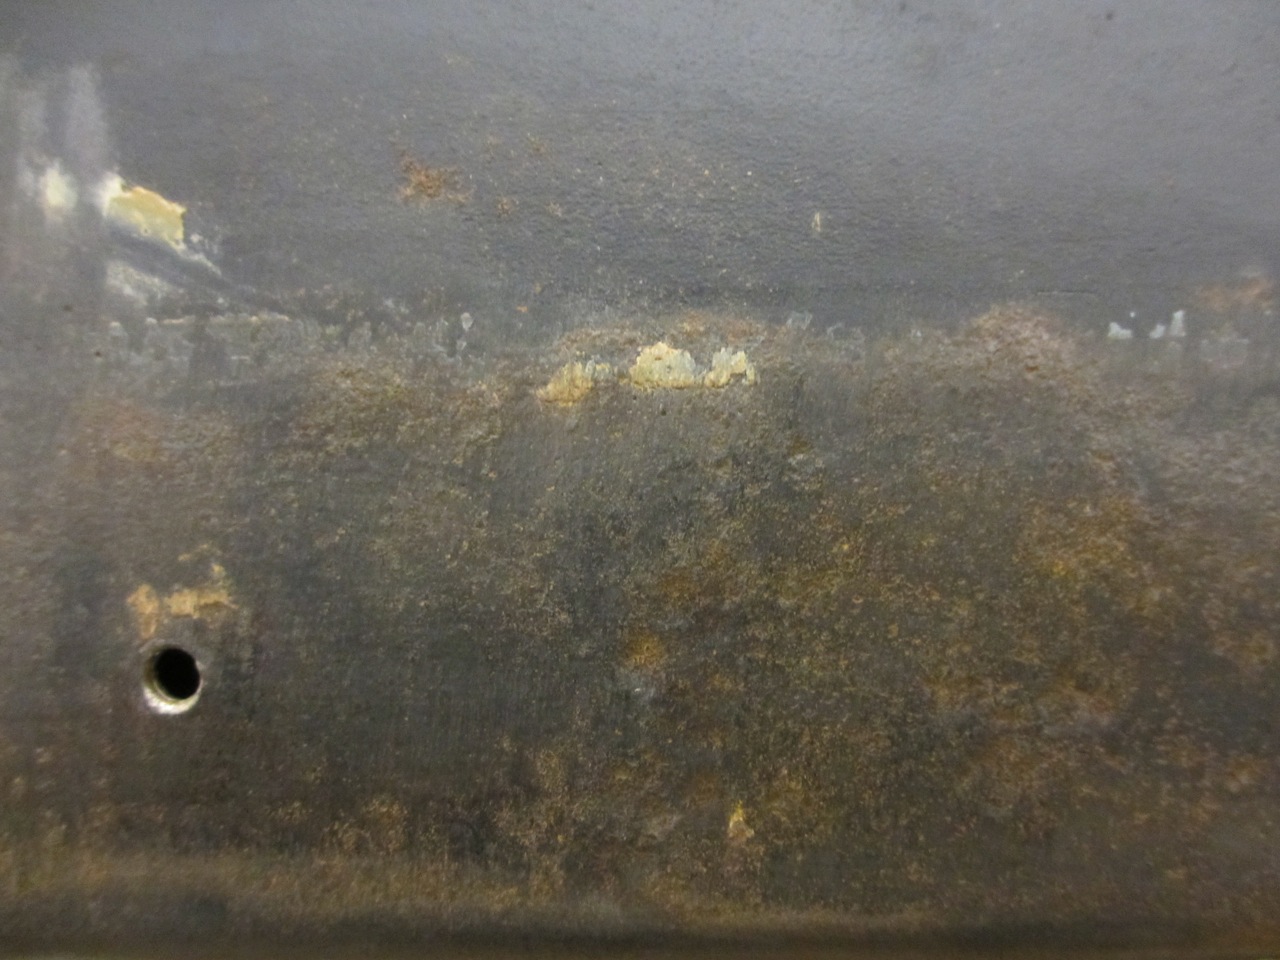
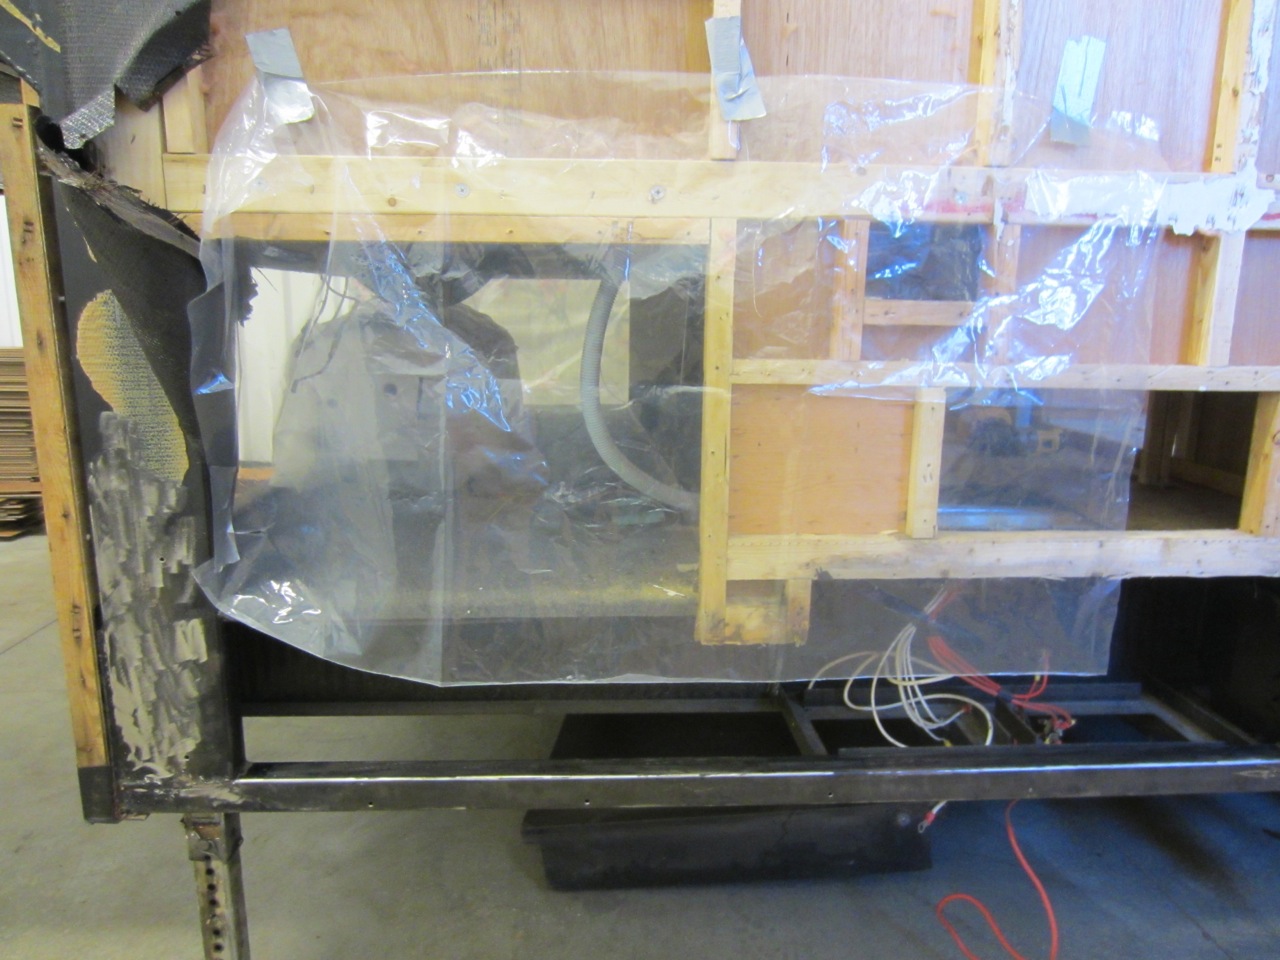
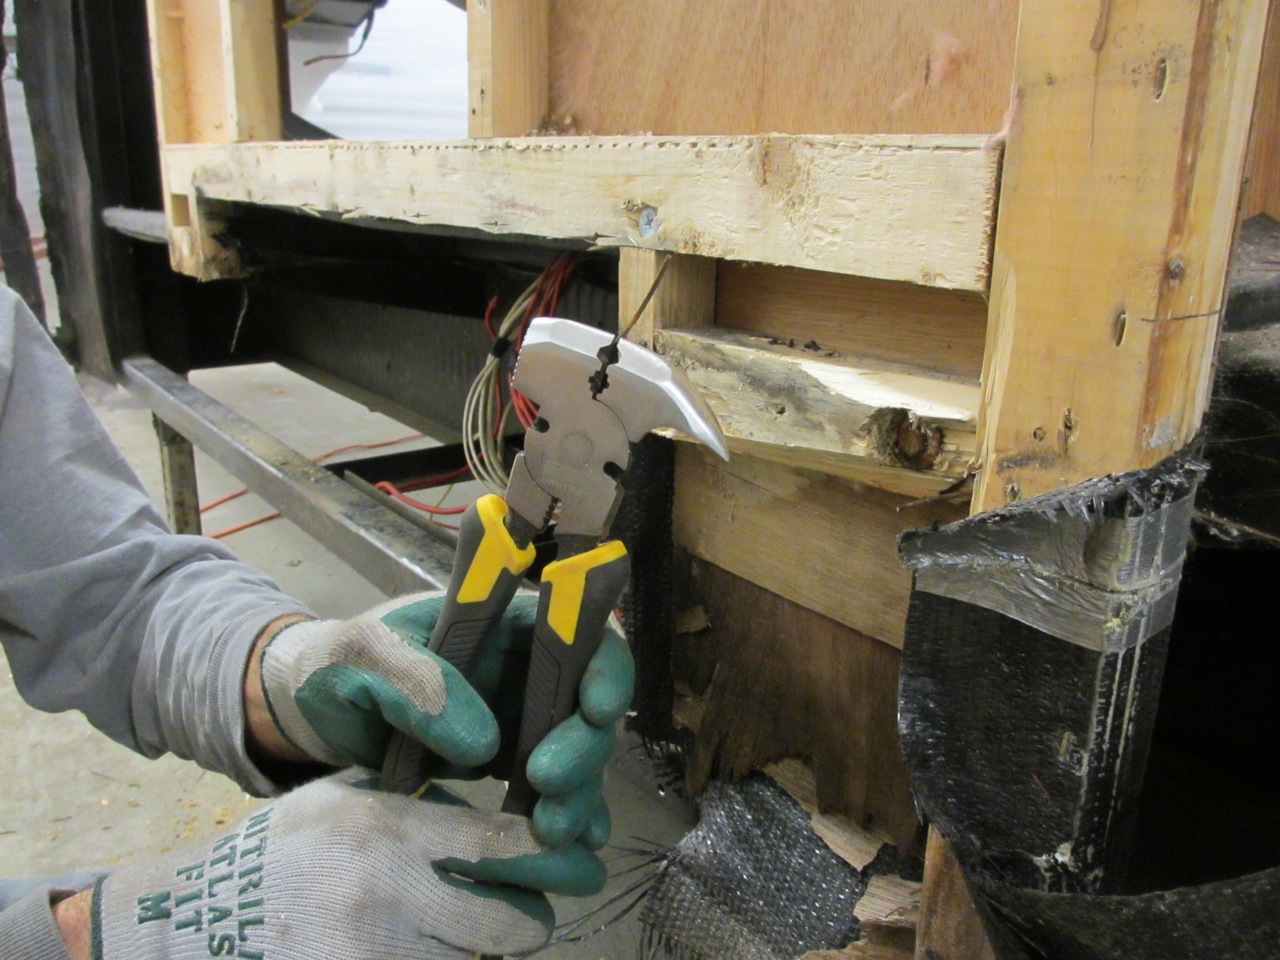
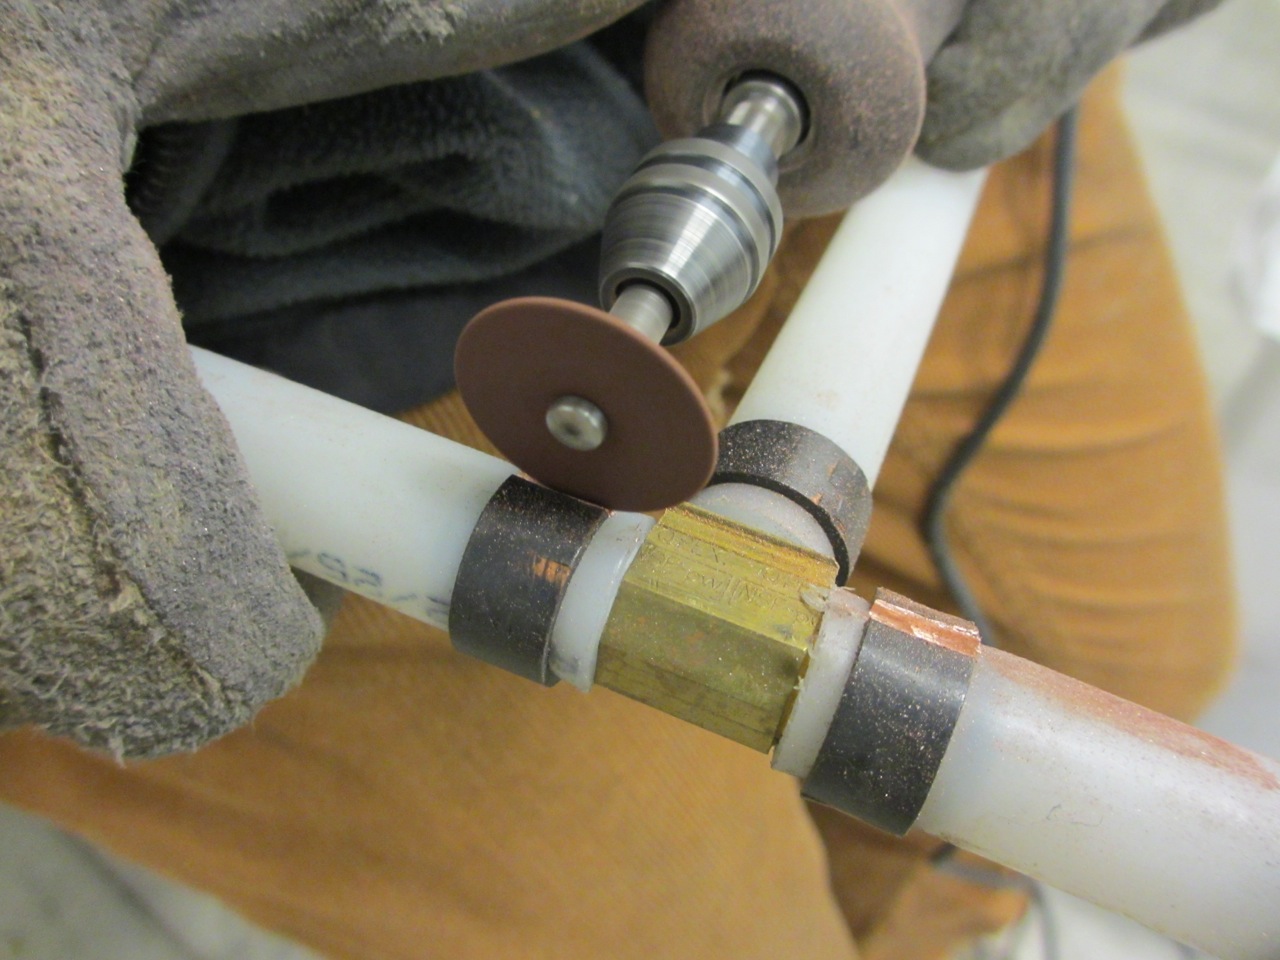
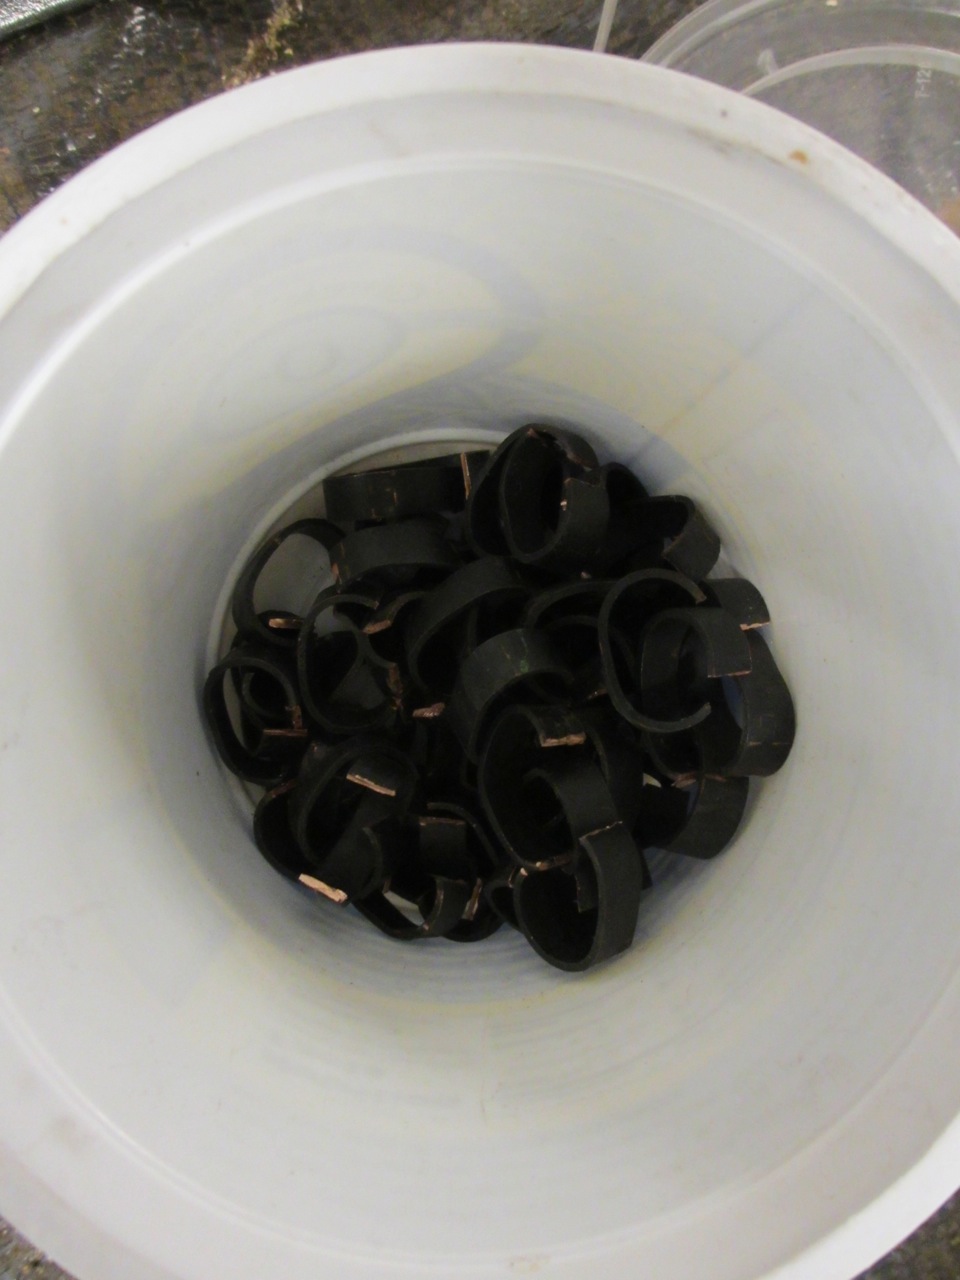
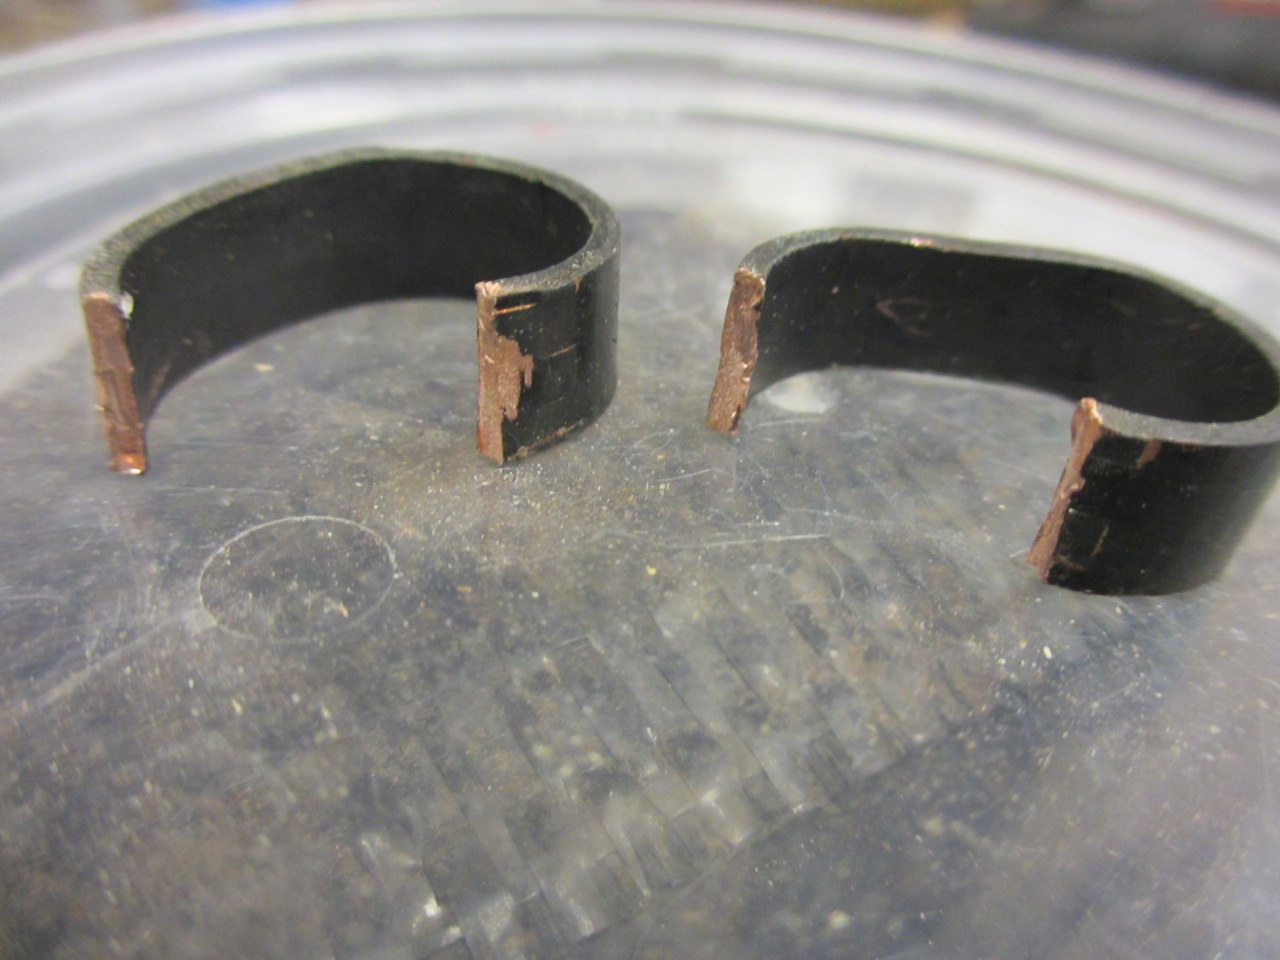
We went back to the storage unit once the temperatures were more reasonable. Since we've already done the majority of the tear down, we had to think about what needs to be done next to start rebuilding. The chassis is the first thing we need to work on since it's the foundation of the RV. We need to make sure the chassis is in good condition before we start laying new structure on top of it. Jerud and I mainly focused on the chassis at the front of the RV: 1) It's the most exposed from us tearing the trailer apart and 2) It has the most damage/rust. We spend a day or two after work and part of the weekend to work on the chassis.
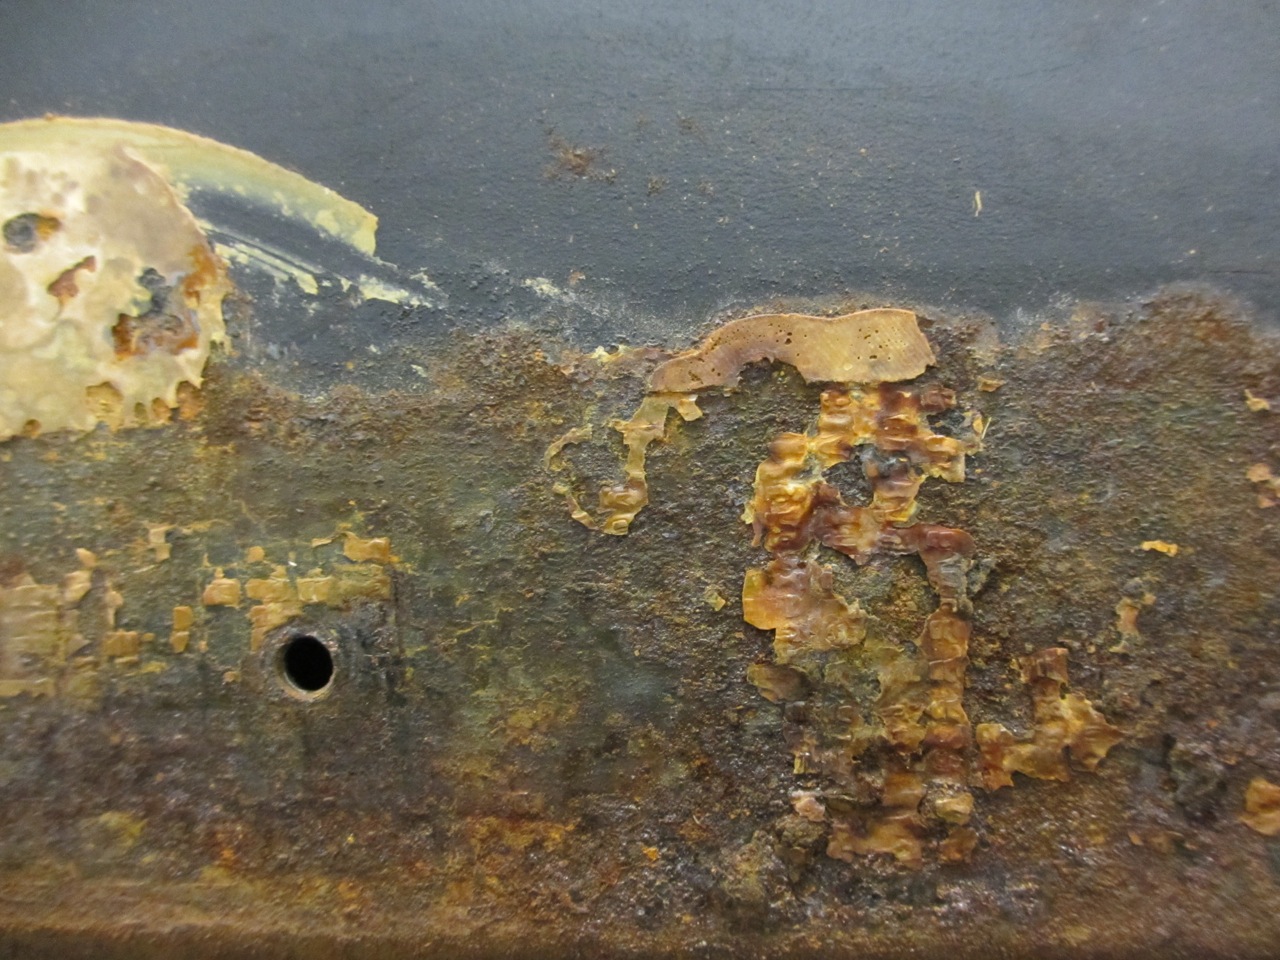

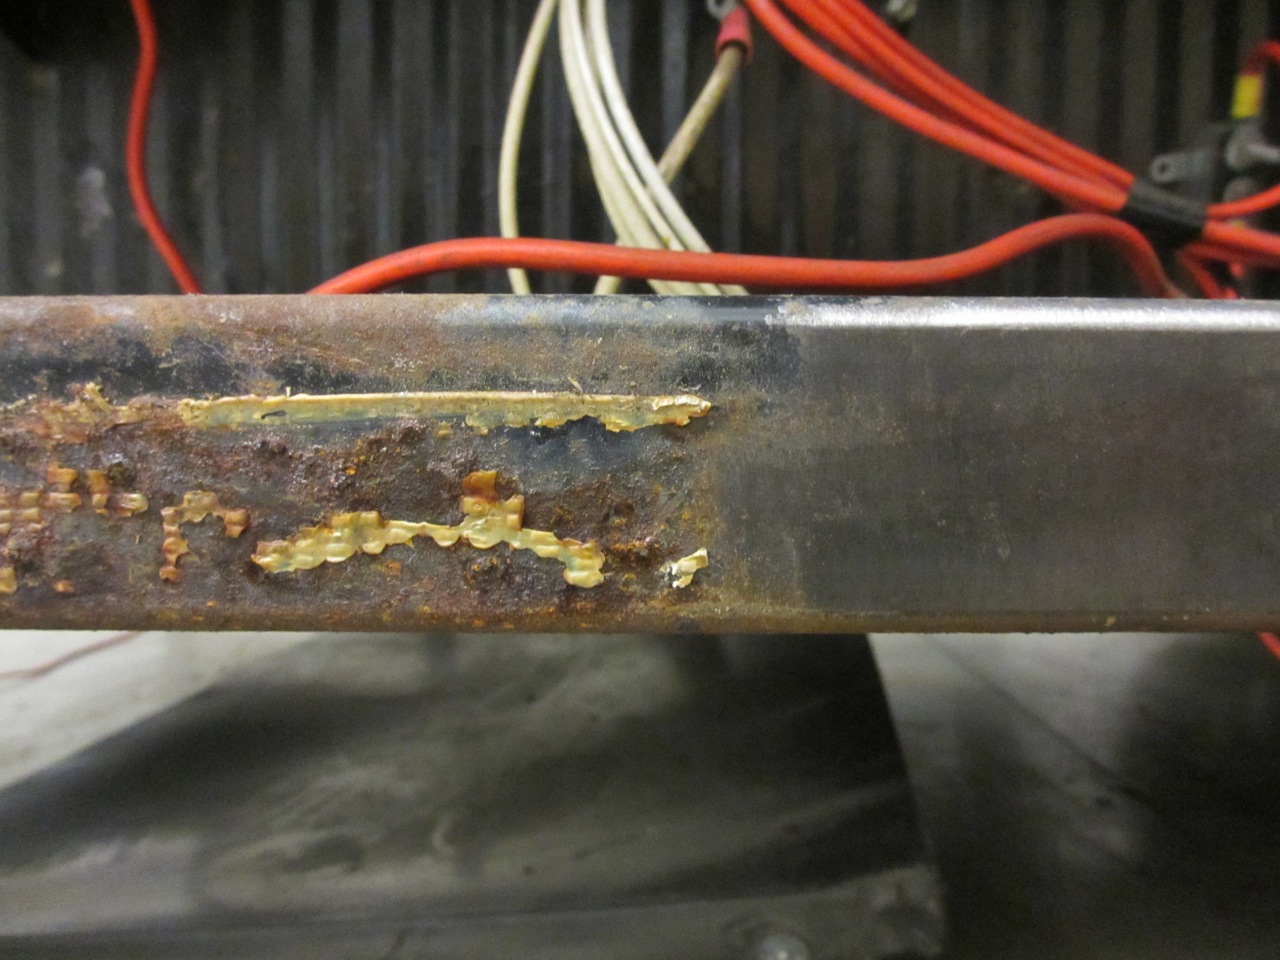
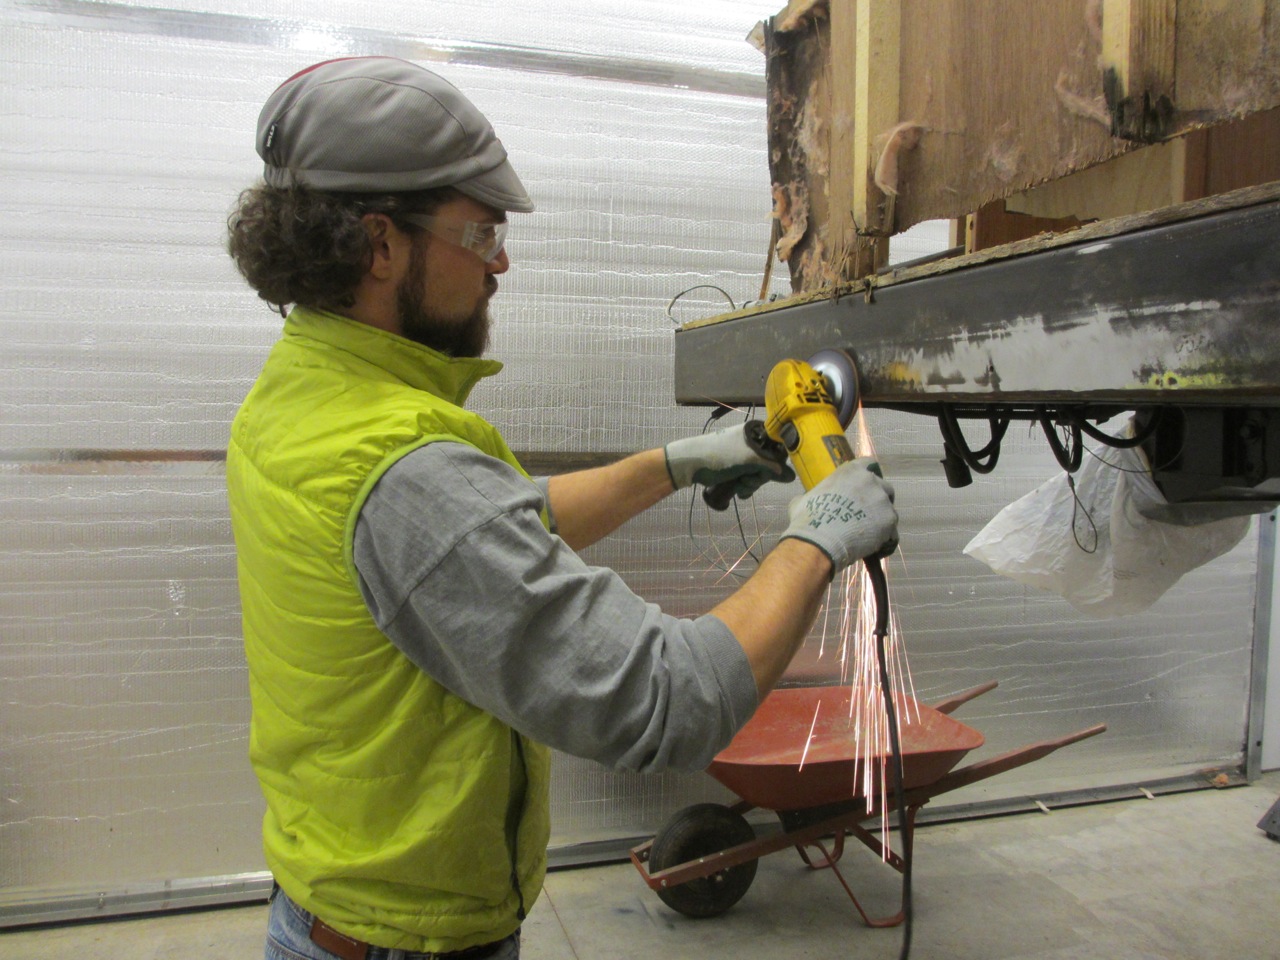
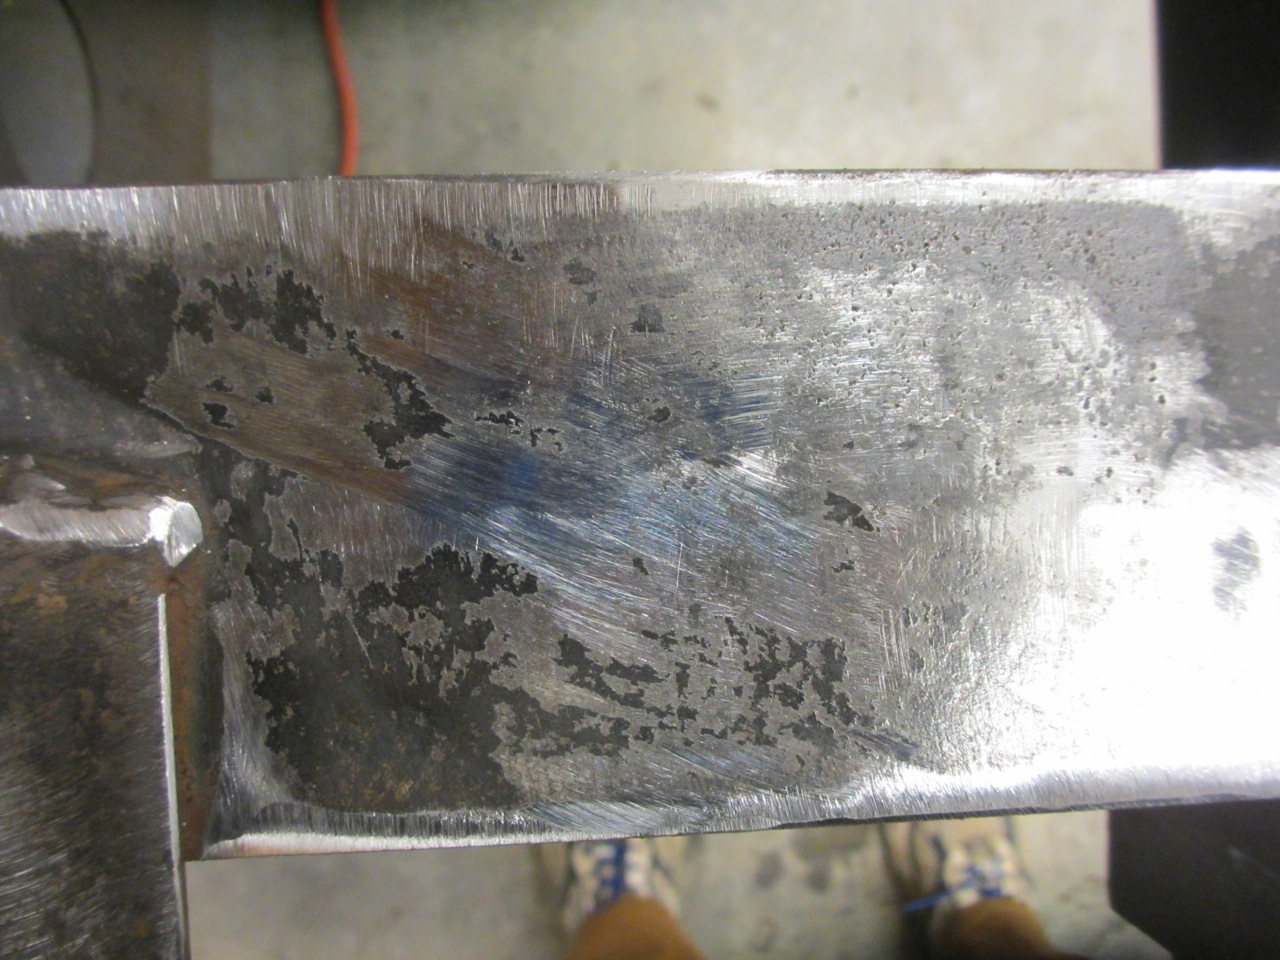

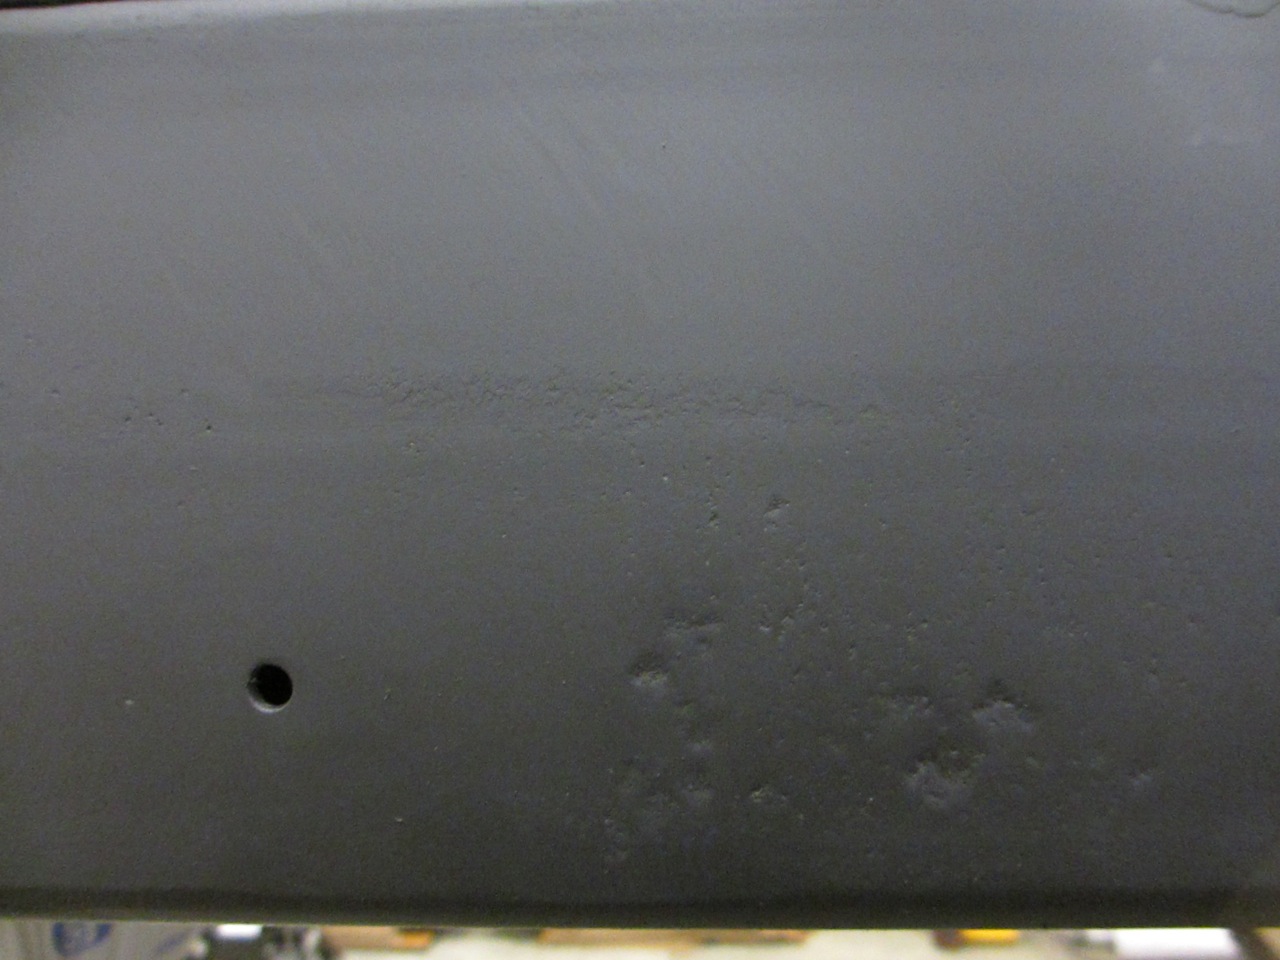
Since there's two of us and cleaning up the chassis is mainly a one-person job due to number of tools, we multi-tasked while working on it.

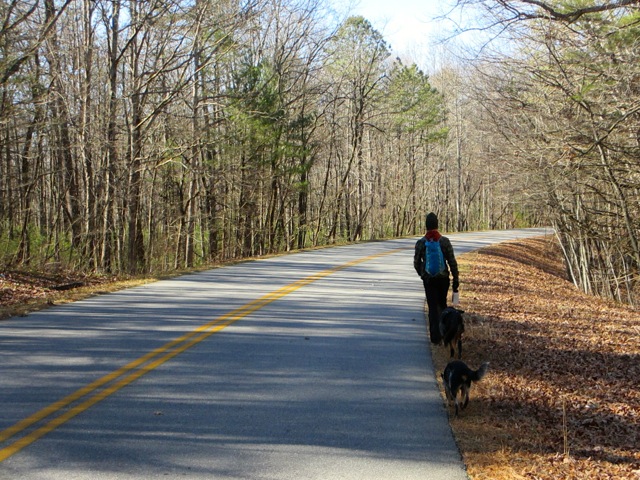
One weekend morning we hit the Blue Ridge Parkway before heading to the storage unit. Not only did the dogs need some outside time but we did too. The parkway was still closed because of the cold weather (ice), so we did a mix hiking on trail and on the road.