Rebuilding The Toaster: Before, During & After
The Toaster was originally a 2001 Fleetwood Prowler. As most of these stories go, we bought it thinking it'd only need a few minor remodel projects, only to find out how wrong we were. We realized how extensive the damages were once we started.
So, our 3 - 4 month project turned into 11 months of working on it every day after our regular jobs and on the weekends. Some projects didn't get done until after we hit the road. And some changes happened more recently.
These are photos of our entire rebuild process. This is how a Fleetwood Prowler became the Toaster.
Use The Links Below To Jump To A Section
Exterior
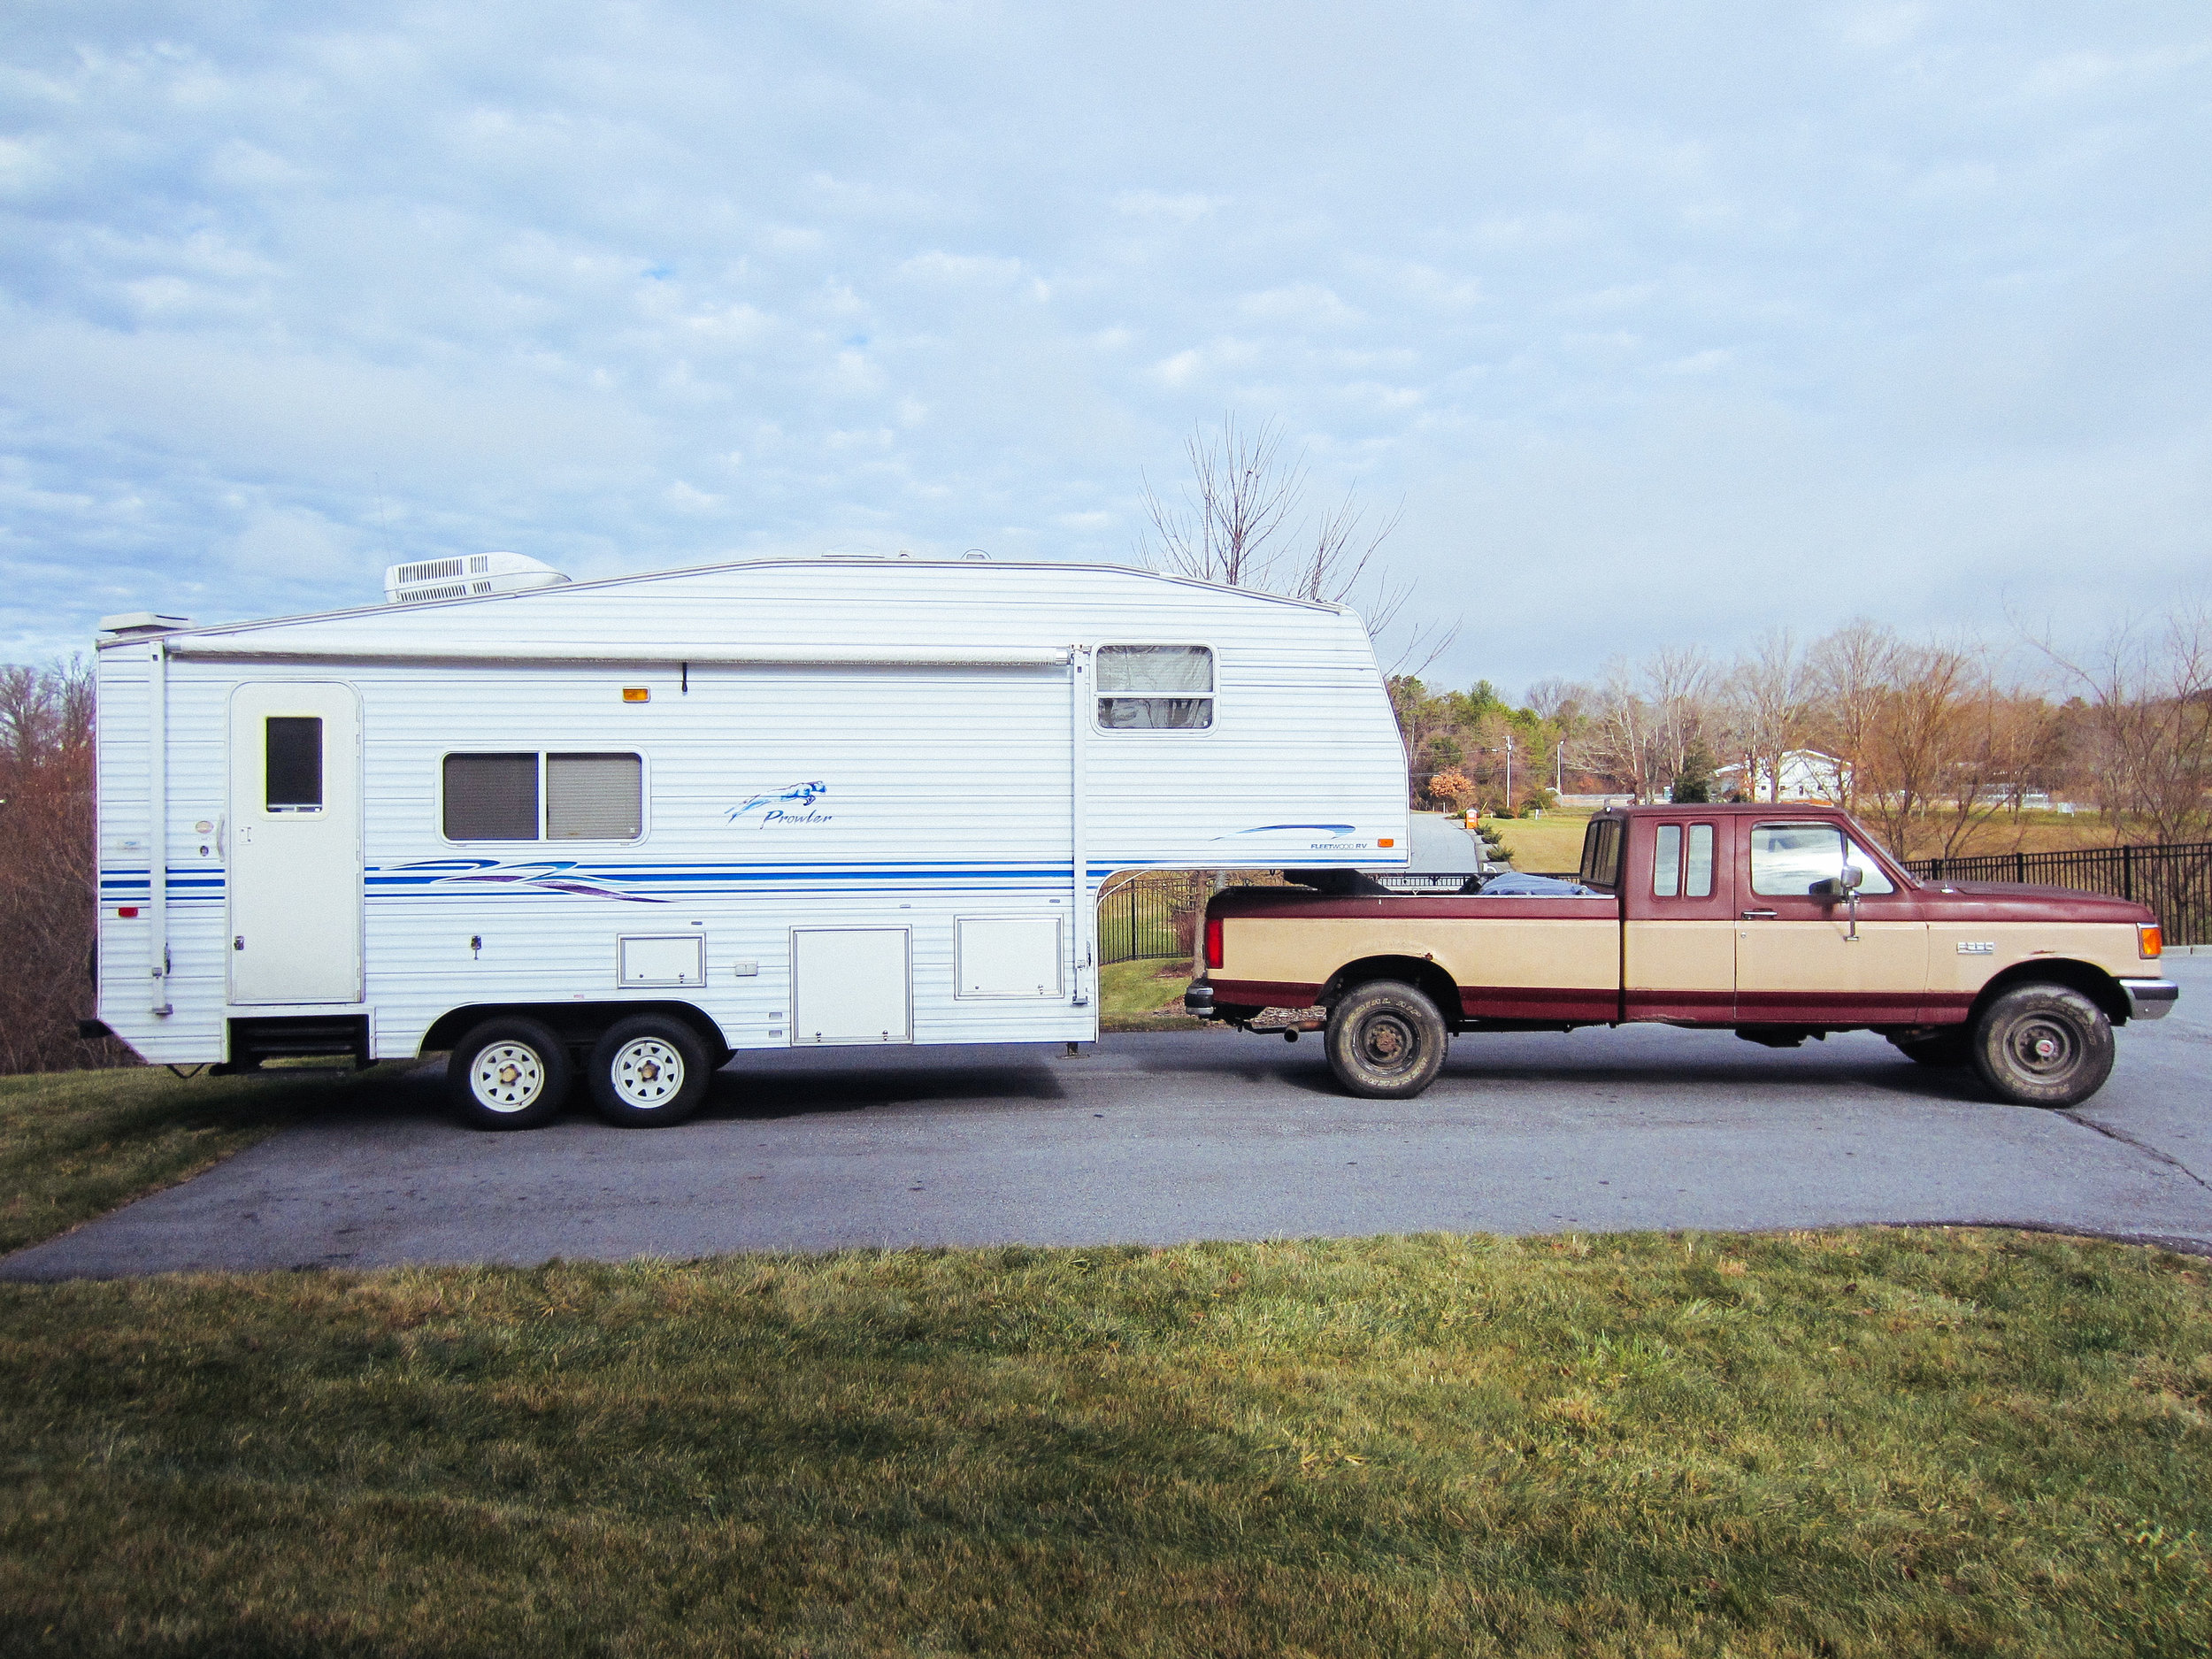
Meet the Fleetwood Prowler. This was the original truck we hit the road with.
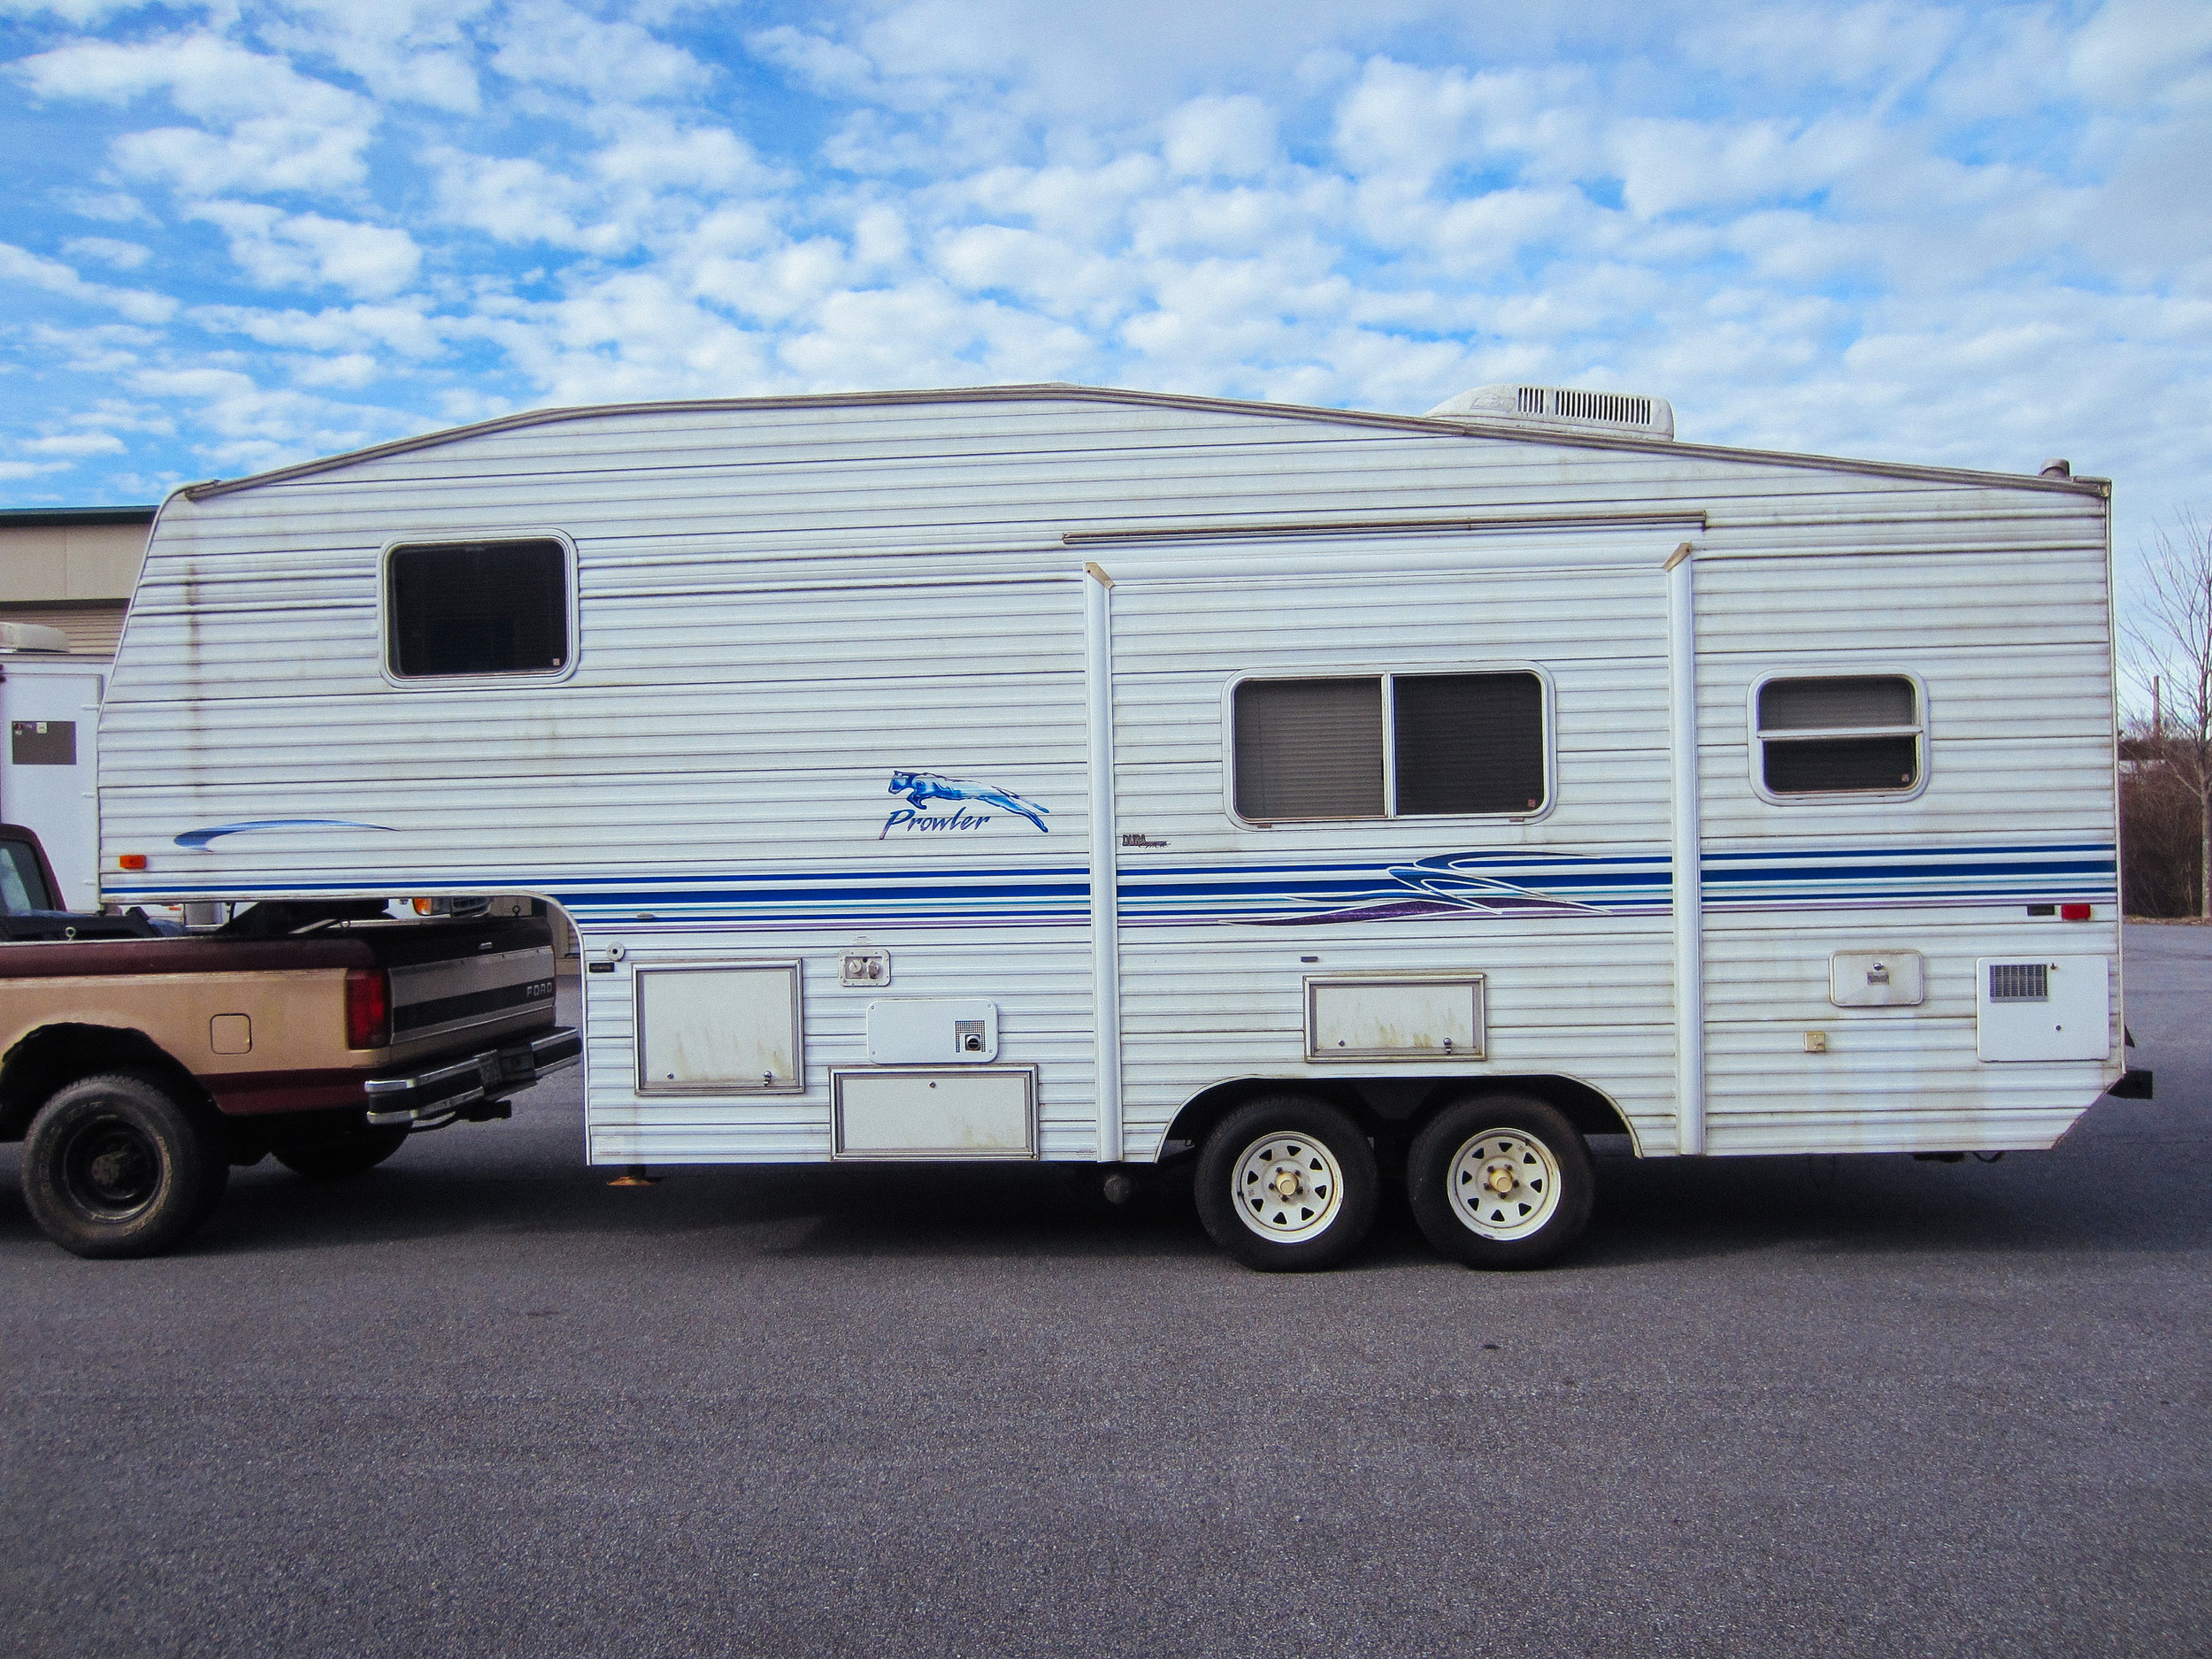
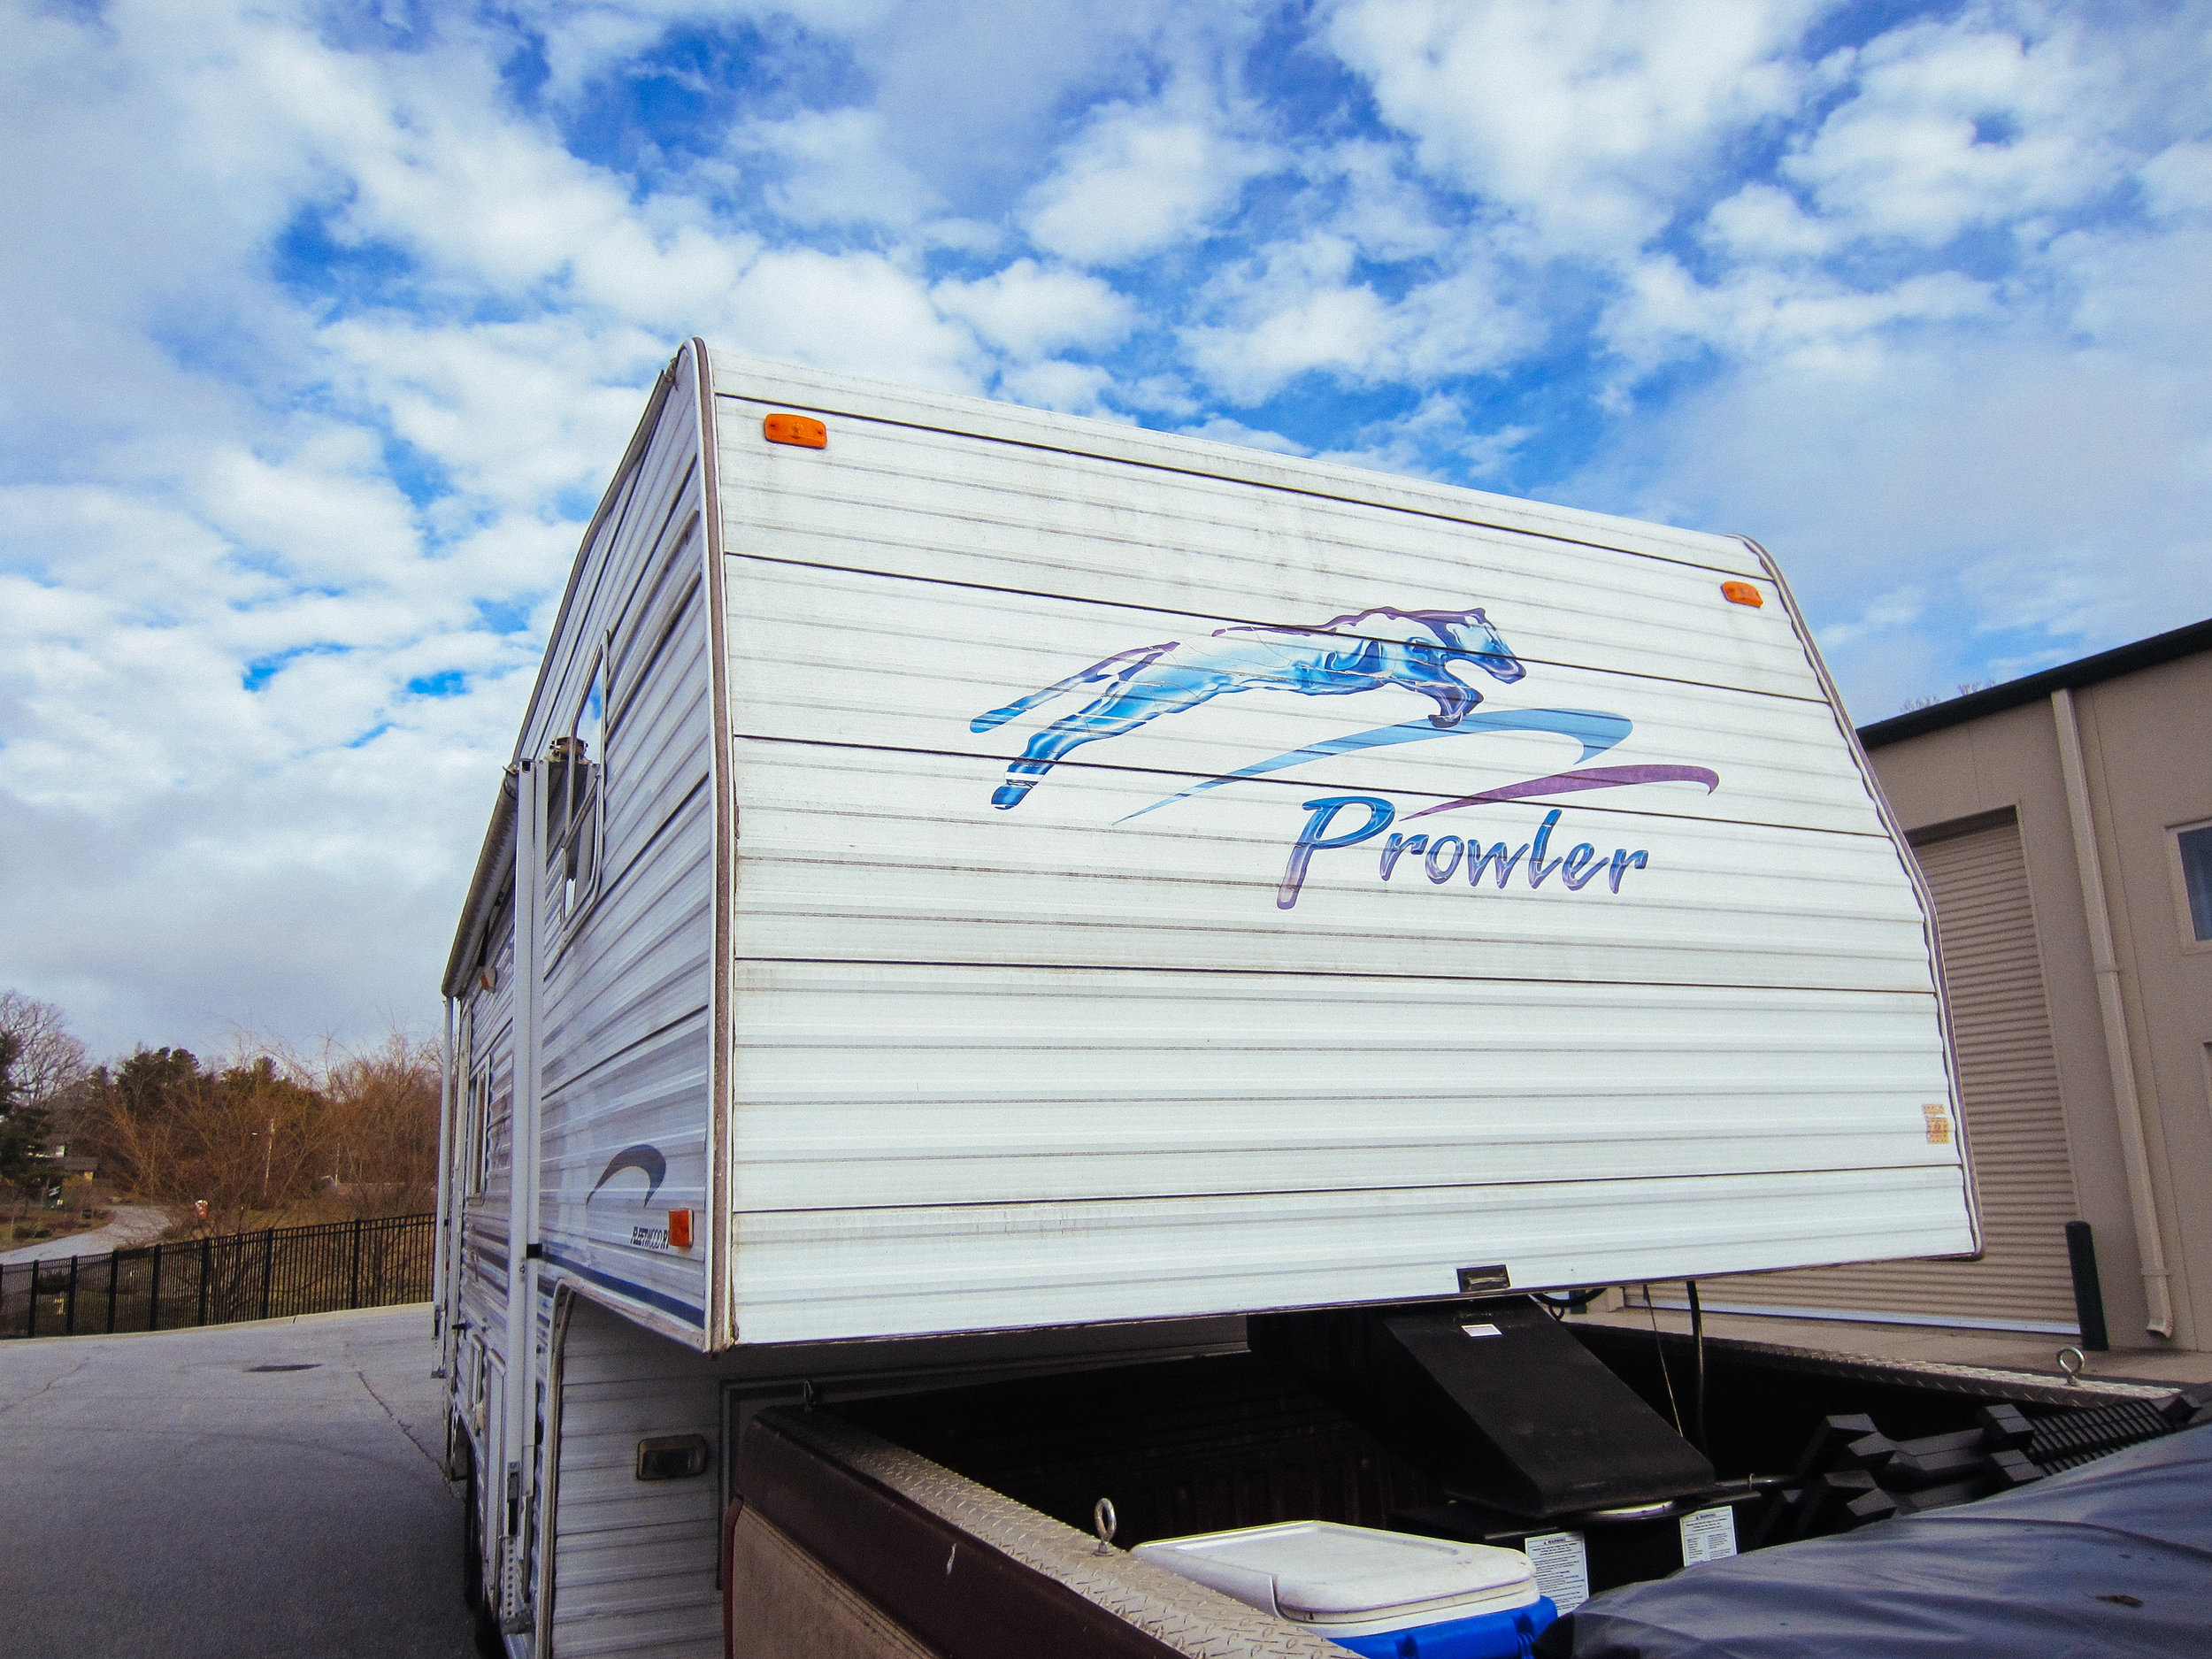
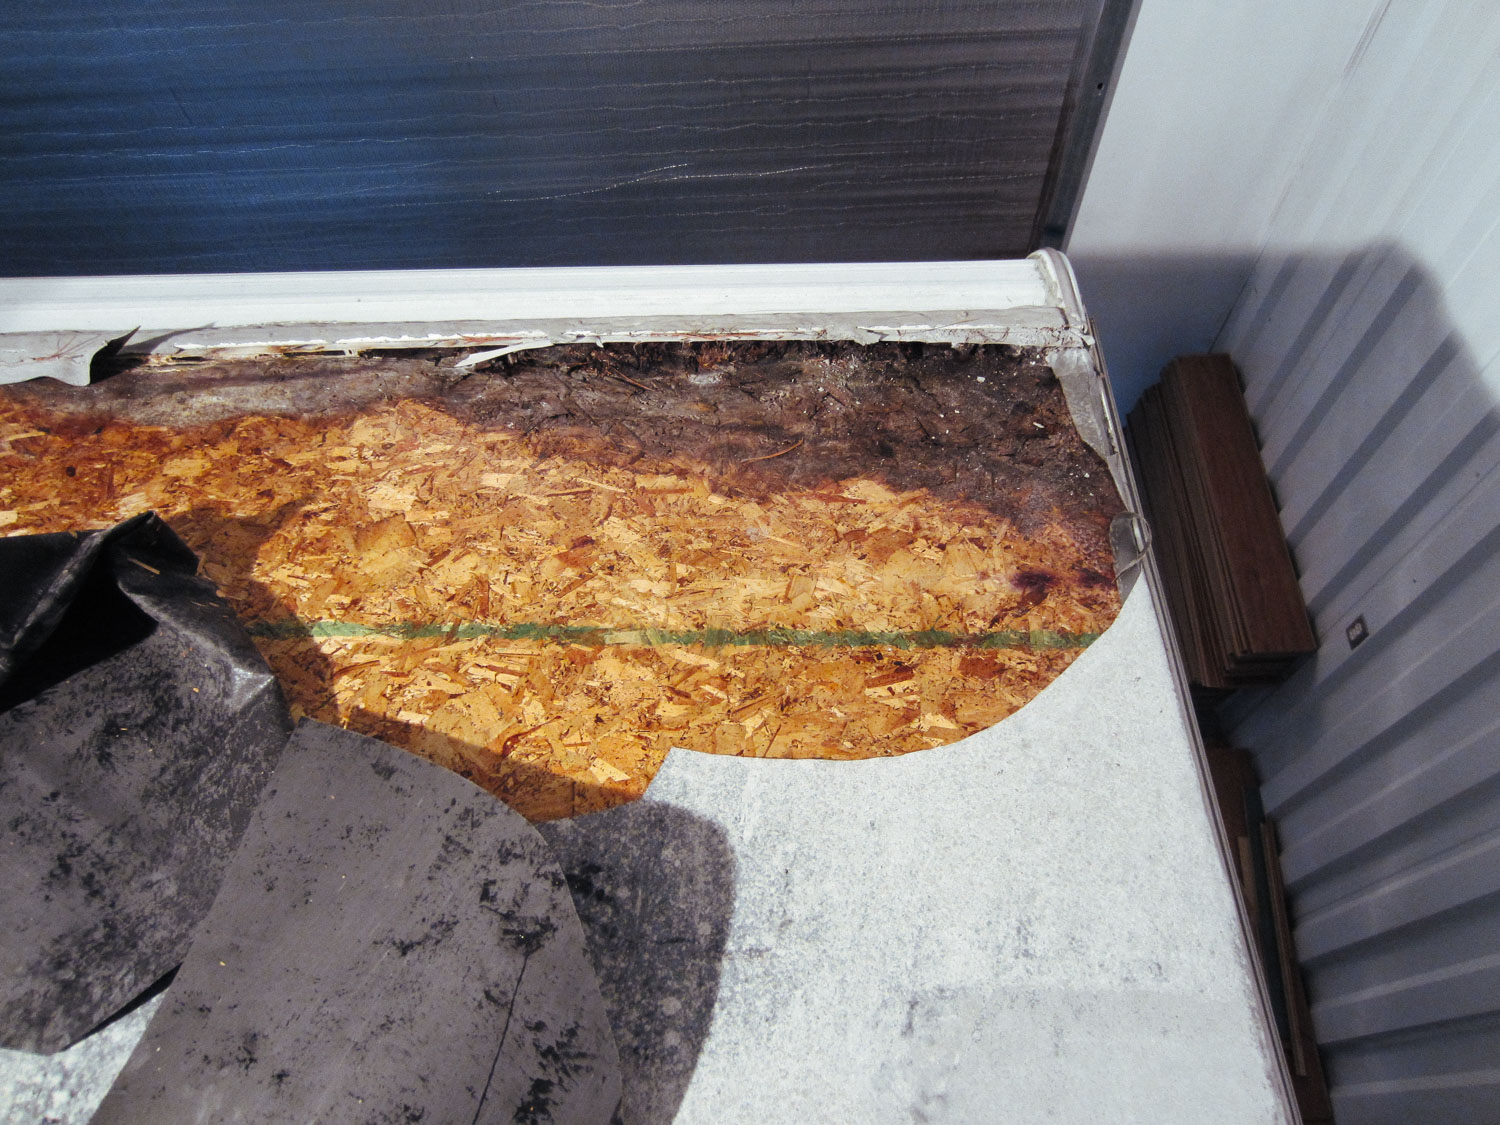
We realized the extent of the rig's water damage when we went to replace the roof membrane.
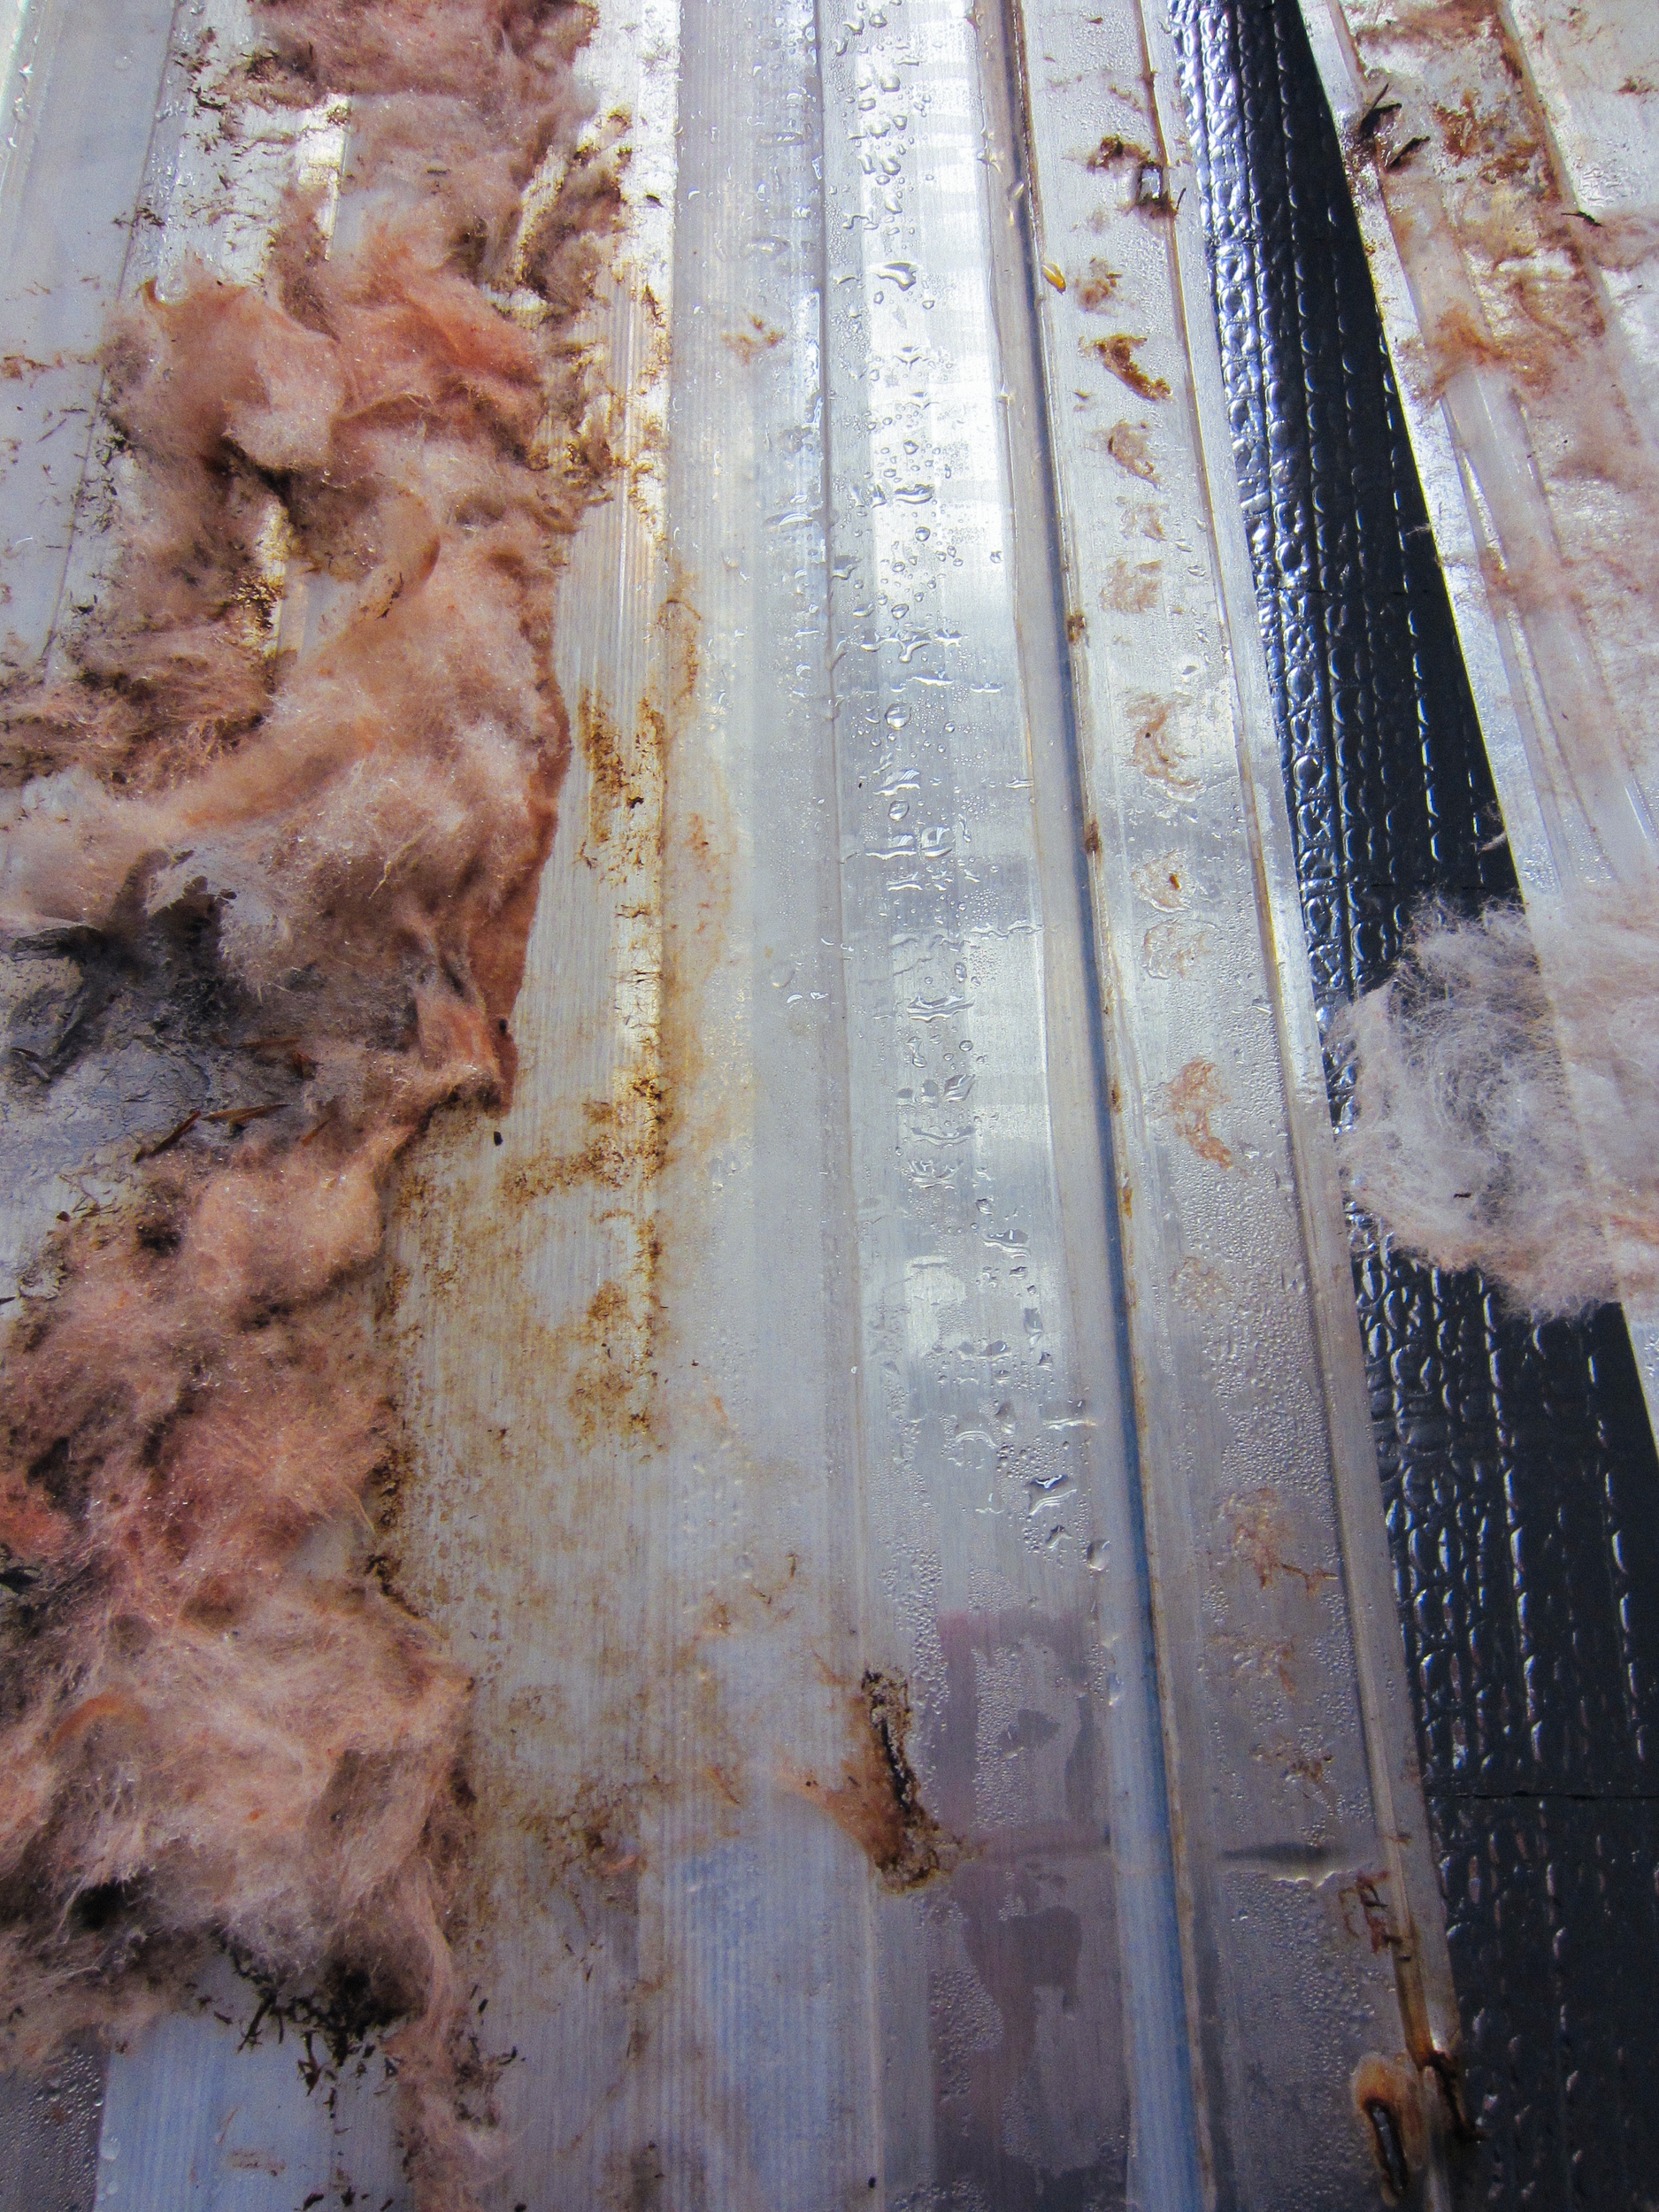
There was moisture behind the pieces of siding we removed.
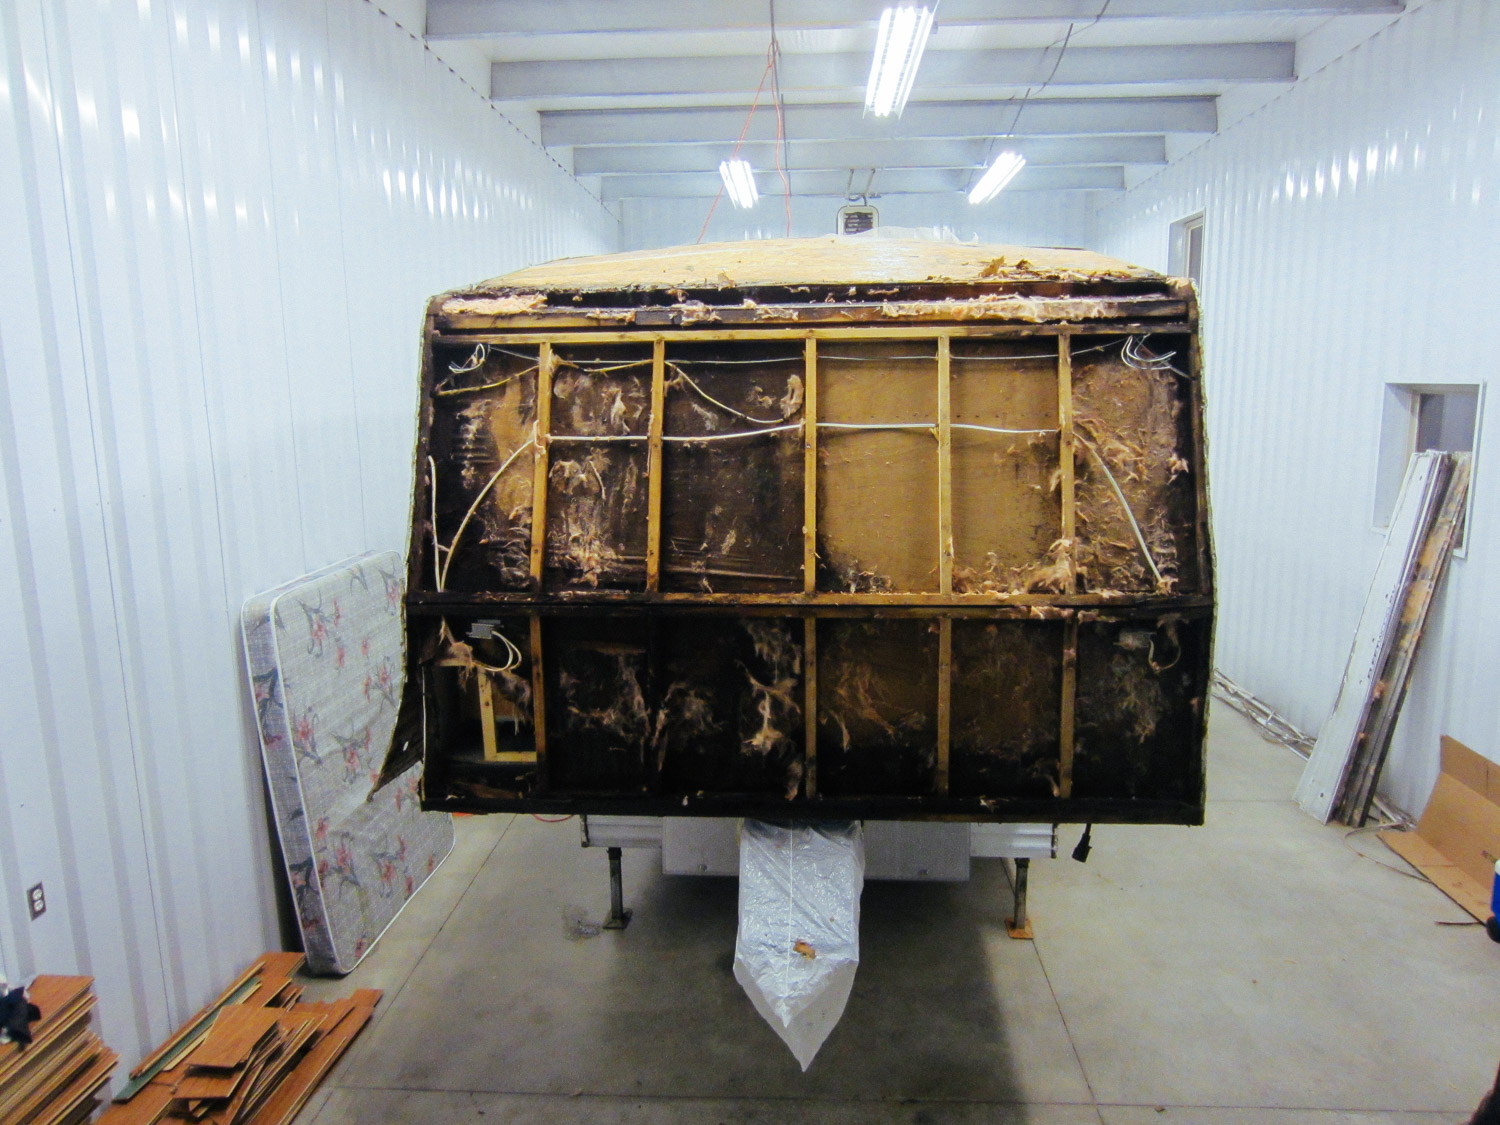
Most of the front of the RV (bedroom) was rotted from water damage.
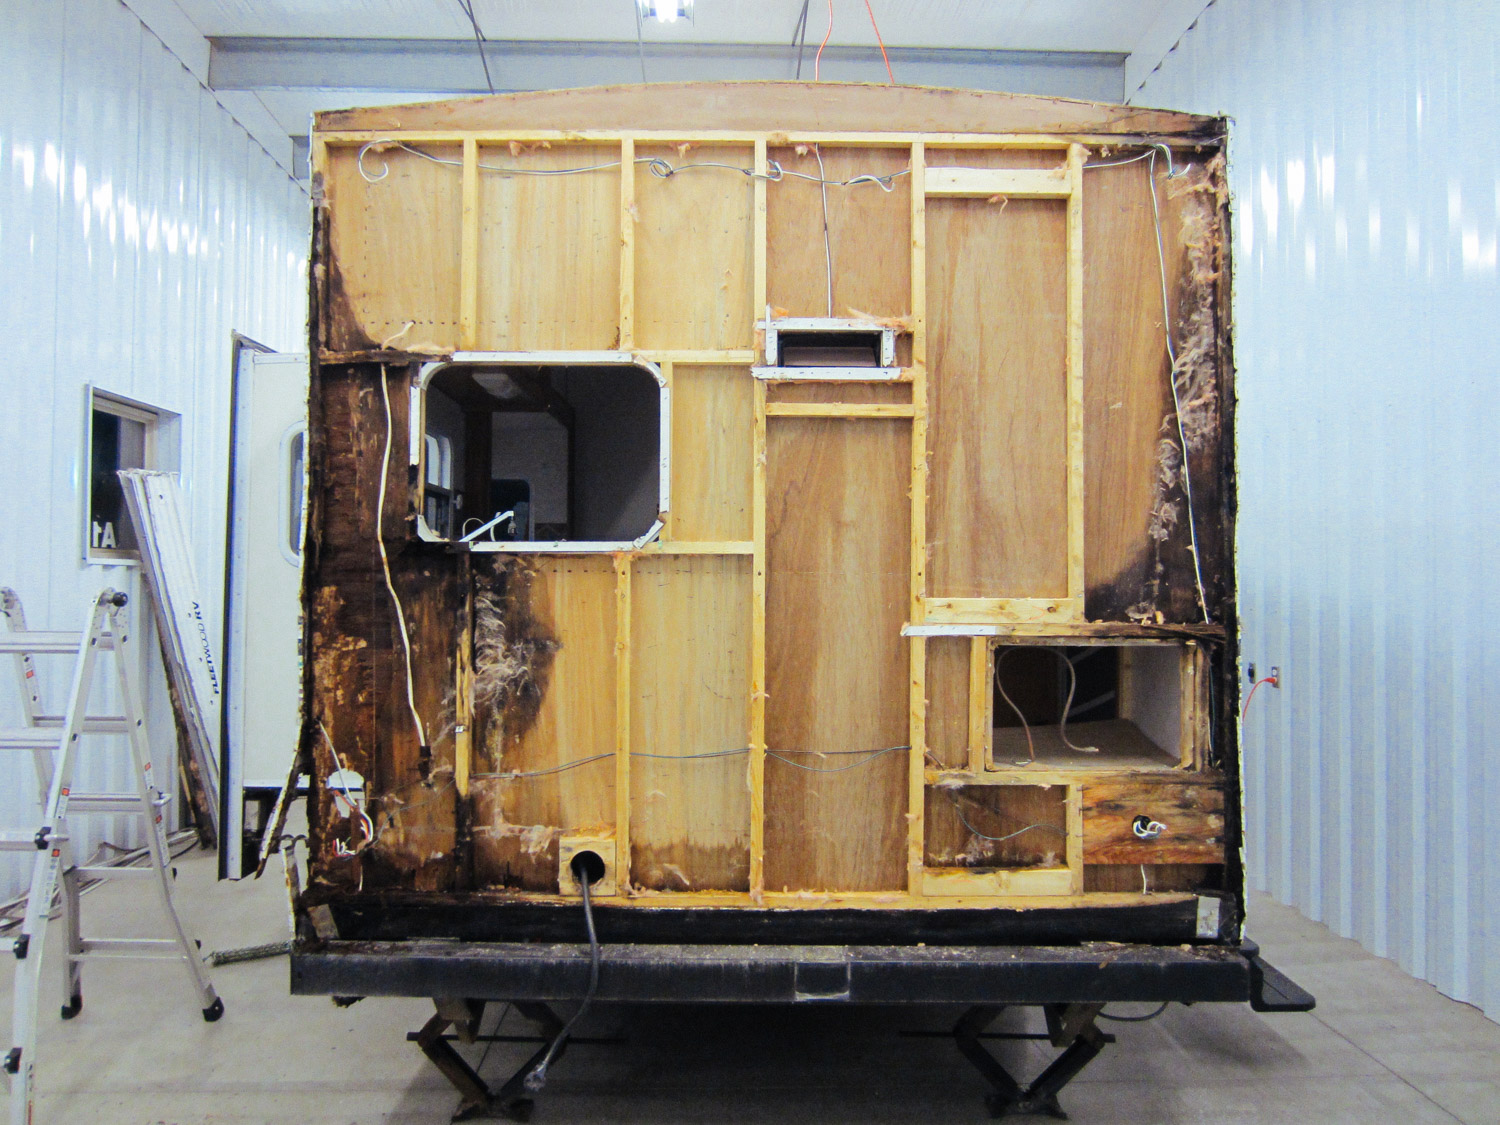
Additional water damage at the rear of the RV (kitchen).
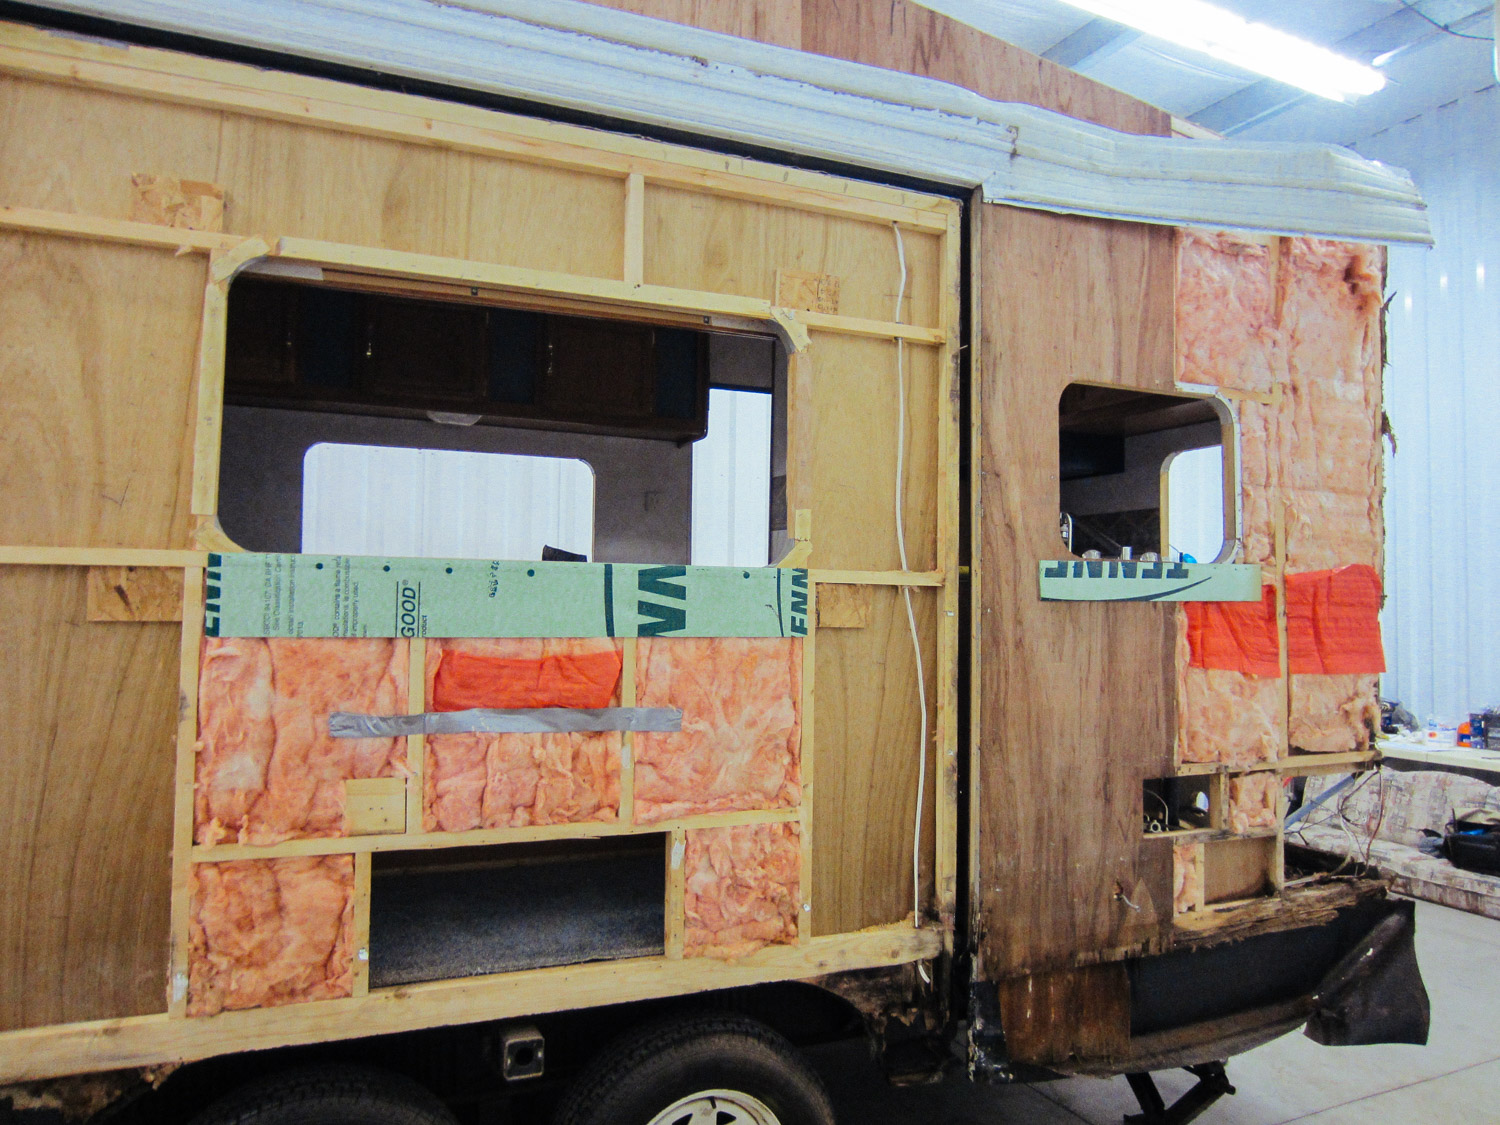
Unfortunately we had to remove all the aluminum siding in order to fix the damages. This is the view of the slide and kitchen.
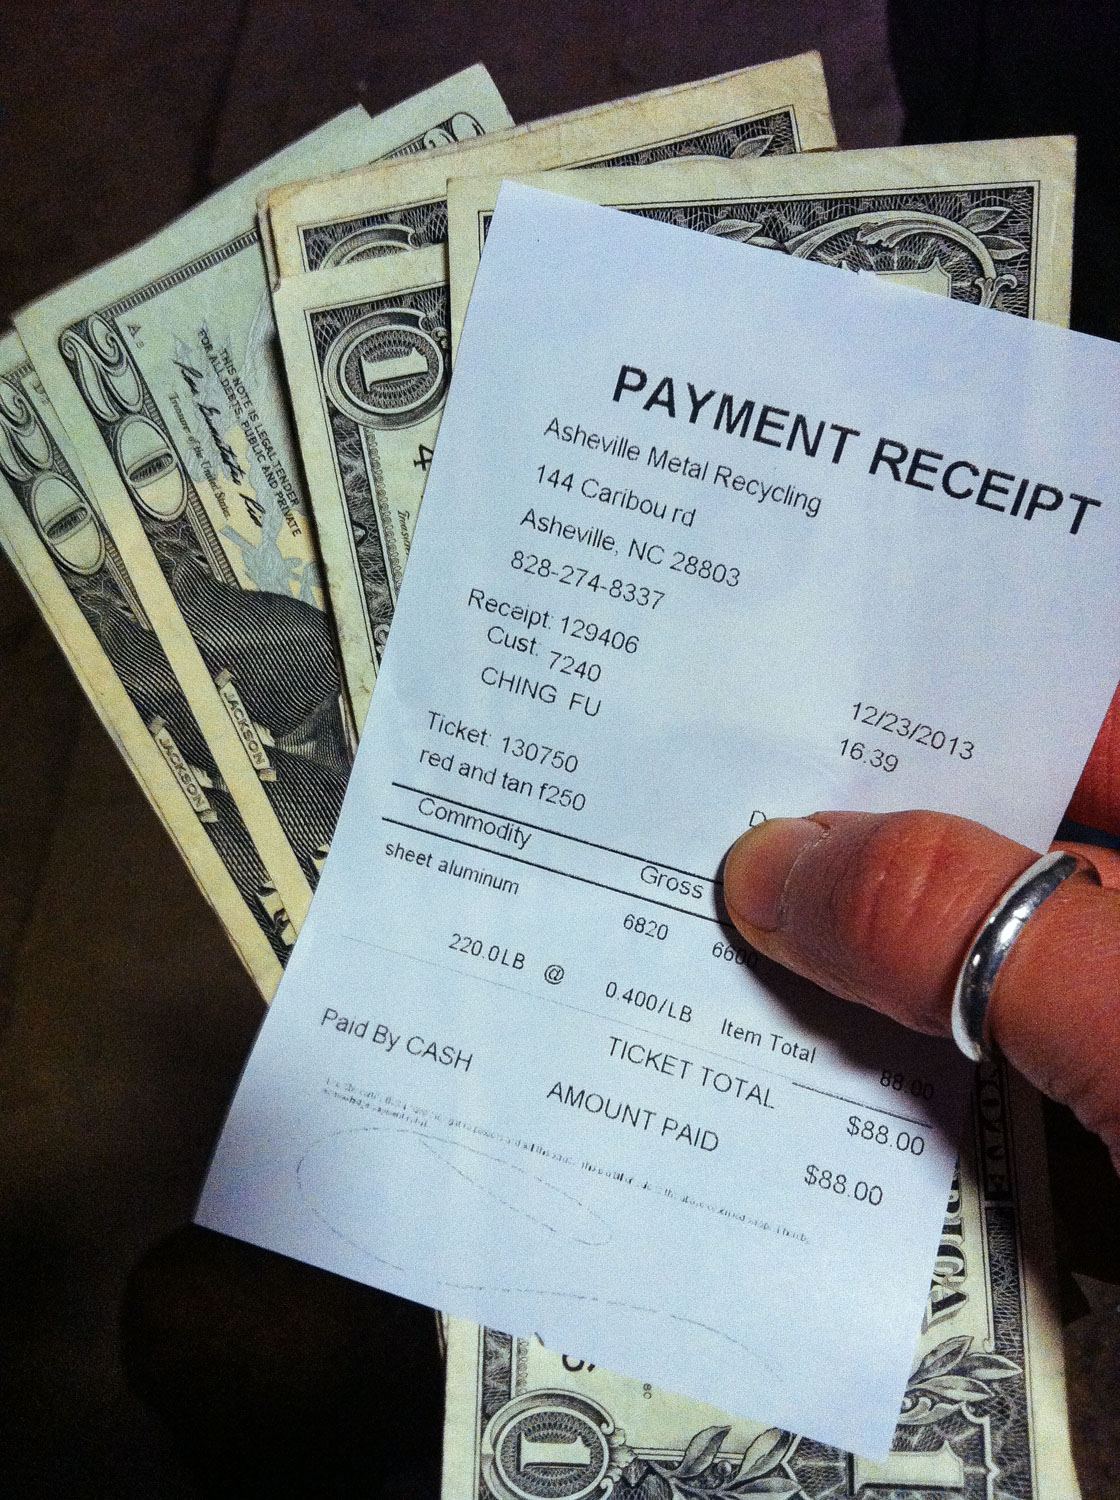
We sold all the siding to a local metal scrap yard.
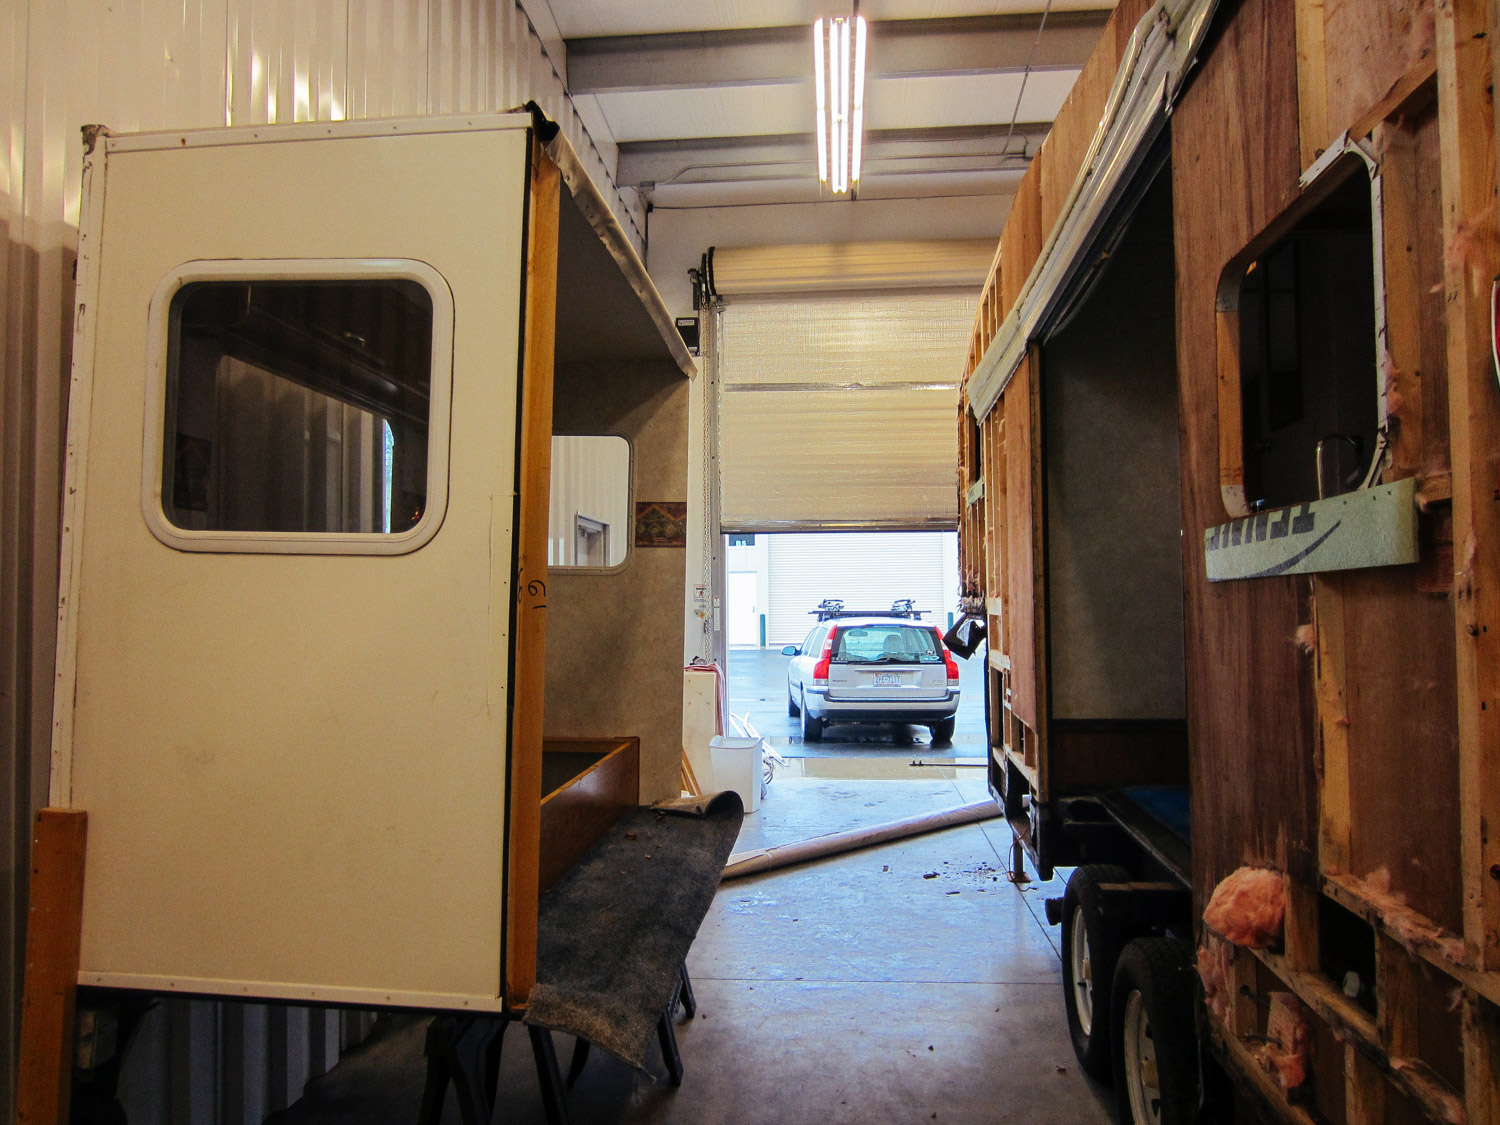
The slide had to come out for us to do the rebuild.
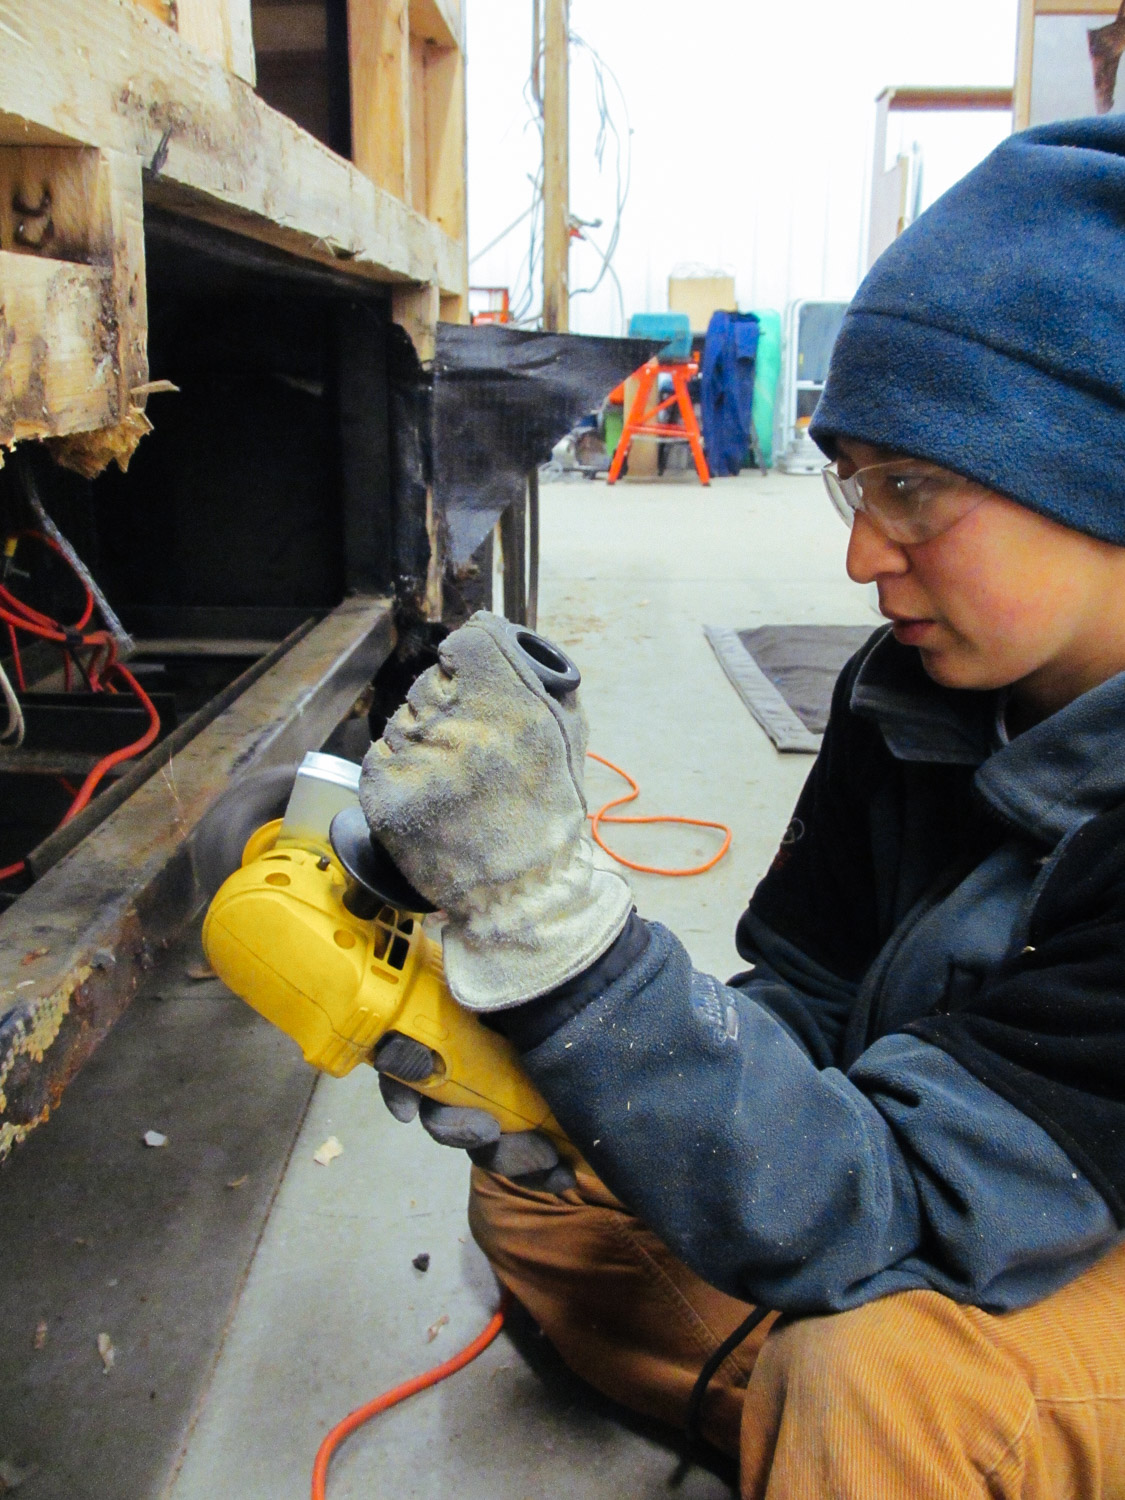
We took the opportunity to clean the rust off the fifth-wheel frame.
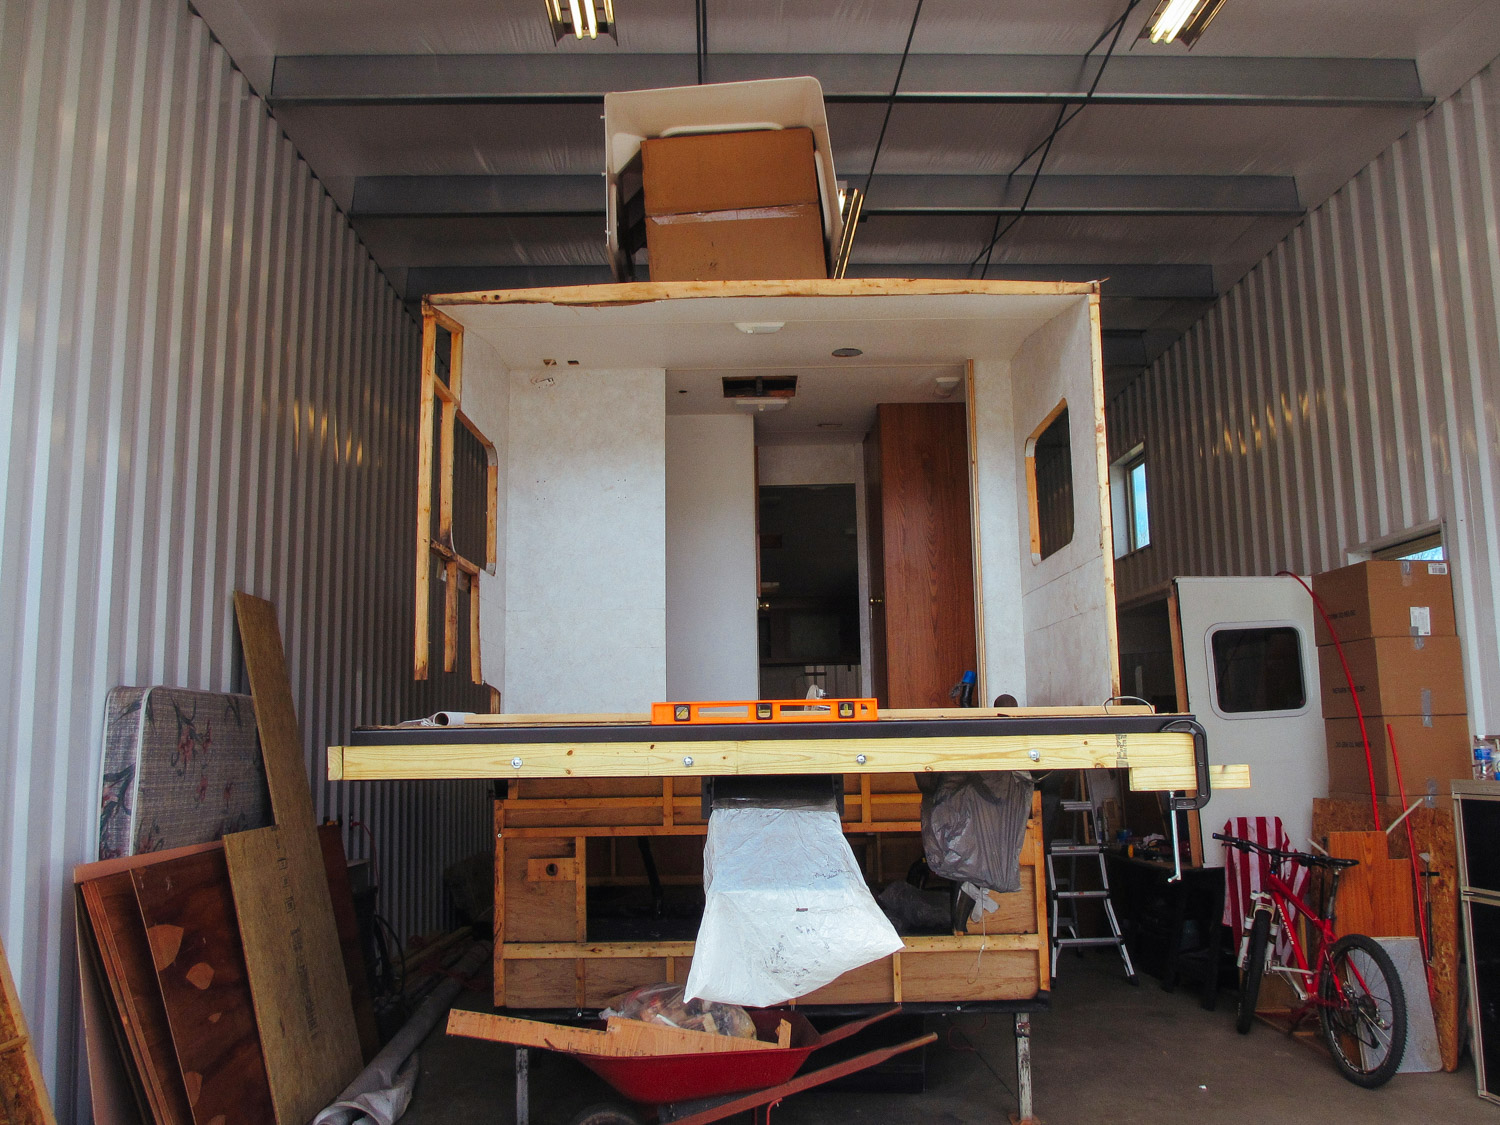
About half of the bedroom was gone after we removed all the damaged wood.
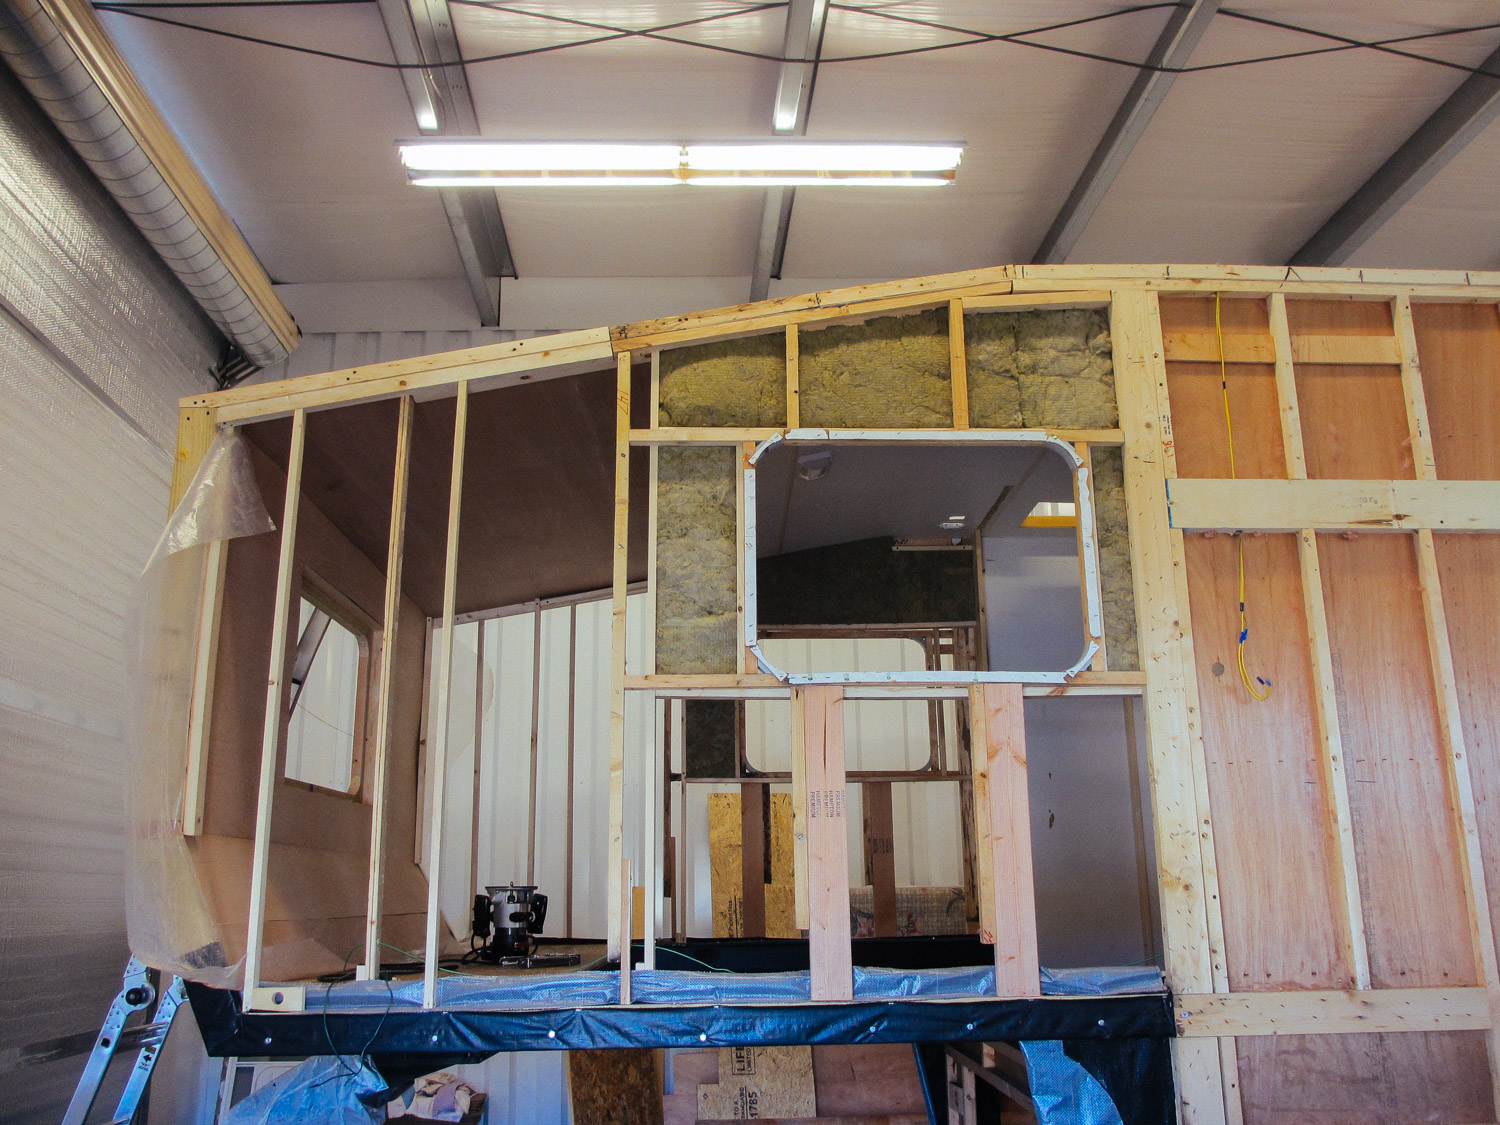
Studs in the bedroom, dinette, and kitchen had to be replaced before the next step.
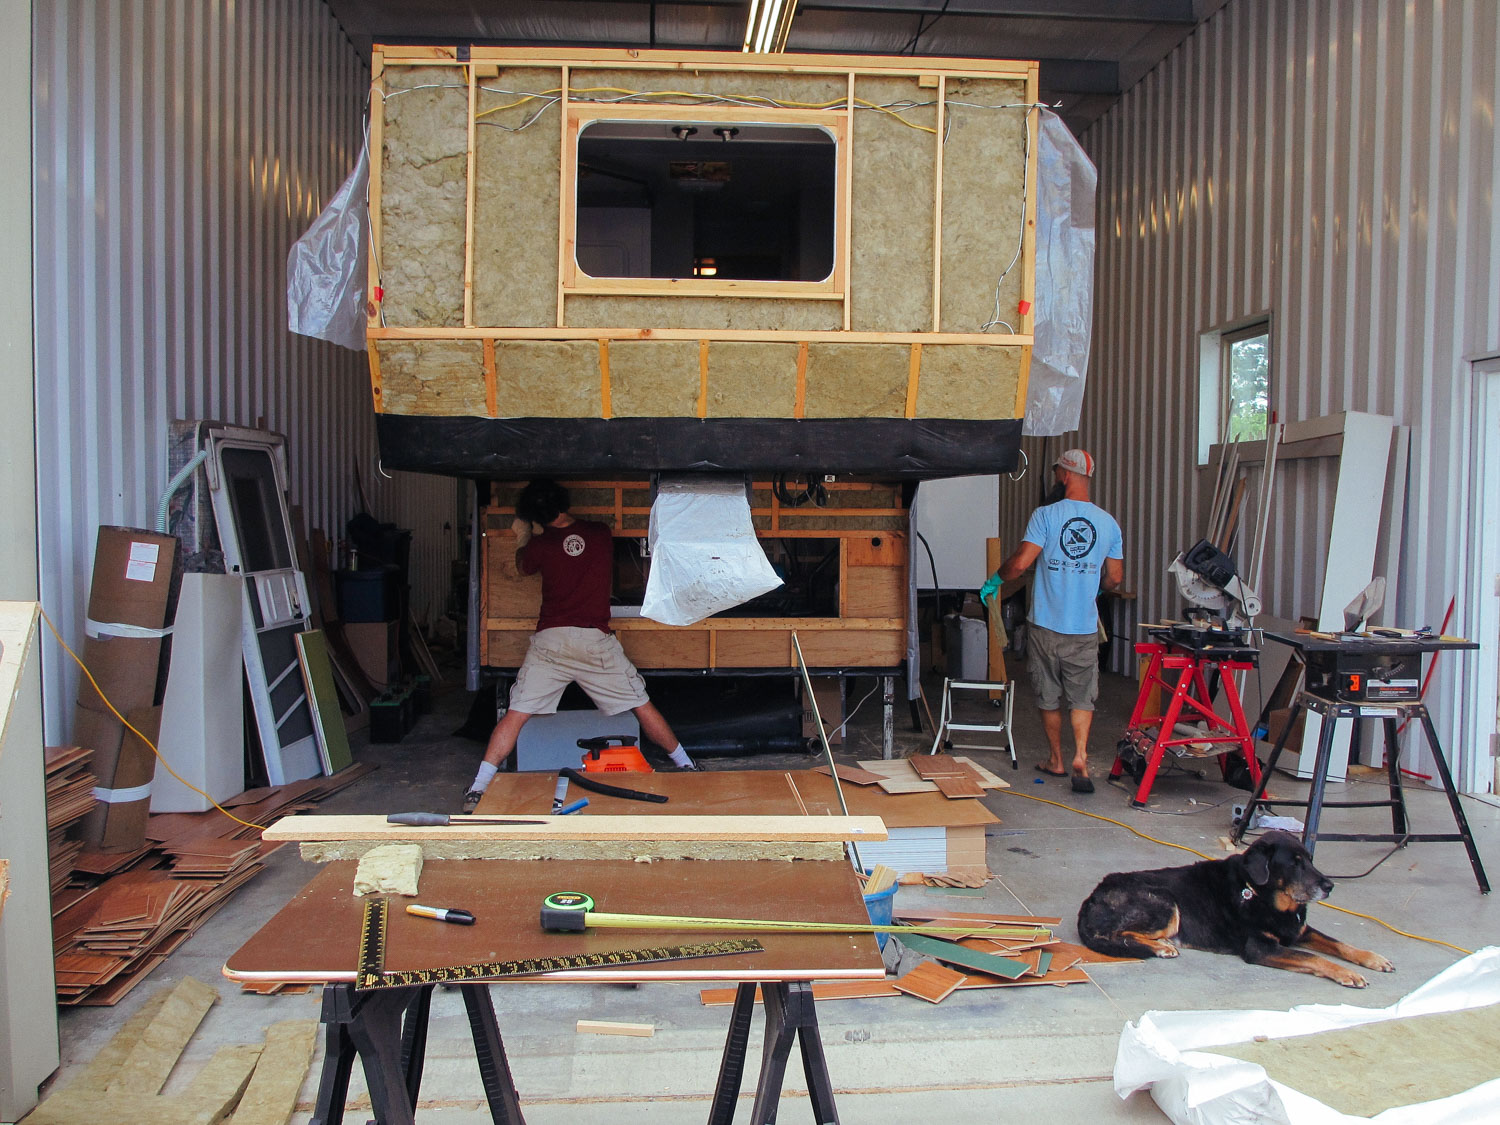
The old insulation was removed and replaced with mineral wool.
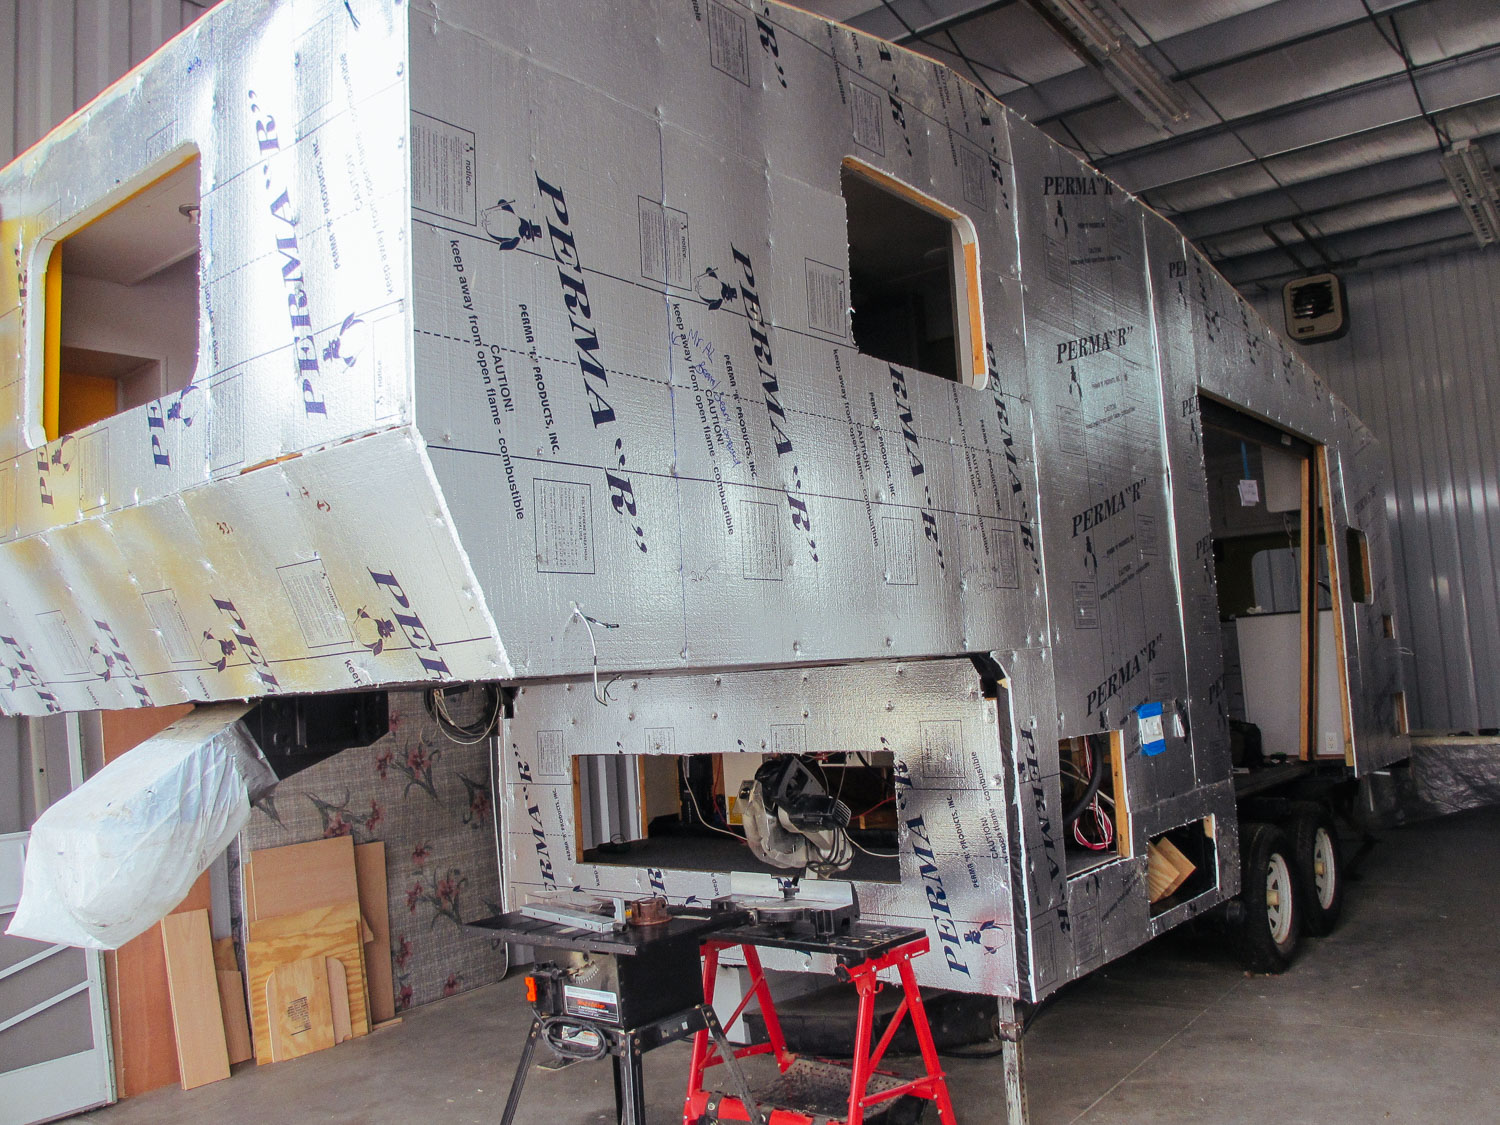
A layer of foil-backed foam insulation was added in front of the mineral wool
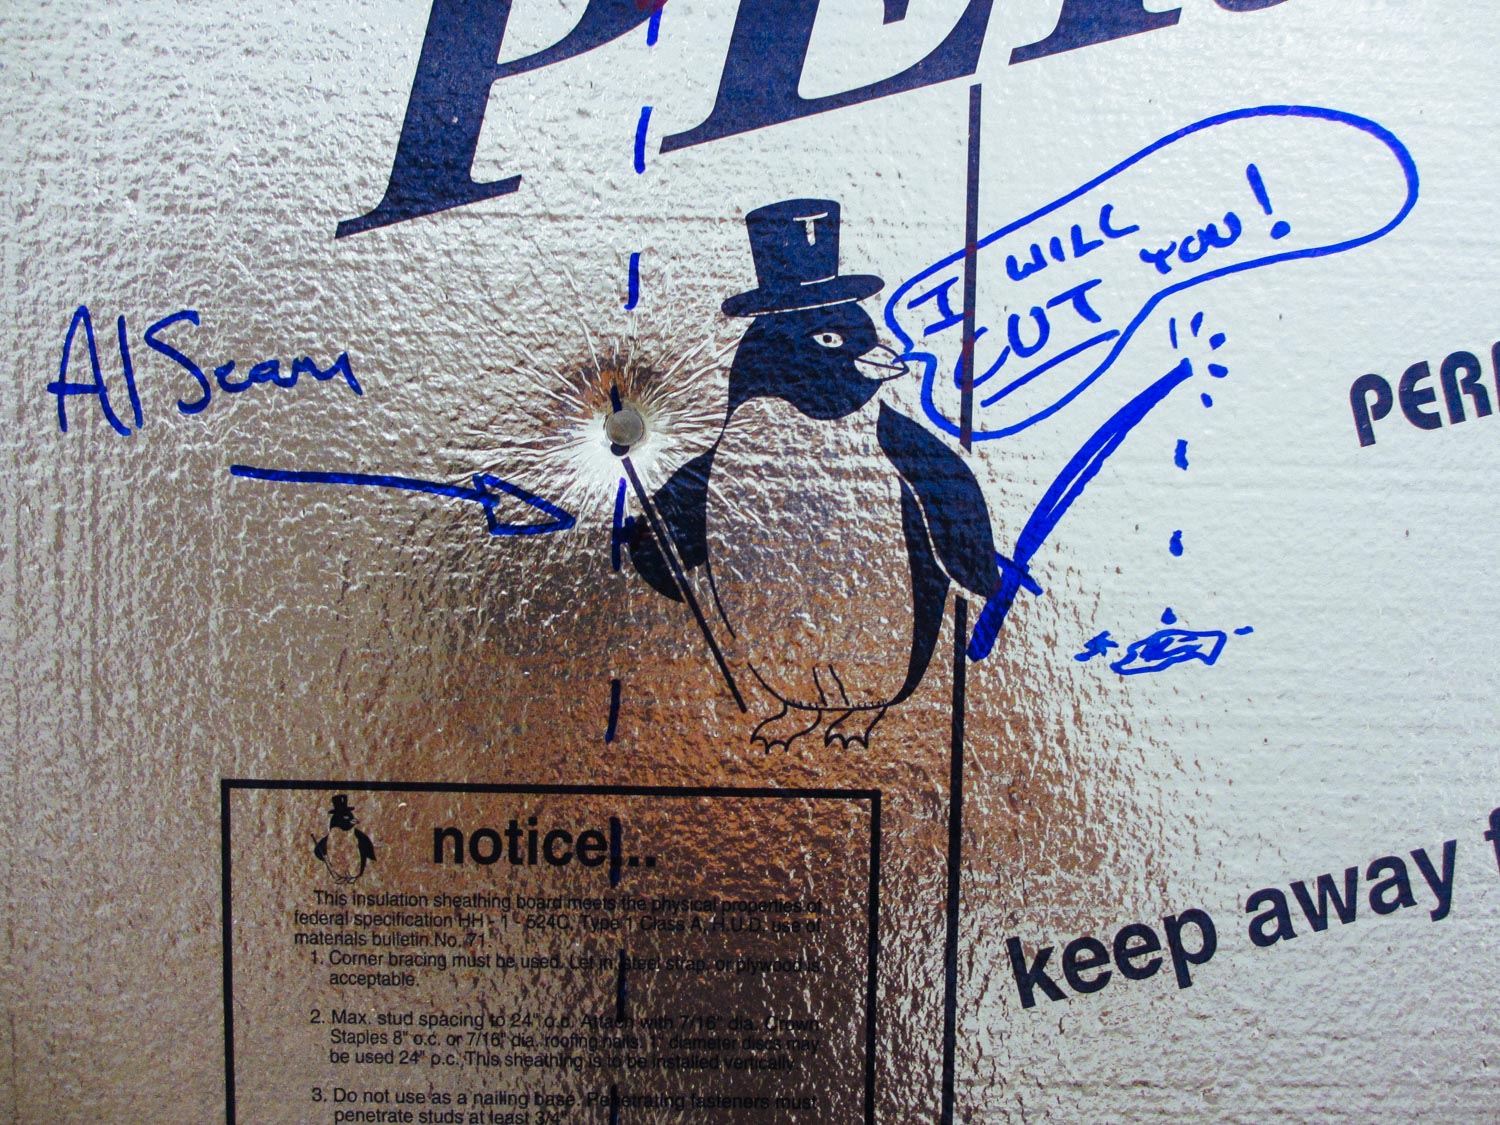
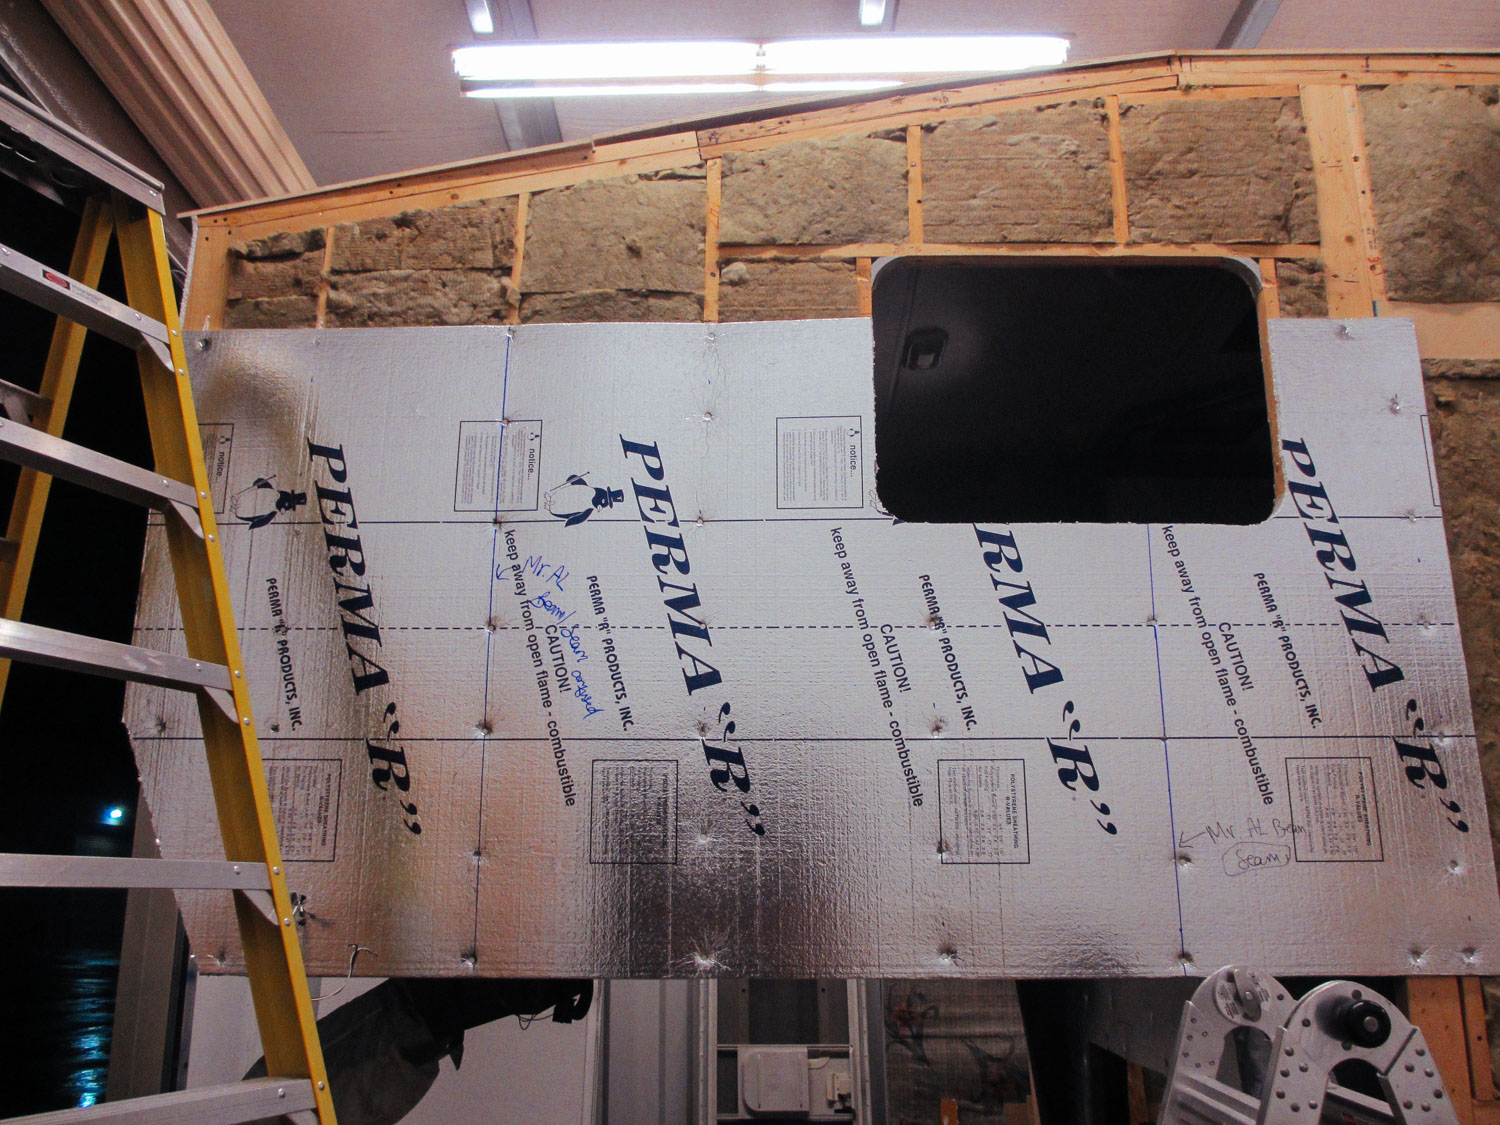
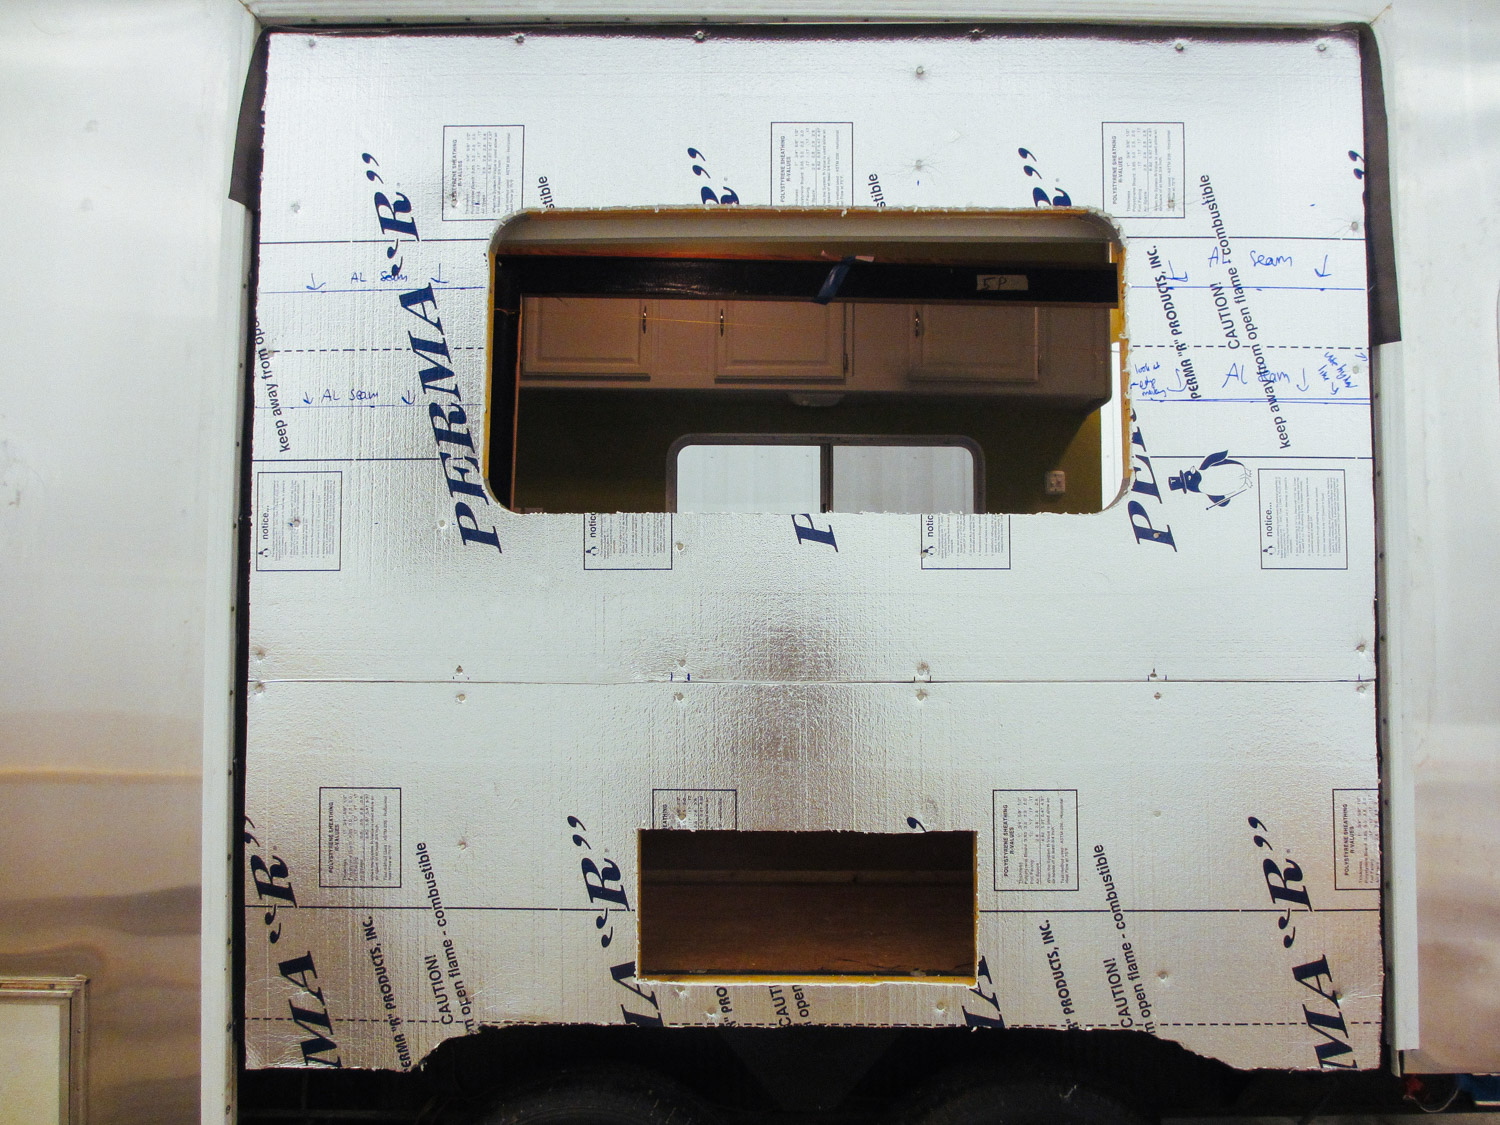
Marking where the studs were so we could properly attach the aluminum siding. We have all kinds of hidden messages written by us and friends.
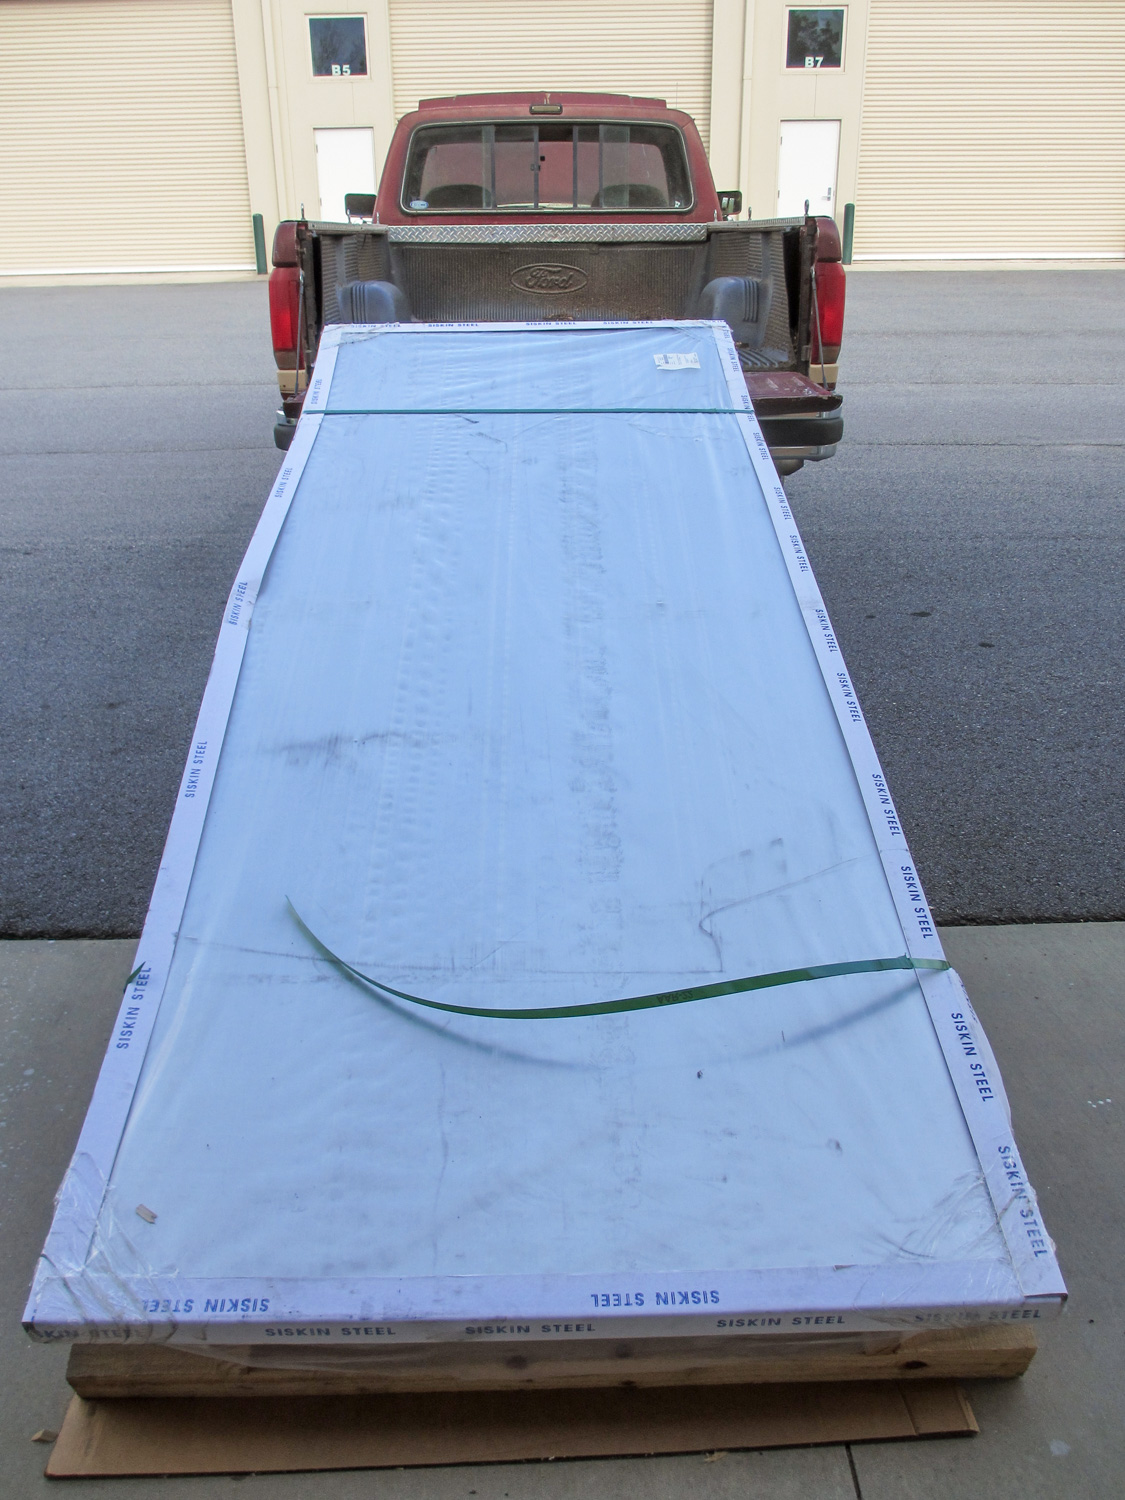
We were able to find aluminum sheets locally.
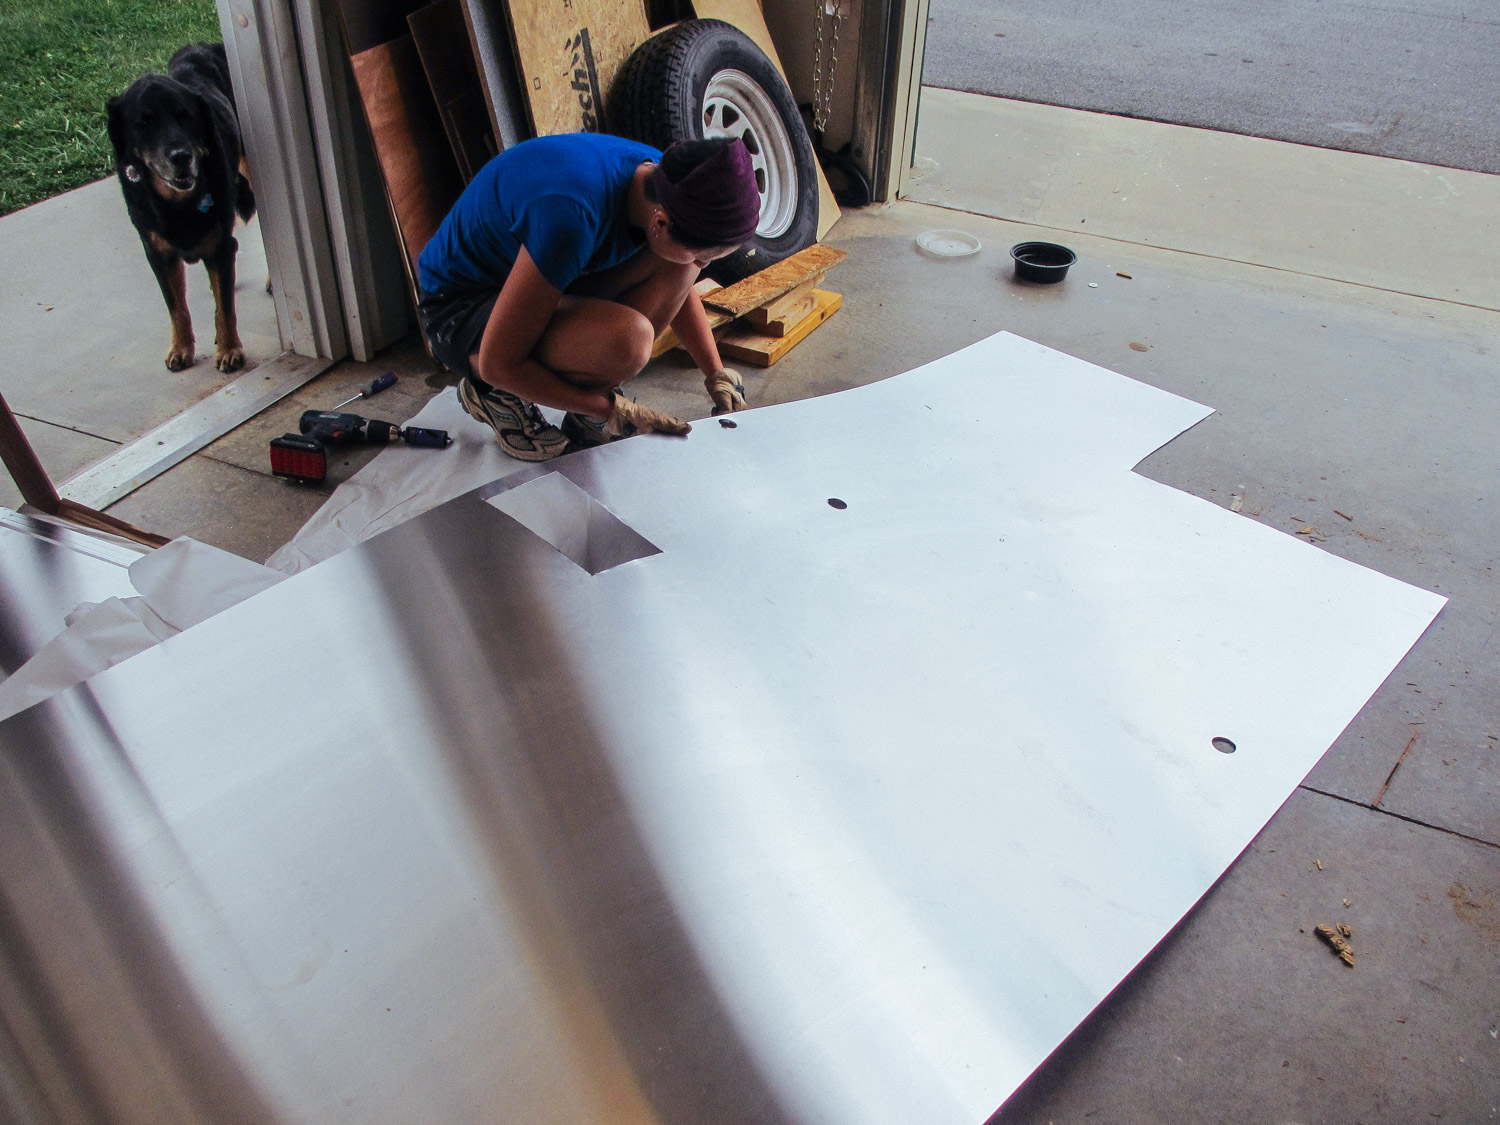
Pre-cutting the sheets for vent and wire holes.
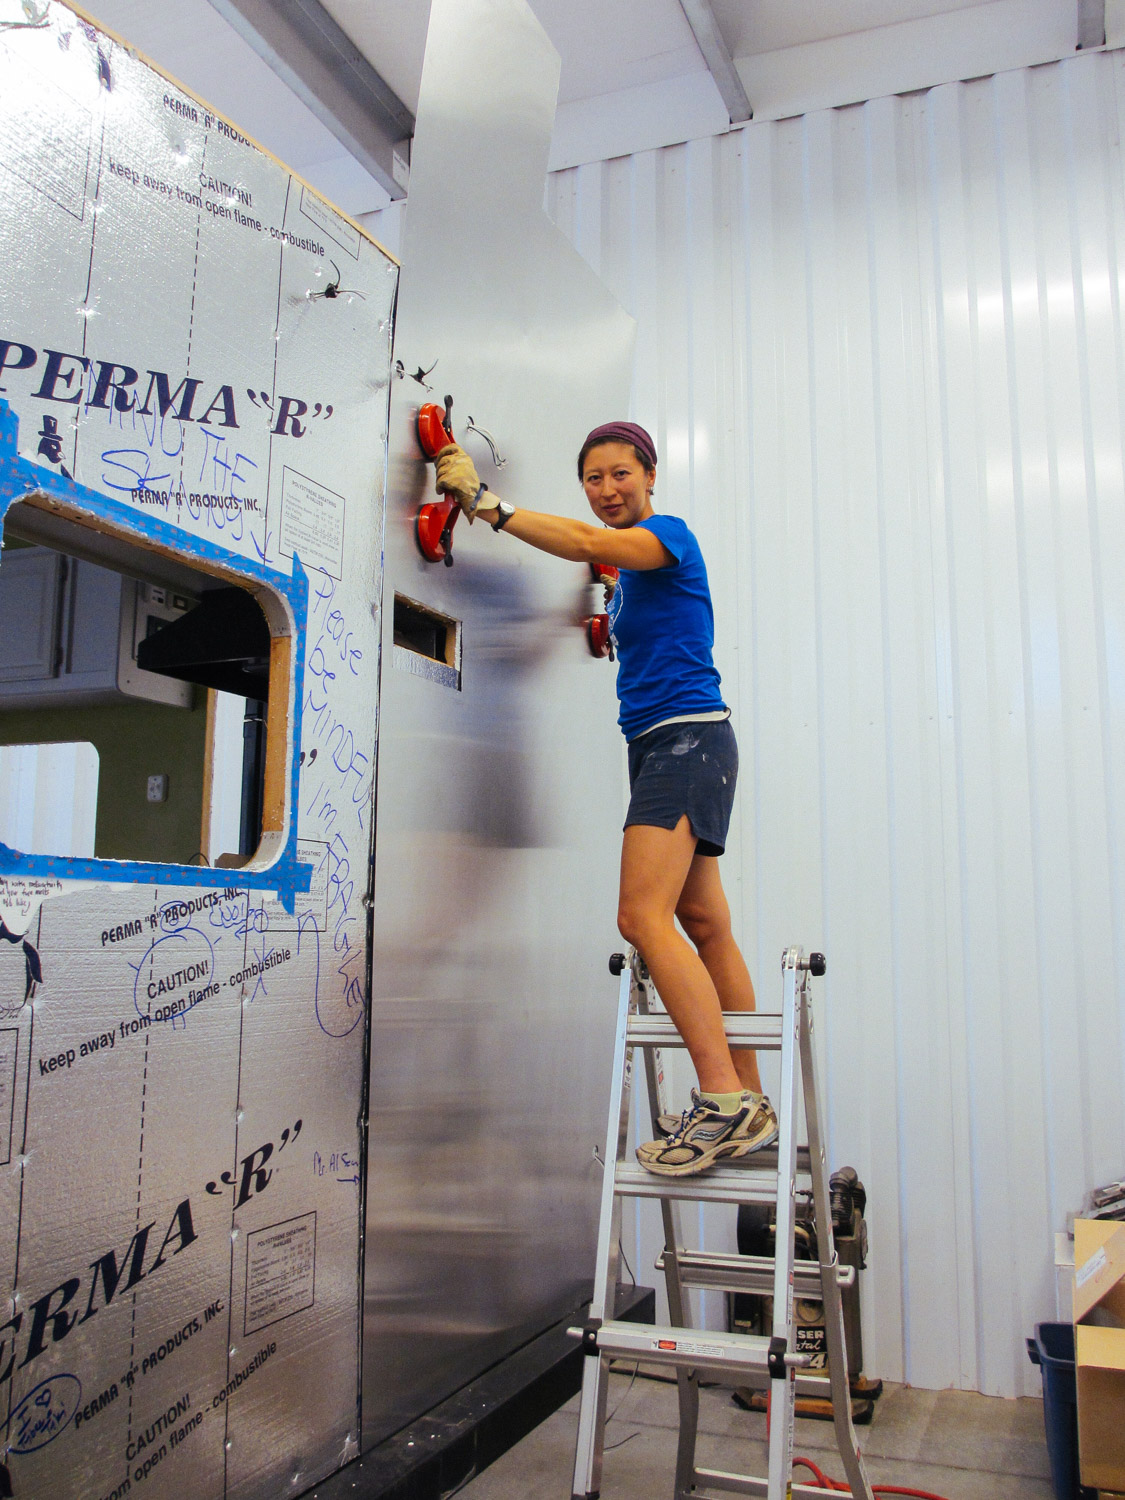
We used heavy duty suction cups to move and hang the aluminum sheets.
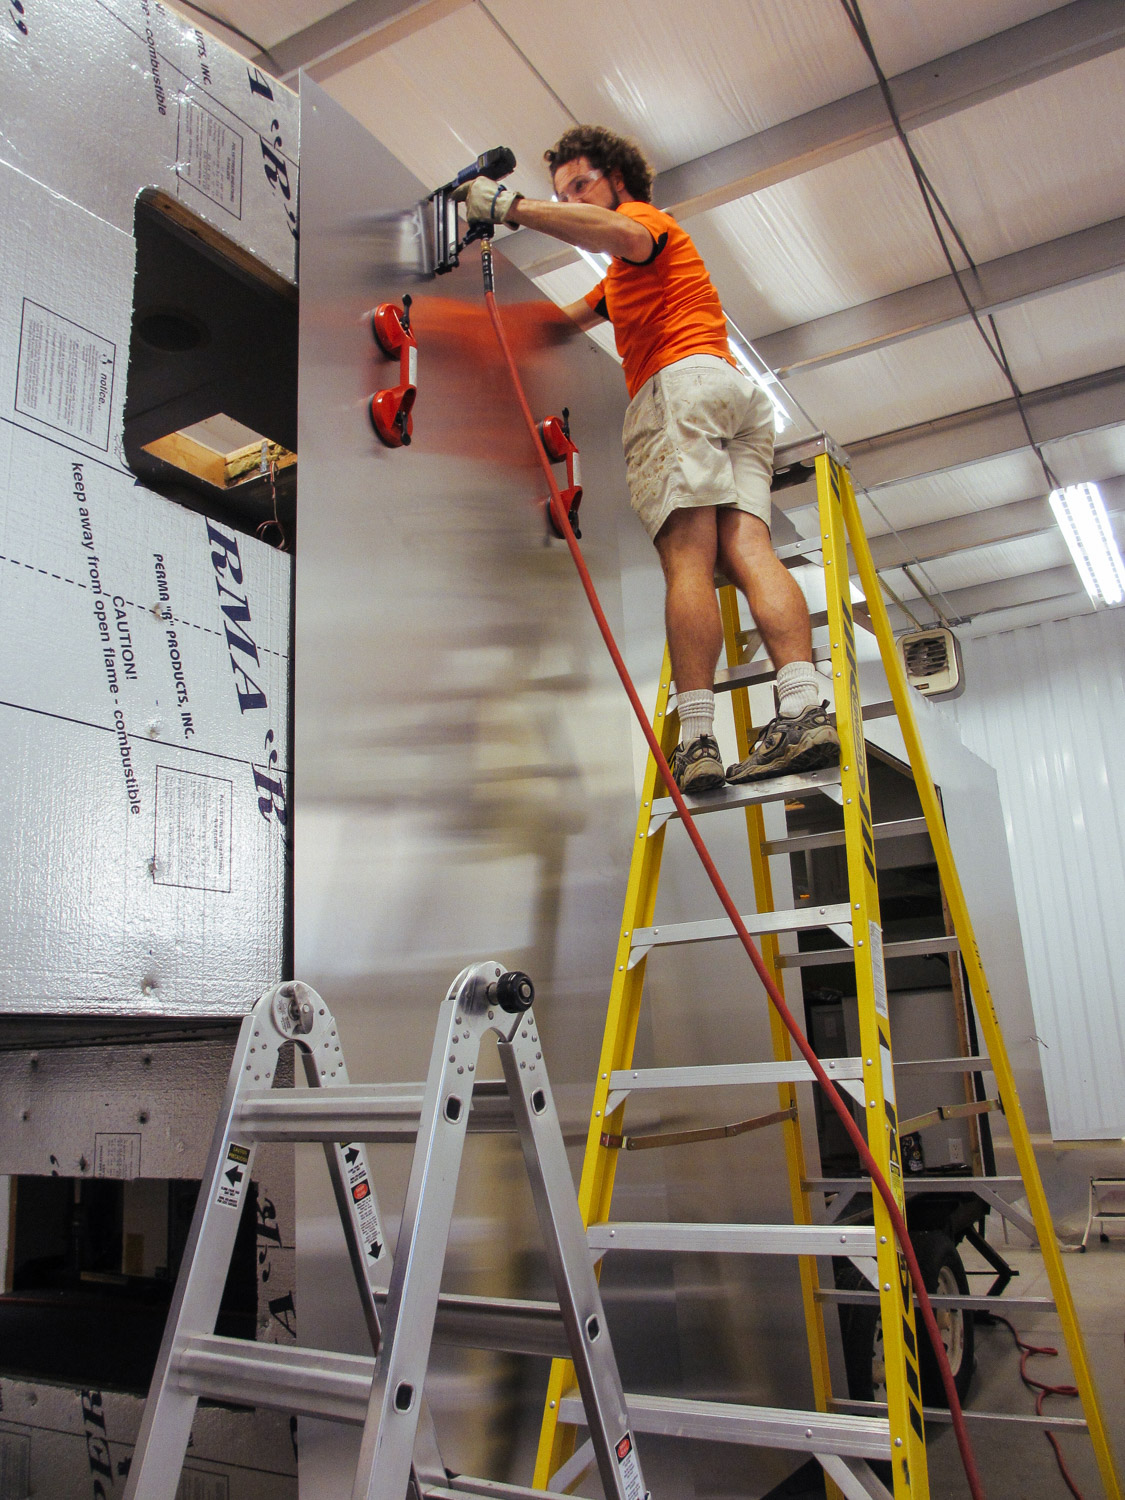
Once the sheets were in the correct spot, we stapled the top just enough to hold it in place while we put up the rest of the sheets.
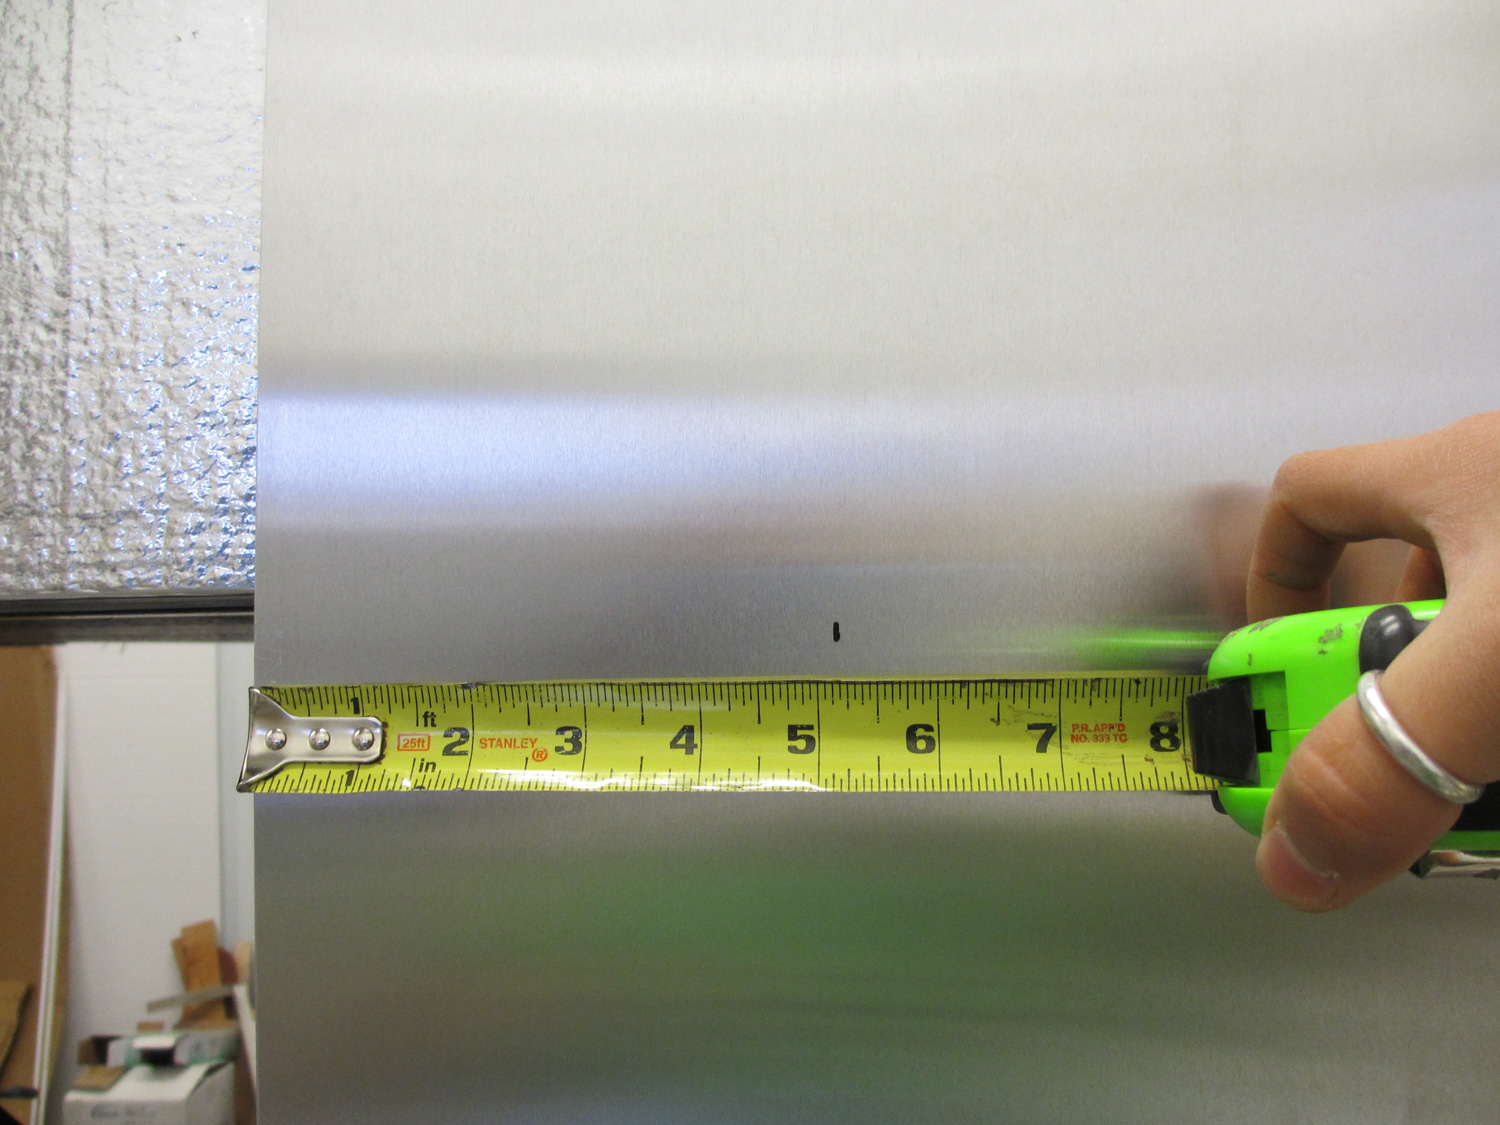
We measured where the next sheet needed to overlap the current sheet. This ensured that both sheets would be screwed into wood studs when we formed the seam.
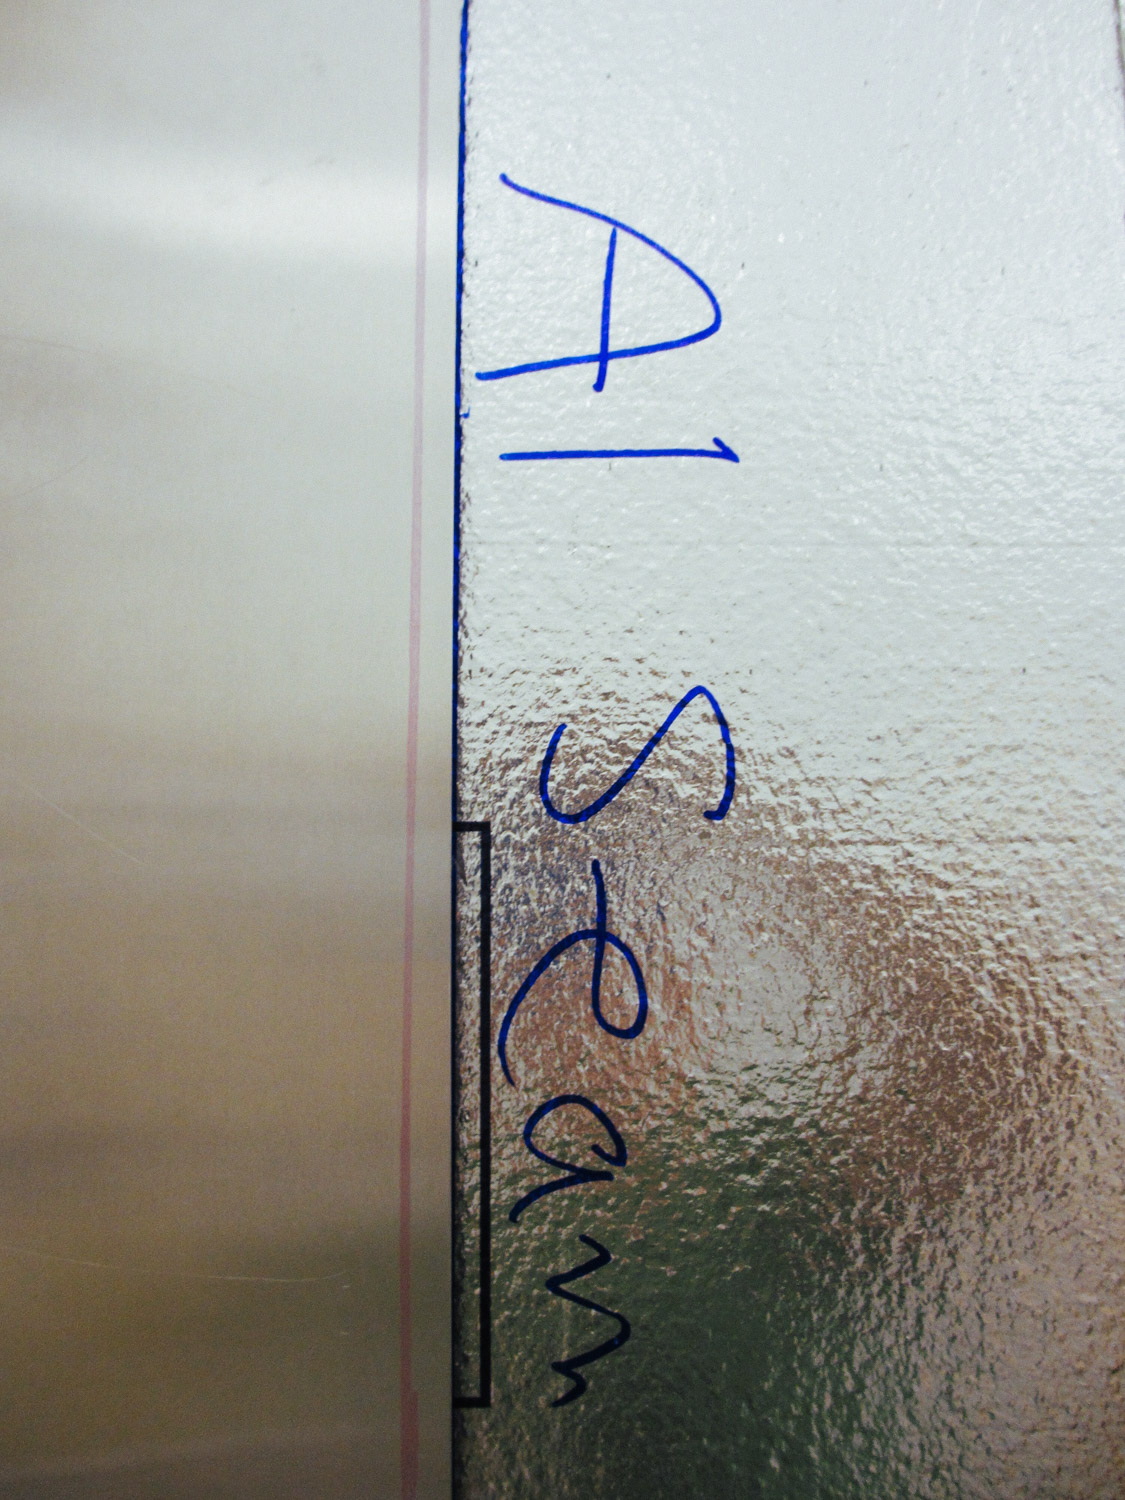
Based on our "Al Seam" markings, we used a highlighter to mark where the sheets had to overlap to be directly over the studs. The studs were only 3/4 inch wide!
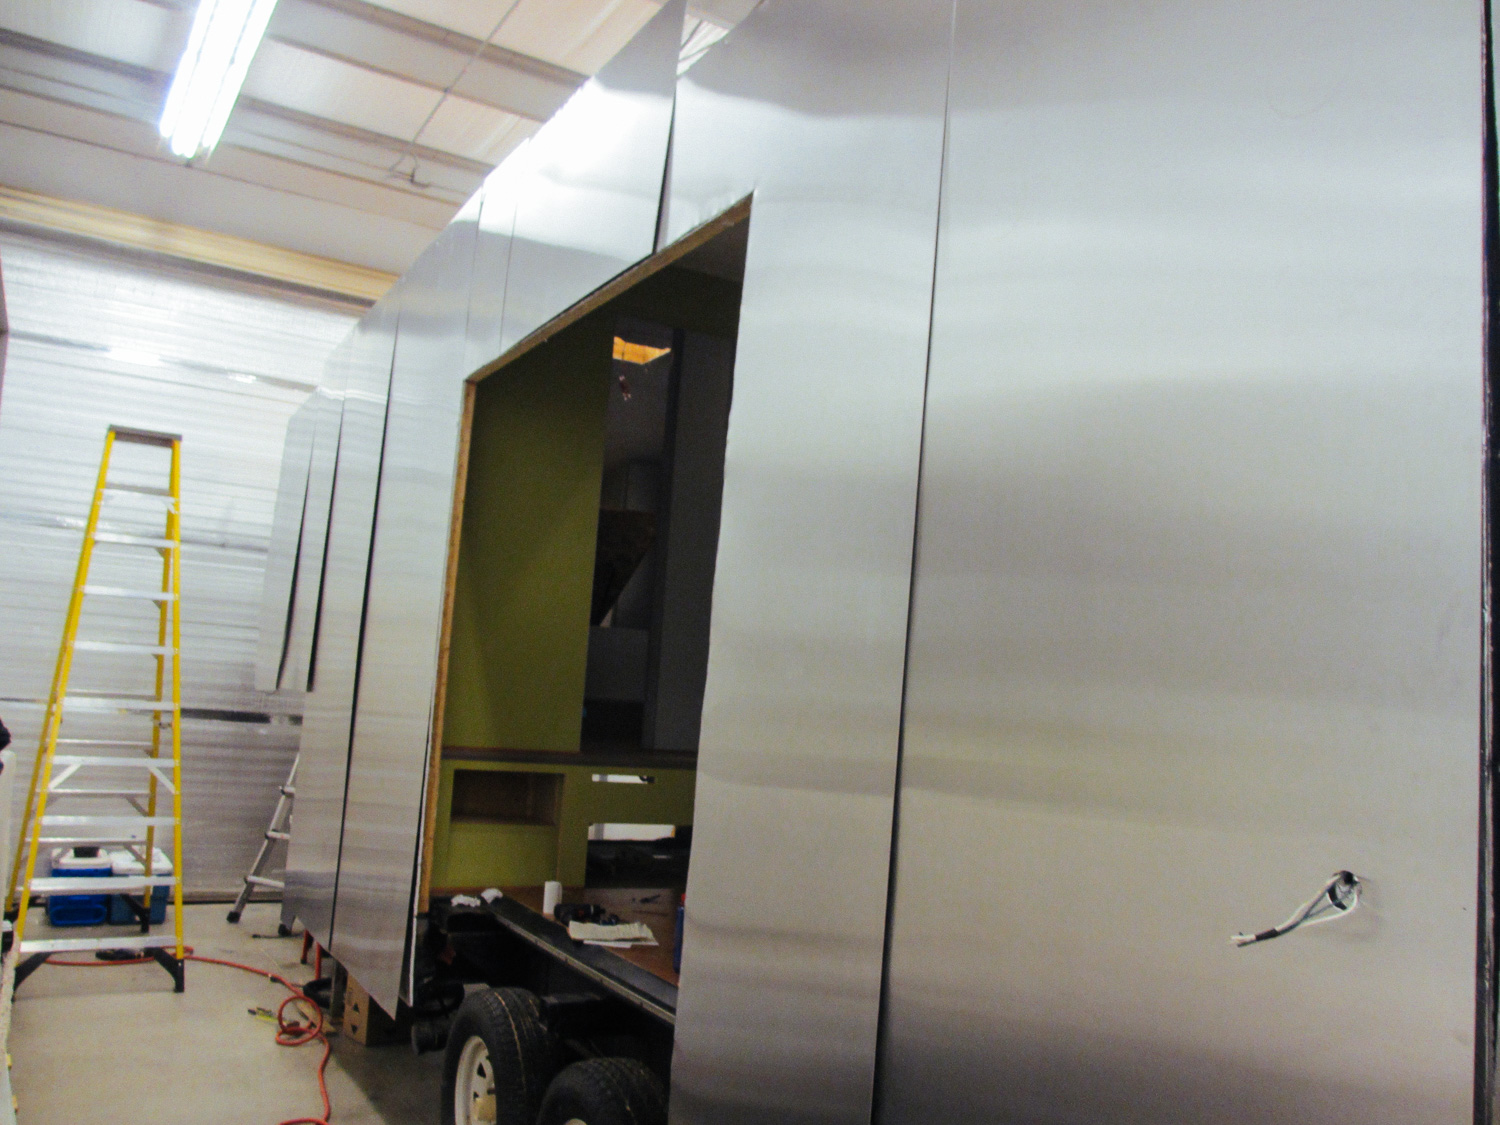
Once the sheets were all up, the next step was to glue them to the foam insulation boards.
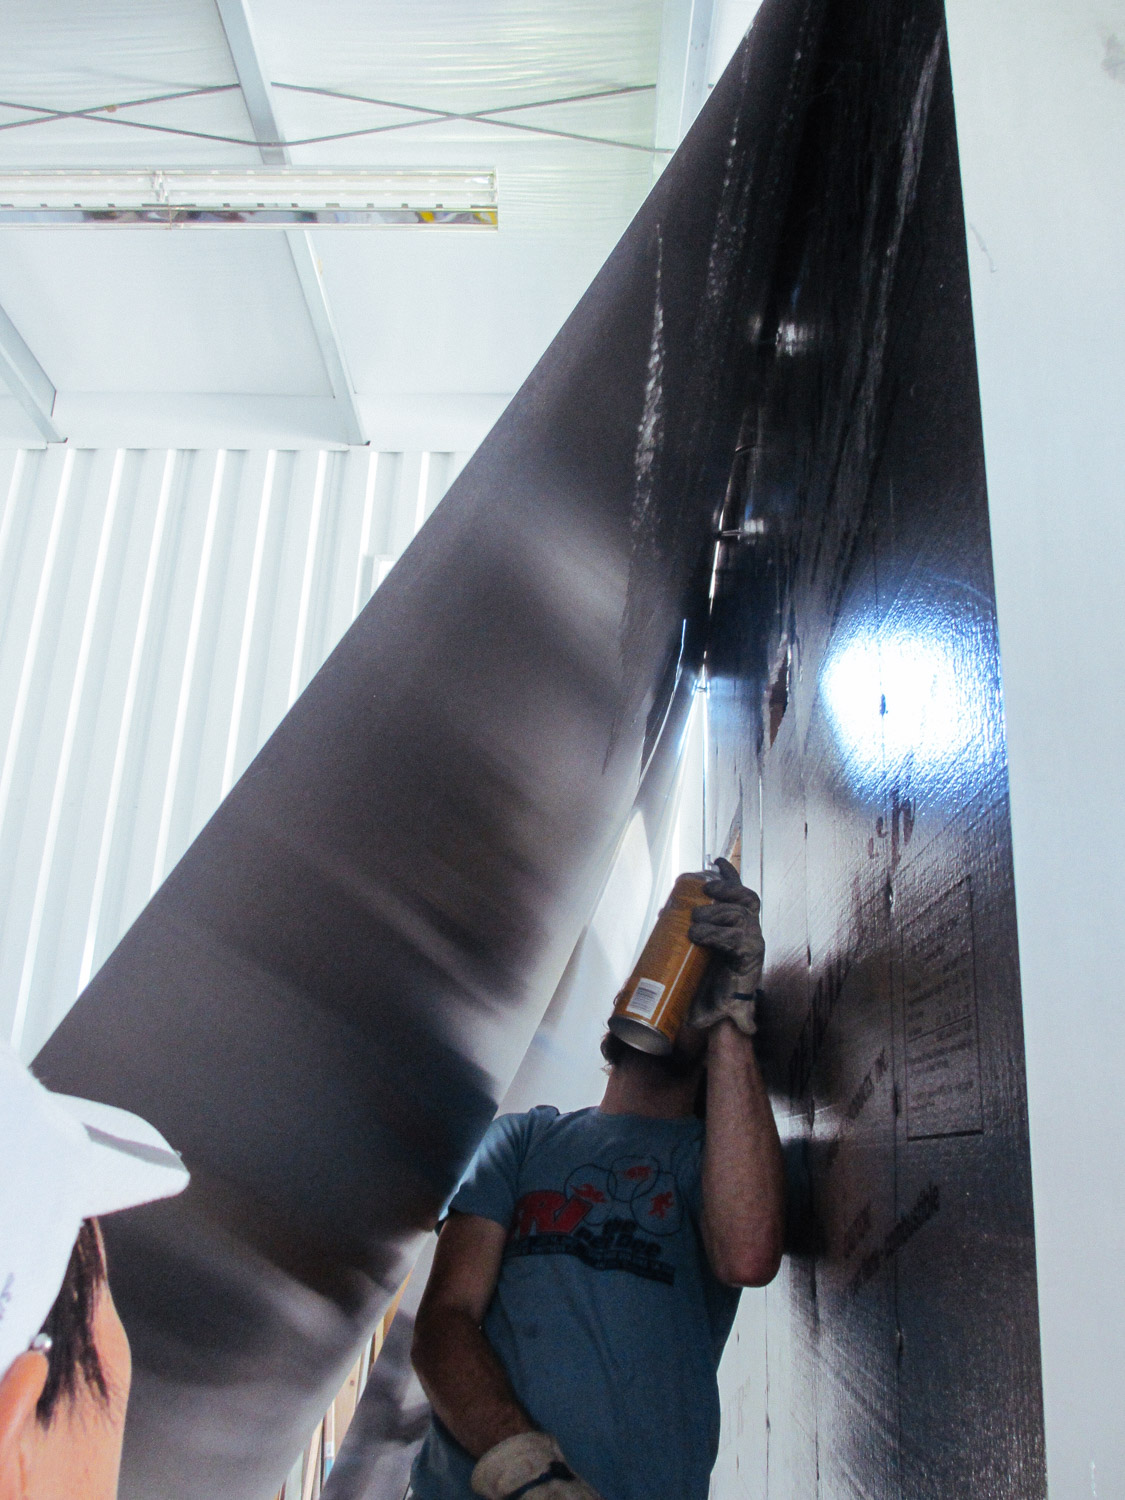
Adhesive was sprayed on the back of the aluminum sheets to attach to the foam insulation boards.
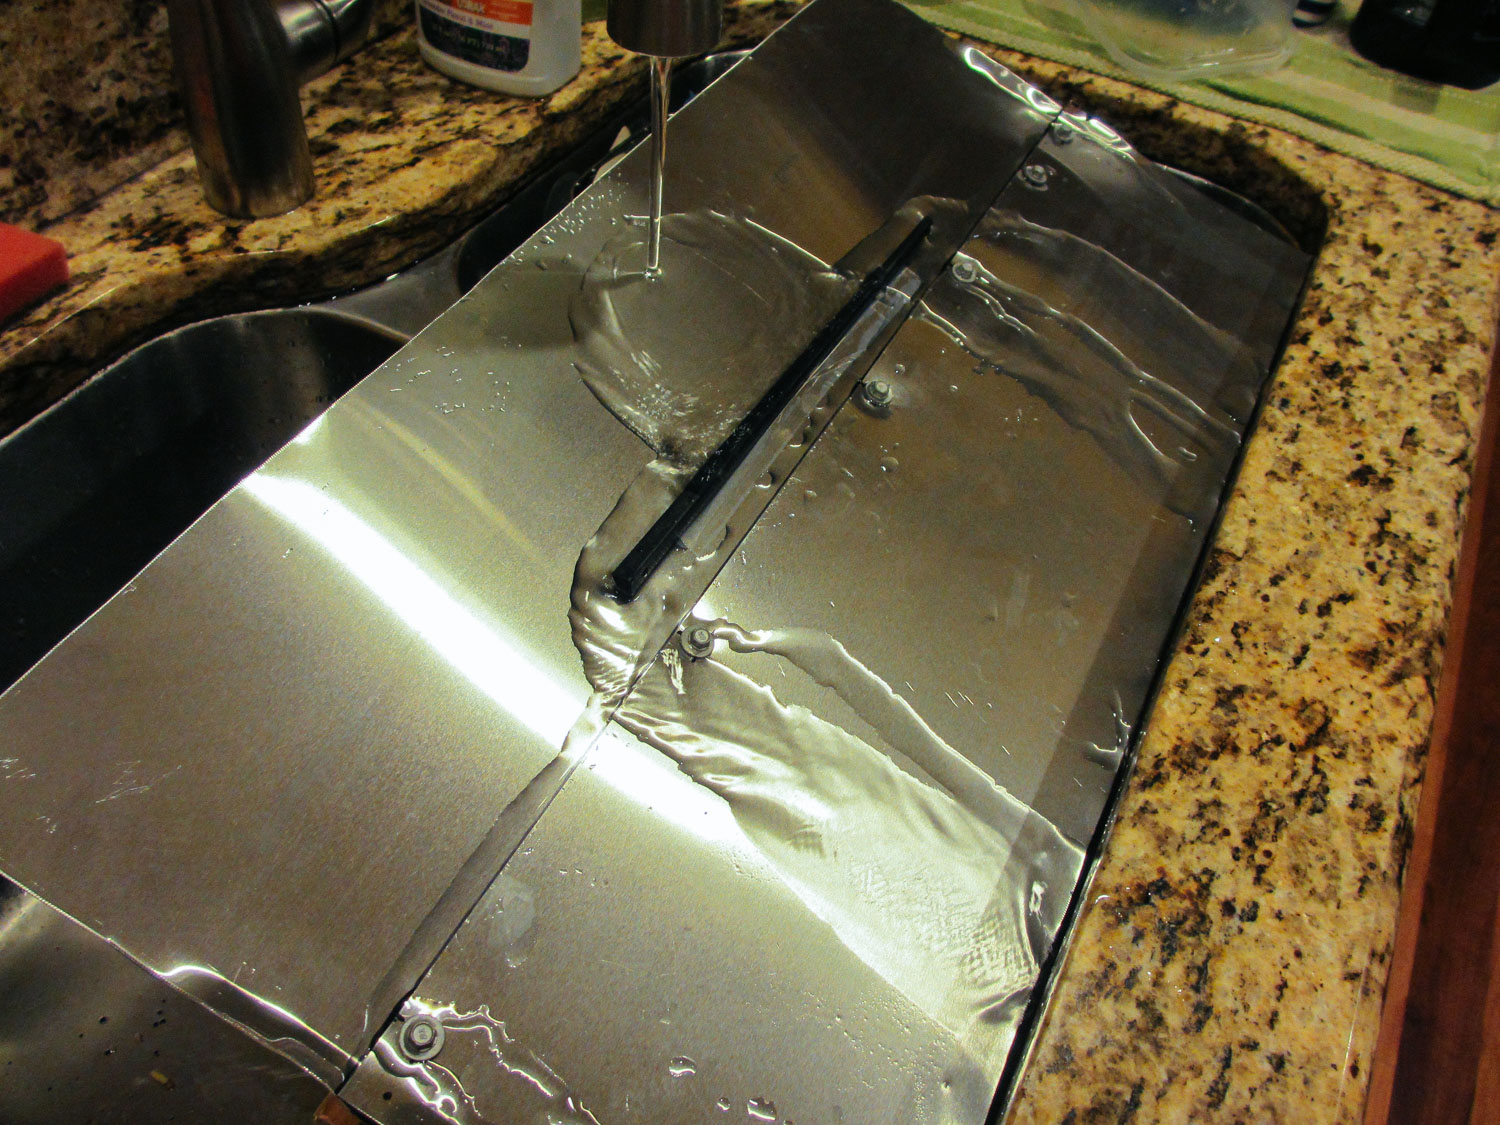
We tested to make sure the aluminum siding seams would be waterproof after the butyl tape was applied.
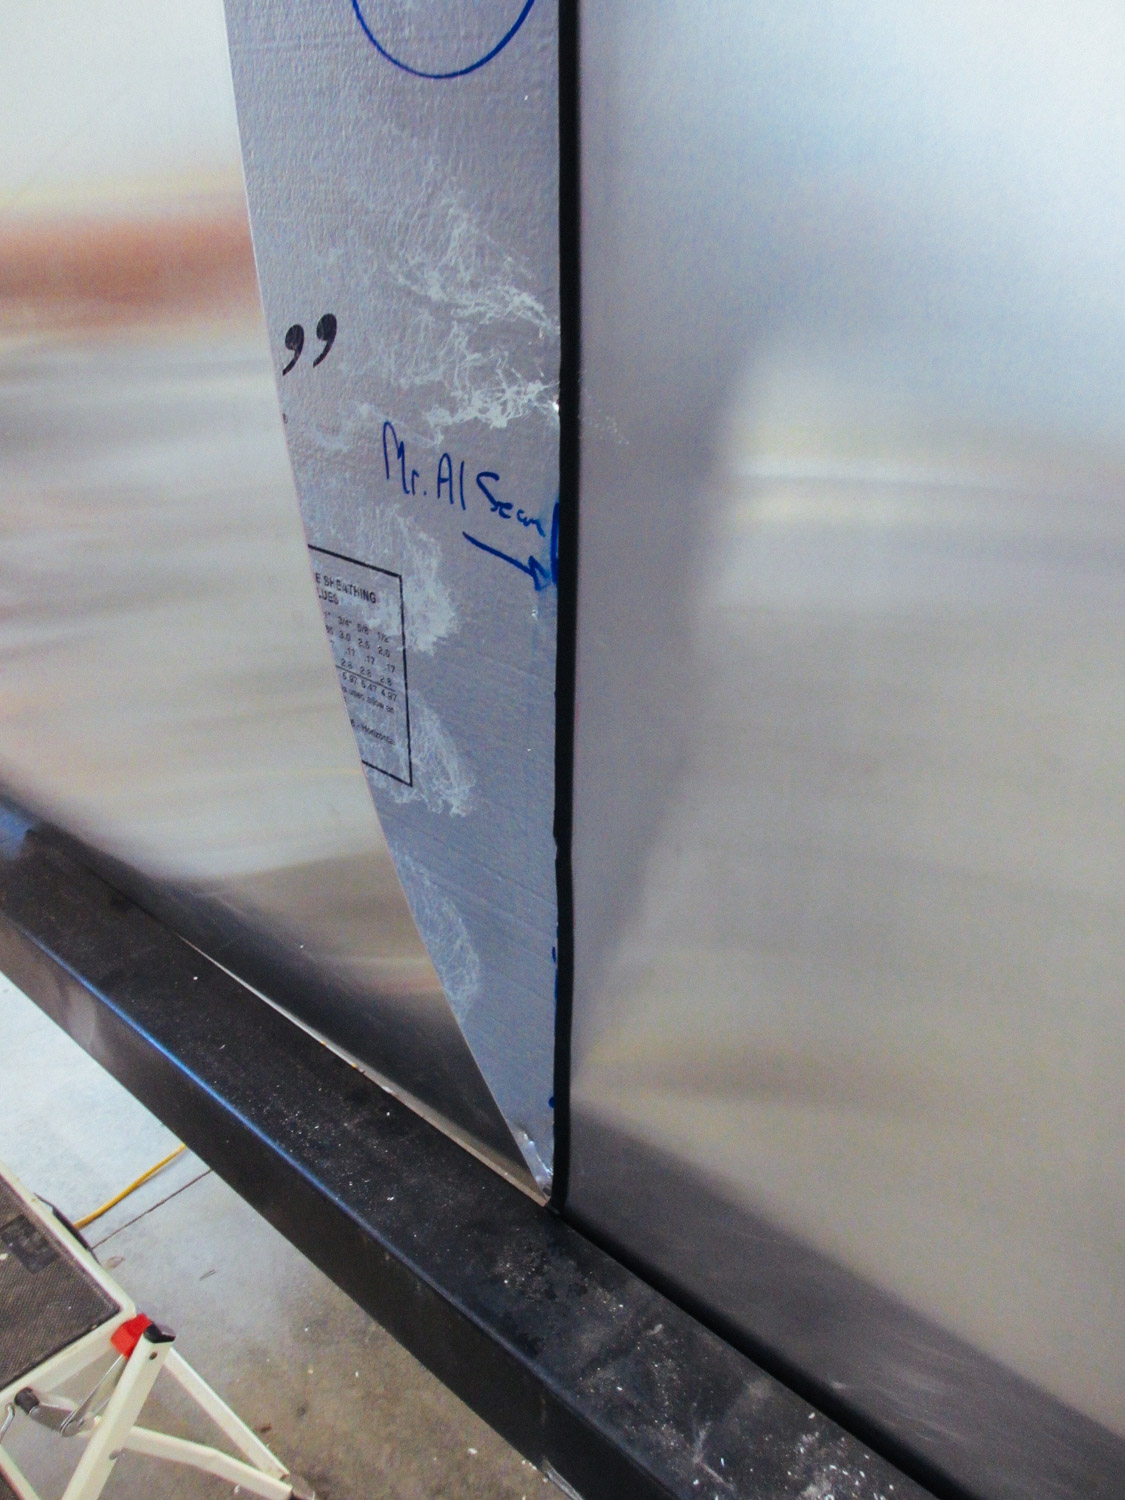
Butyl tape (the black stripe) was placed where the aluminum sheets overlapped each other. This not only kept the sheets stuck to one another, but more important, the butyl tape ensured the screw holes in the siding would be waterproof.
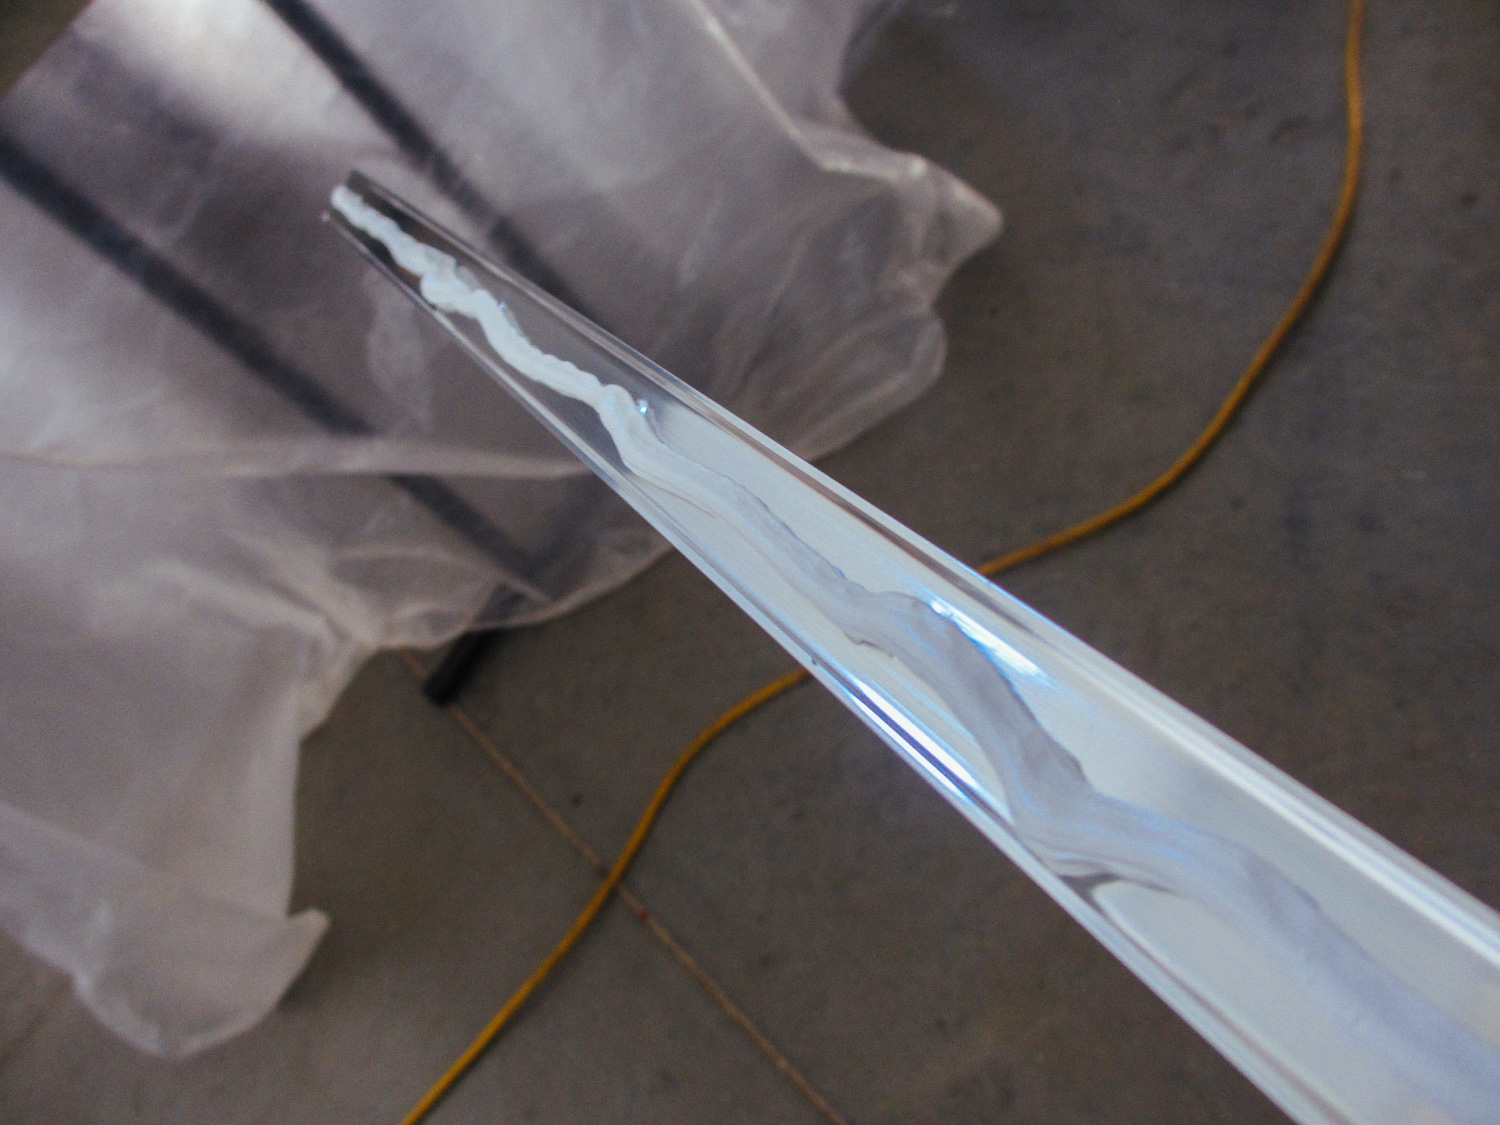
To be extra safe about the drilled holes being waterproof, we placed lap sealant behind the metal seam that would get screwed over the aluminum siding. The lap sealant would cover the back of the screws.
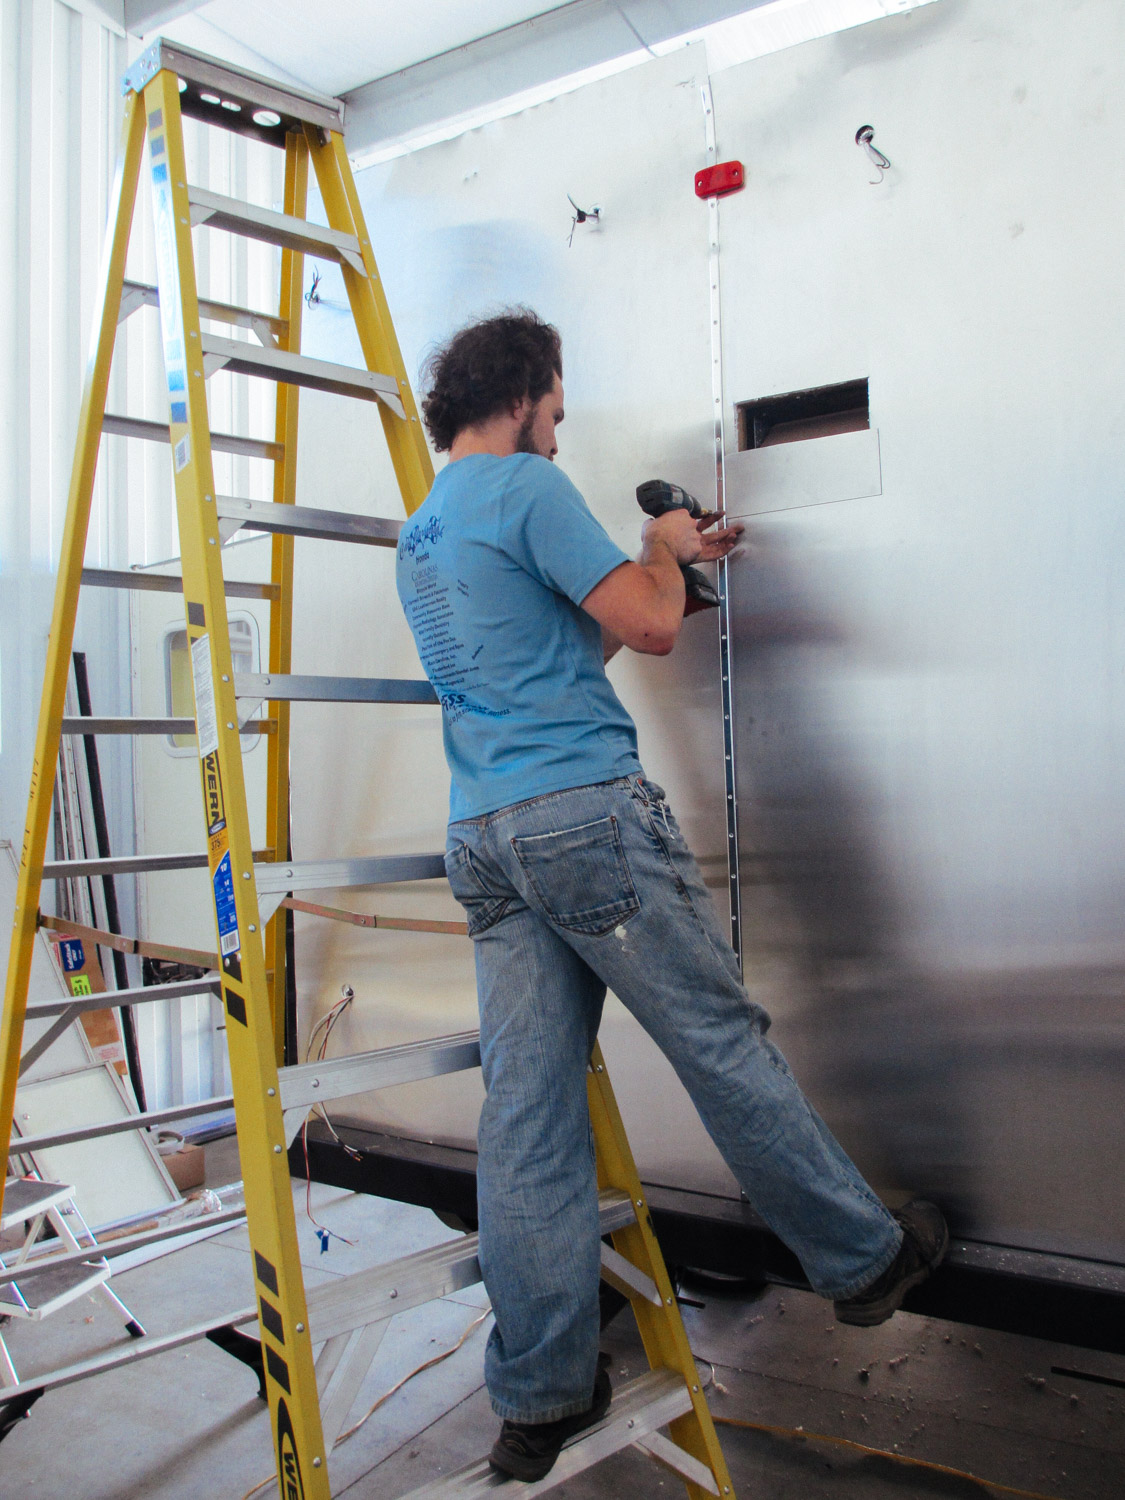
These metal seams were then screwed into the aluminum siding. It was a two-person job to get the metal seams in place and start screwing.
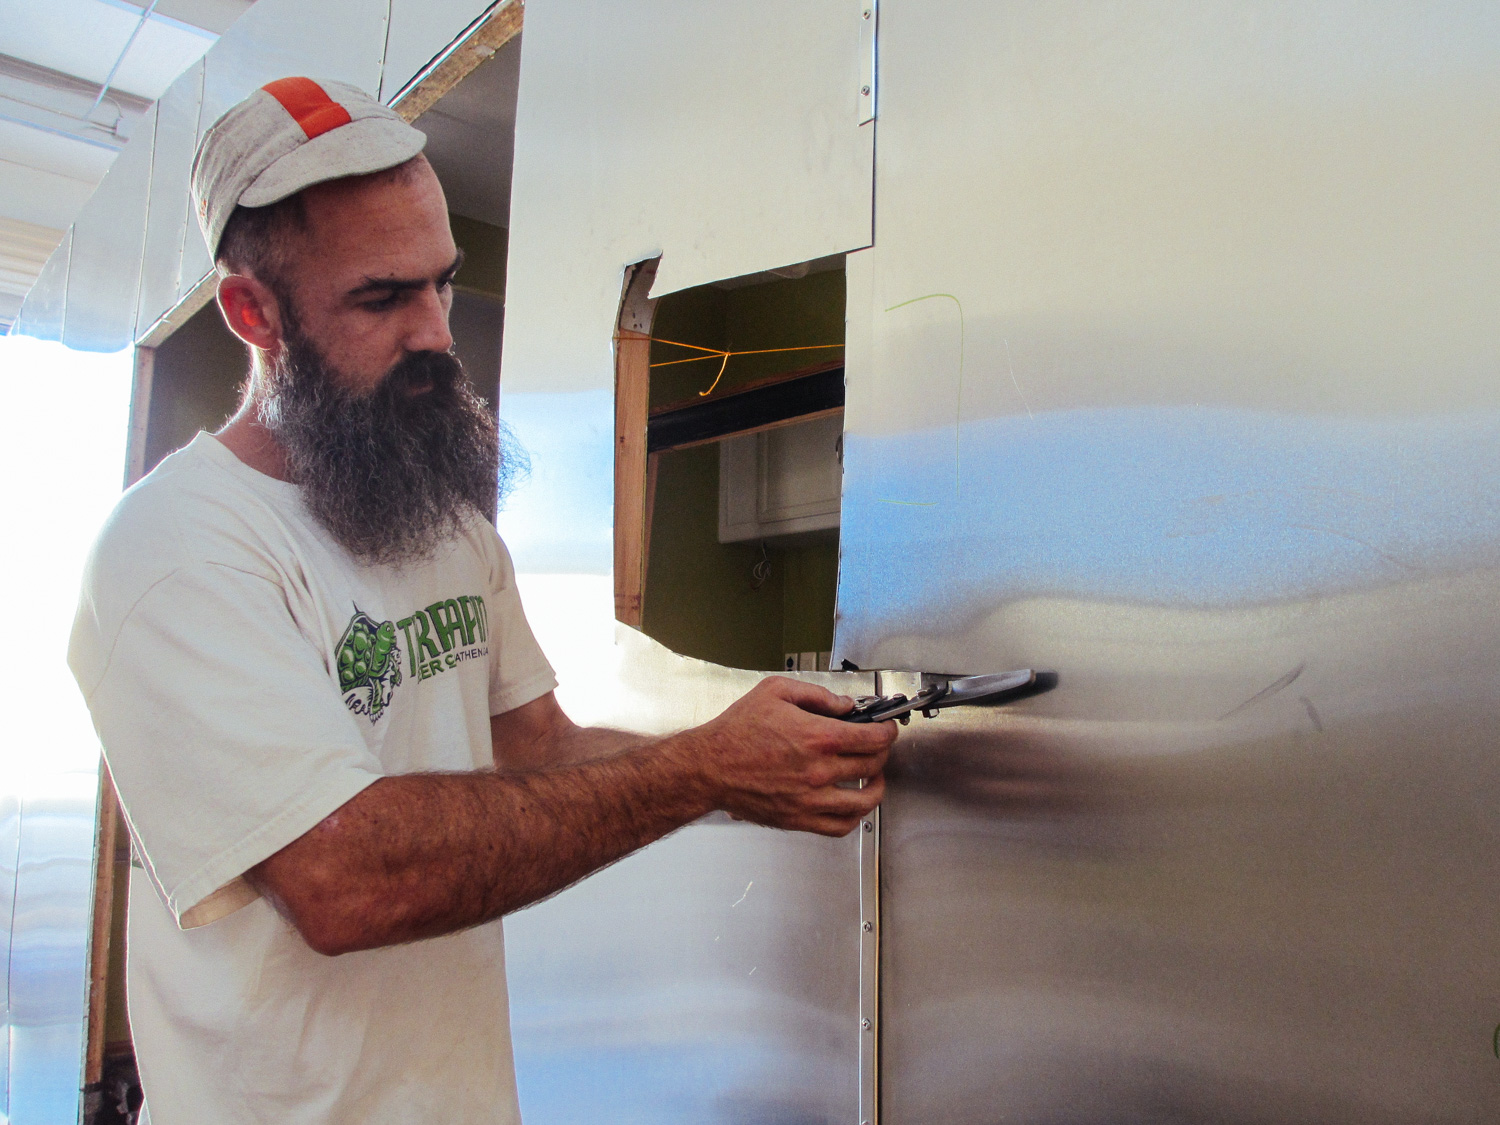
Rough window holes then had to be cut out of the sidings. The finish open was made with a router.
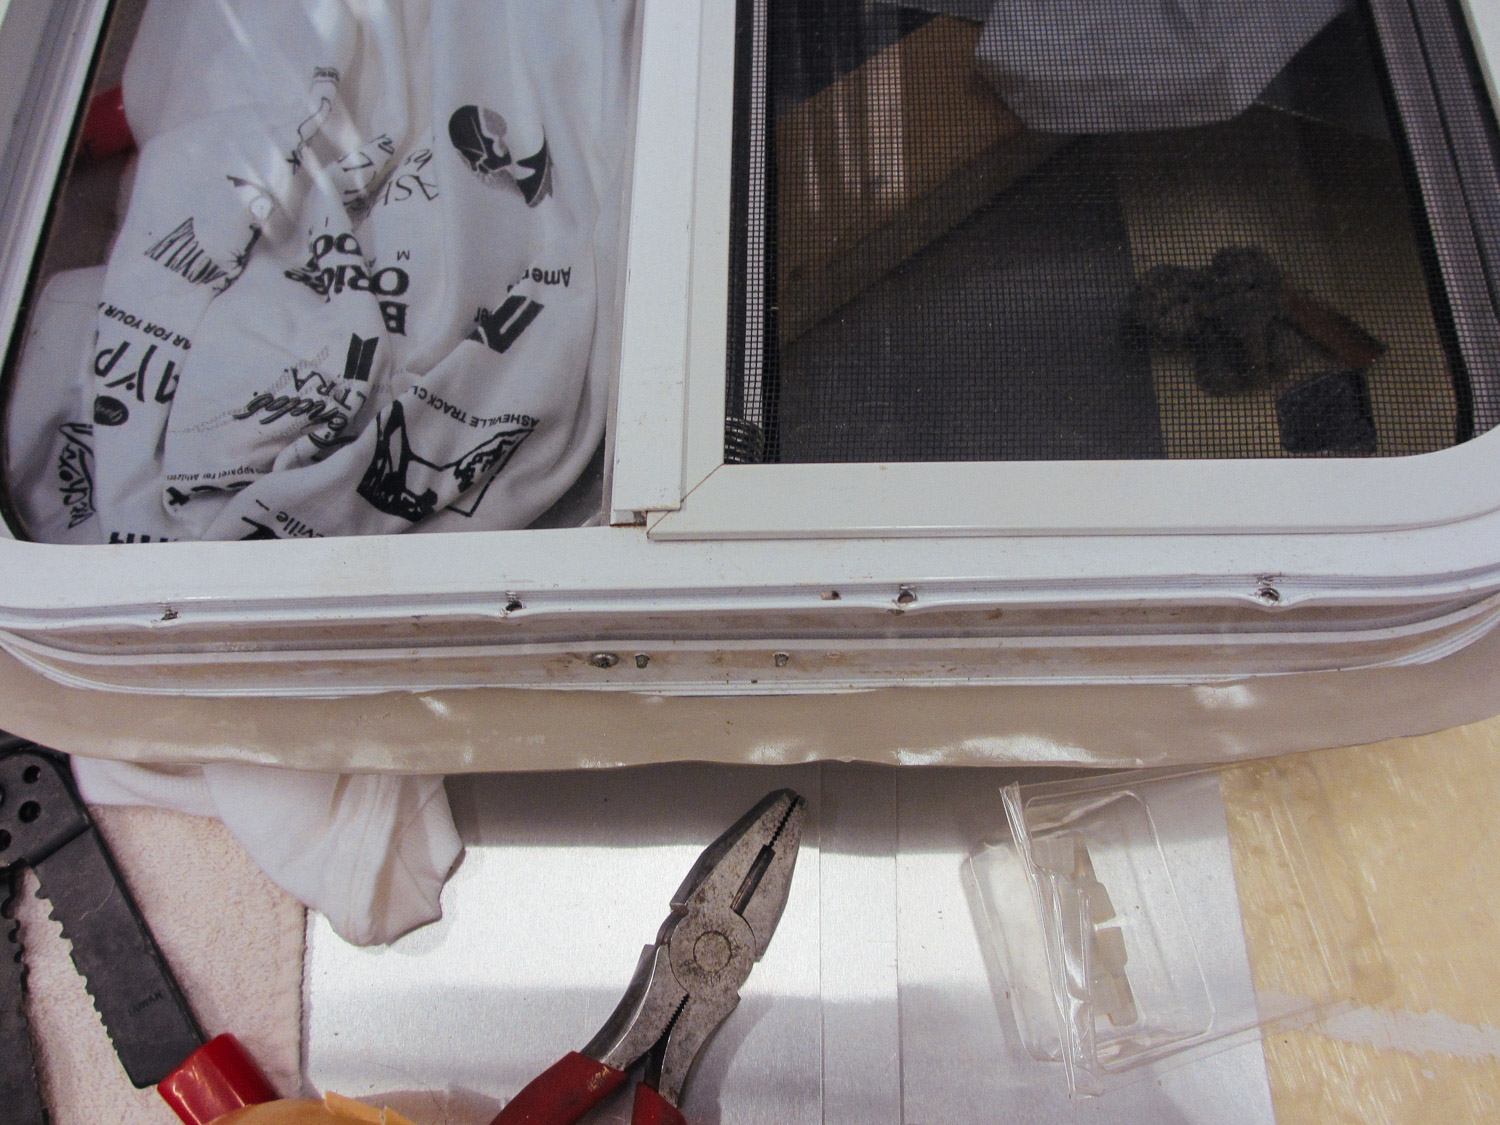
Before the windows were installed, we placed butyl tape on the flanges to ensure waterproofness.
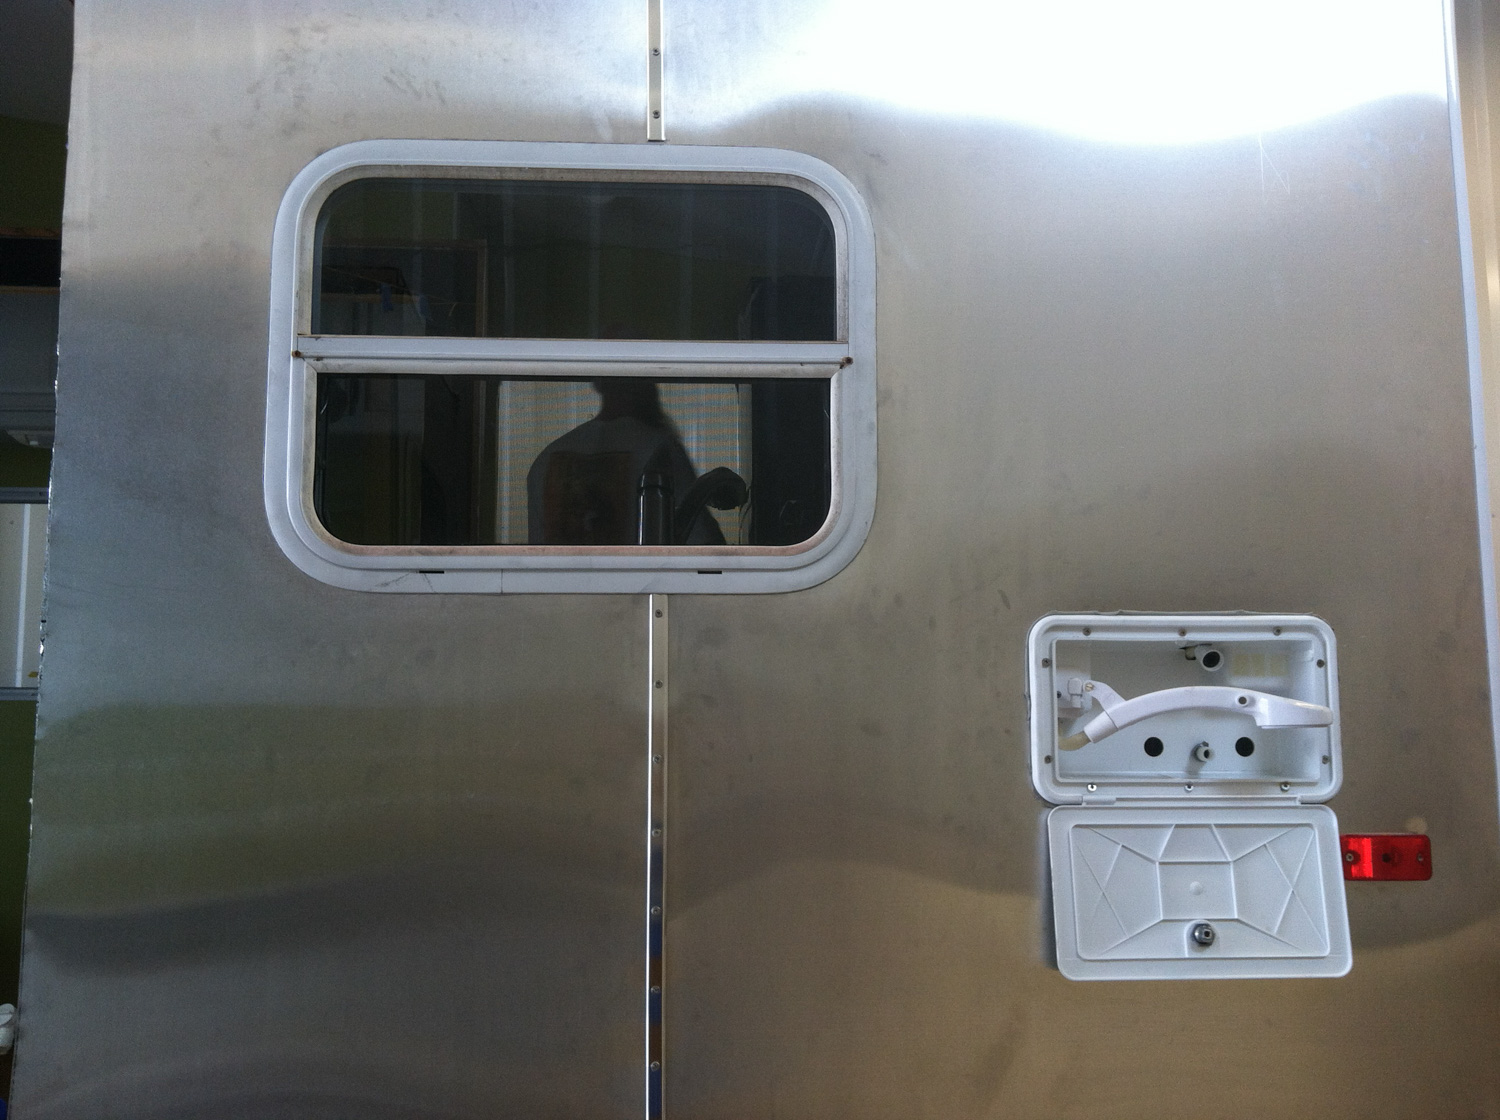
Kitchen window, outside shower, and marker light installed.
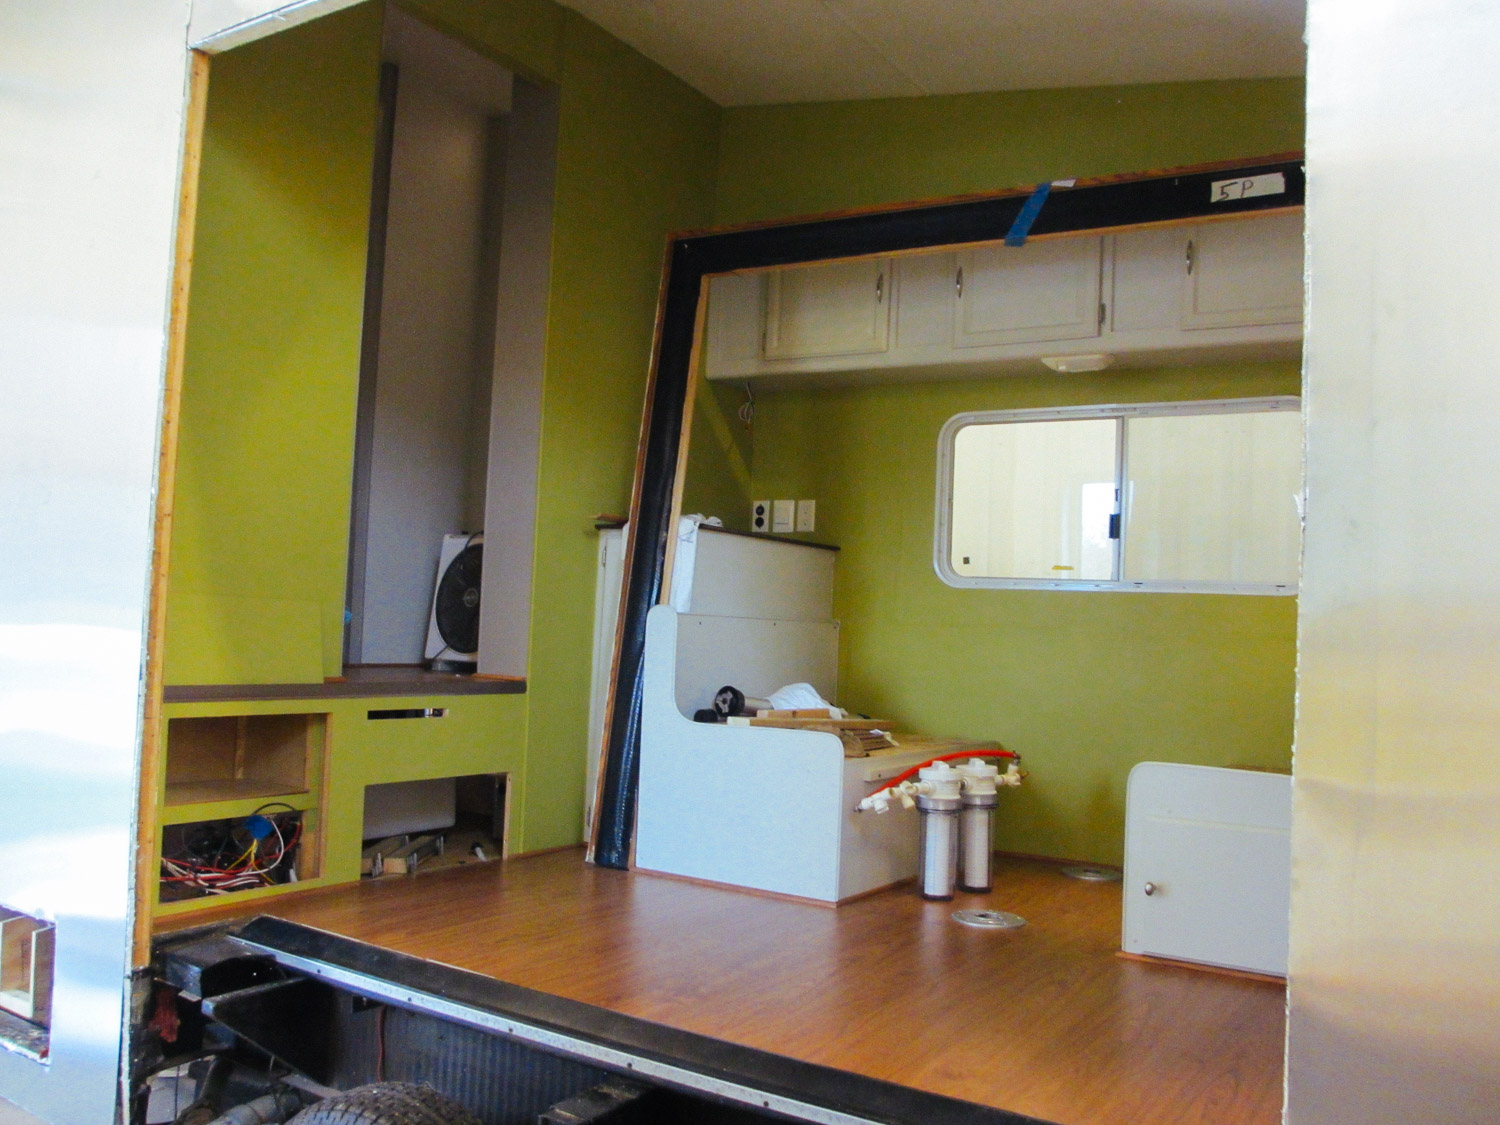
Ready to reinstall the slide.
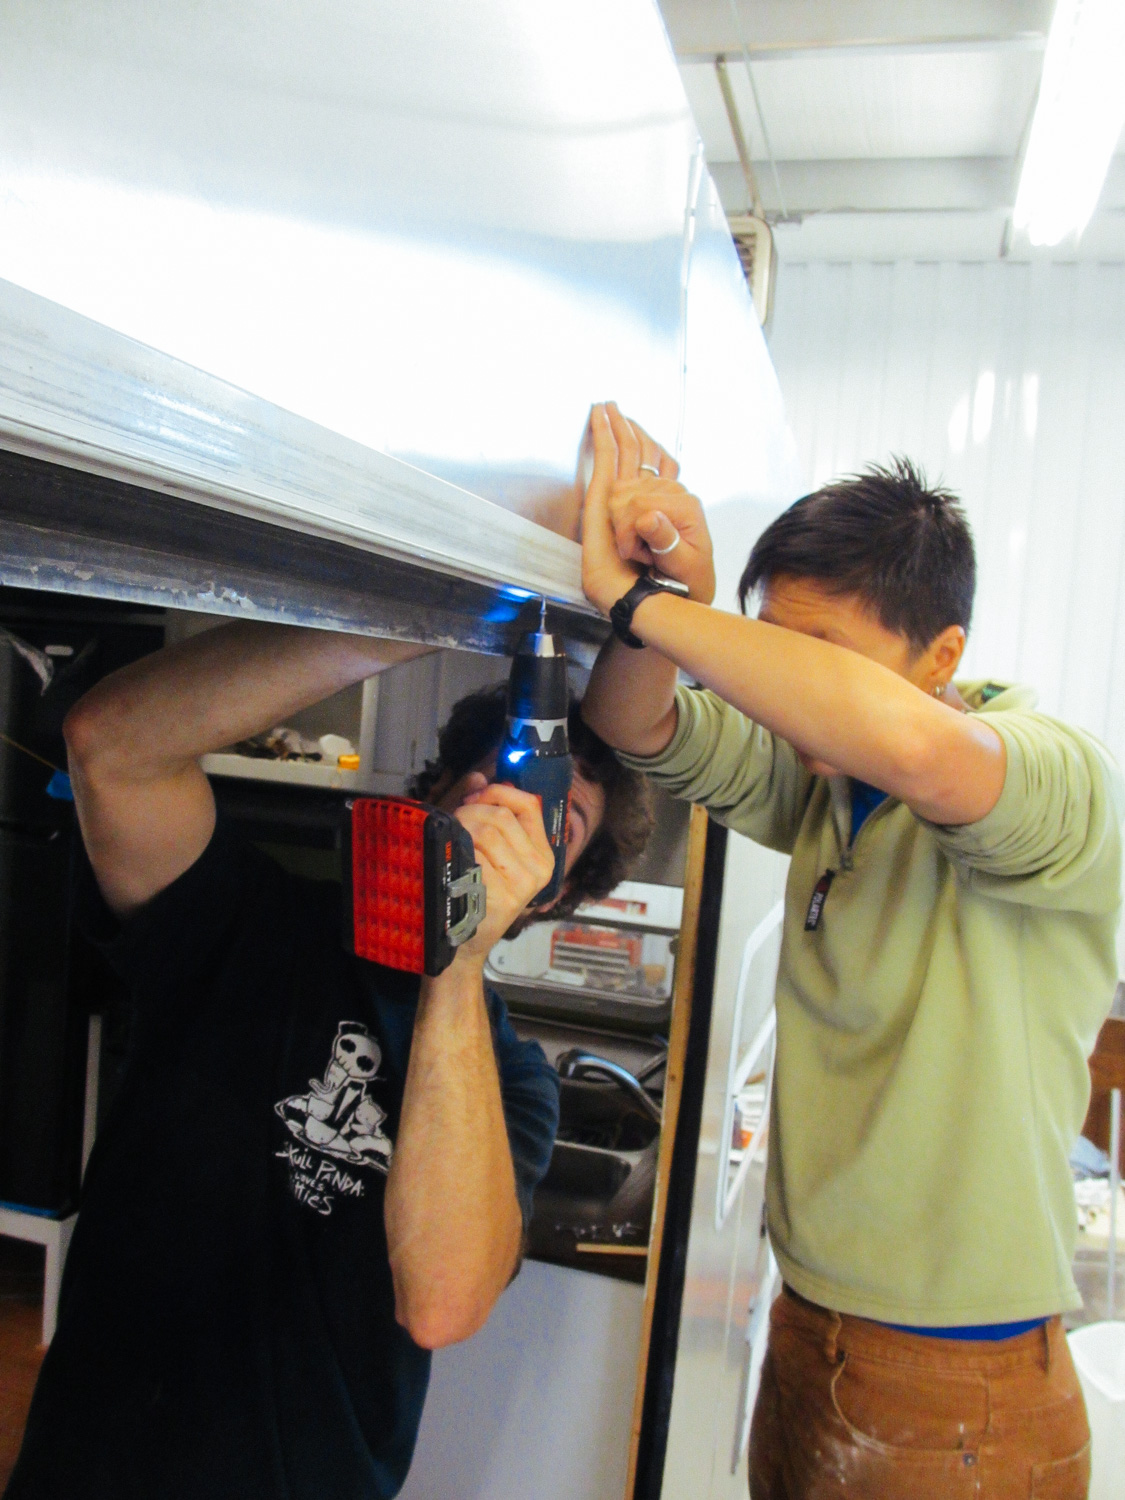
The slide trim had to be reinstalled.
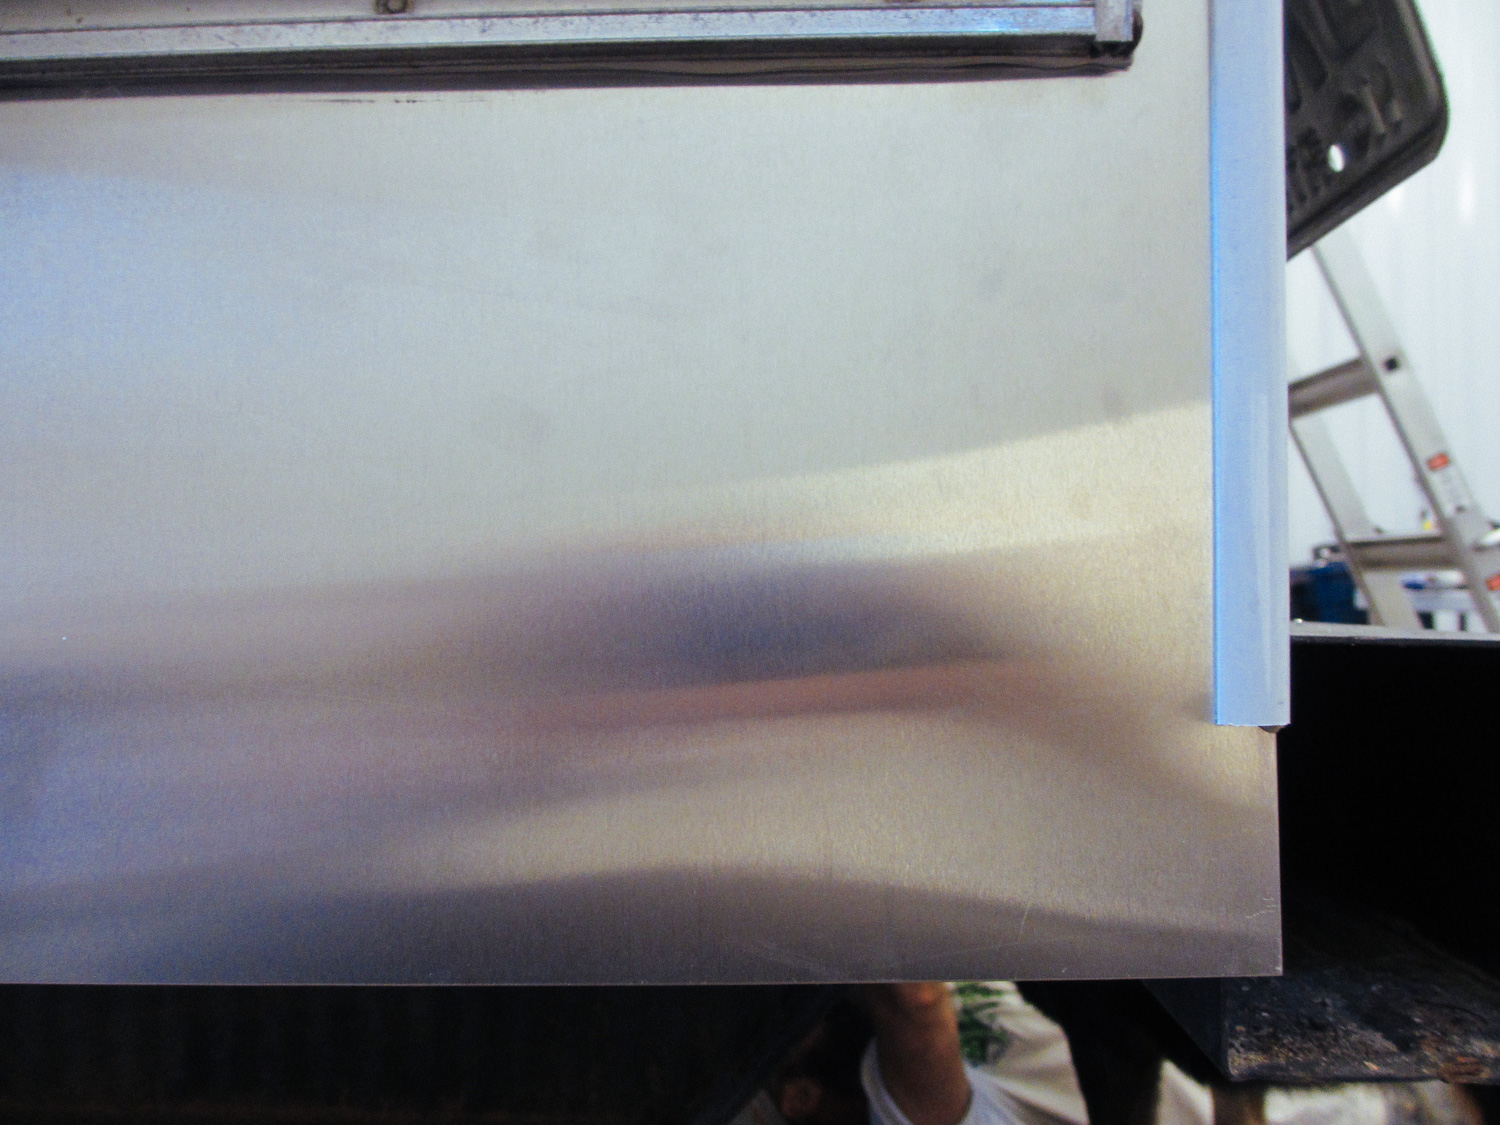
The aluminum siding overhung the bottom of the RV by about 2 inches.
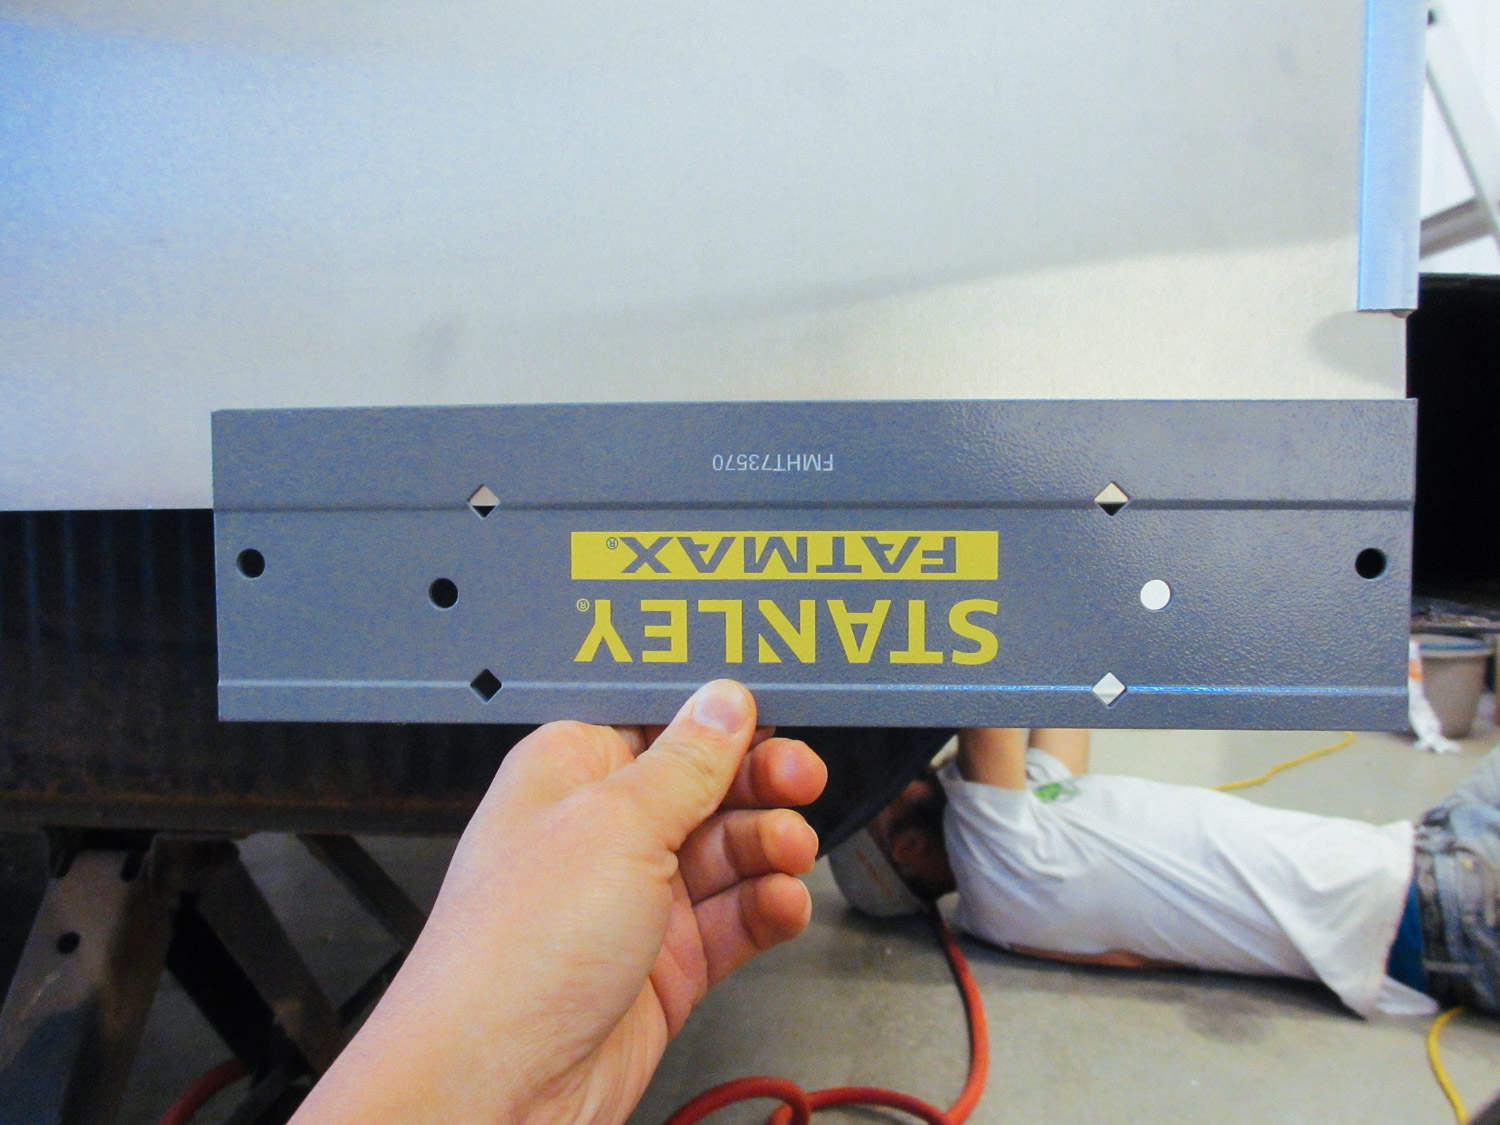
We used this gadget to fold the extra siding under the trailer.
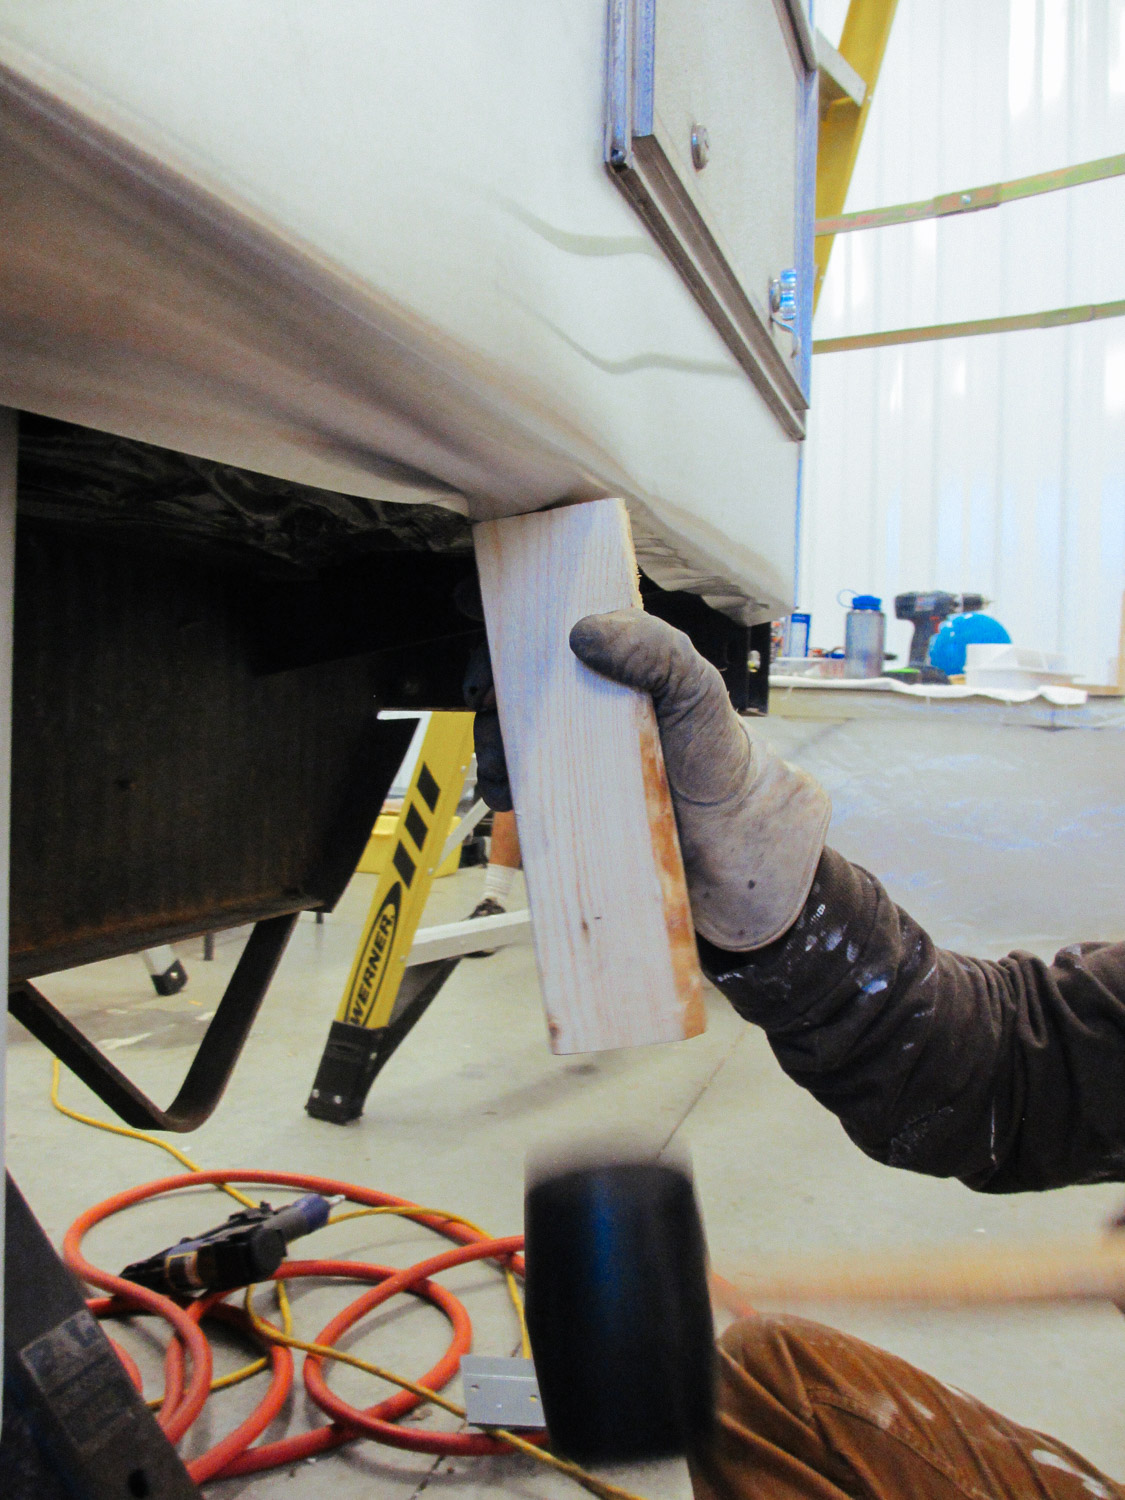
Once the extra siding was folded, it had to be hammered flat.
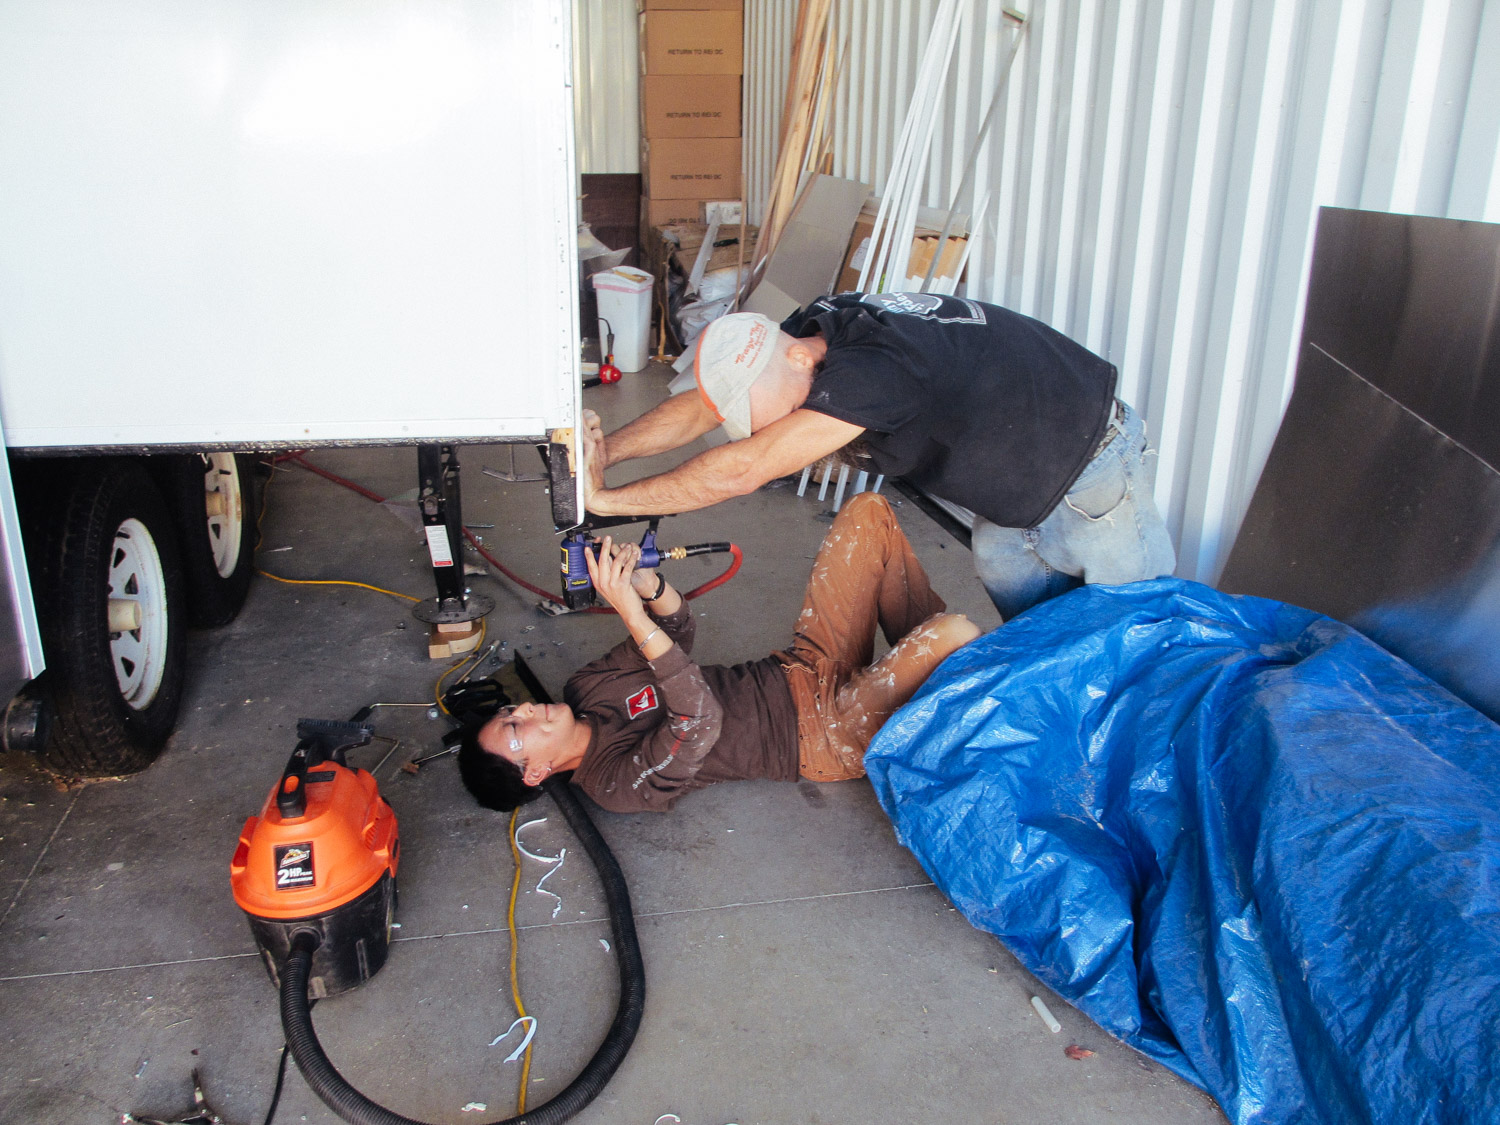
The last step was to staple the folded over siding to the rig. Andrew pushed against the siding to make sure it didn't bulge out while I stapled.
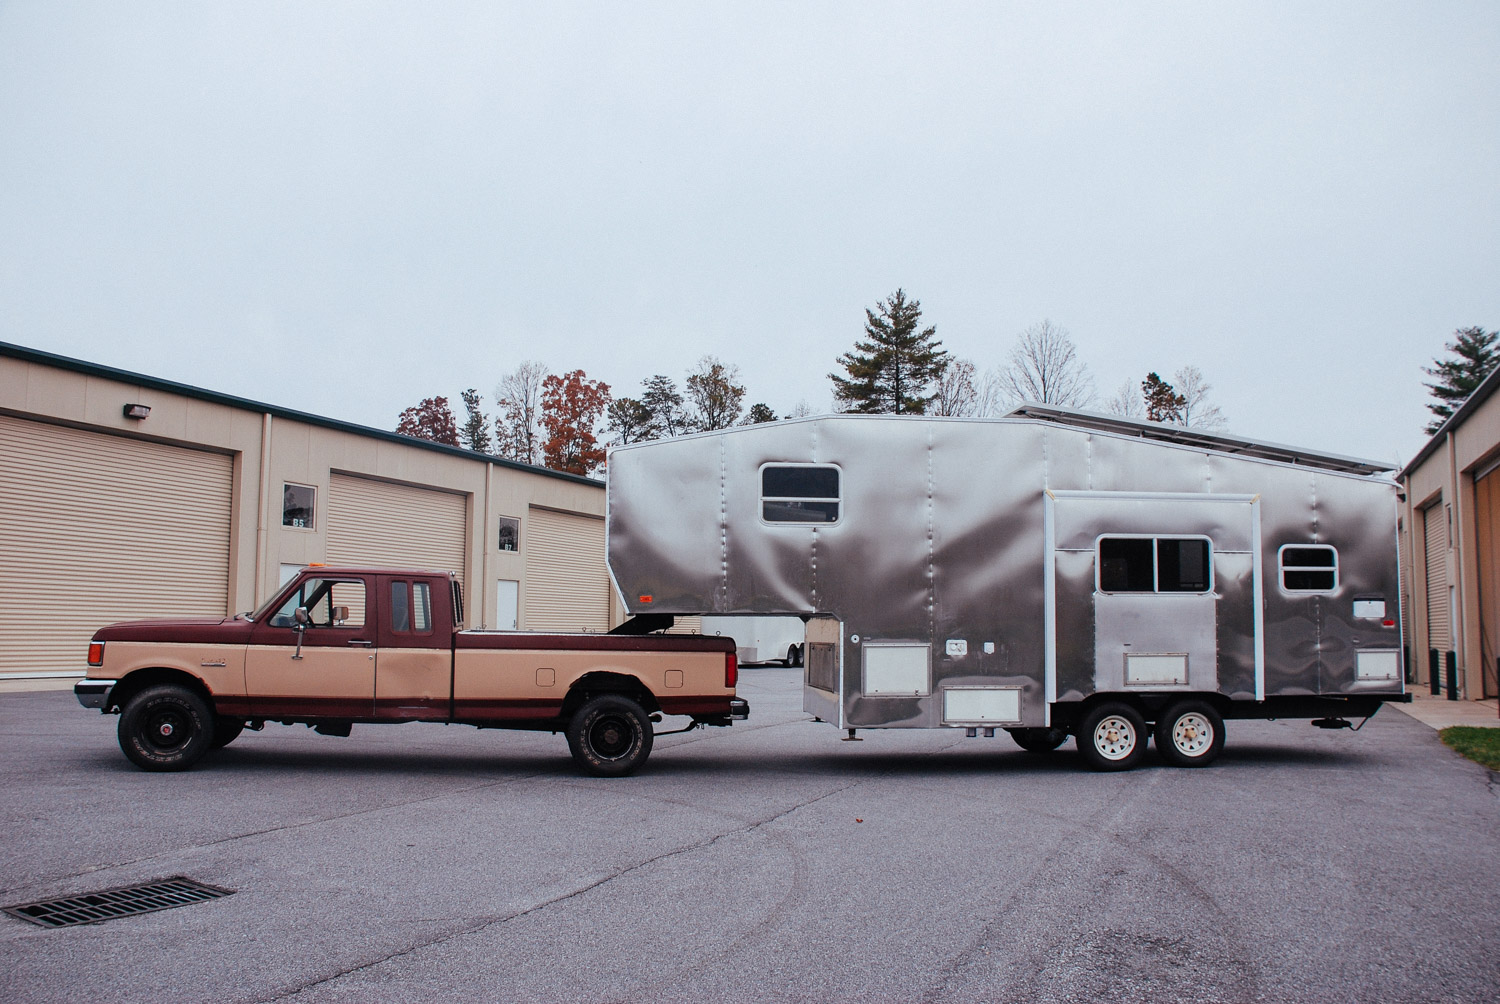
The Toaster!
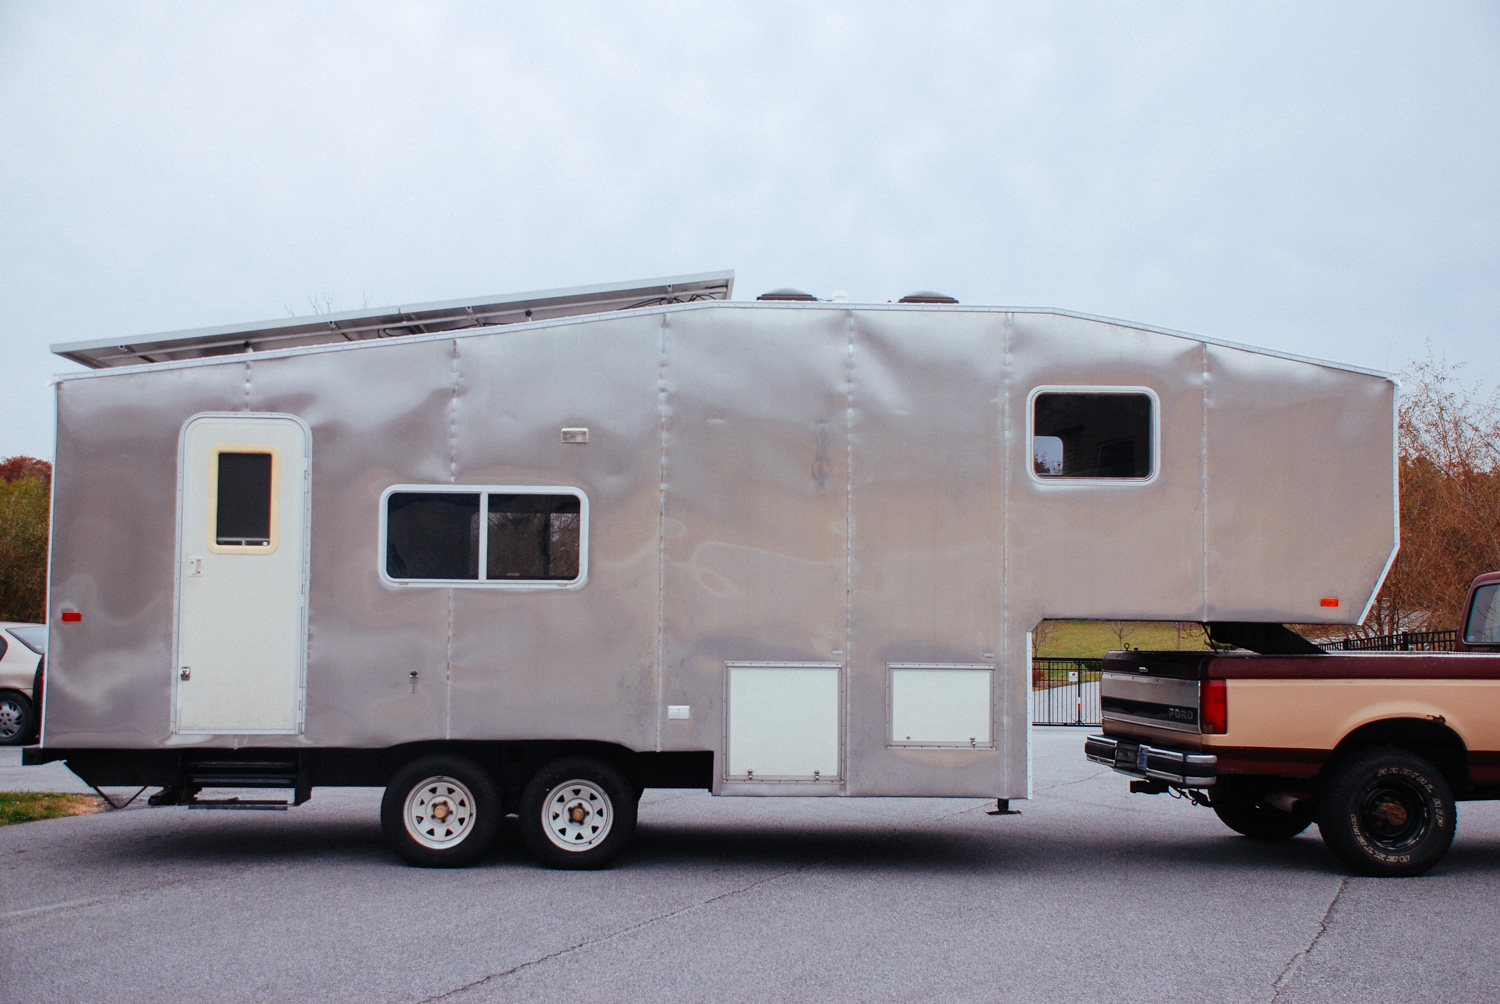
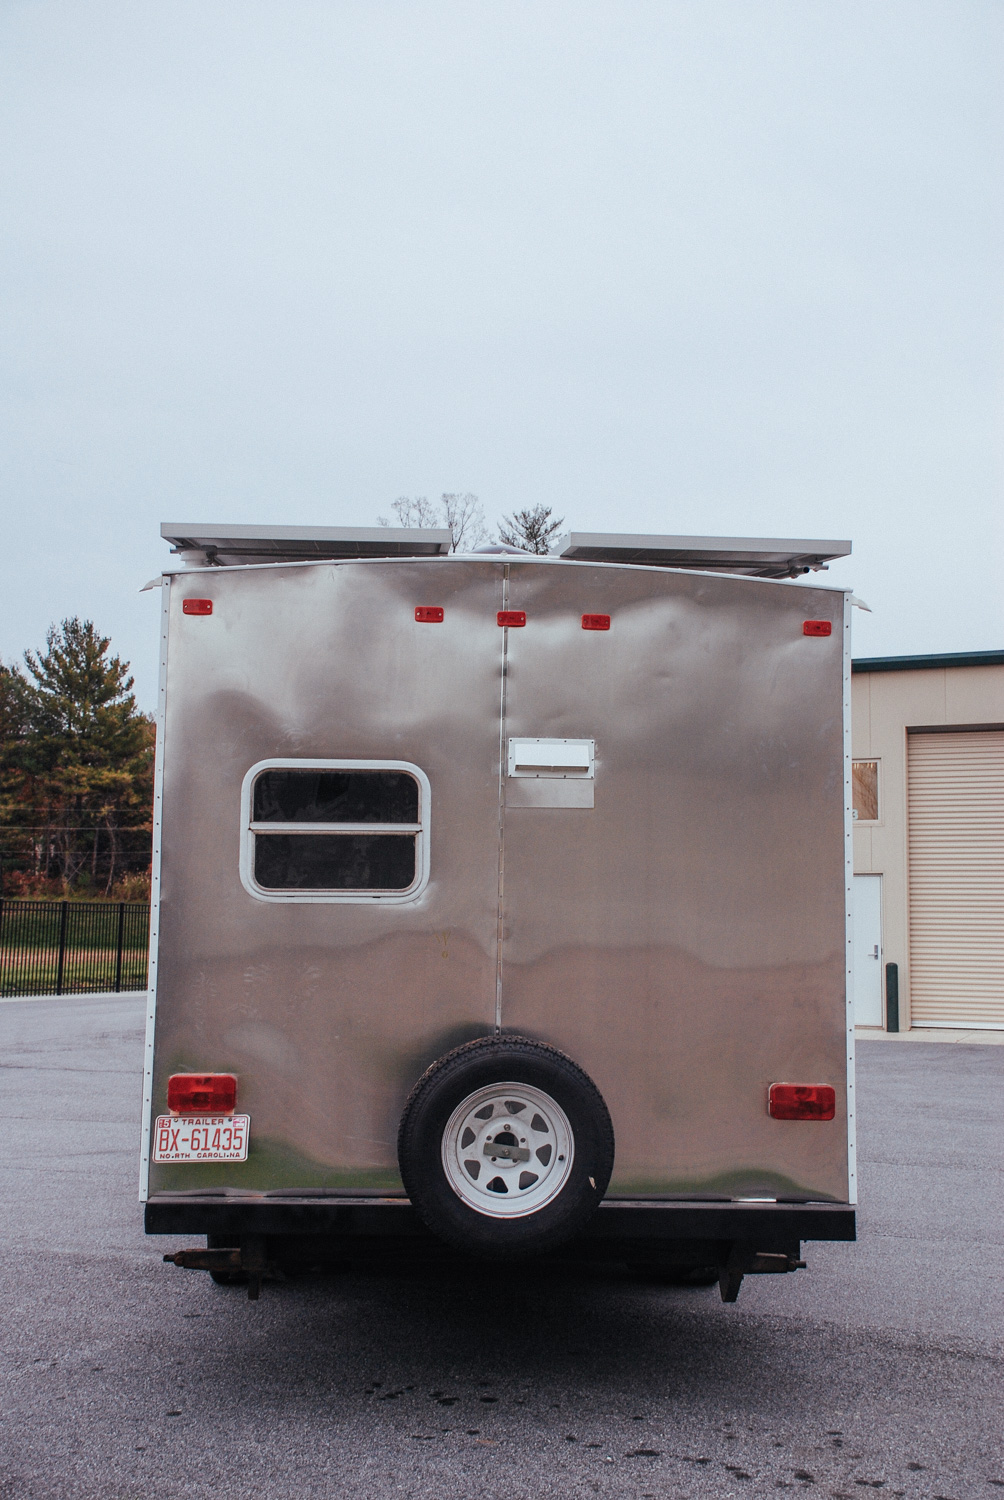
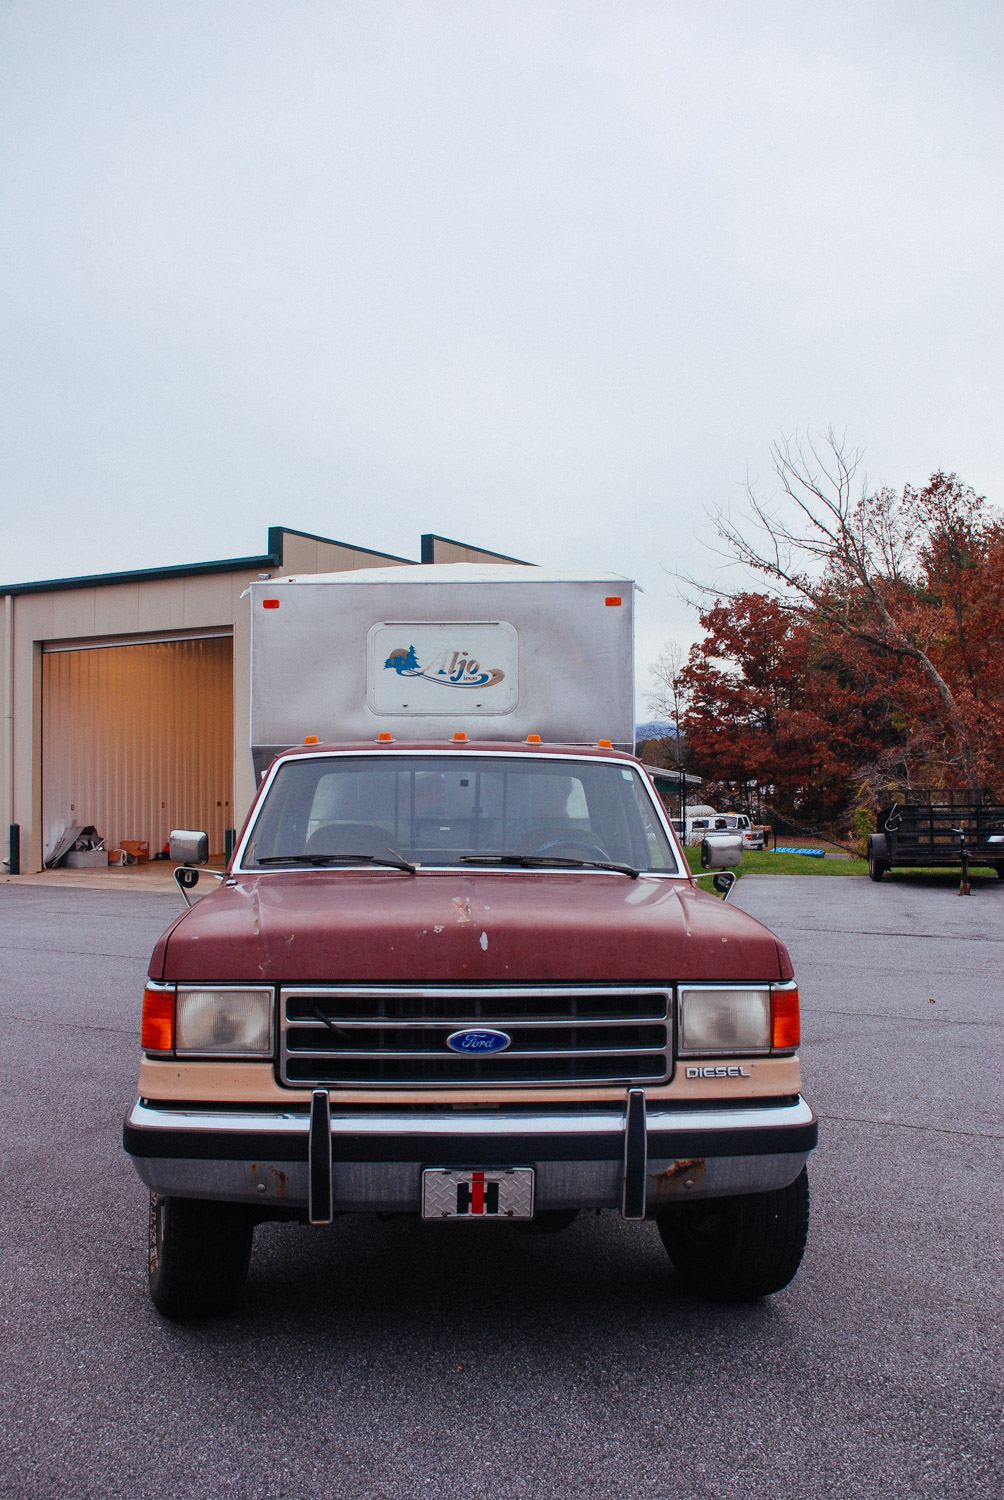
Our front bedroom window cover only lasted about a month on the road. Another RV backed into us while we were boondocked and damaged it beyond use.


posts about the exterior
Roof
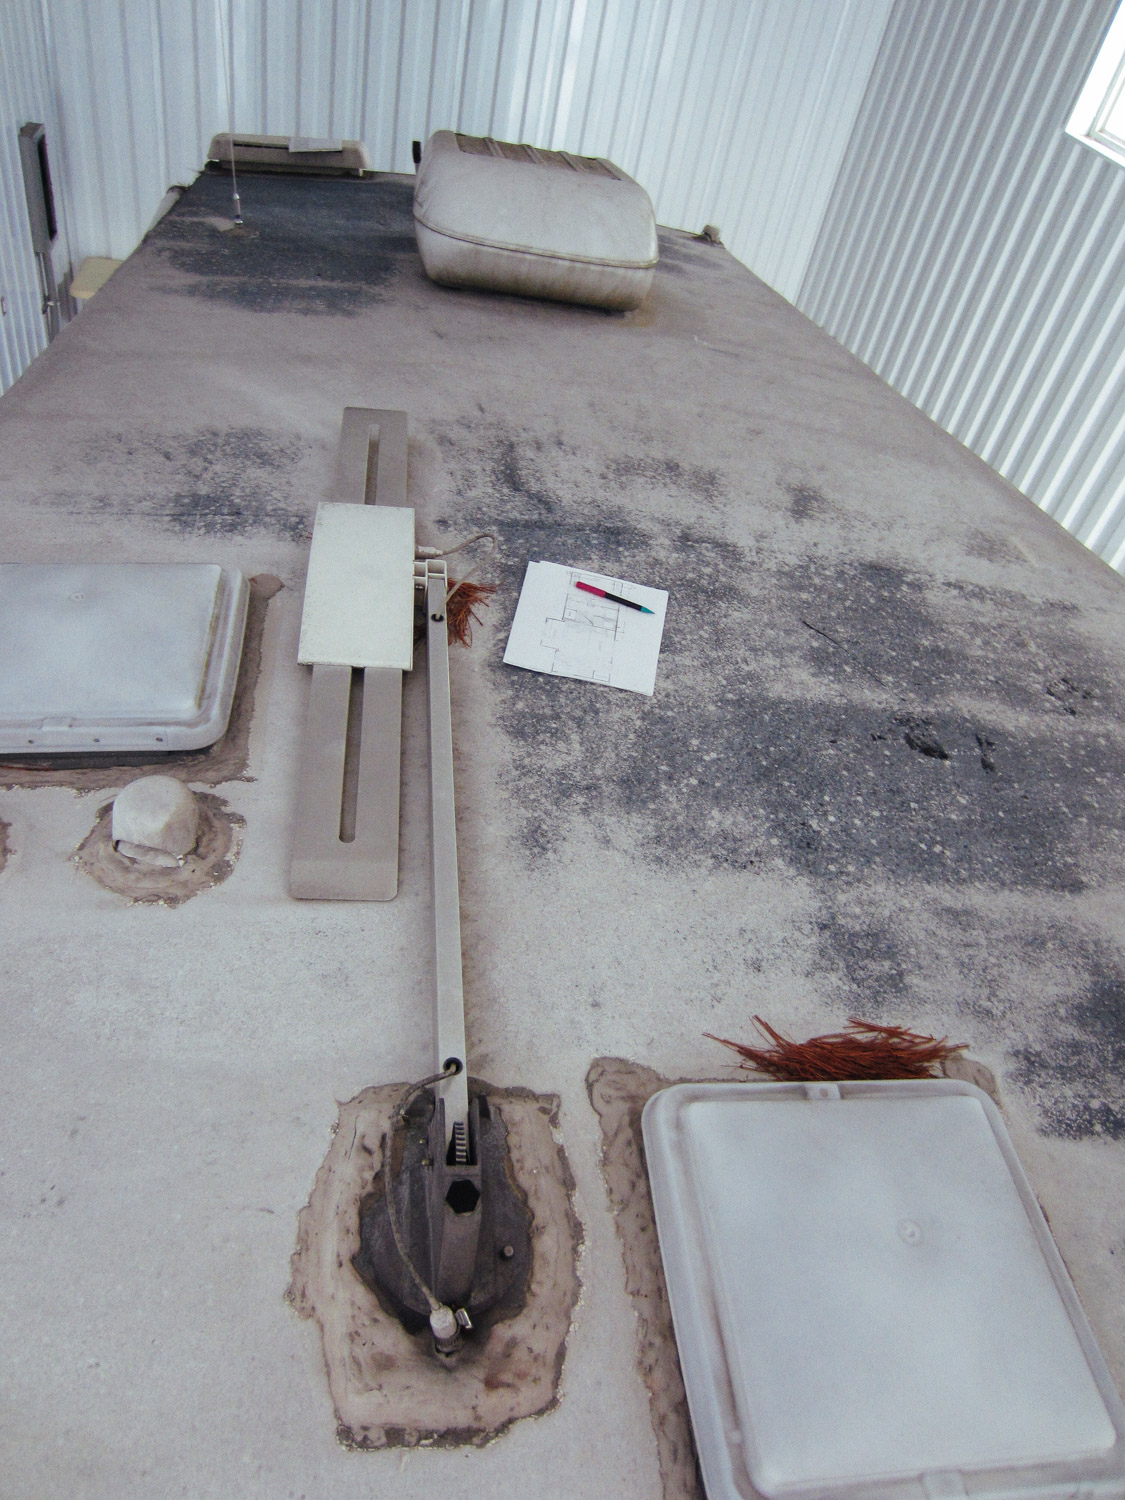
The original roof was in rough shape.

No wonder the roof was leaking! The seams were so old they were cracked.
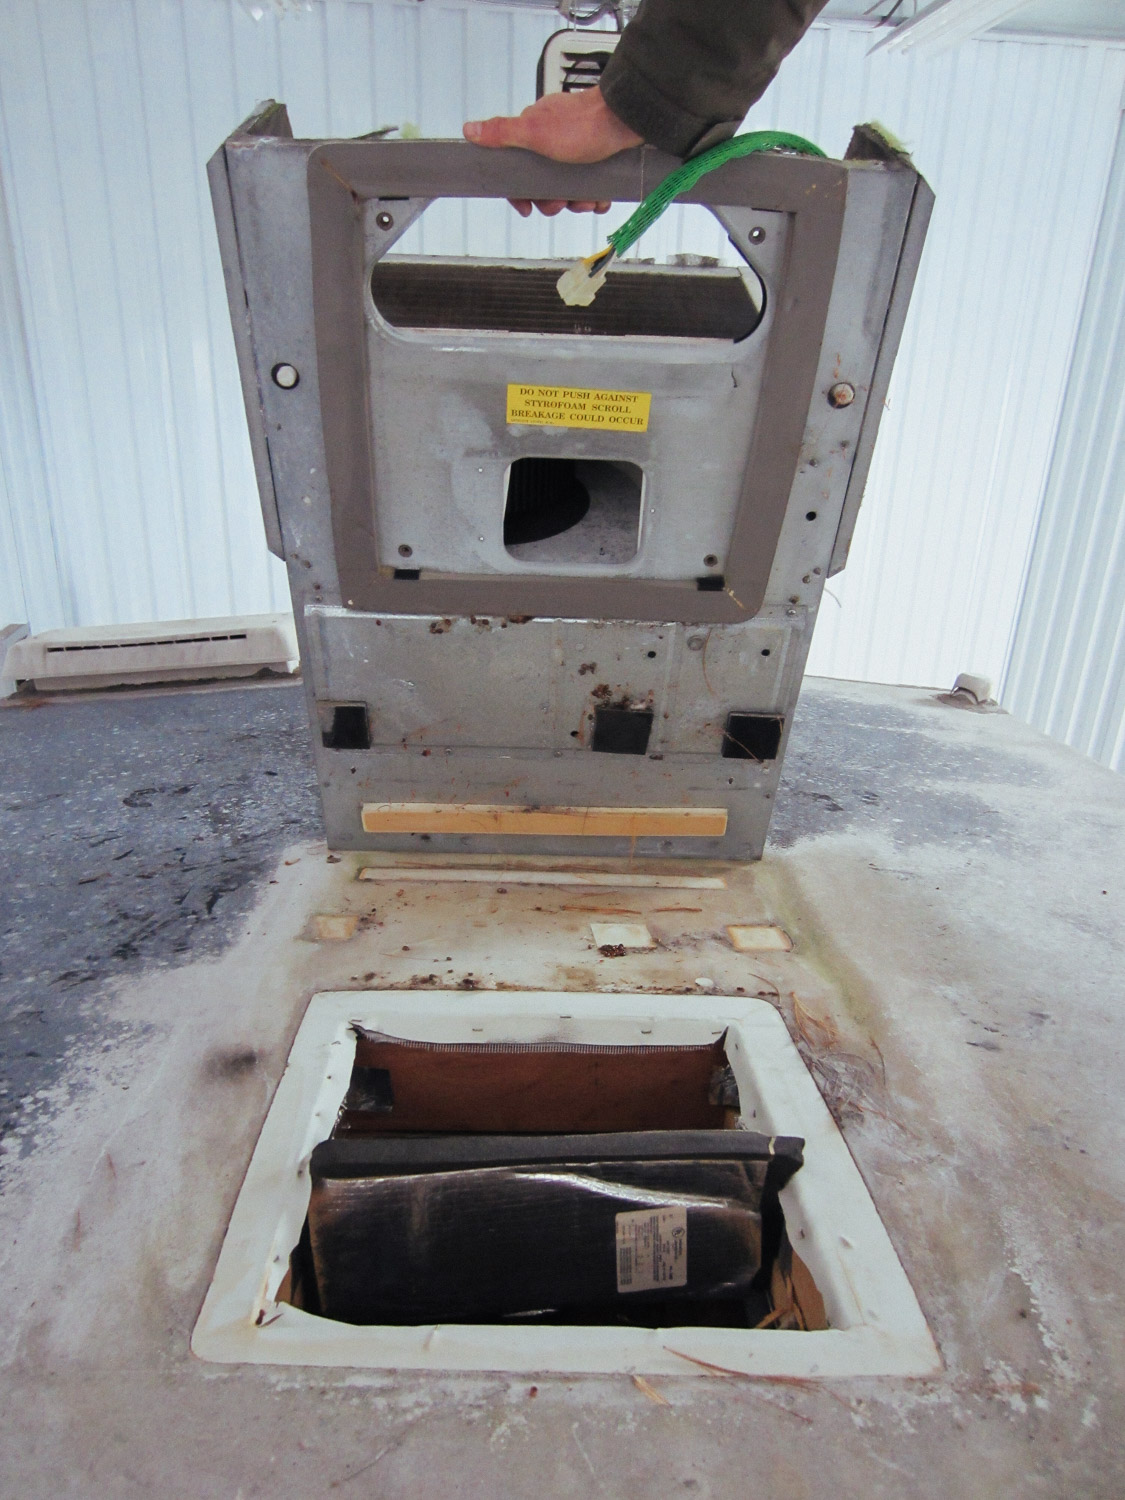
Everything was removed from the roof, including the A/C unit pictured here, in order to put on a new rubber roof.
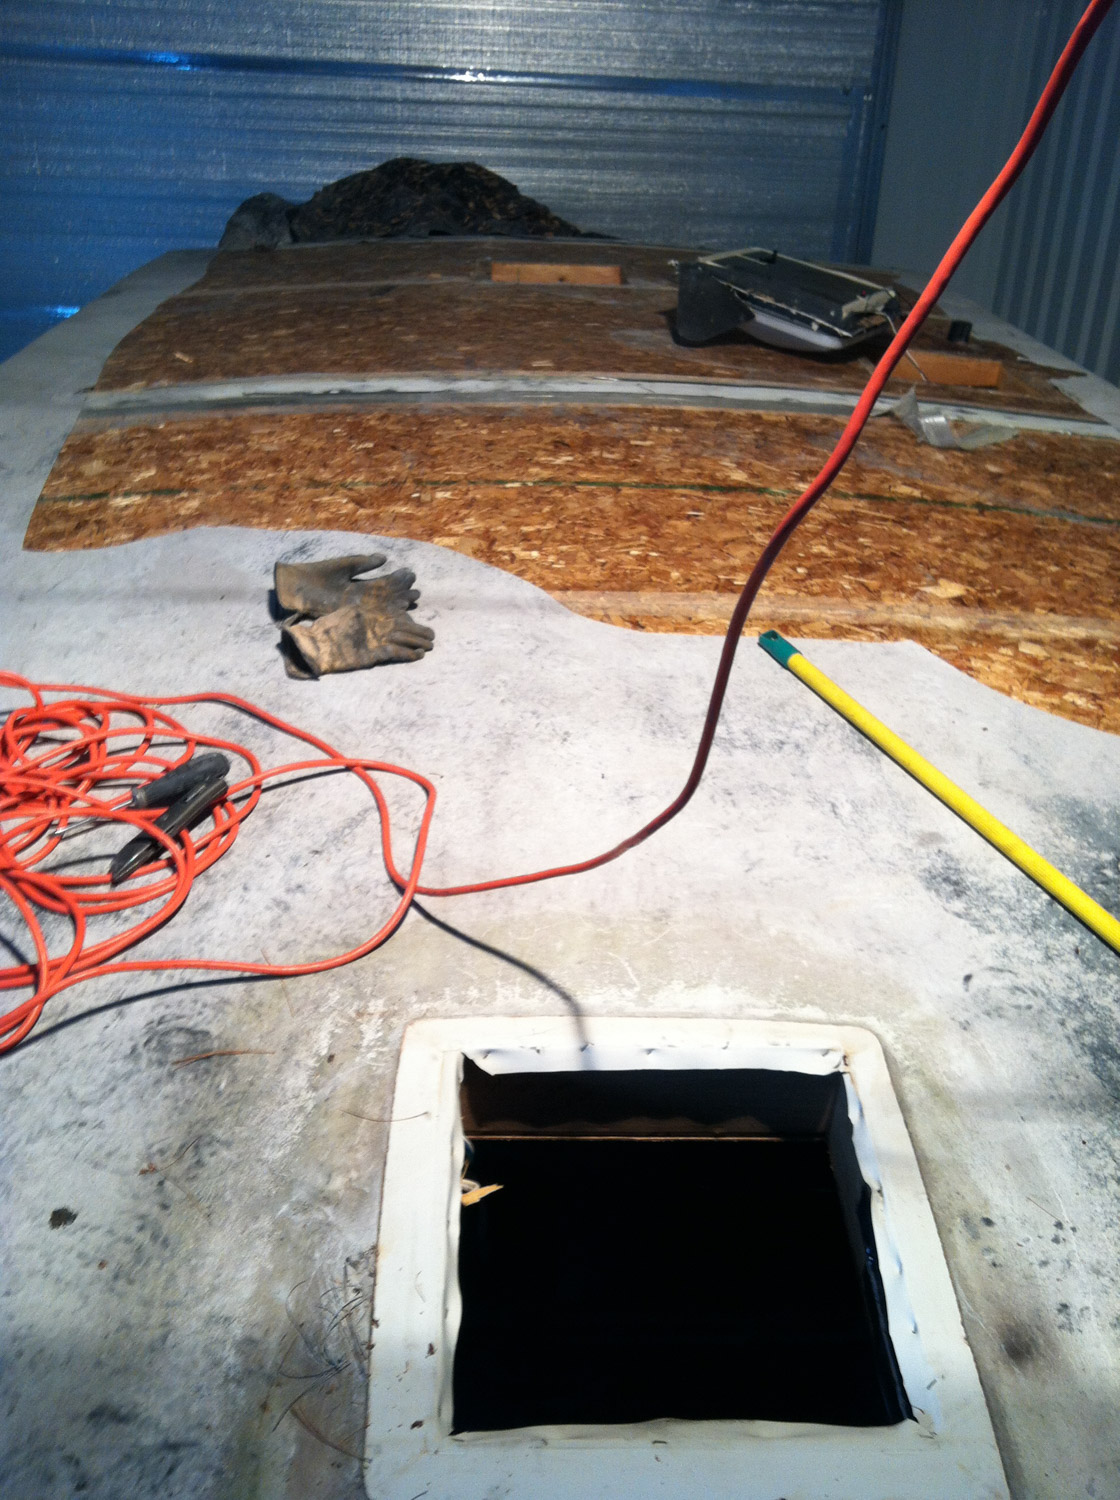
Ripping off the old rubber roof off was a major pain in the ass. It was still tightly glued to the decking.

We found out exactly how badly the roof decking was damaged by water.

That led to the realization that we couldn't simply toss on a new rubber roof, but we also needed to replace the roof decking.
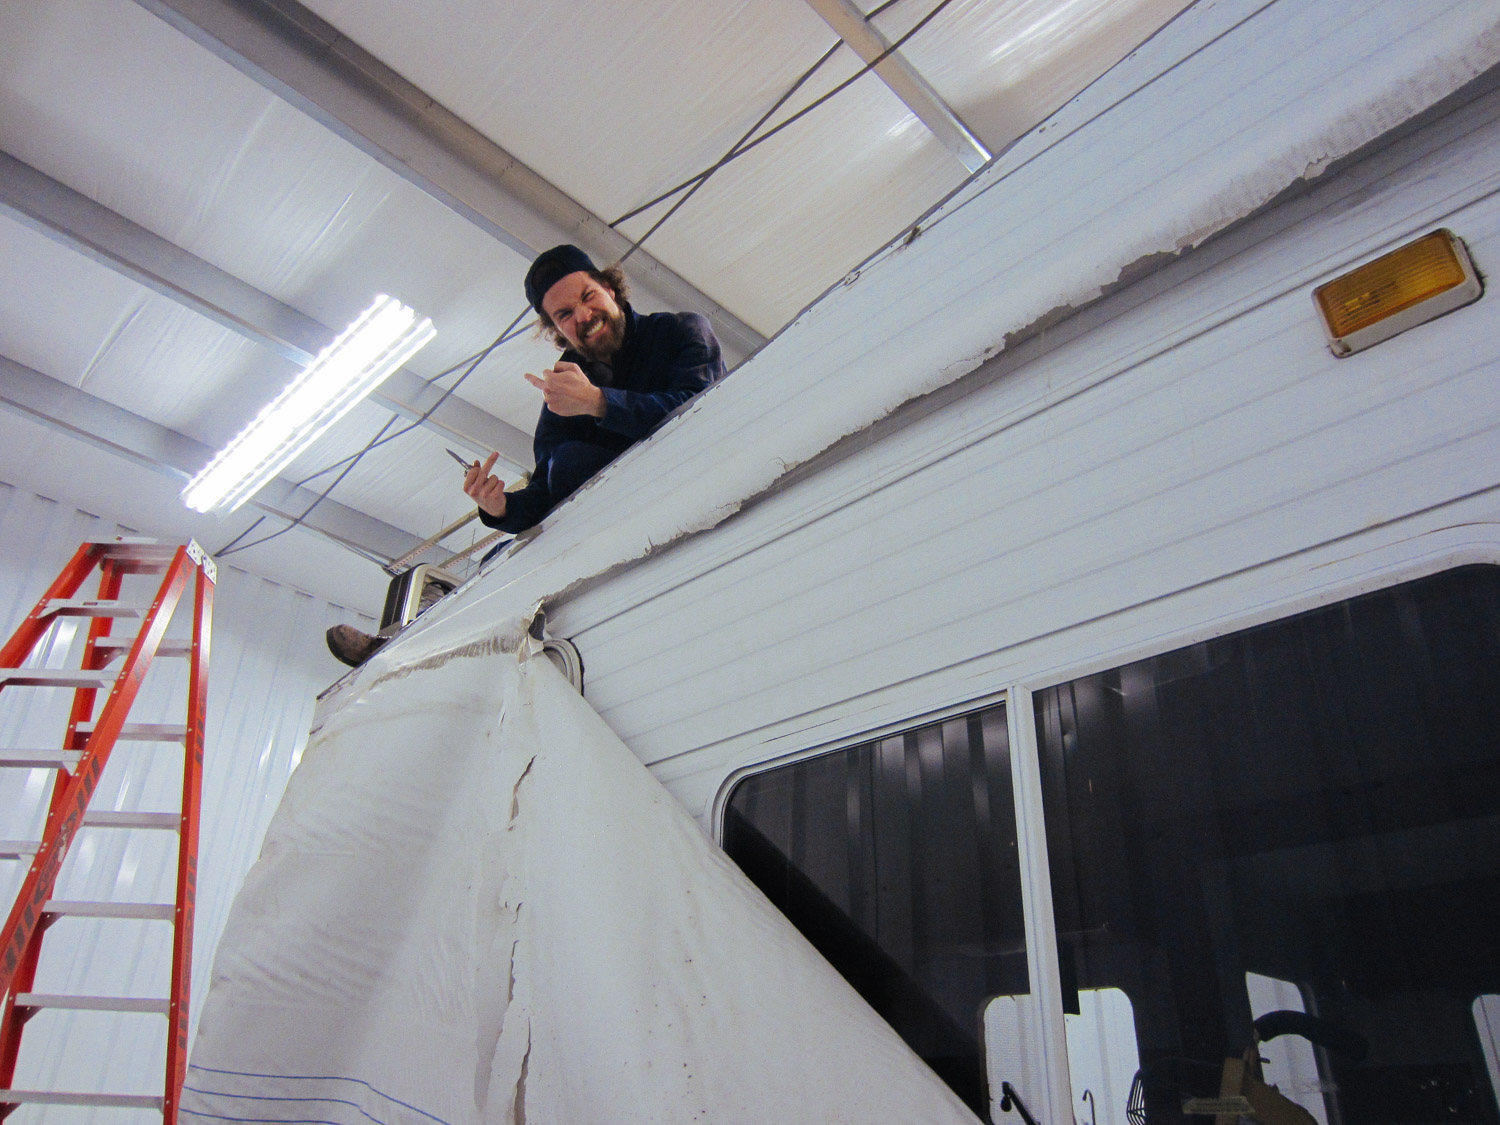
The original awning wasn't worth keeping because it was dry rotted. But we did manage to sell the awning roller and frame!
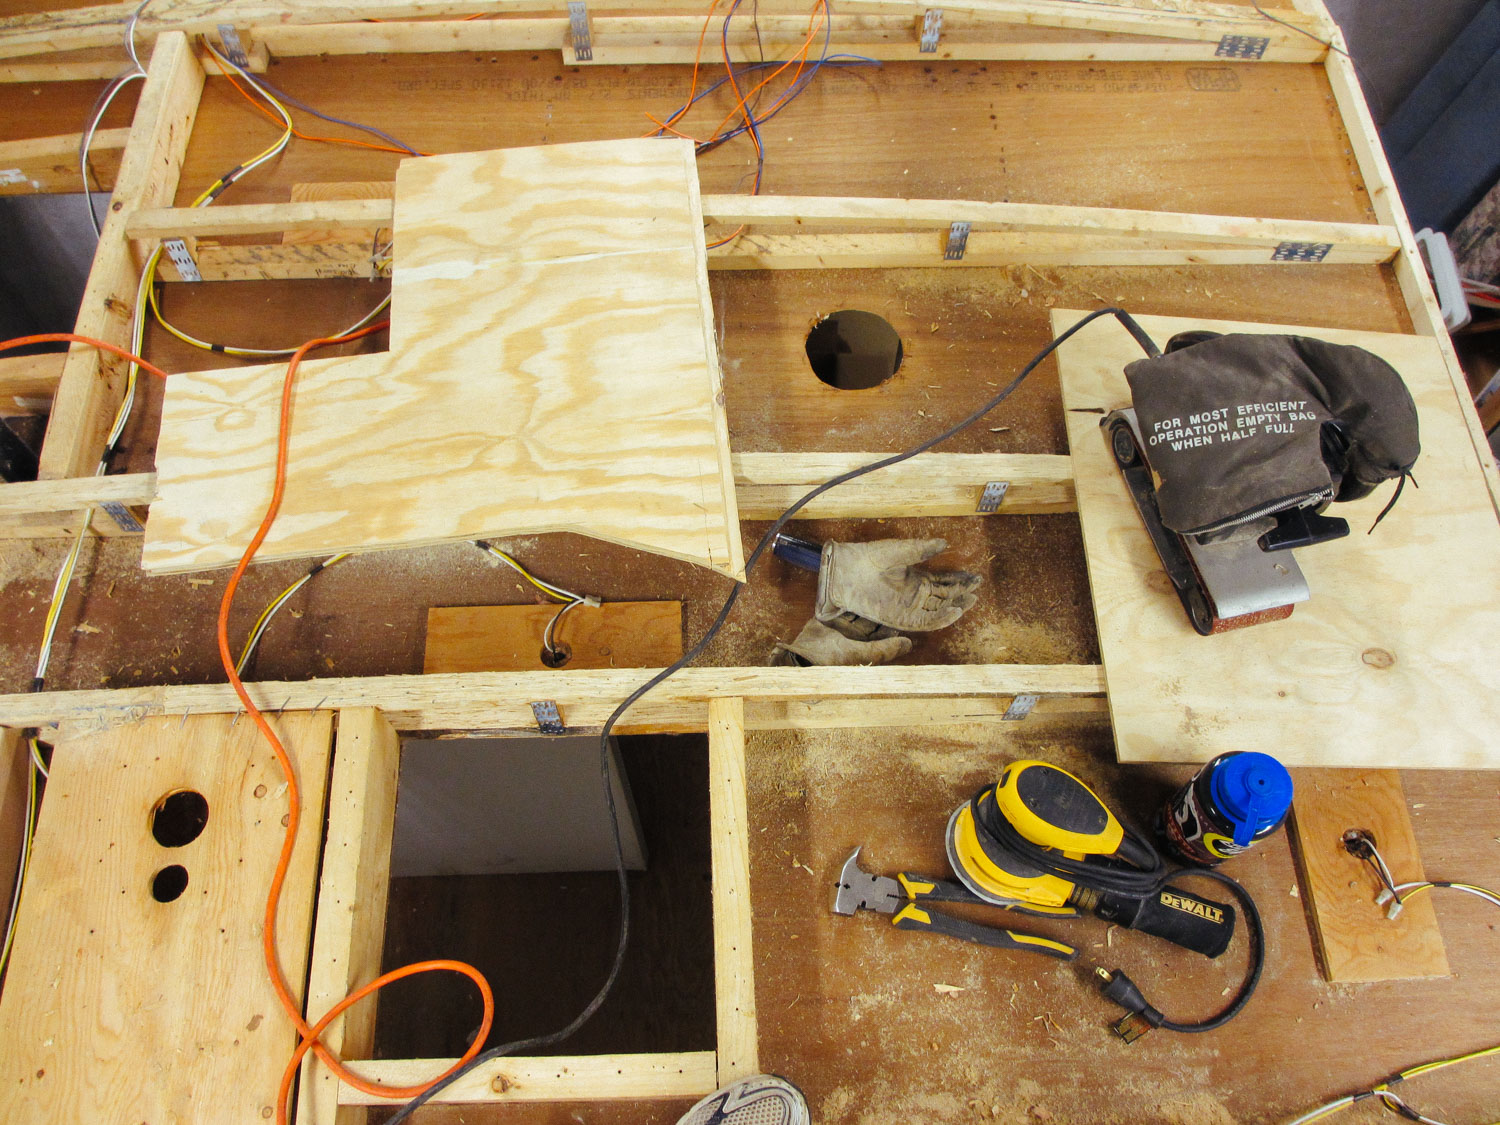
The old adhesive had to be sanded off each roof beam to prepare it for new decking.
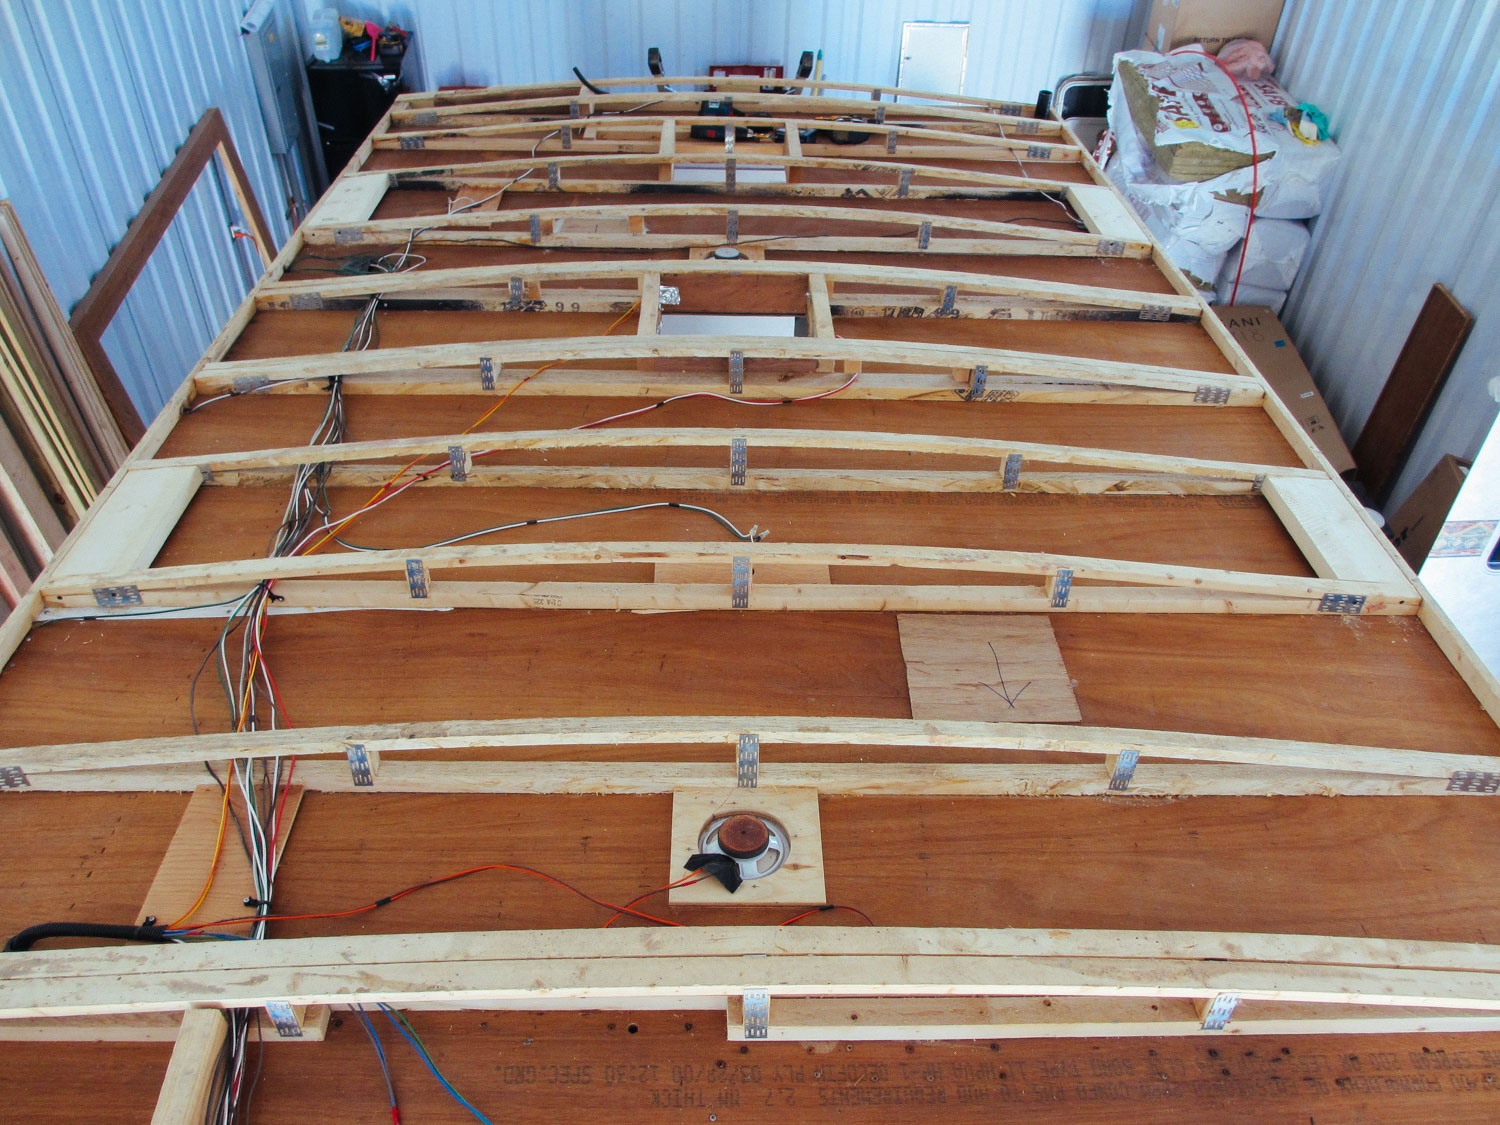
New electrical wires had to be pulled on the roof before we added the insulation.

Like the rest of the rig, we used mineral wool for insulation. The four large wooden blocks are supports we added for mounting the solar panels.
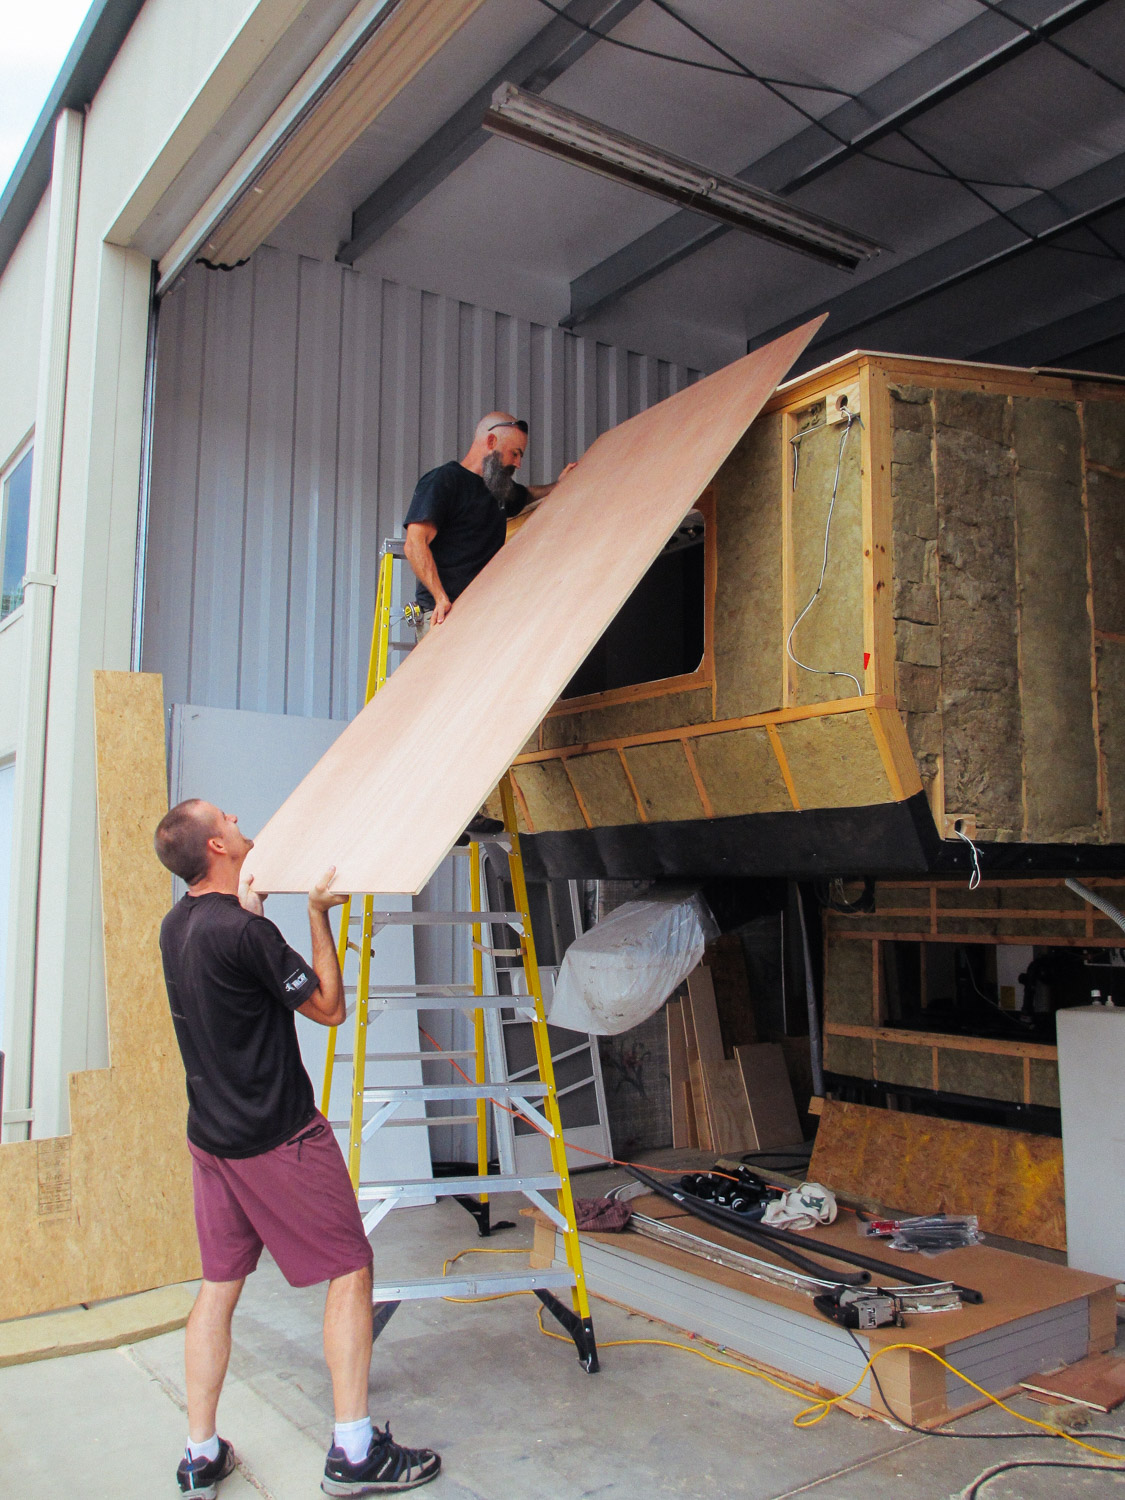
New 1/4 inch plywood for roof decking.
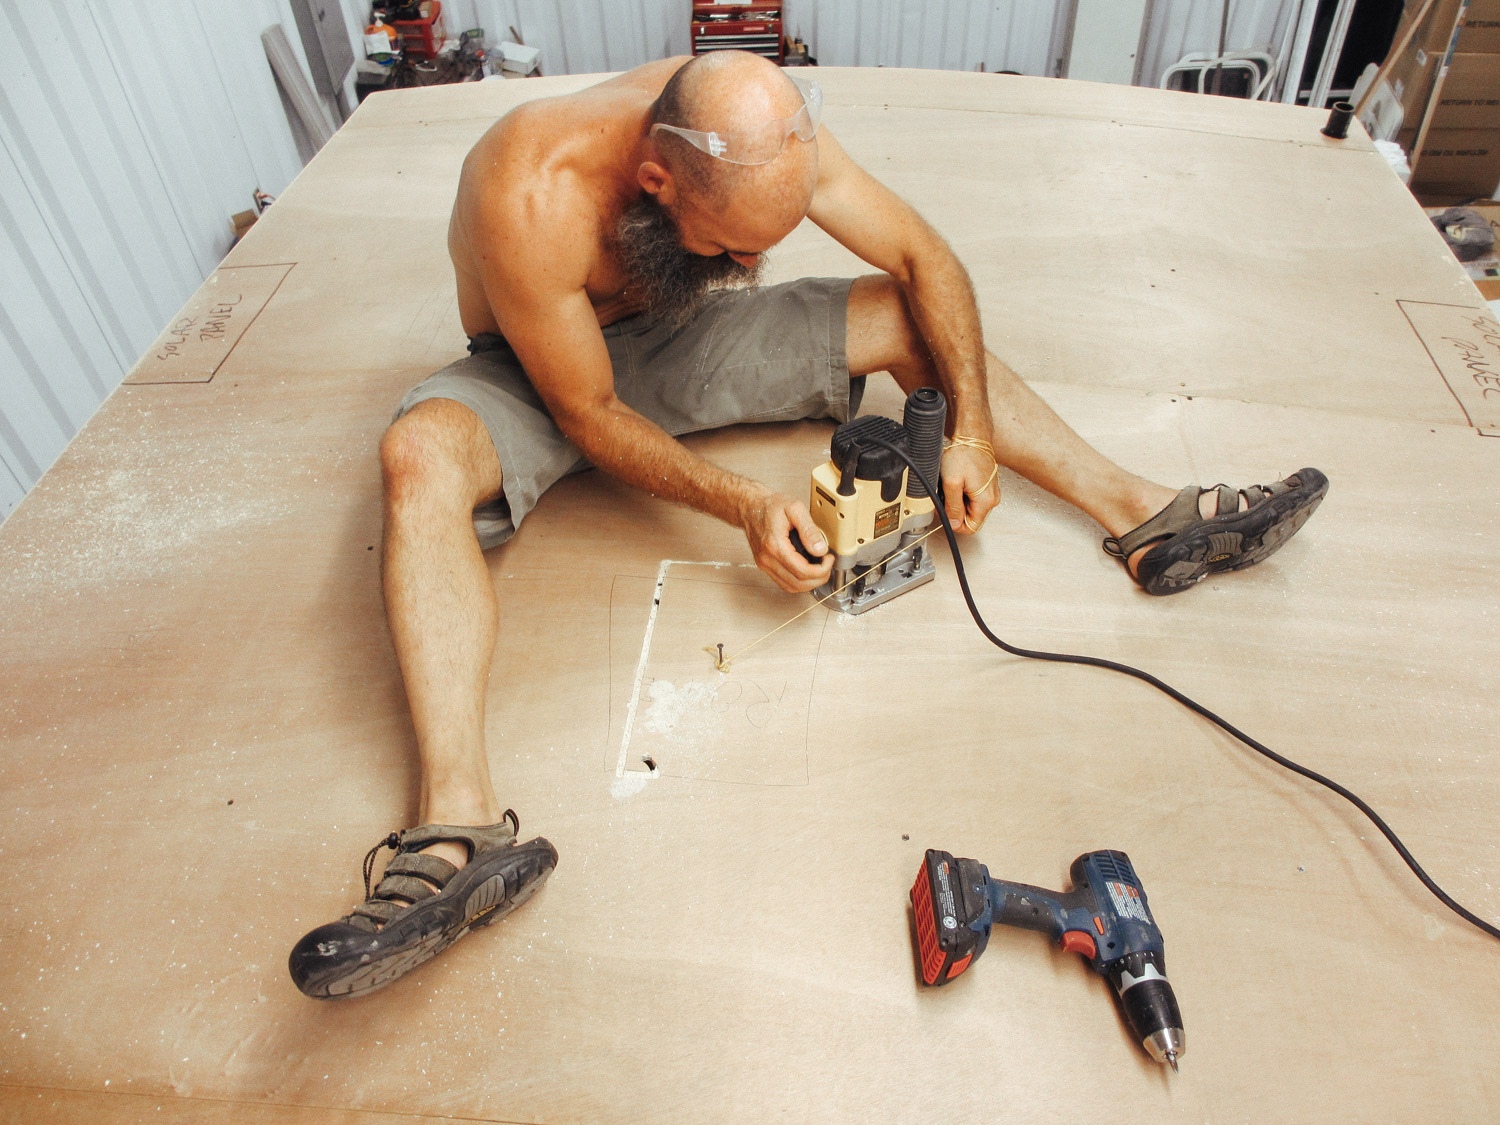
We cut out vent holes after the decking was installed.
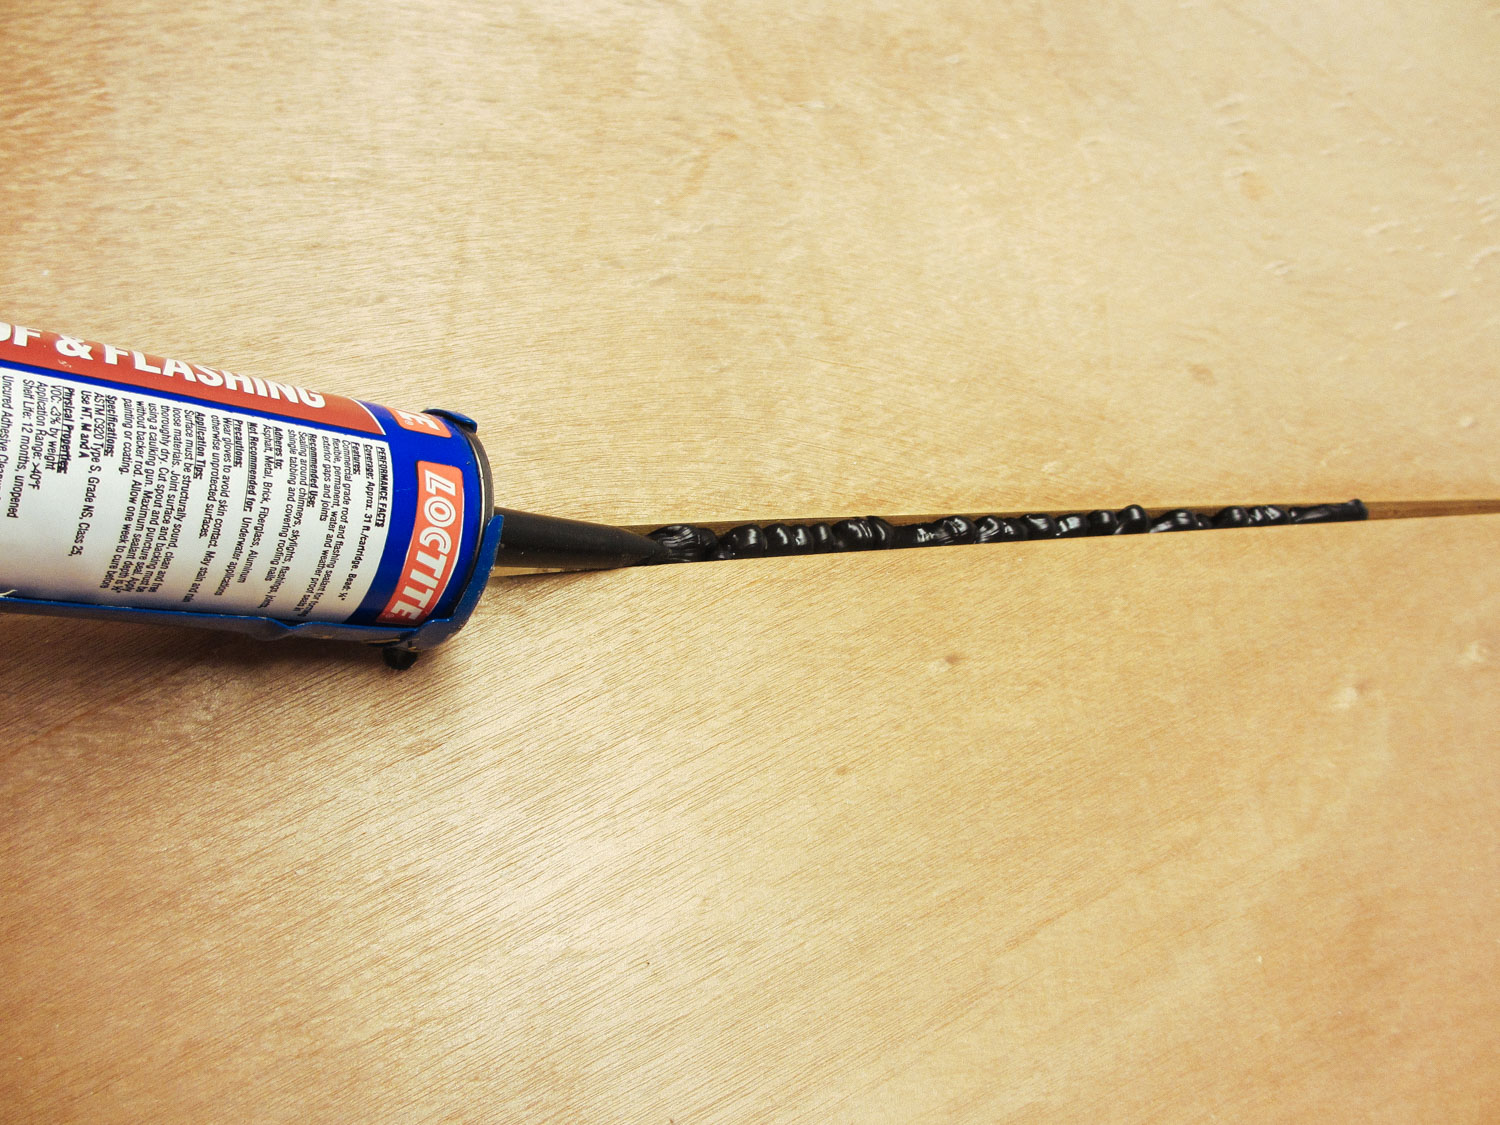
Polyurethane sealant was used in the space between plywood sheets.
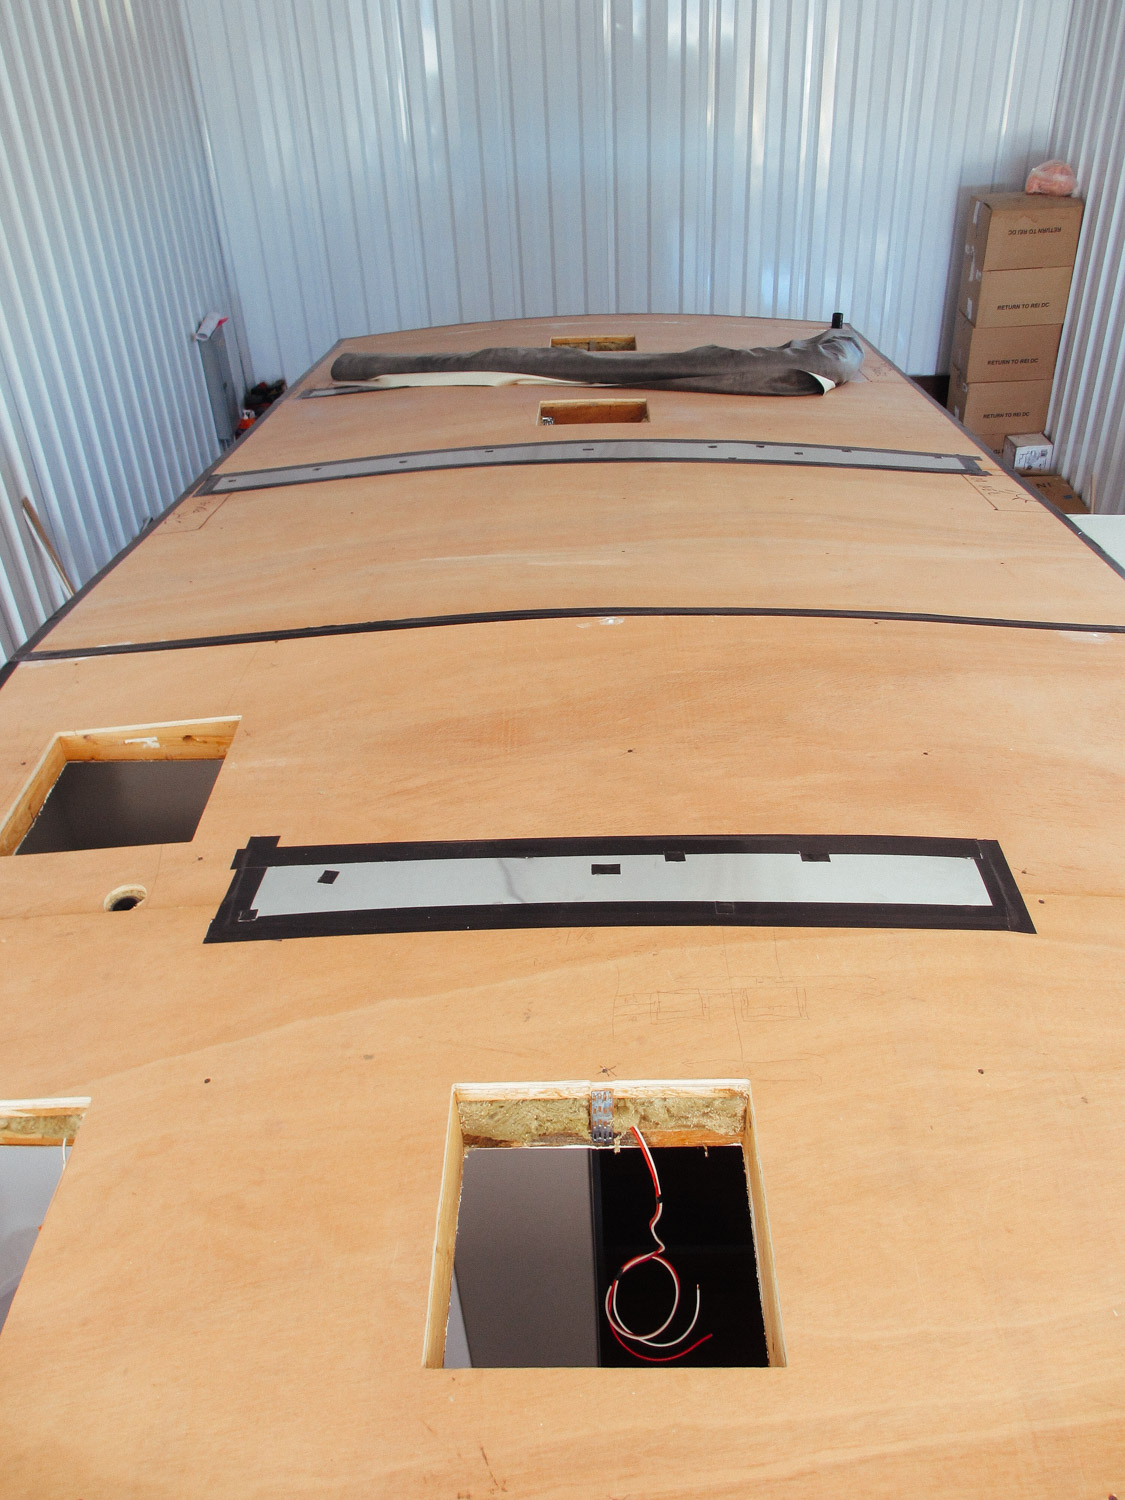
Pieces of aluminum sheets were screwed in over sections of the roof decking where the plywood couldn't be drilled into the beams. We then covered all the metal edges and screw heads with Gorilla tape to protect the rubber roof.
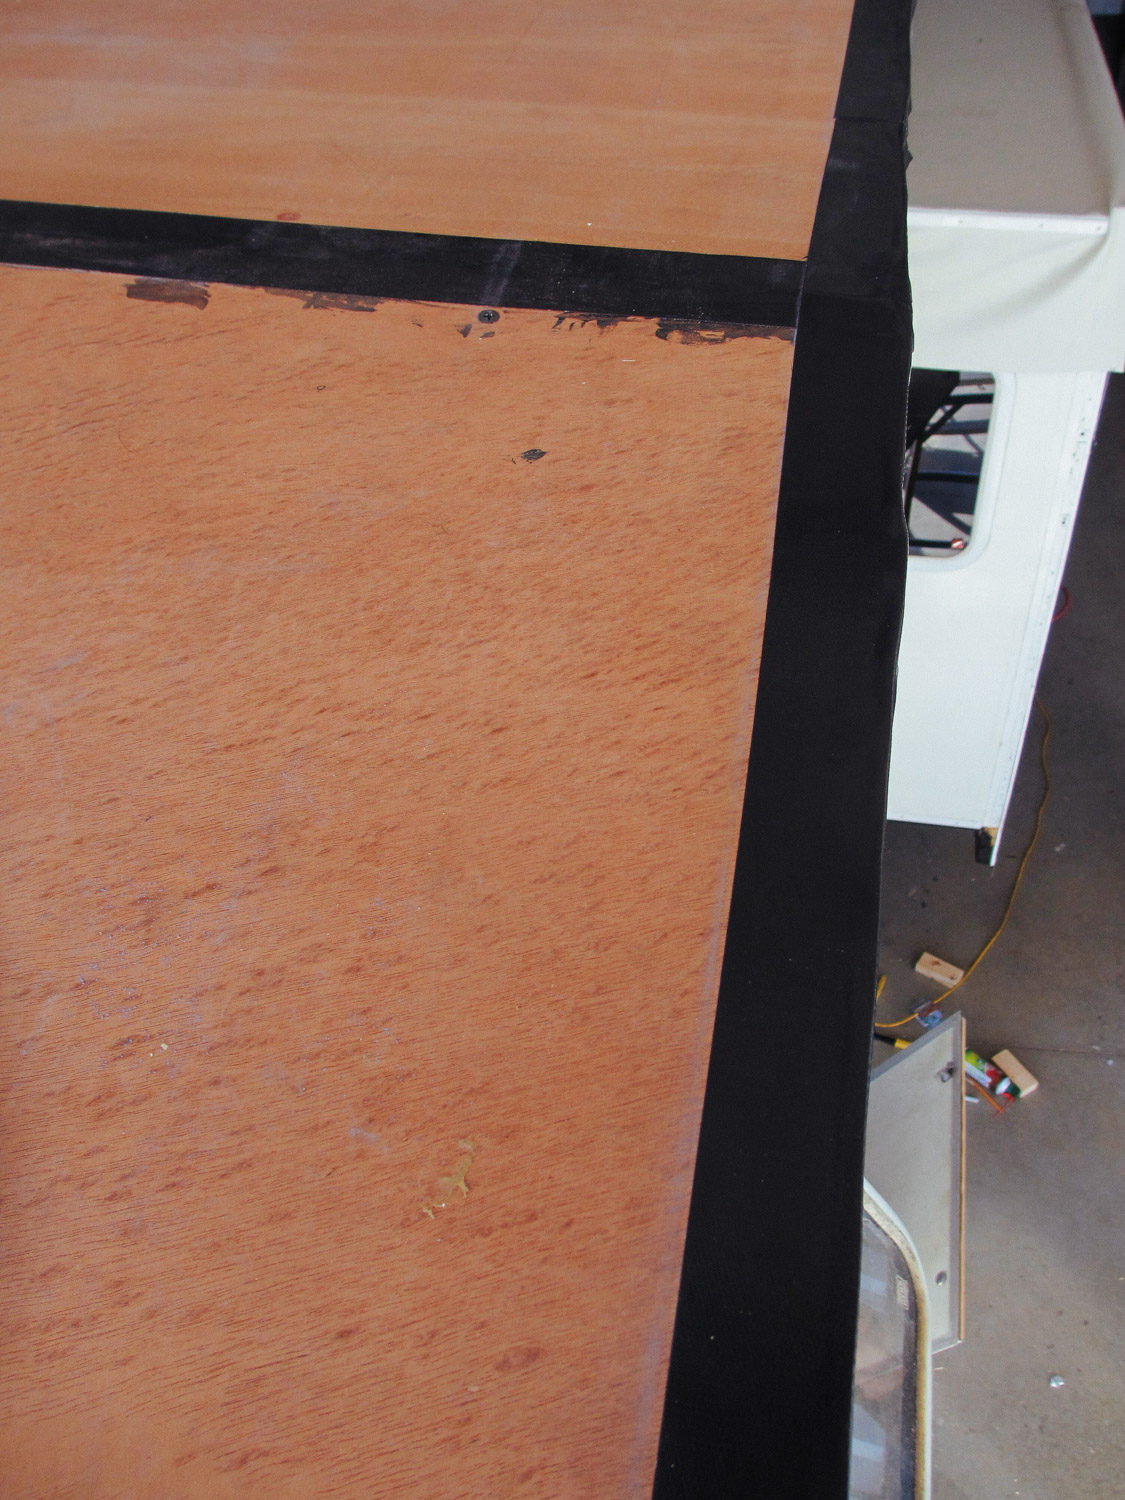
We also covered the rough plywood edges with Gorilla tape.
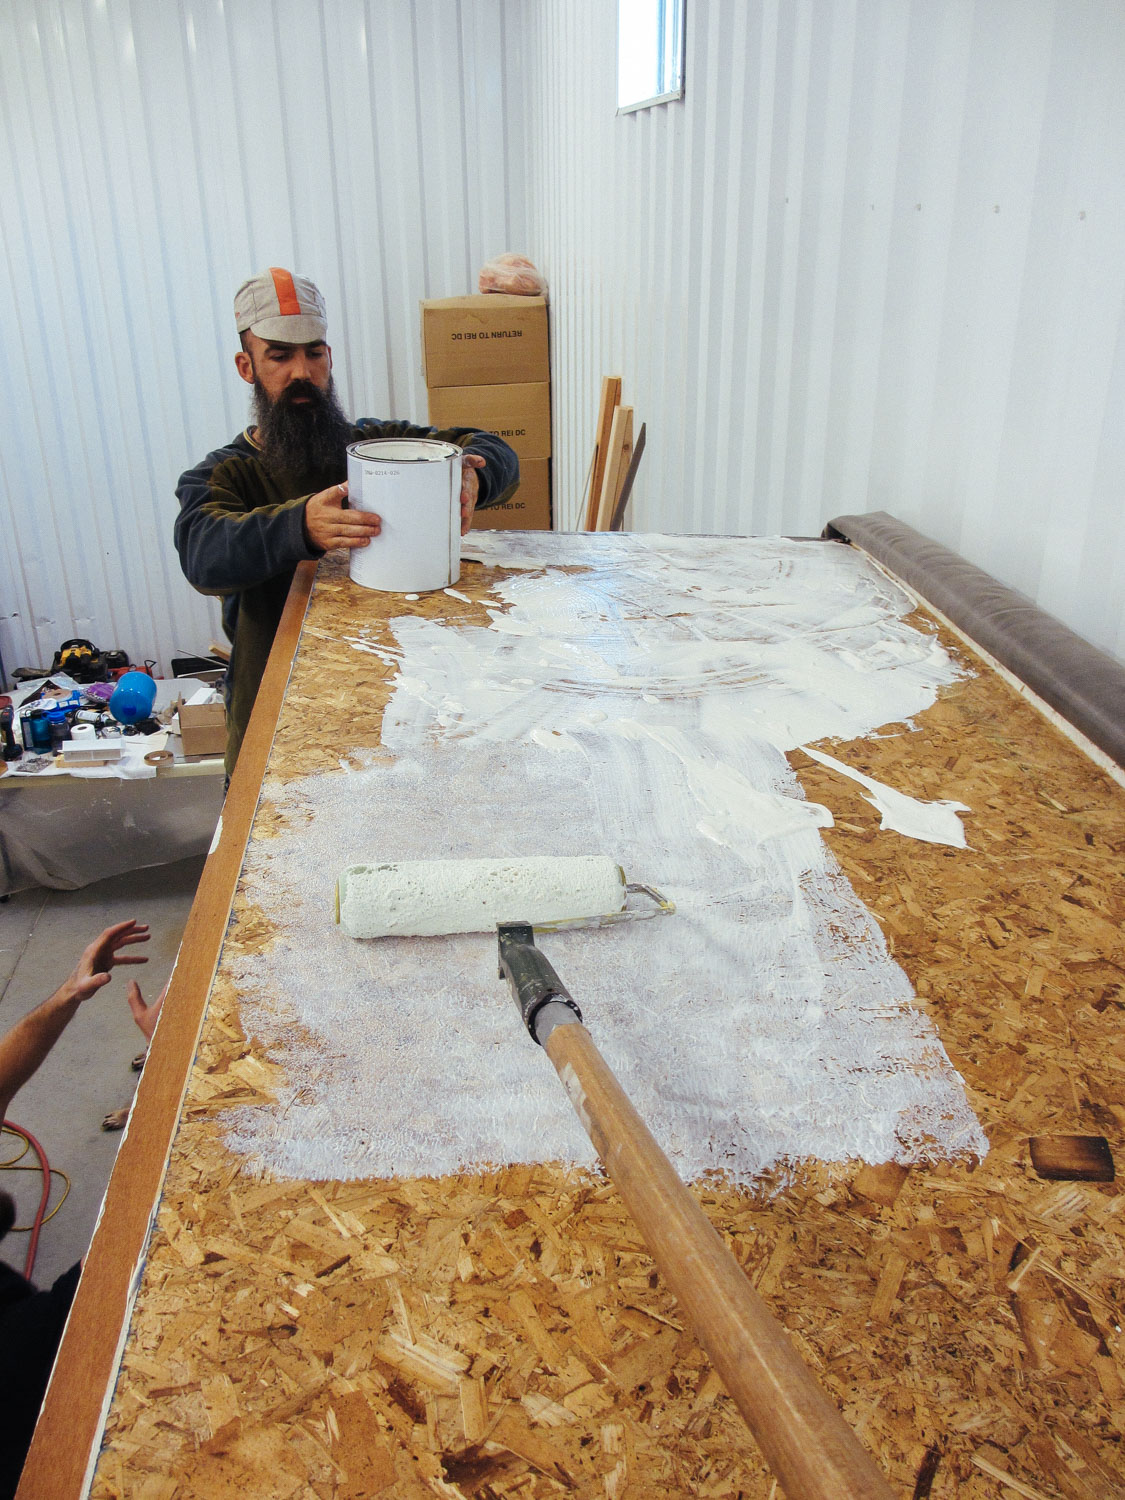
Applying roof adhesive to the slide.
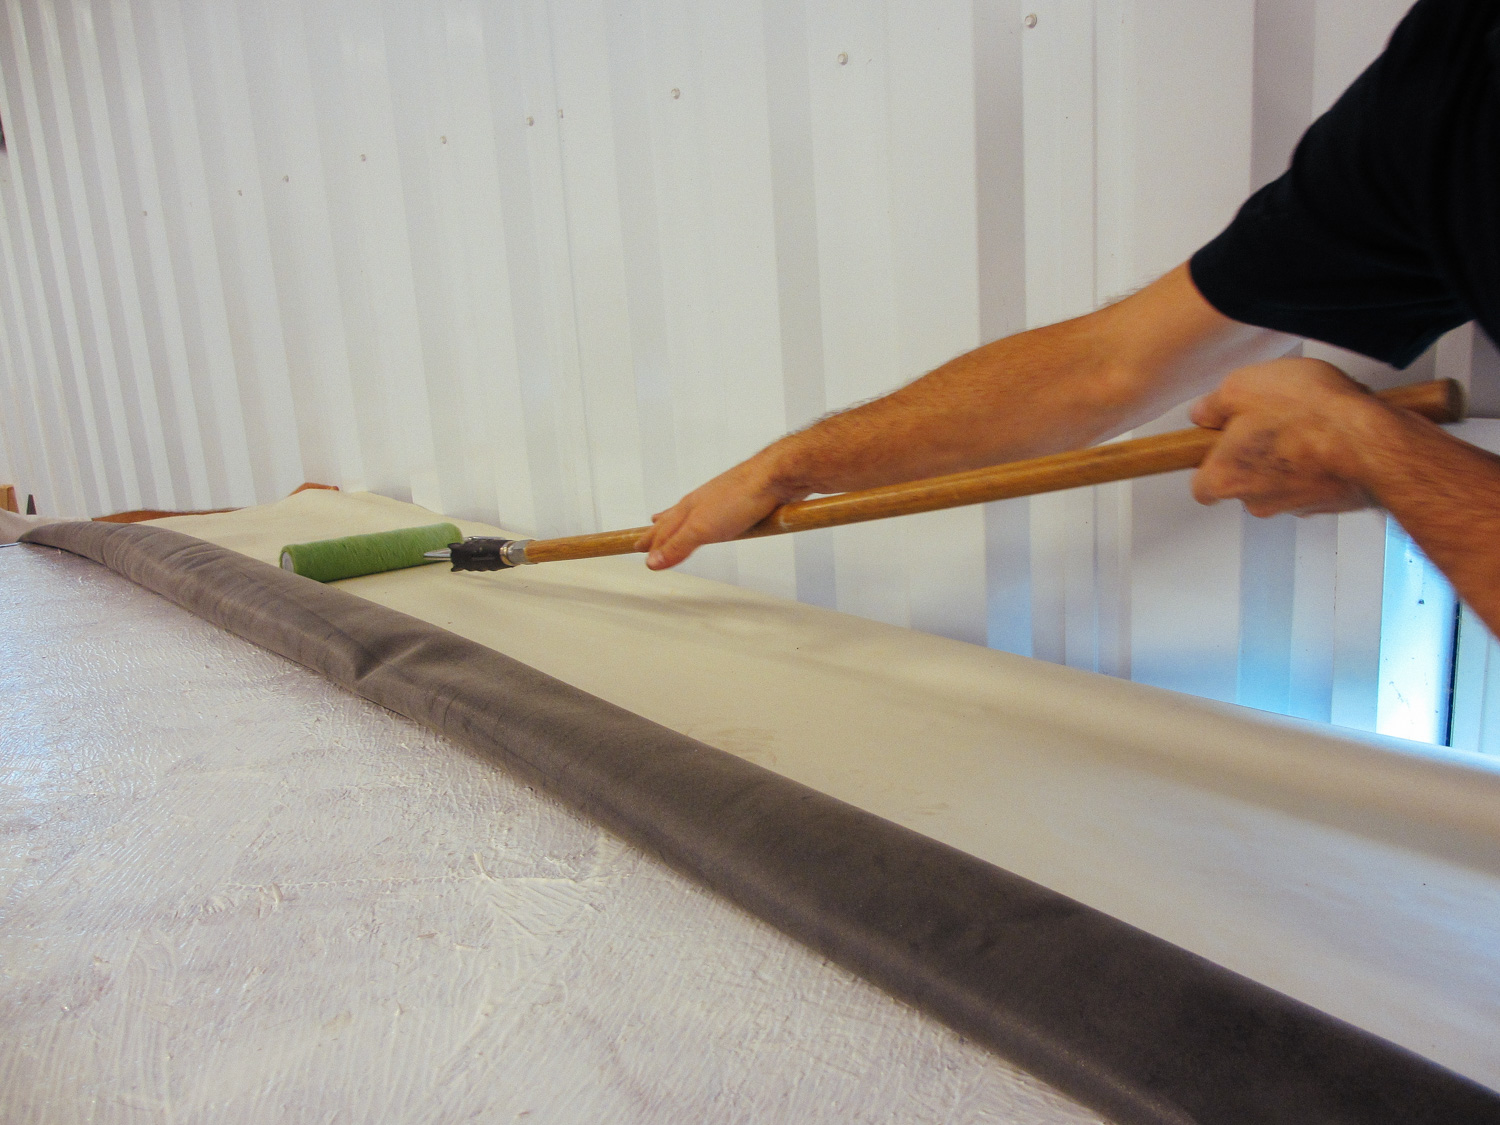
The rubber roof membrane was then rolled out and we used a paint roller to smooth it.
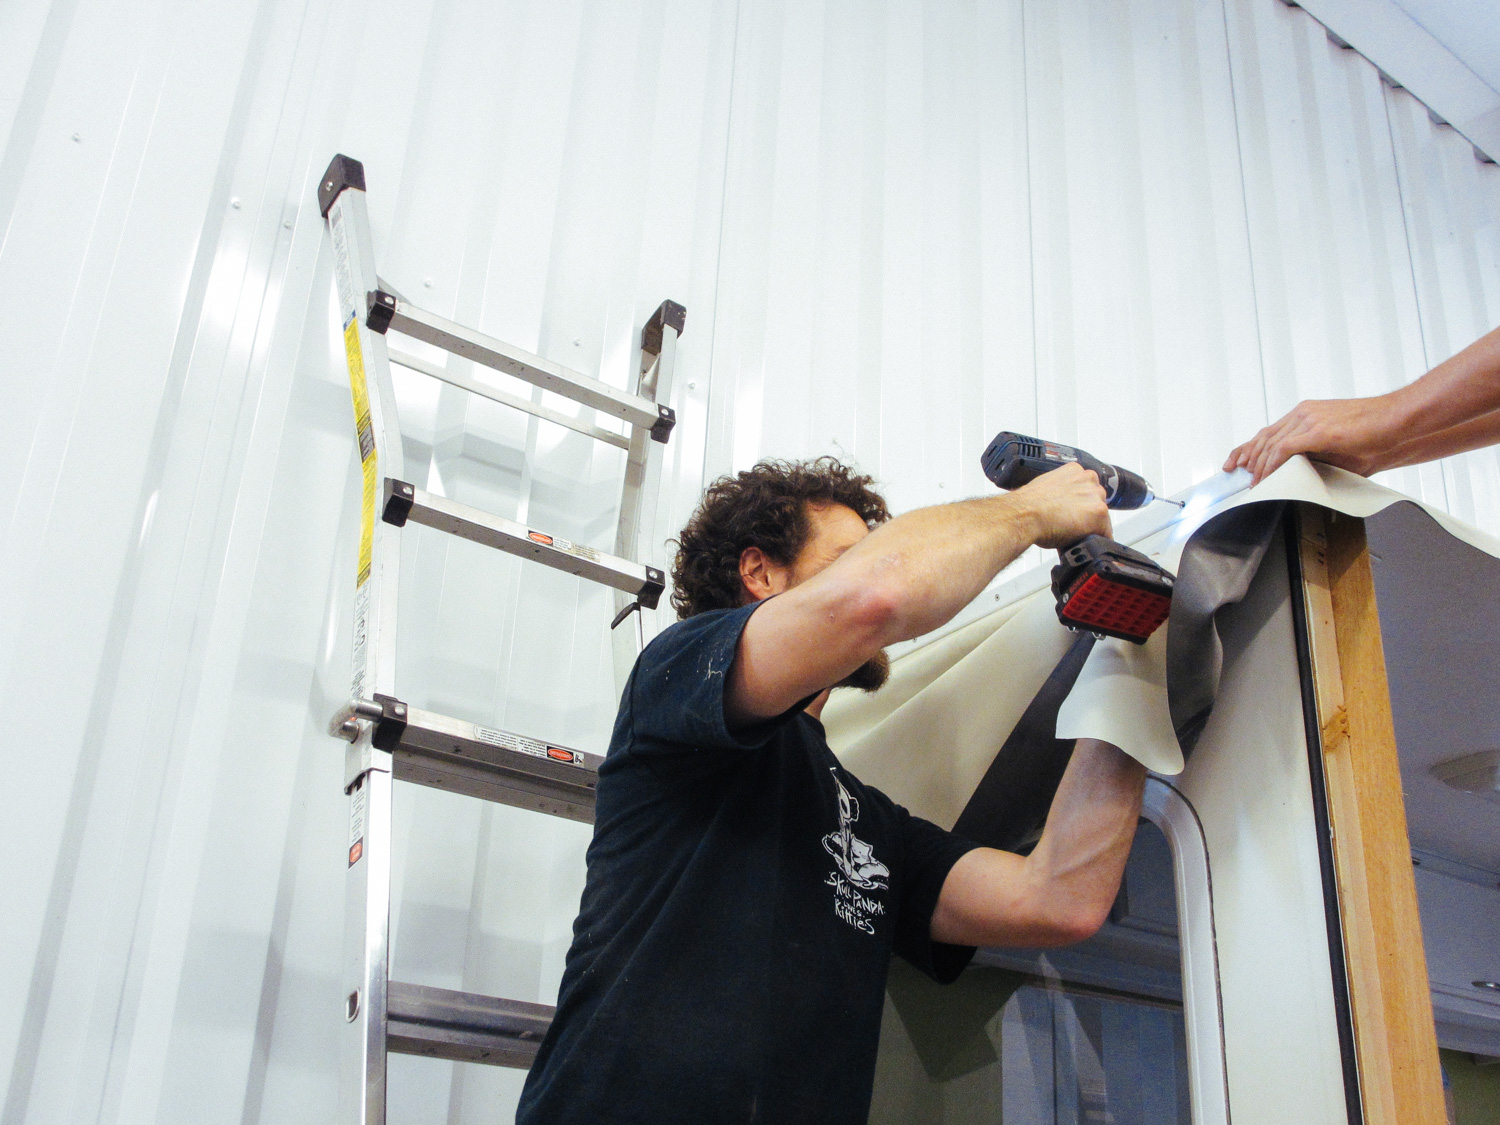
Once the roof membrane was on, the slide roof trim pieces were screwed back on.
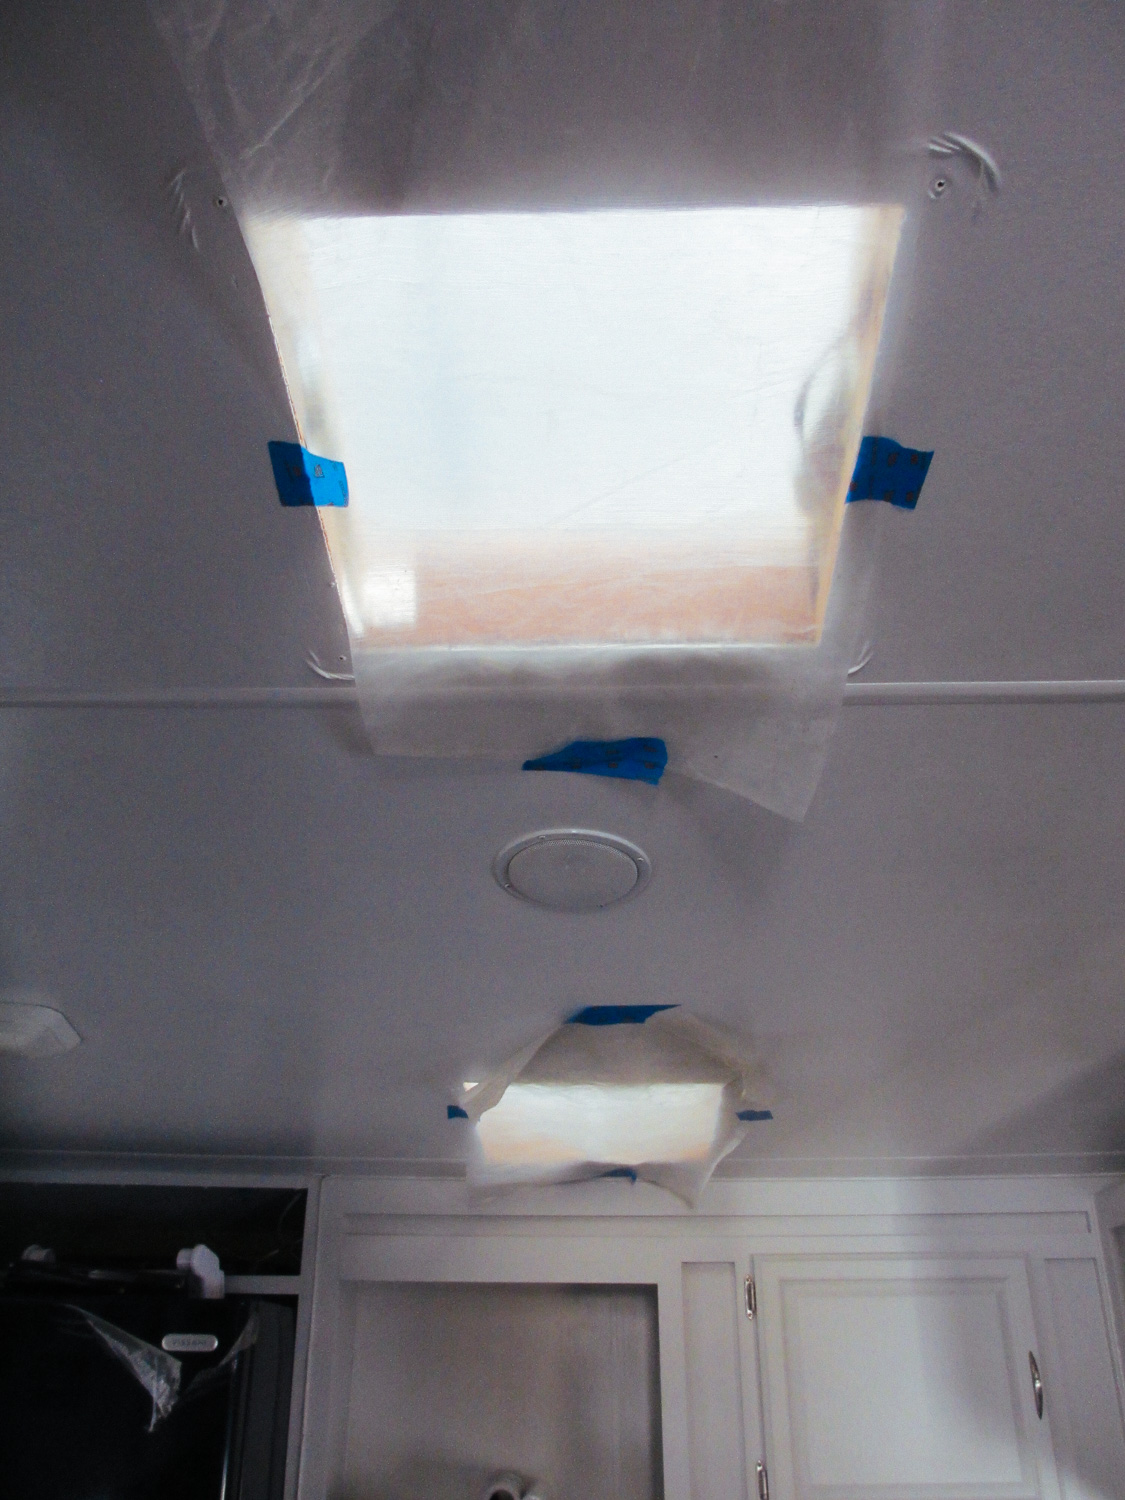
We covered the inside of the vent holes with plastic to prevent roof adhesive dripping into the rig.
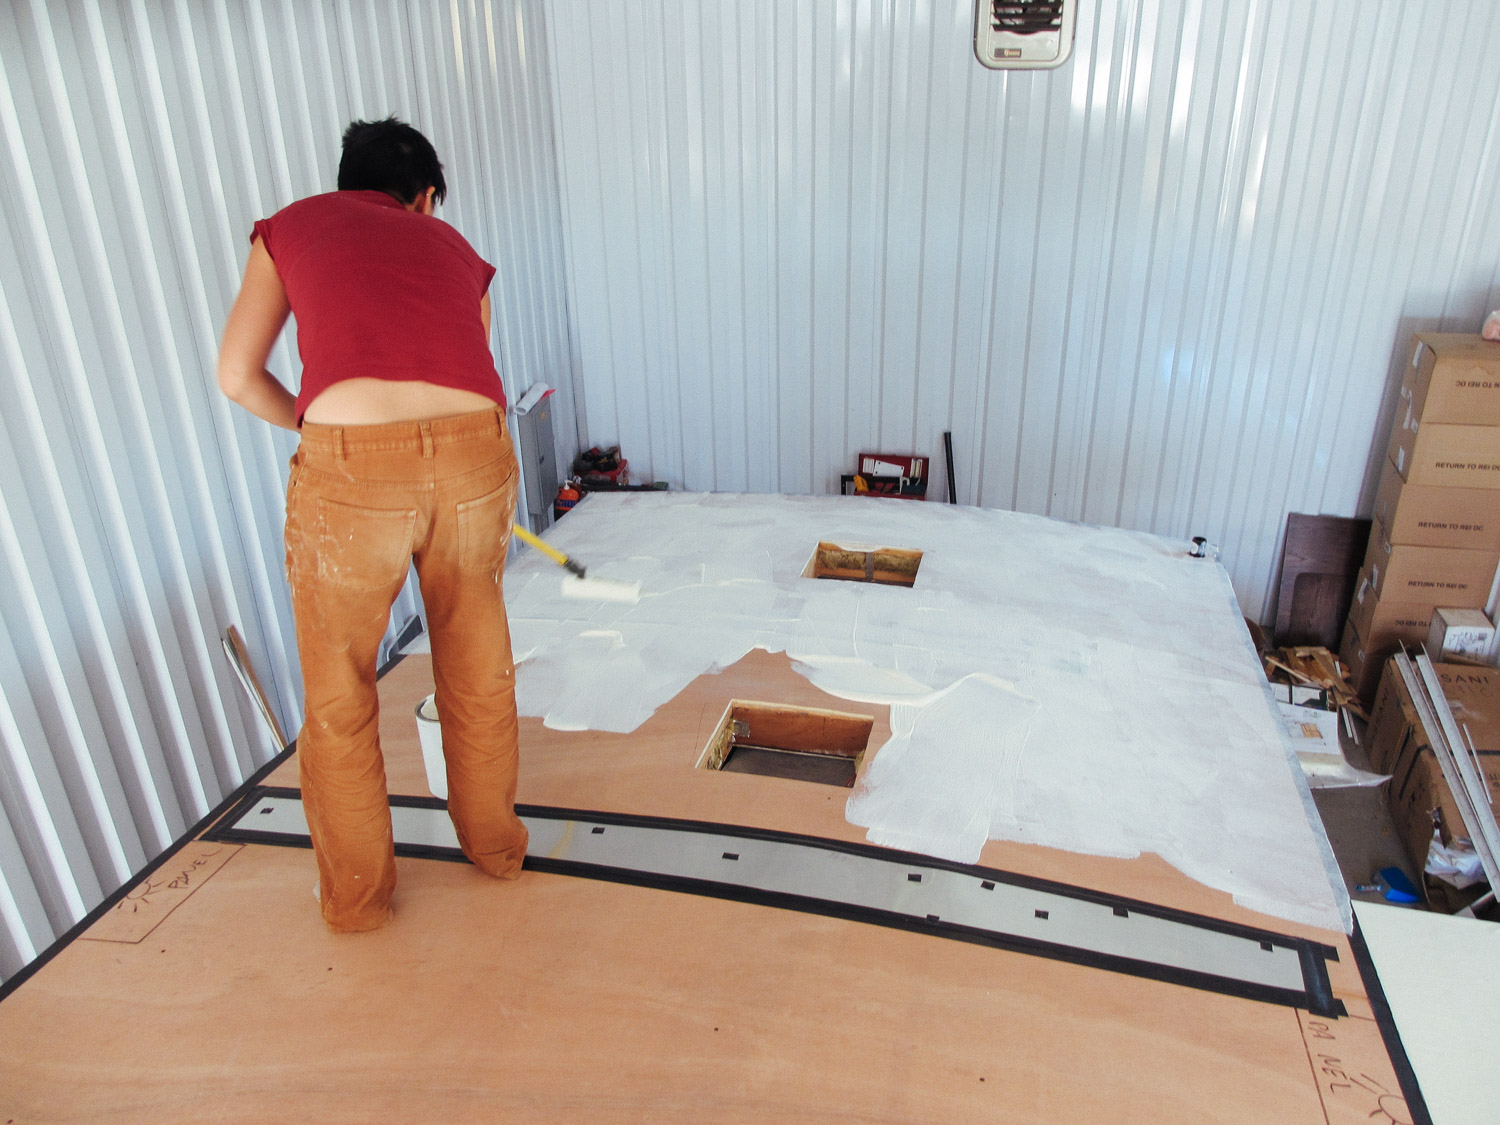
The same process we used to put the rubber roof membrane on the slide was used on the rest of the RV's roof.
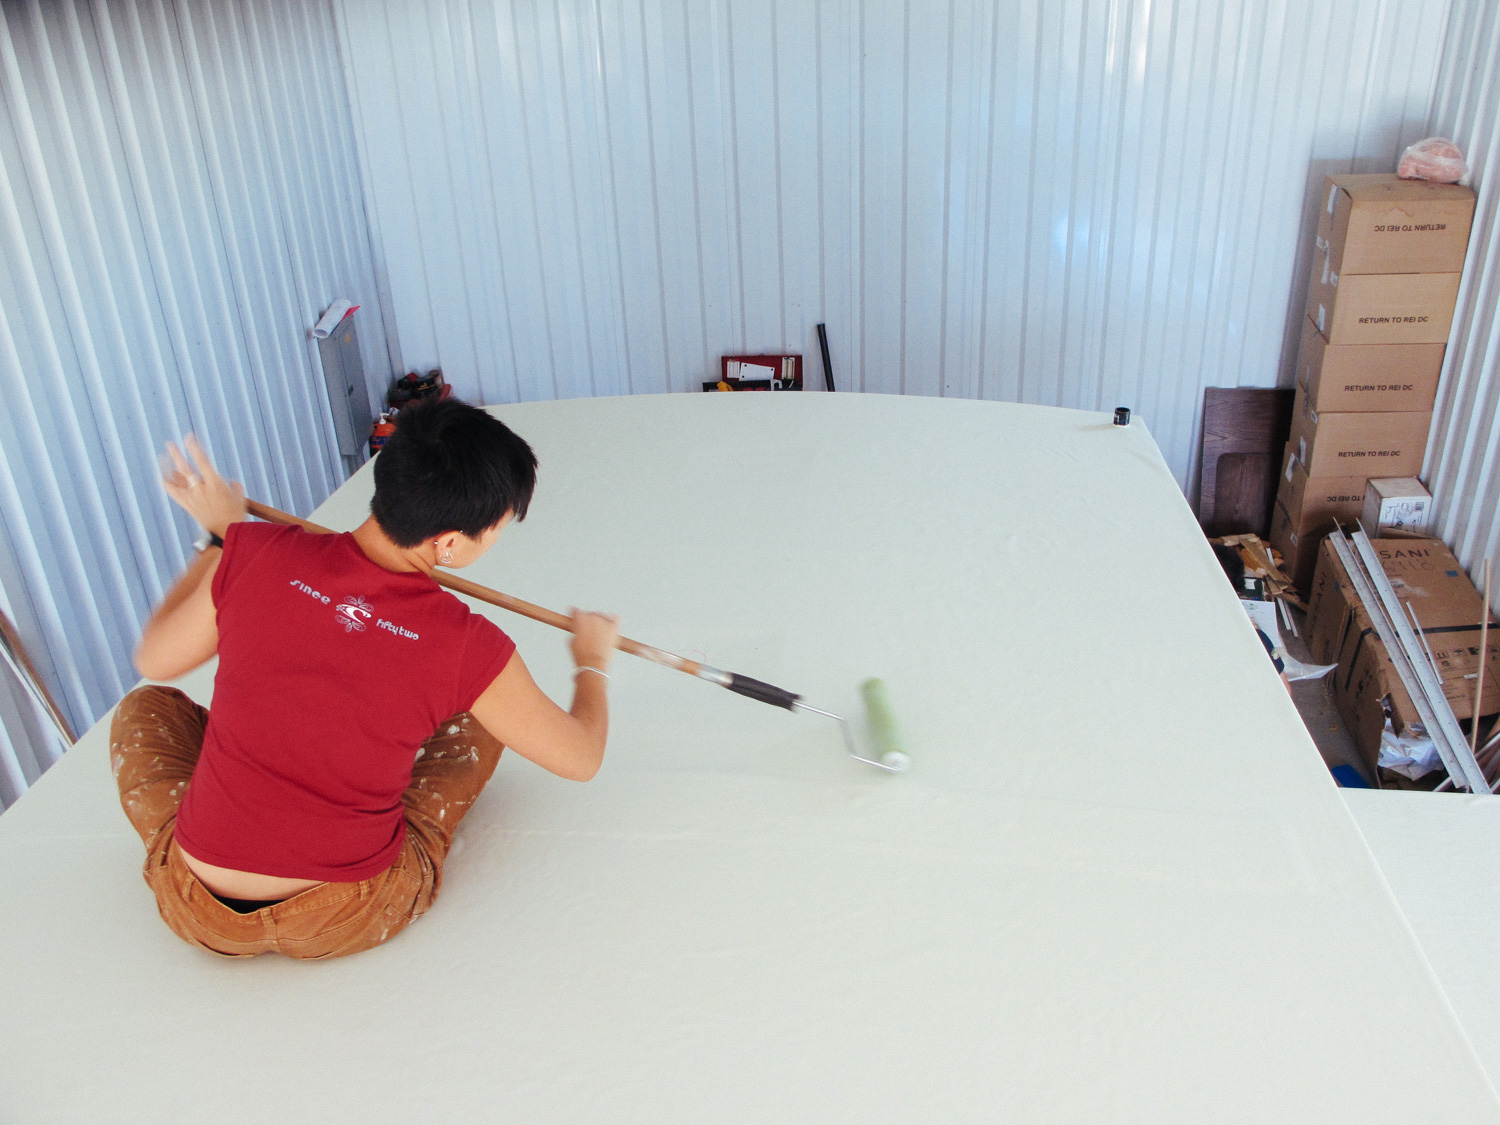
We made sure there weren't any air bubbles under the rubber membrane.
We marked the vent holes so we didn't accidentally step through them.
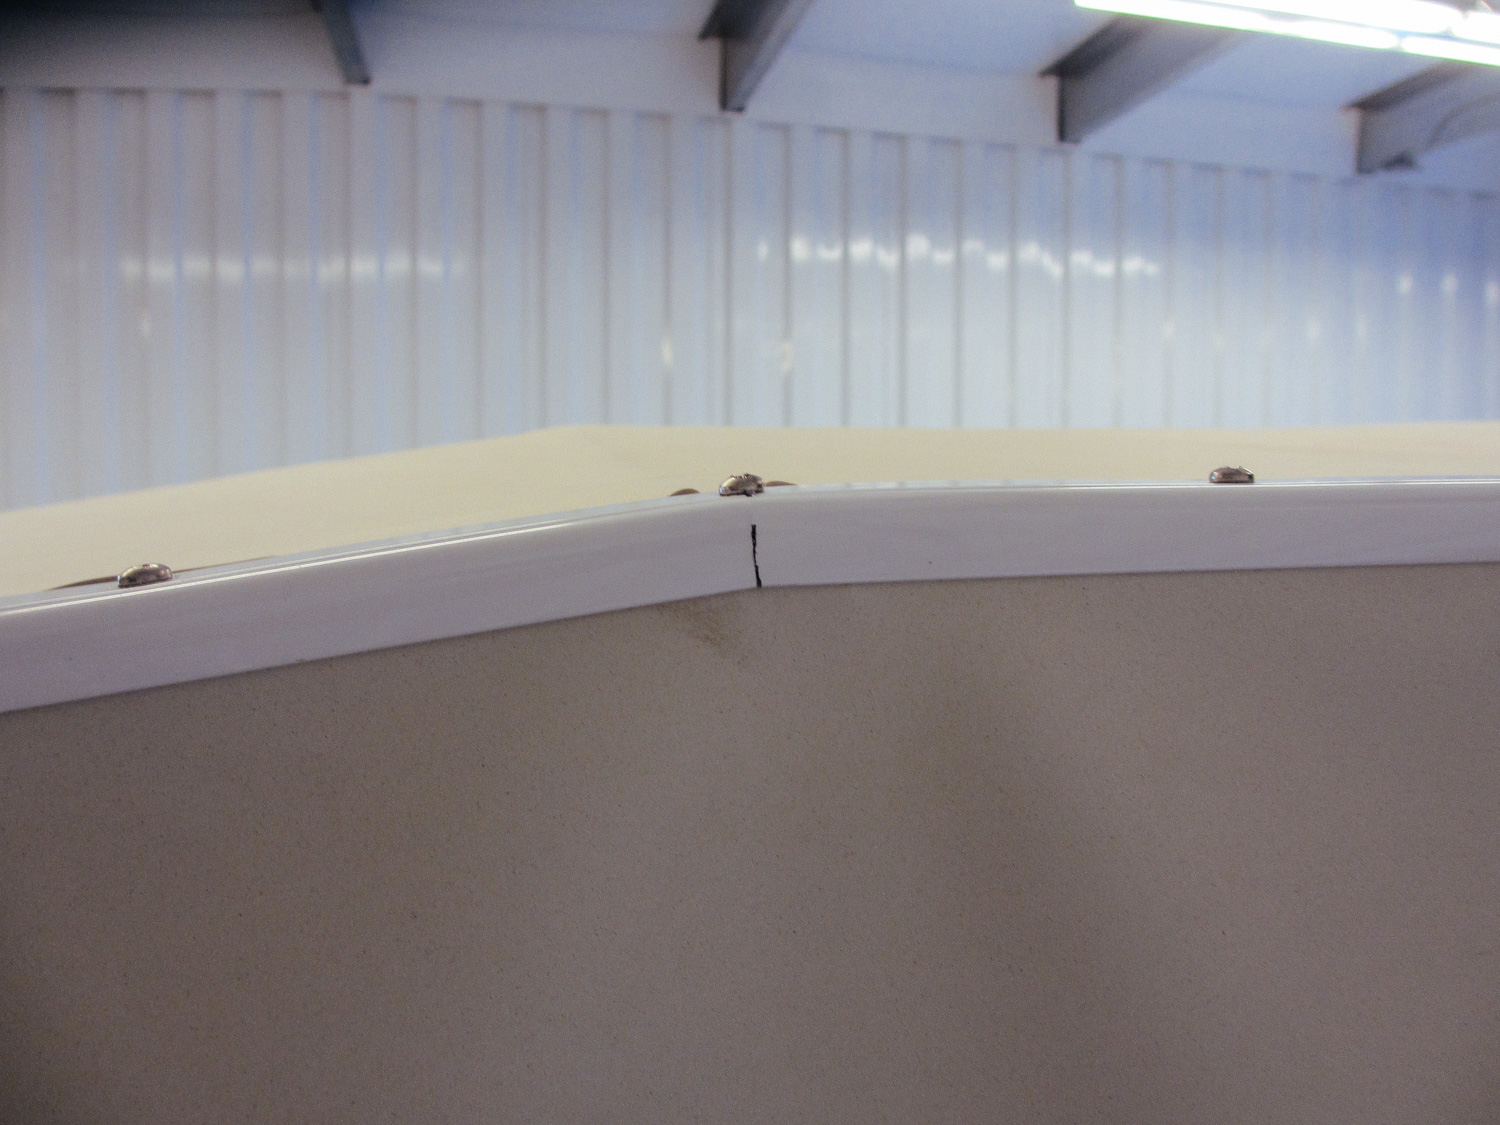
Sections of the roof trim pieces had to be cut so it could be bent at an angle to fit the roof.
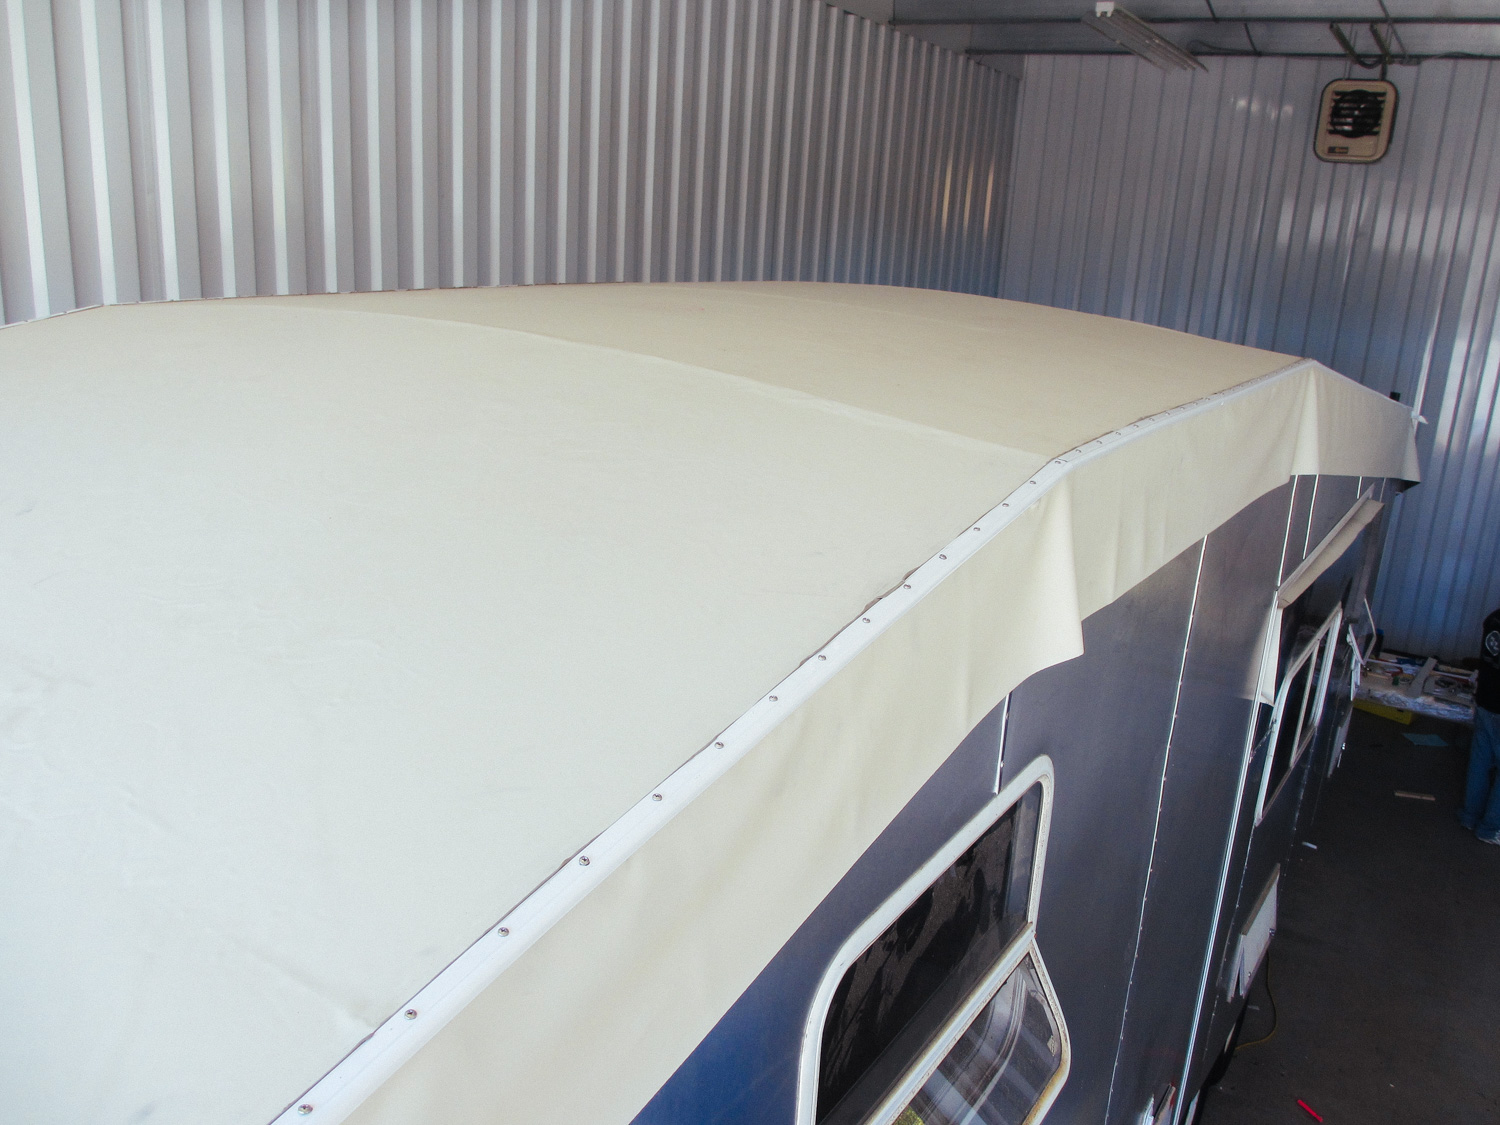
What it looked like with all the trim pieces on.
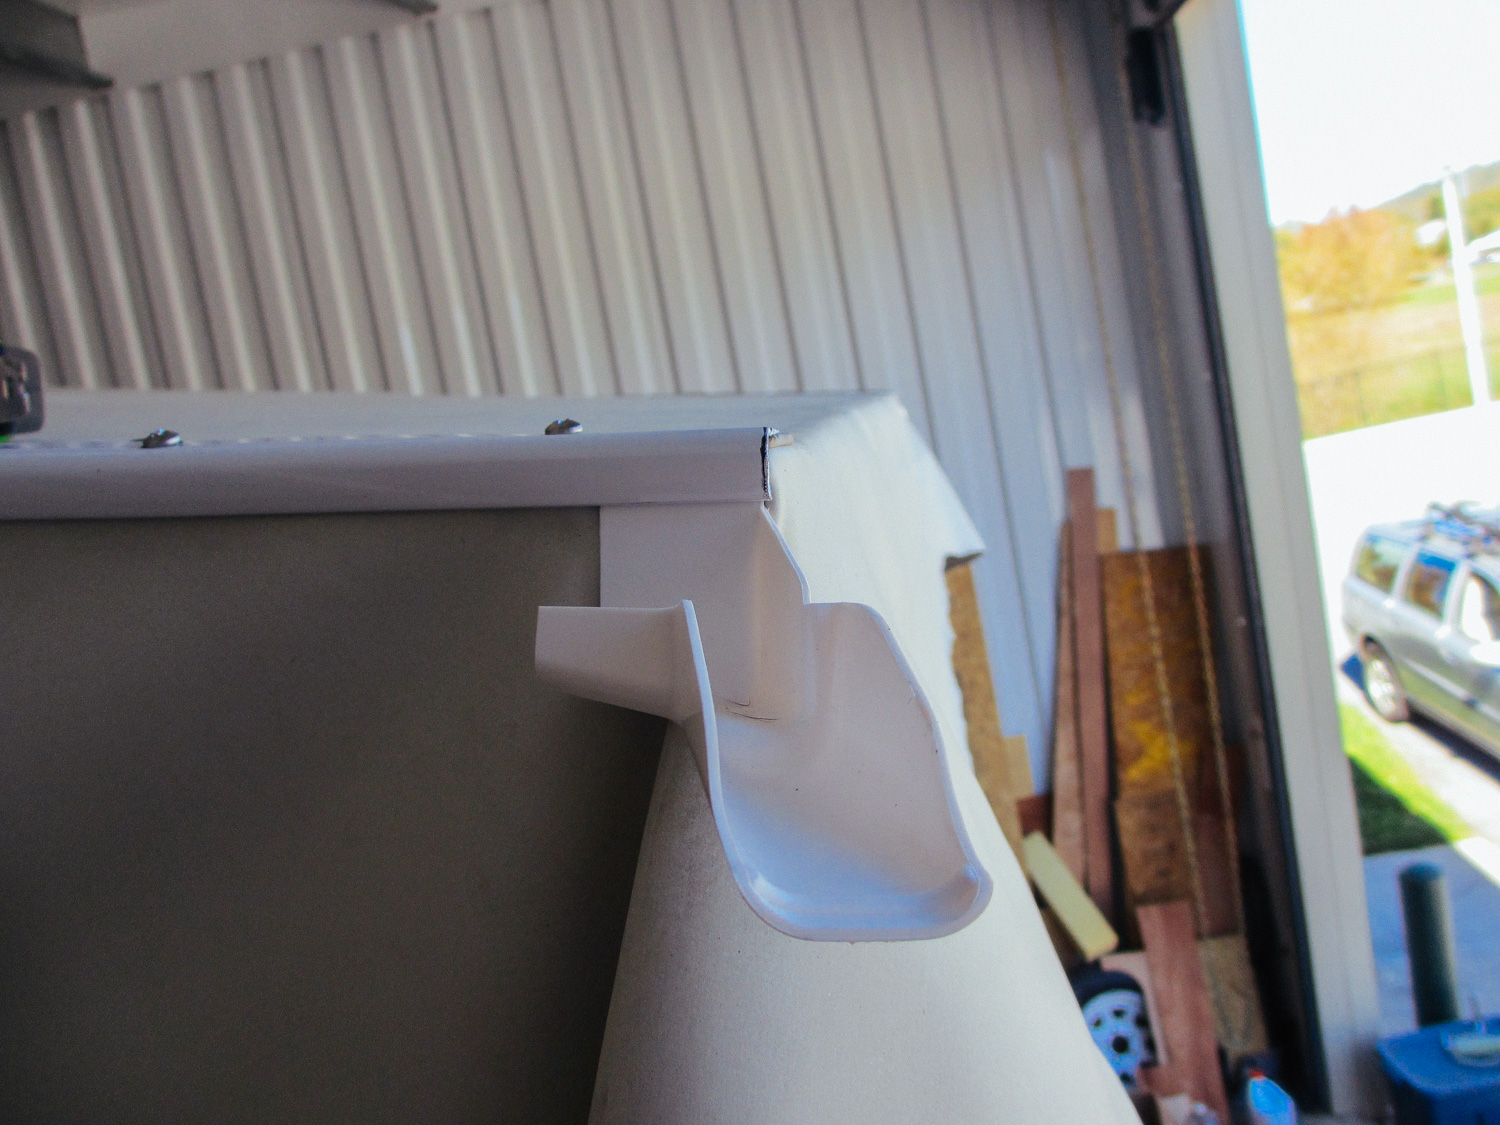
Gutter spouts were installed at each corner of the roof. Two got ripped off - one from another RV hitting us (same incident that ruined our front bedroom window cover) and the other probably got torn off driving down backroads with a lot of trees.
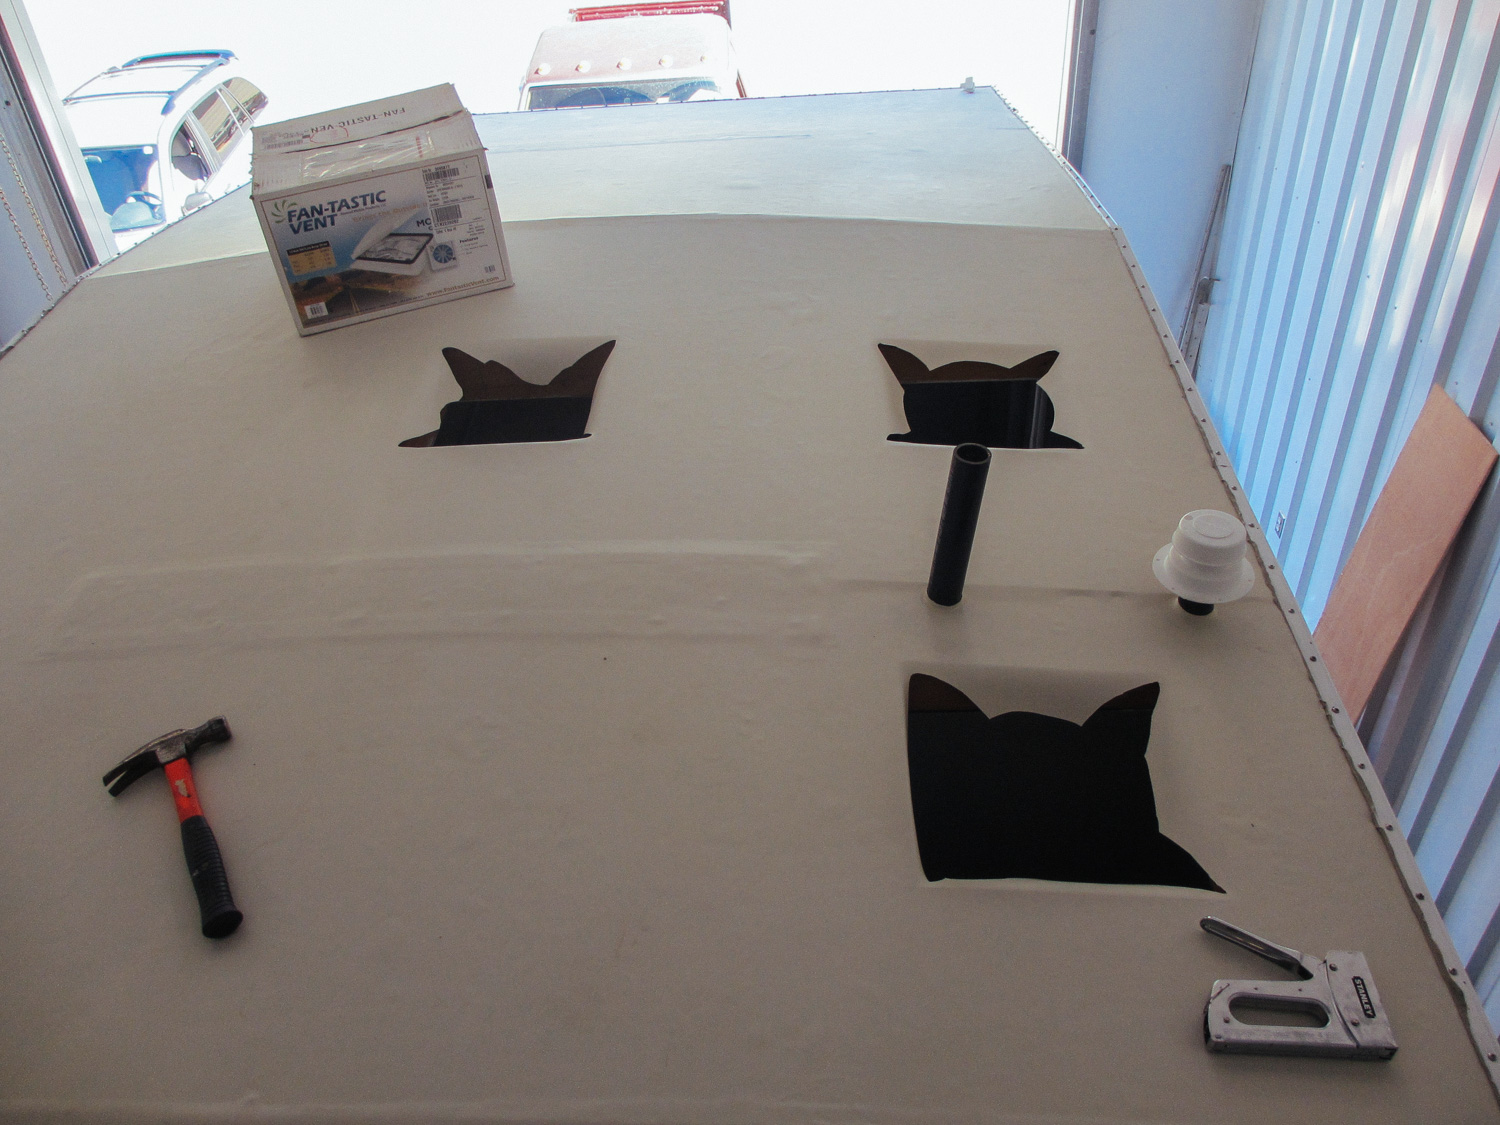
Vent holes were cut out.
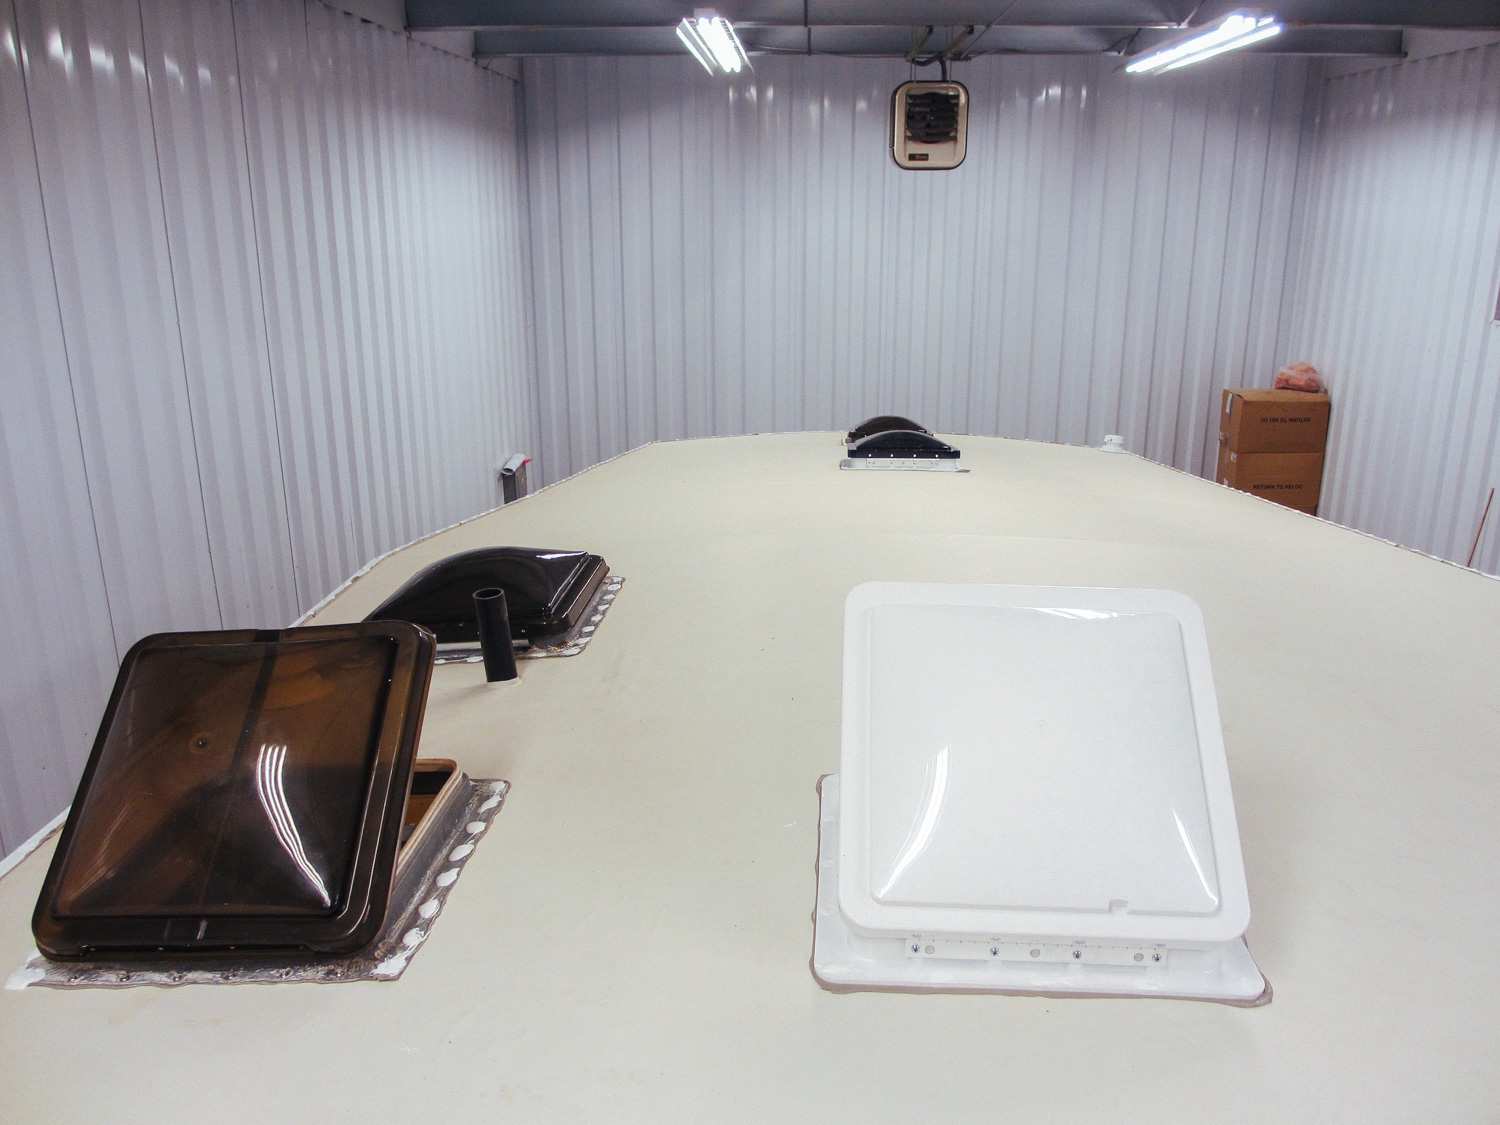
Fans and vent covers were installed. We later switched out the white vent cover for a smoke tinted one.
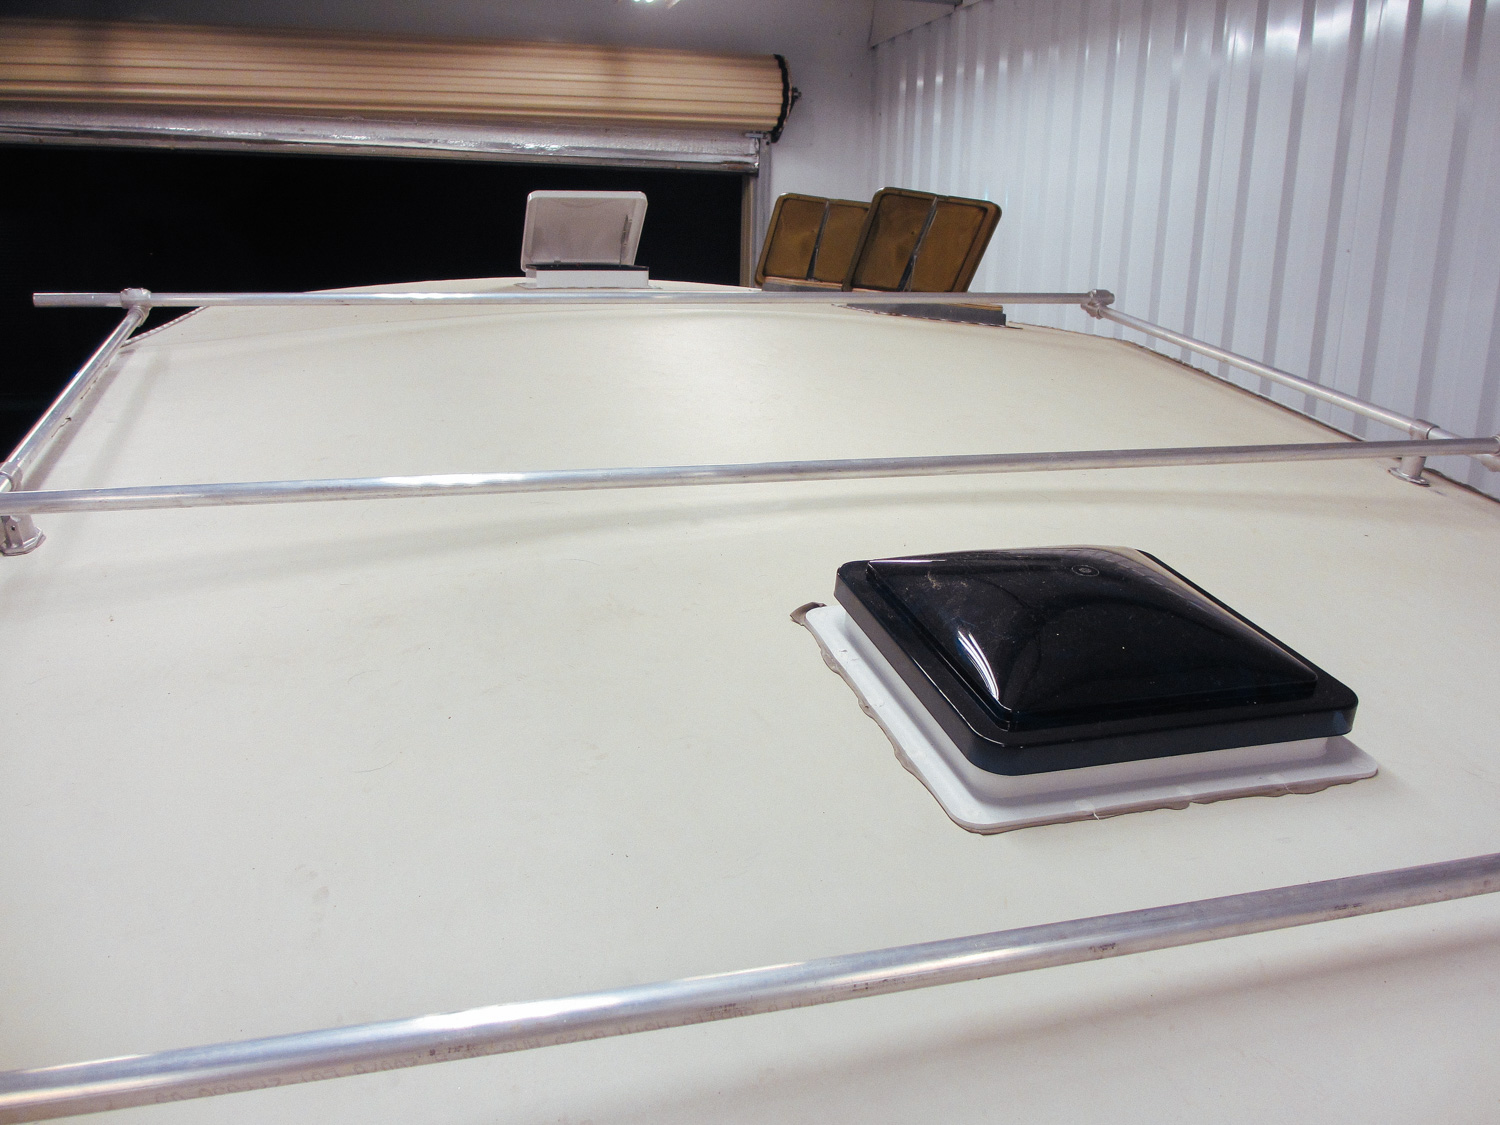
The rack to hold our four solar panels.
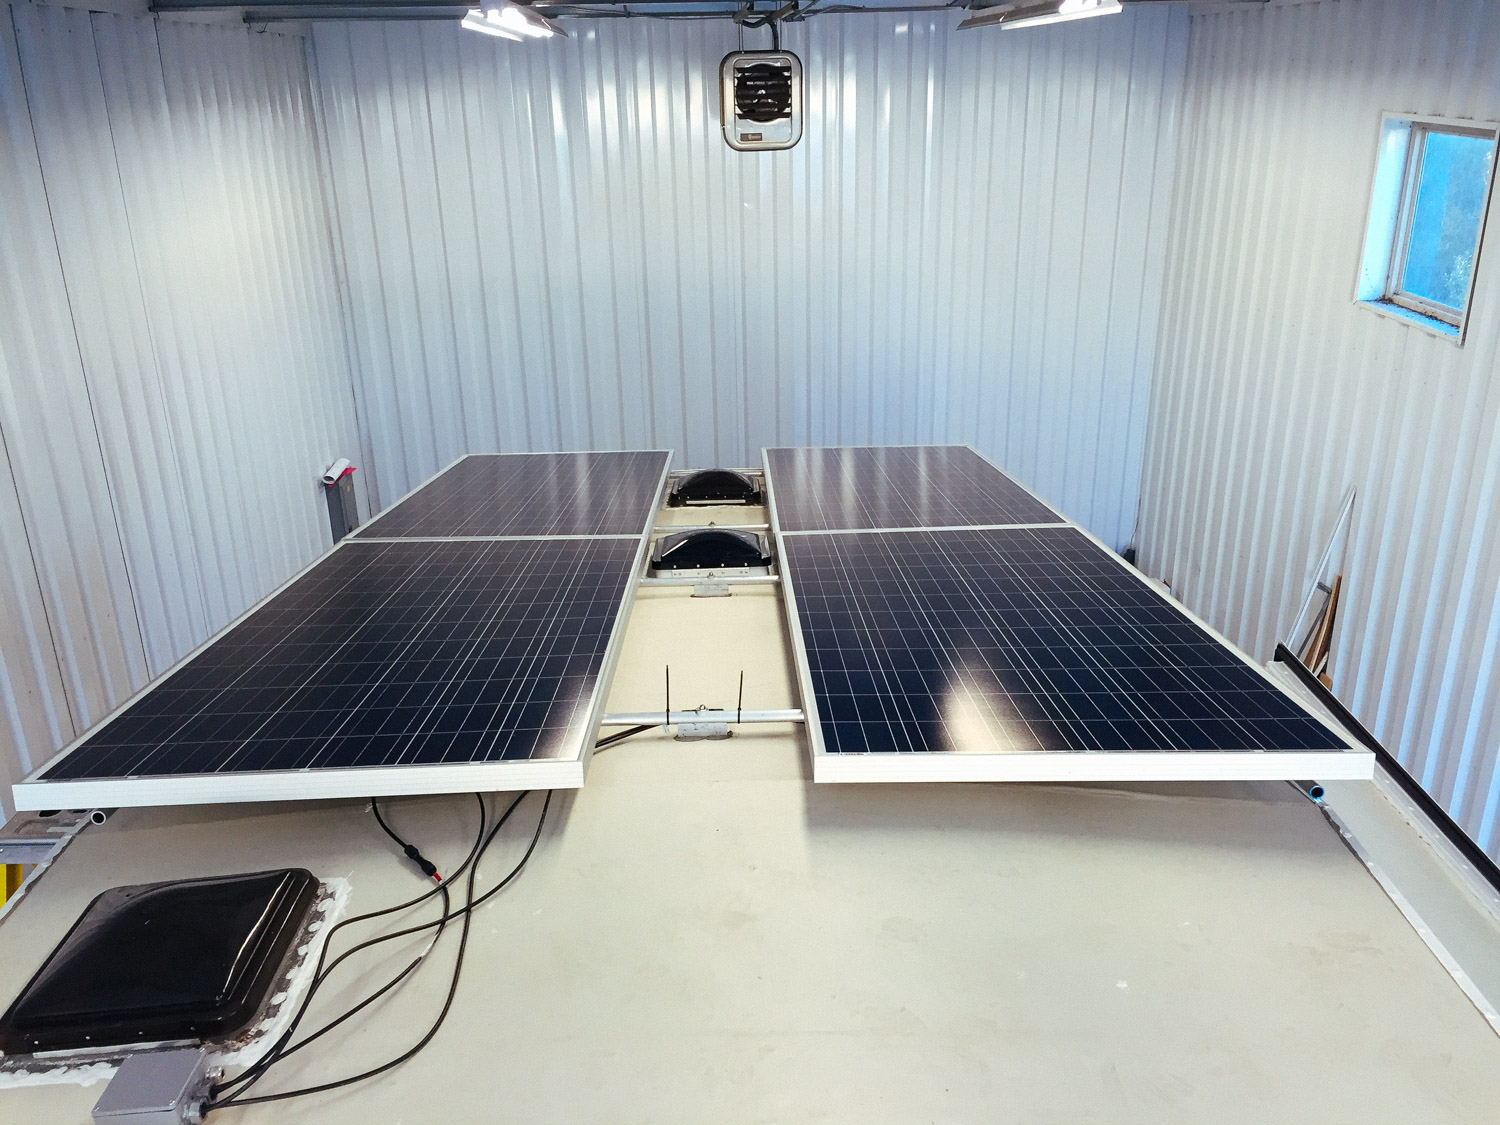
Four 305 watt solar panels installed on the rack.


posts about the roof
Bedroom
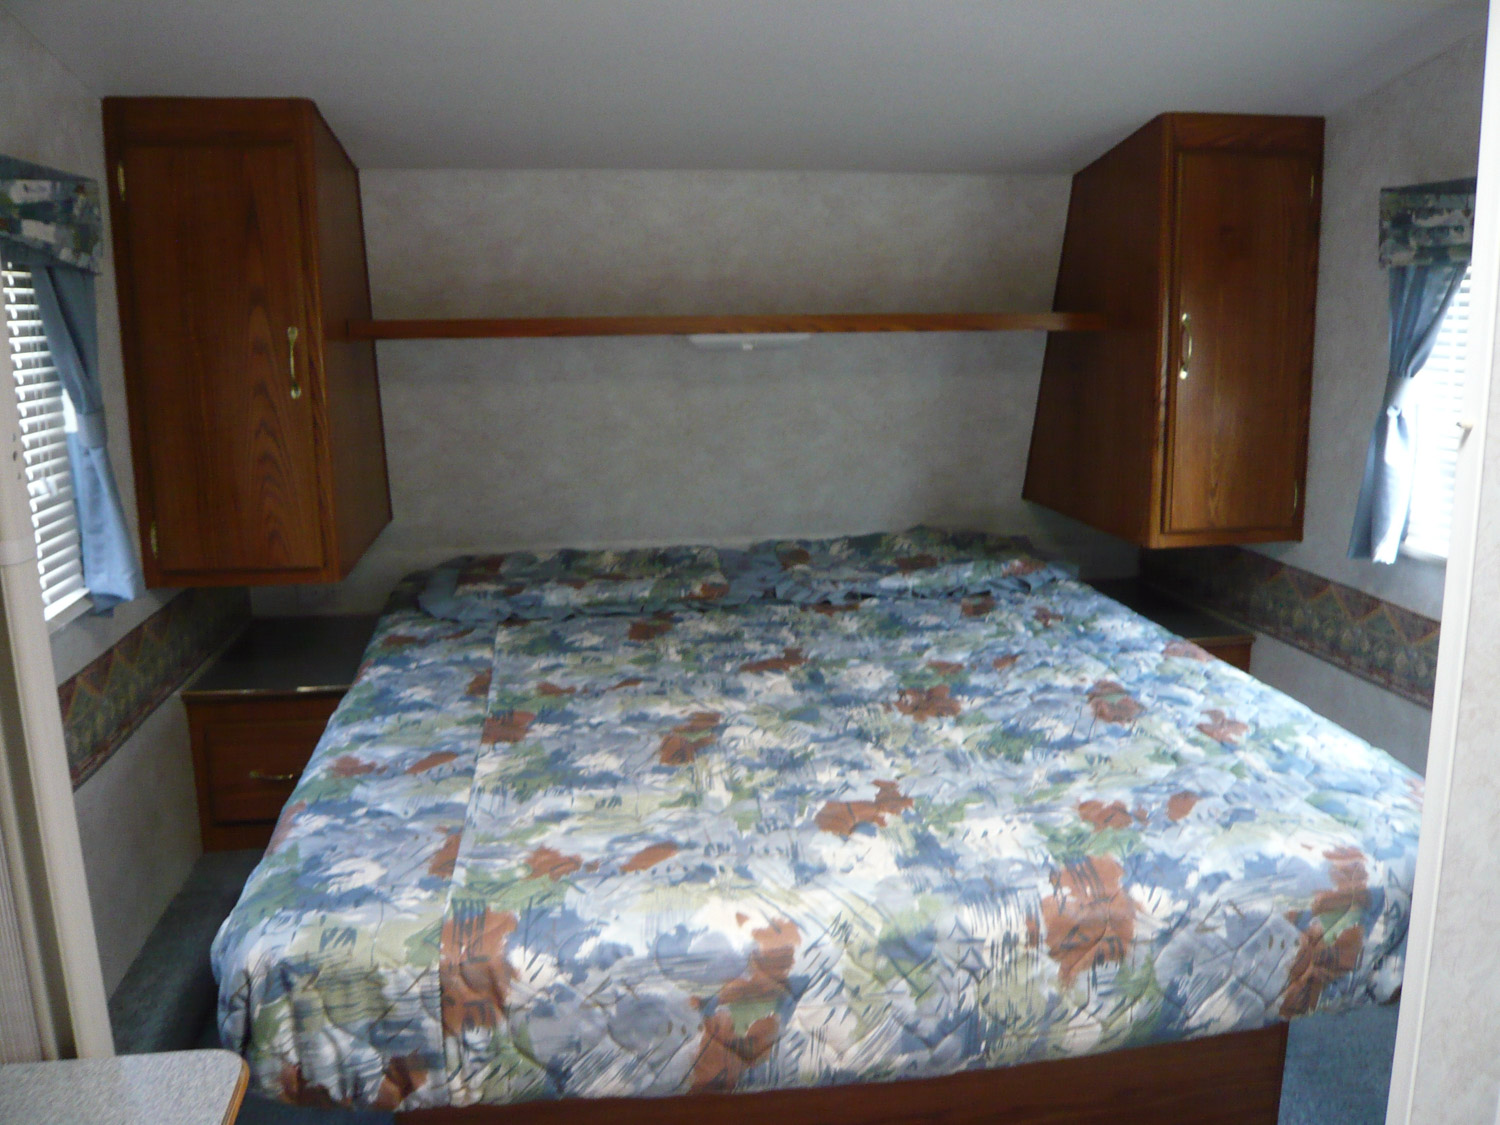
The original bedroom.

The front bedroom walls were heavily damaged by water.
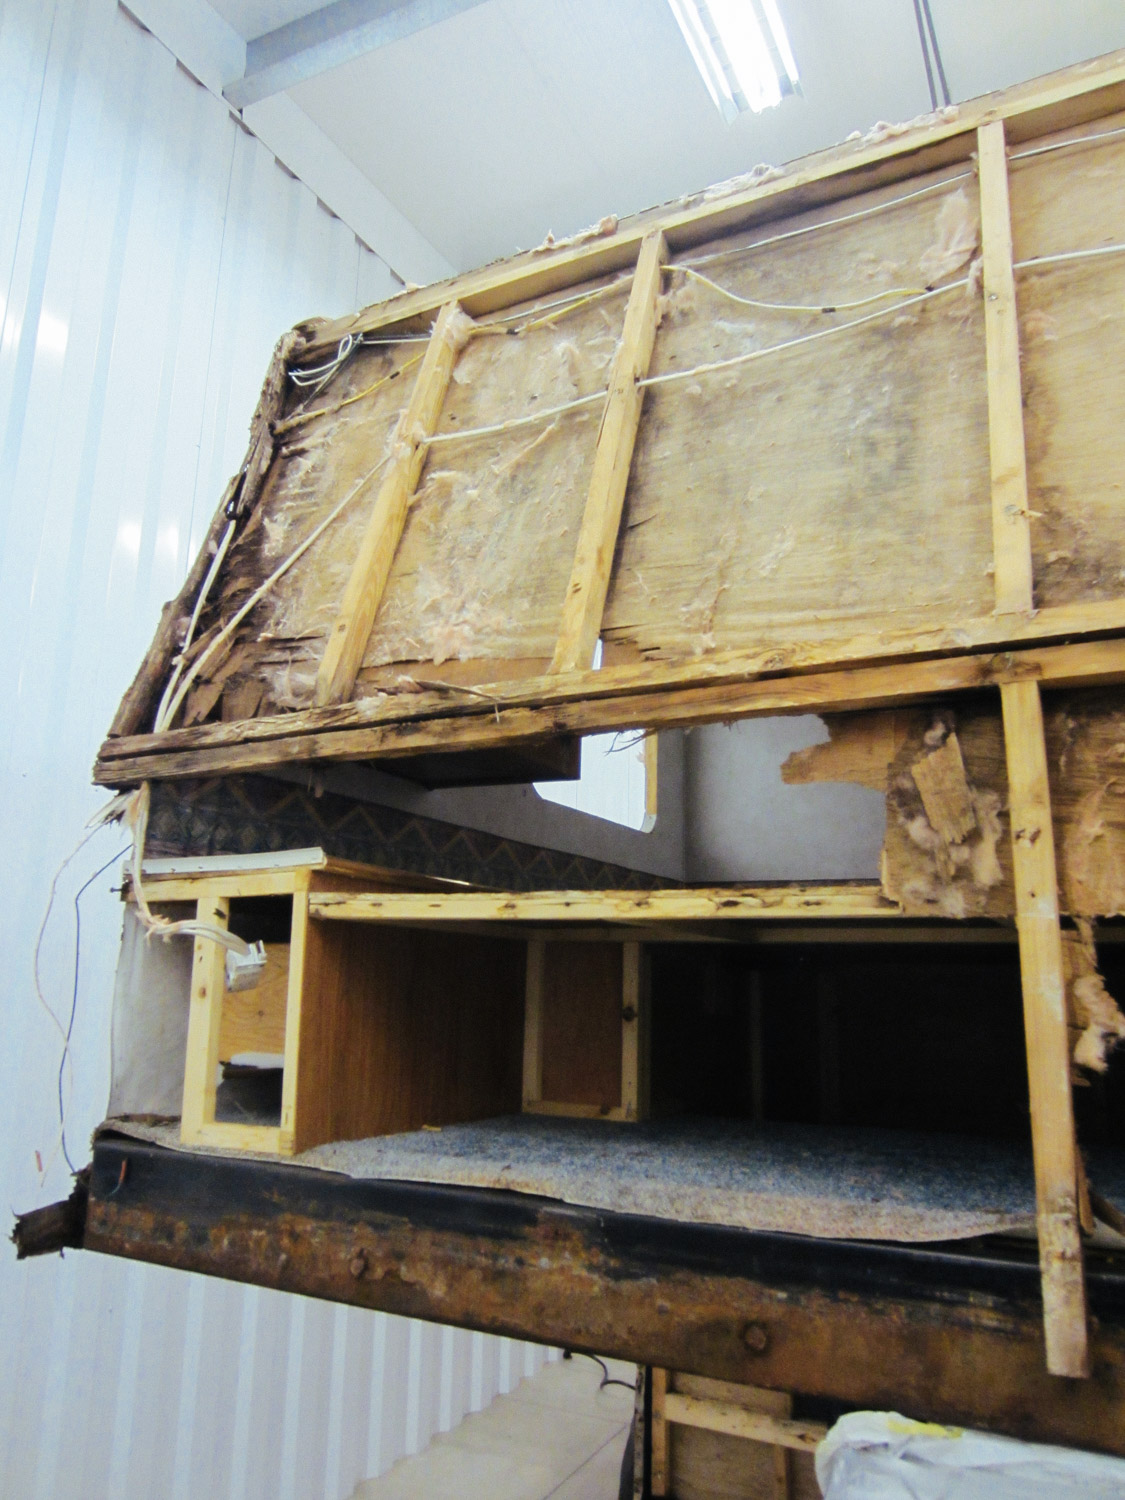
We tore out all the rotted wood.
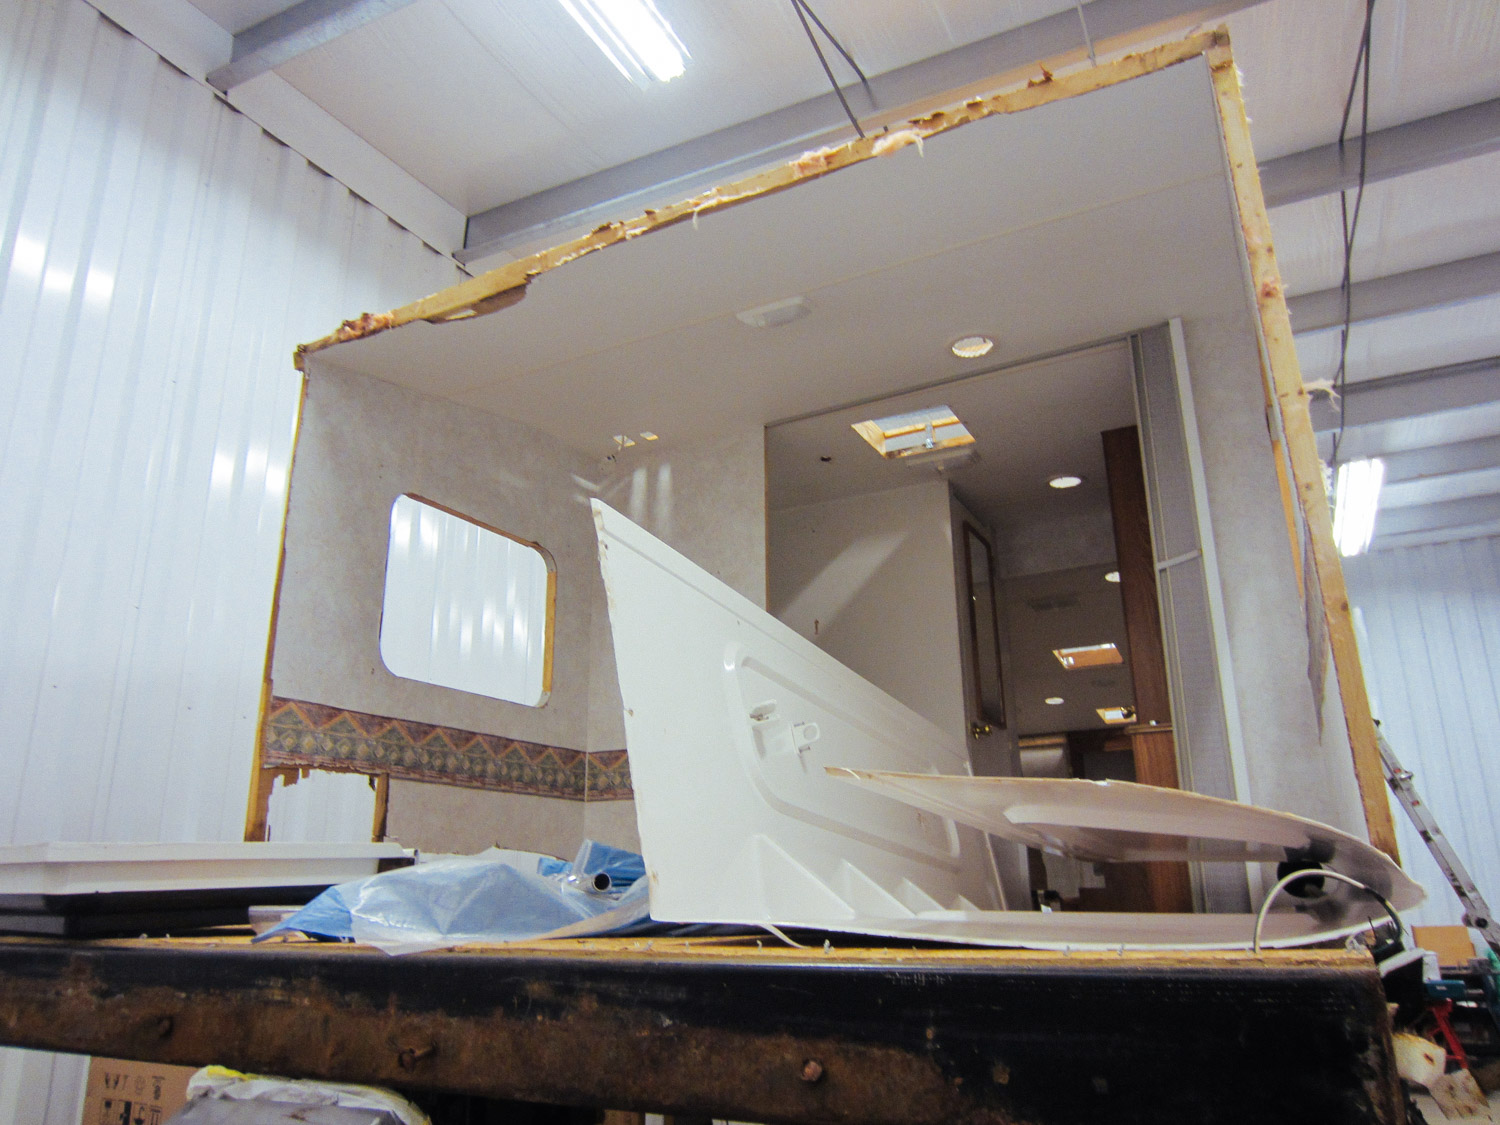
Which ended up being half of the bedroom walls that got demoed.
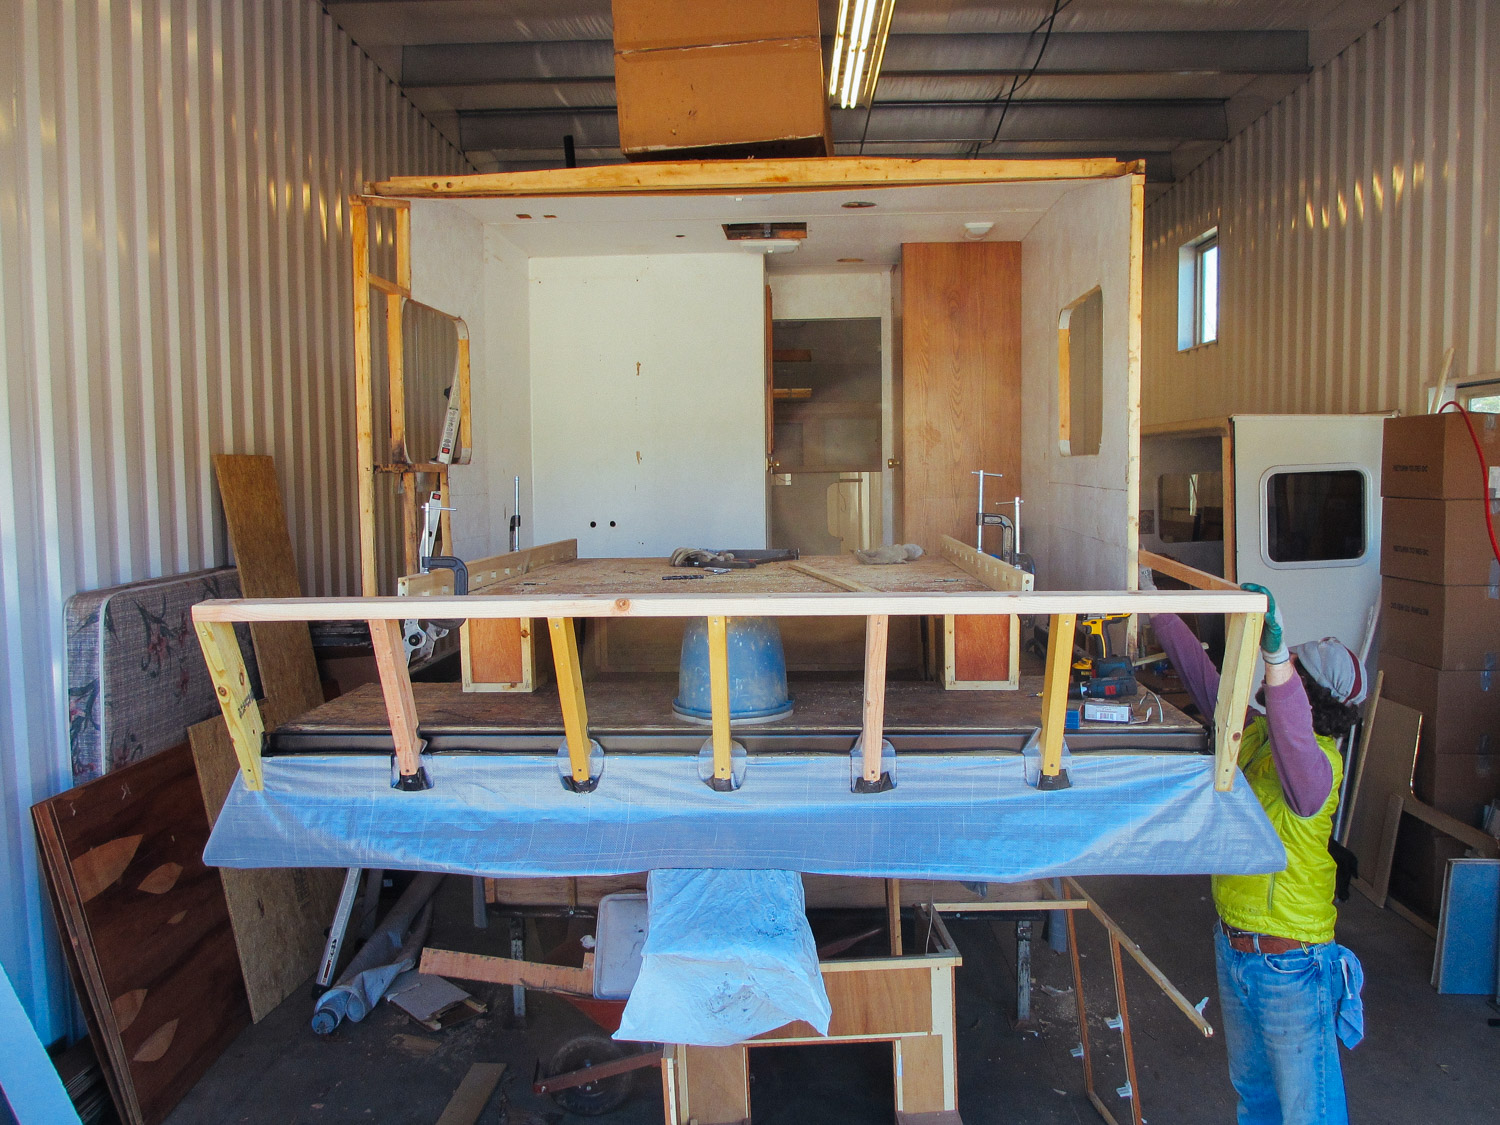
We took the opportunity to extend the bedroom by 6 inches so we could fit a standard (opposed to RV) length queen mattress.
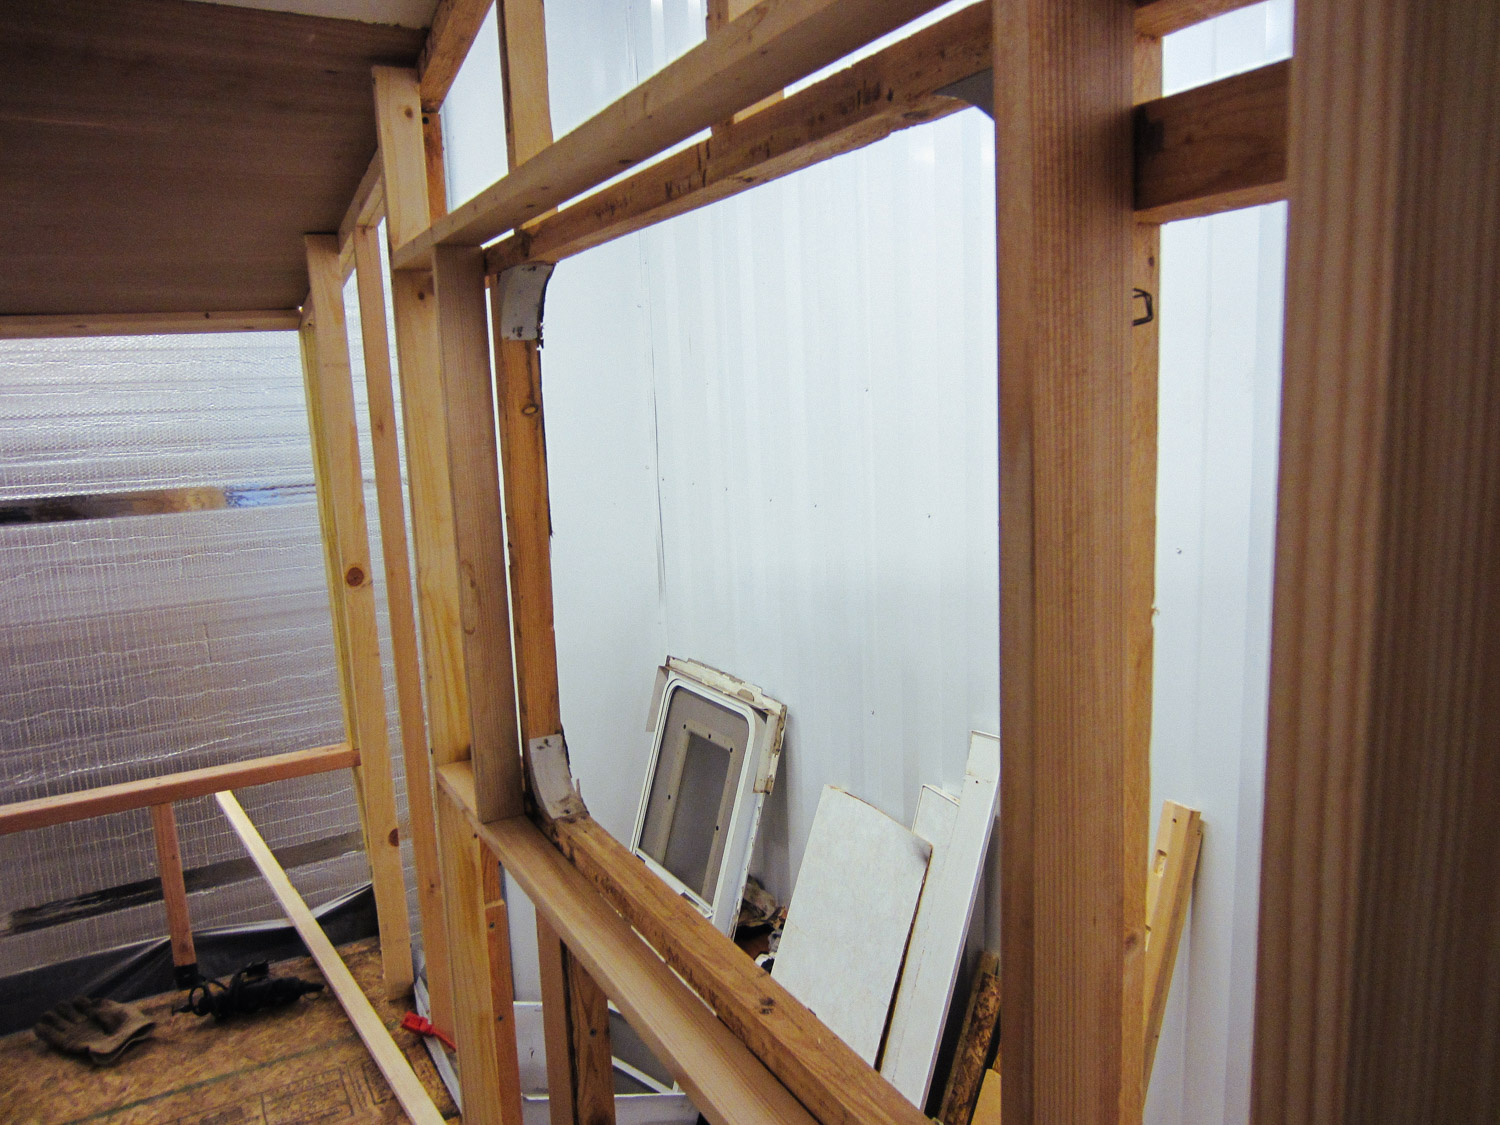
We also made the bedroom walls 2.5 inches thicker so it would be better insulated.

Bedroom studs replaced.

We decided to add a window above the bed.
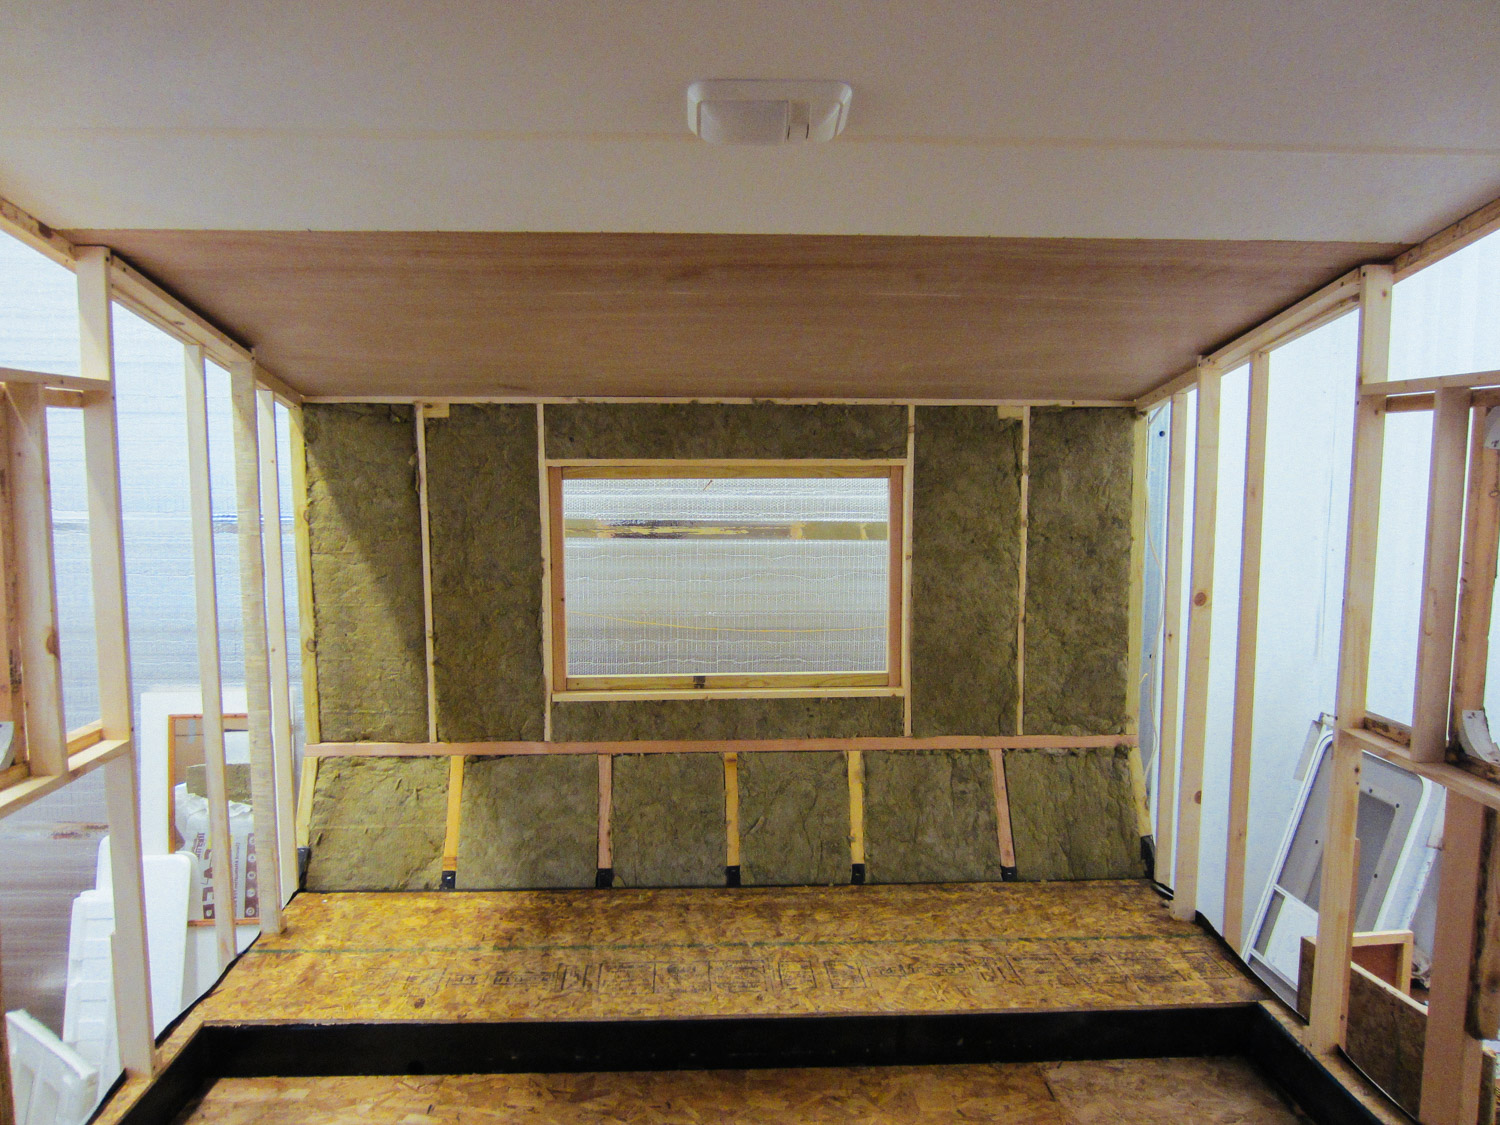
Mineral wool insulation was added to the bedroom walls.
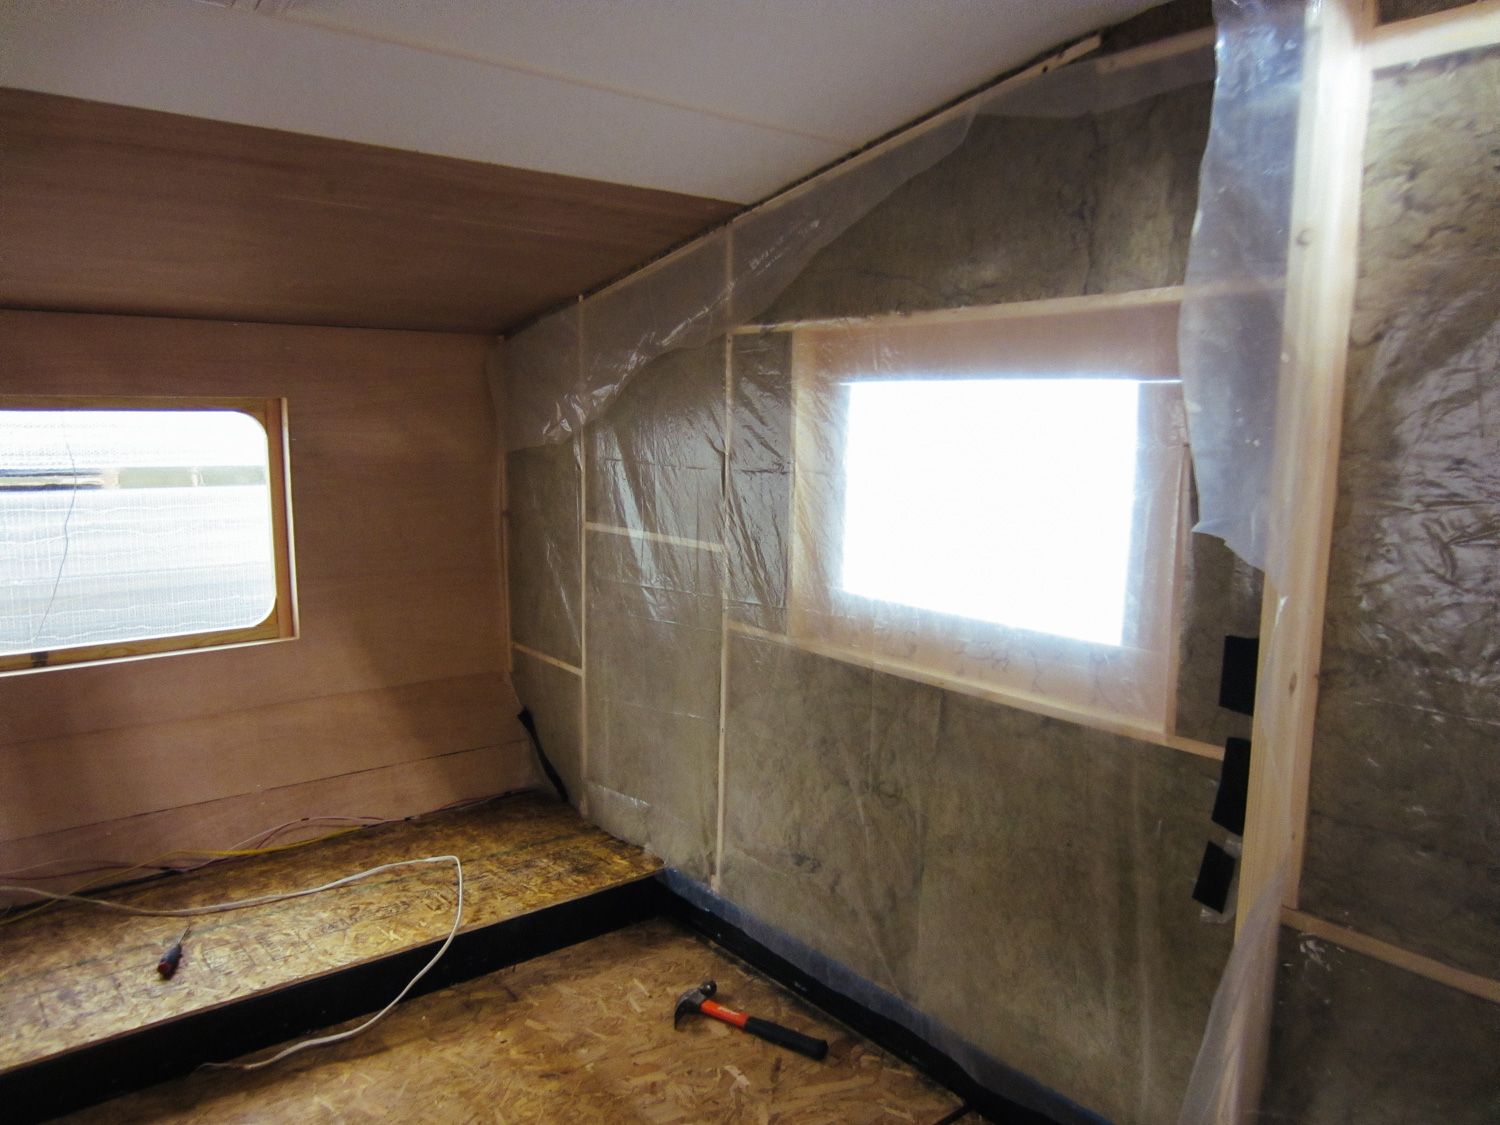
We used leftover sheets of plastic (not sure where they came from) for a vapor barrier.
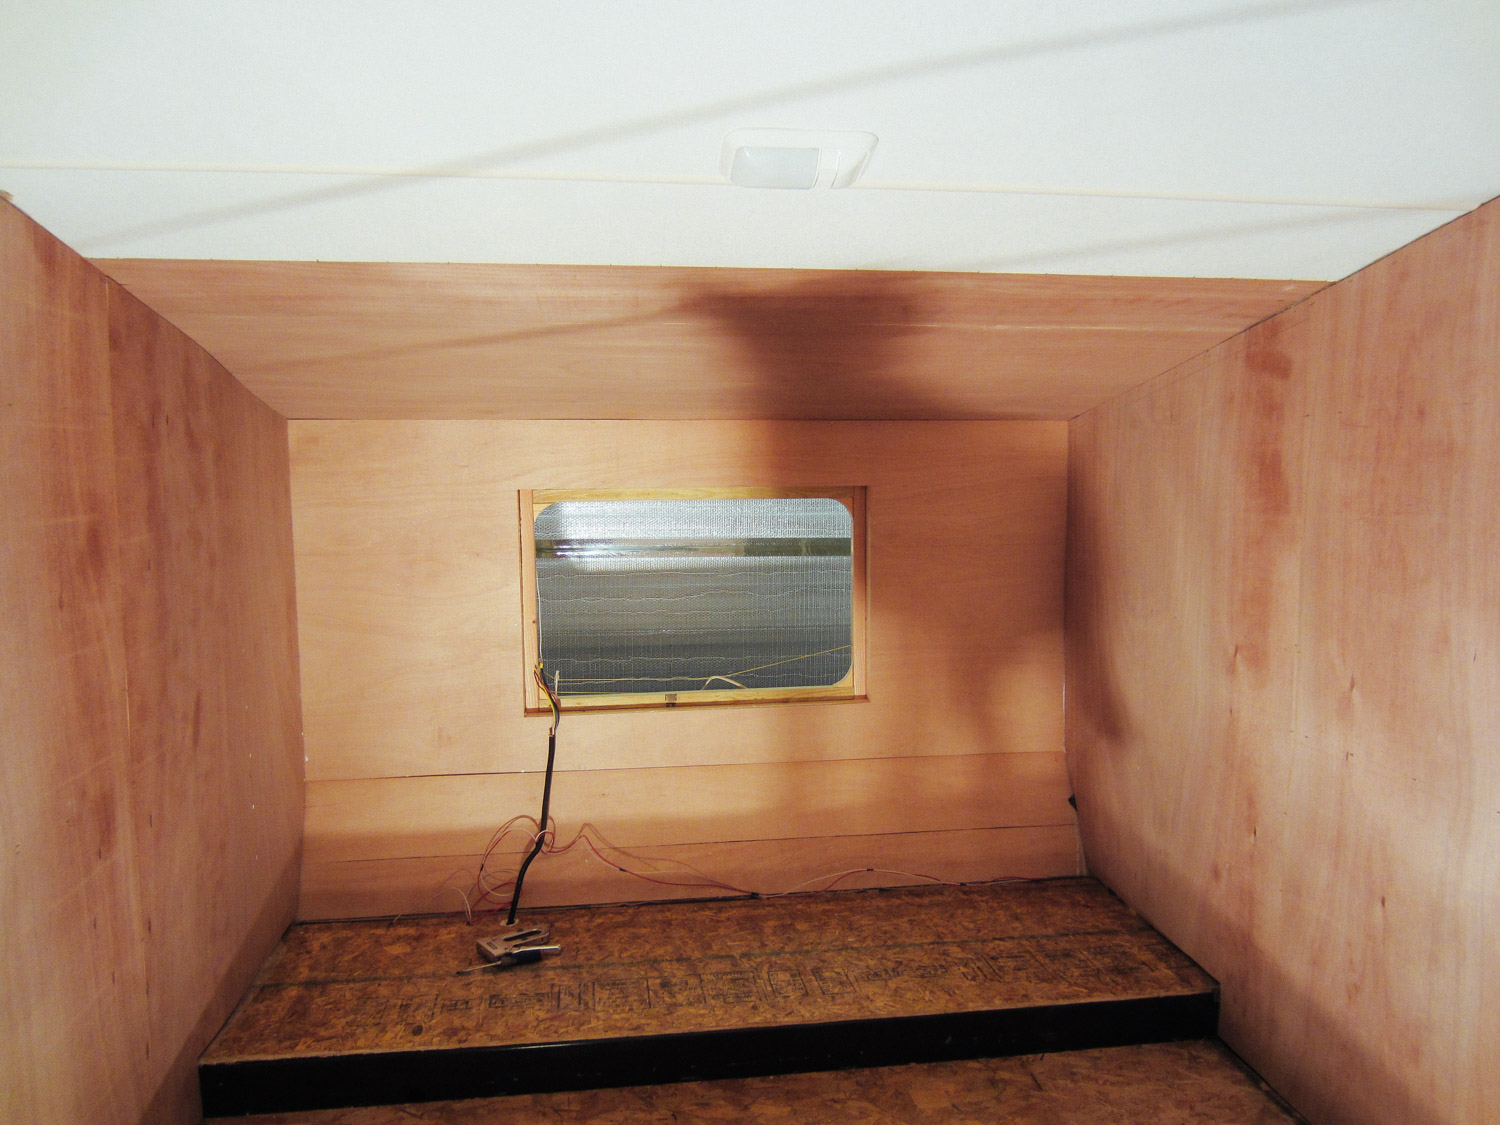
Sheets of luan formed the inside walls.
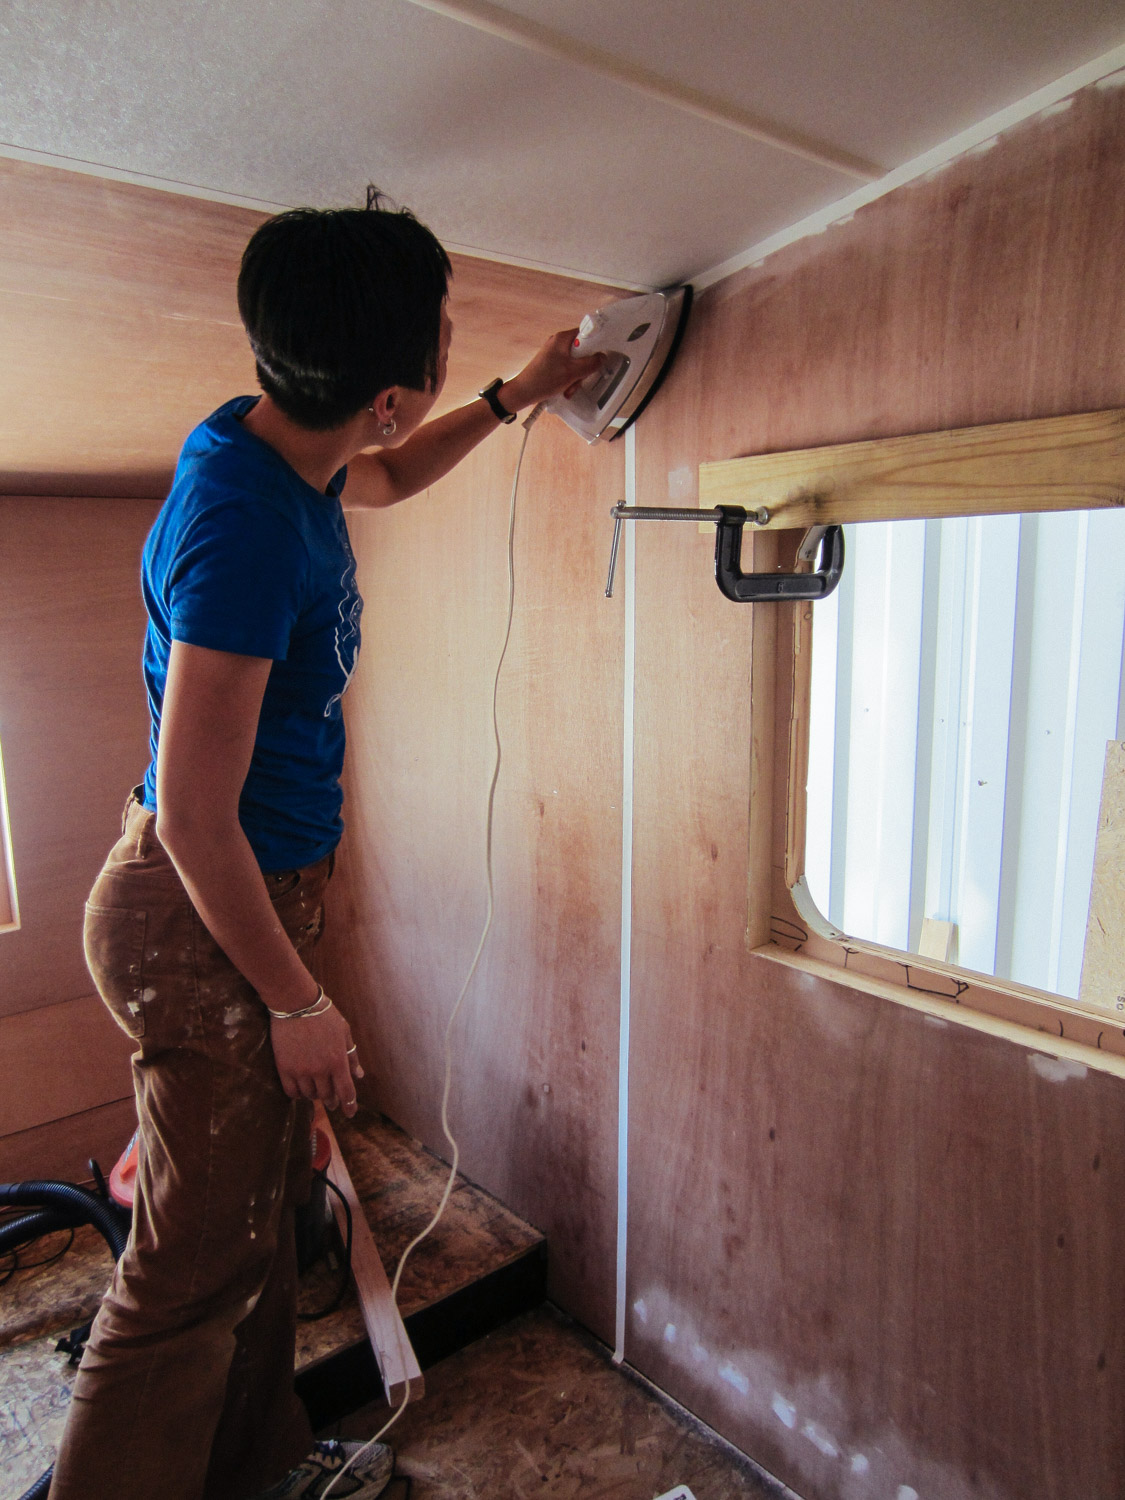
Luan seams were taped and ironed on.
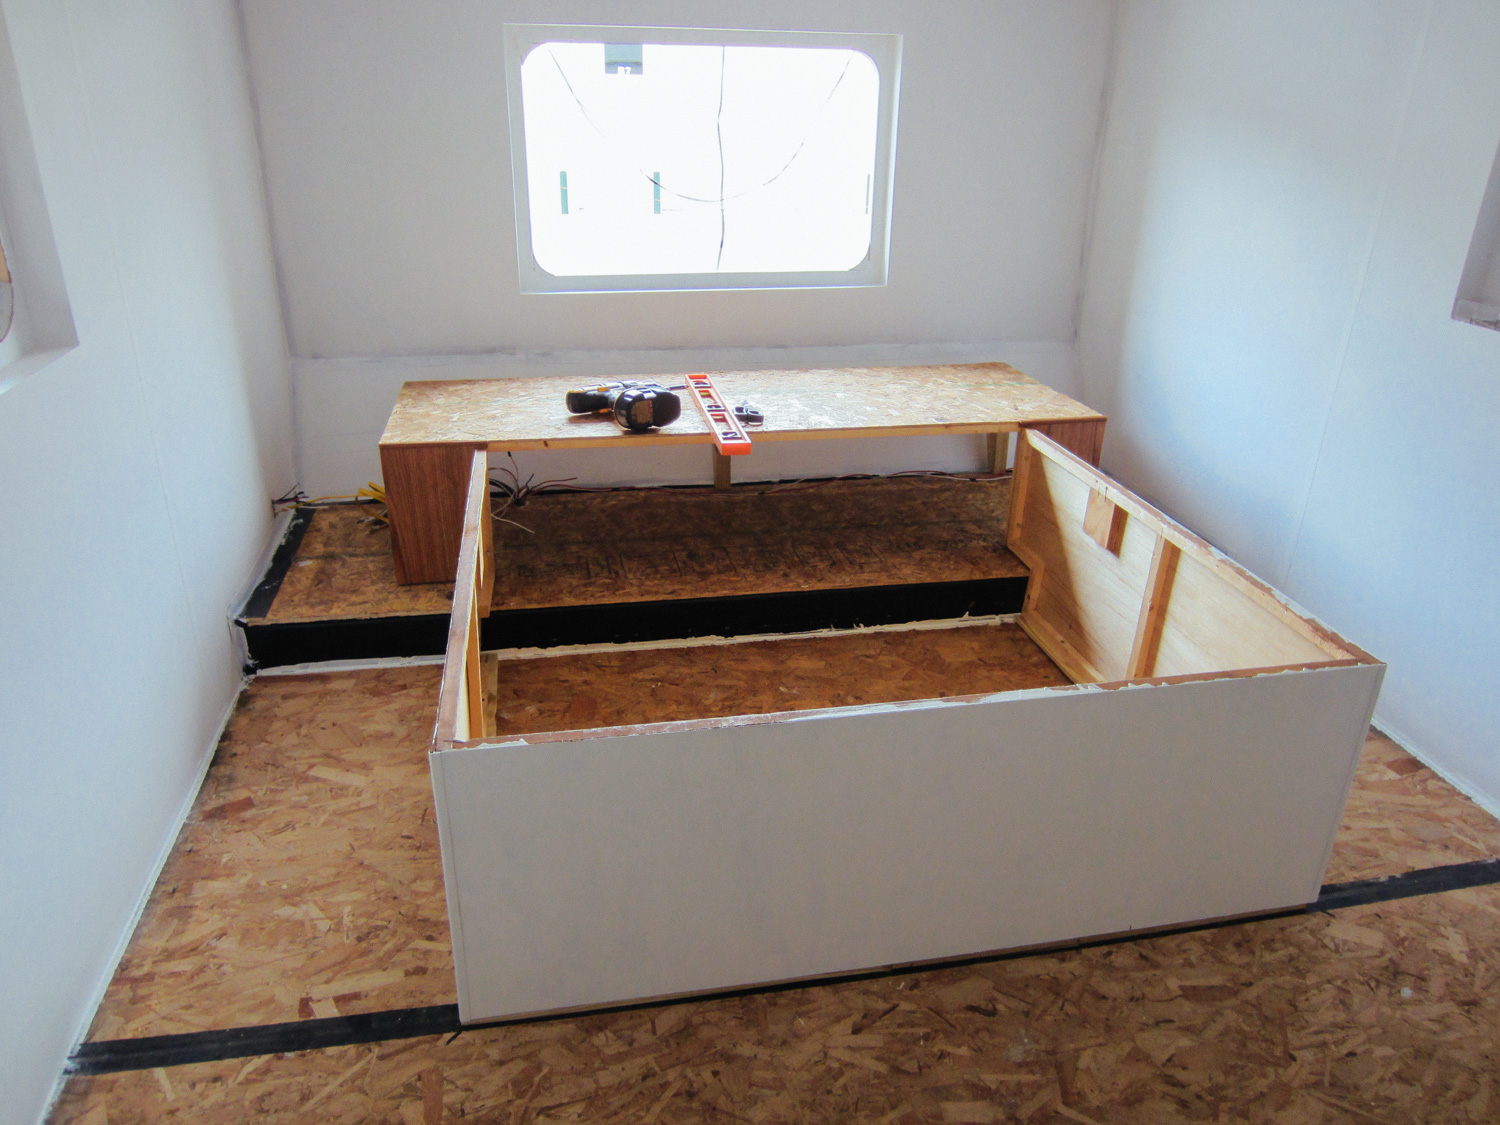
Two coats of primer were painted on and the bed frame was reinstalled.
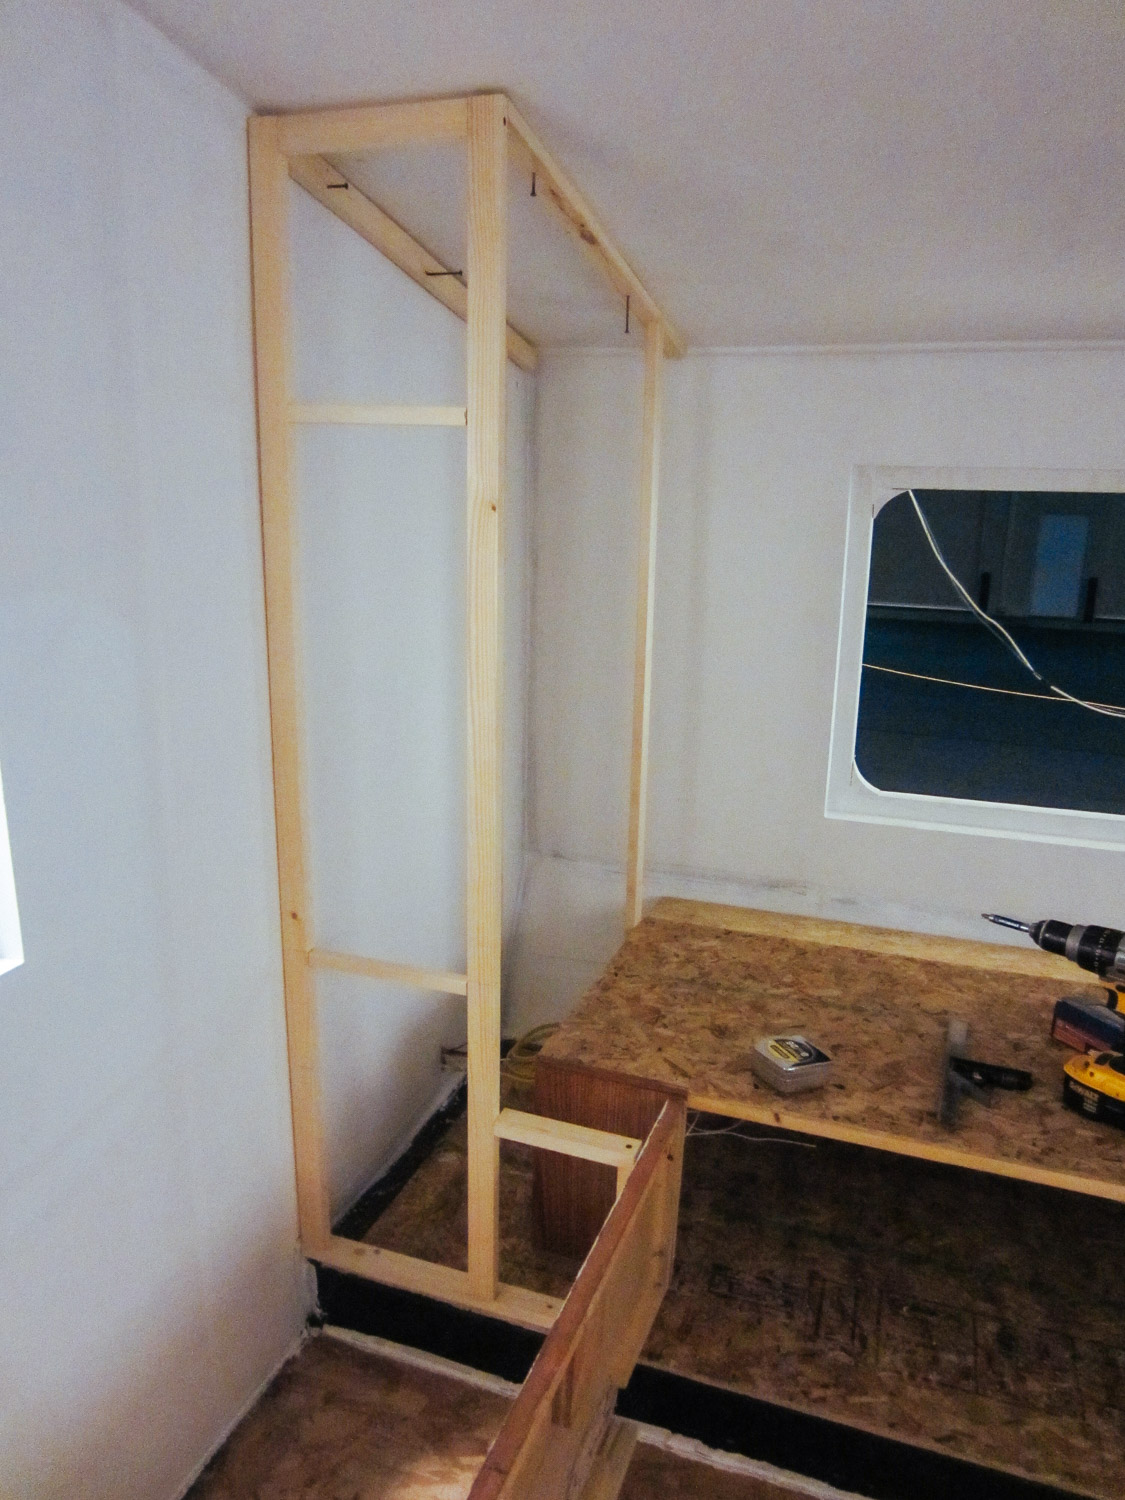
New cabinets were built.
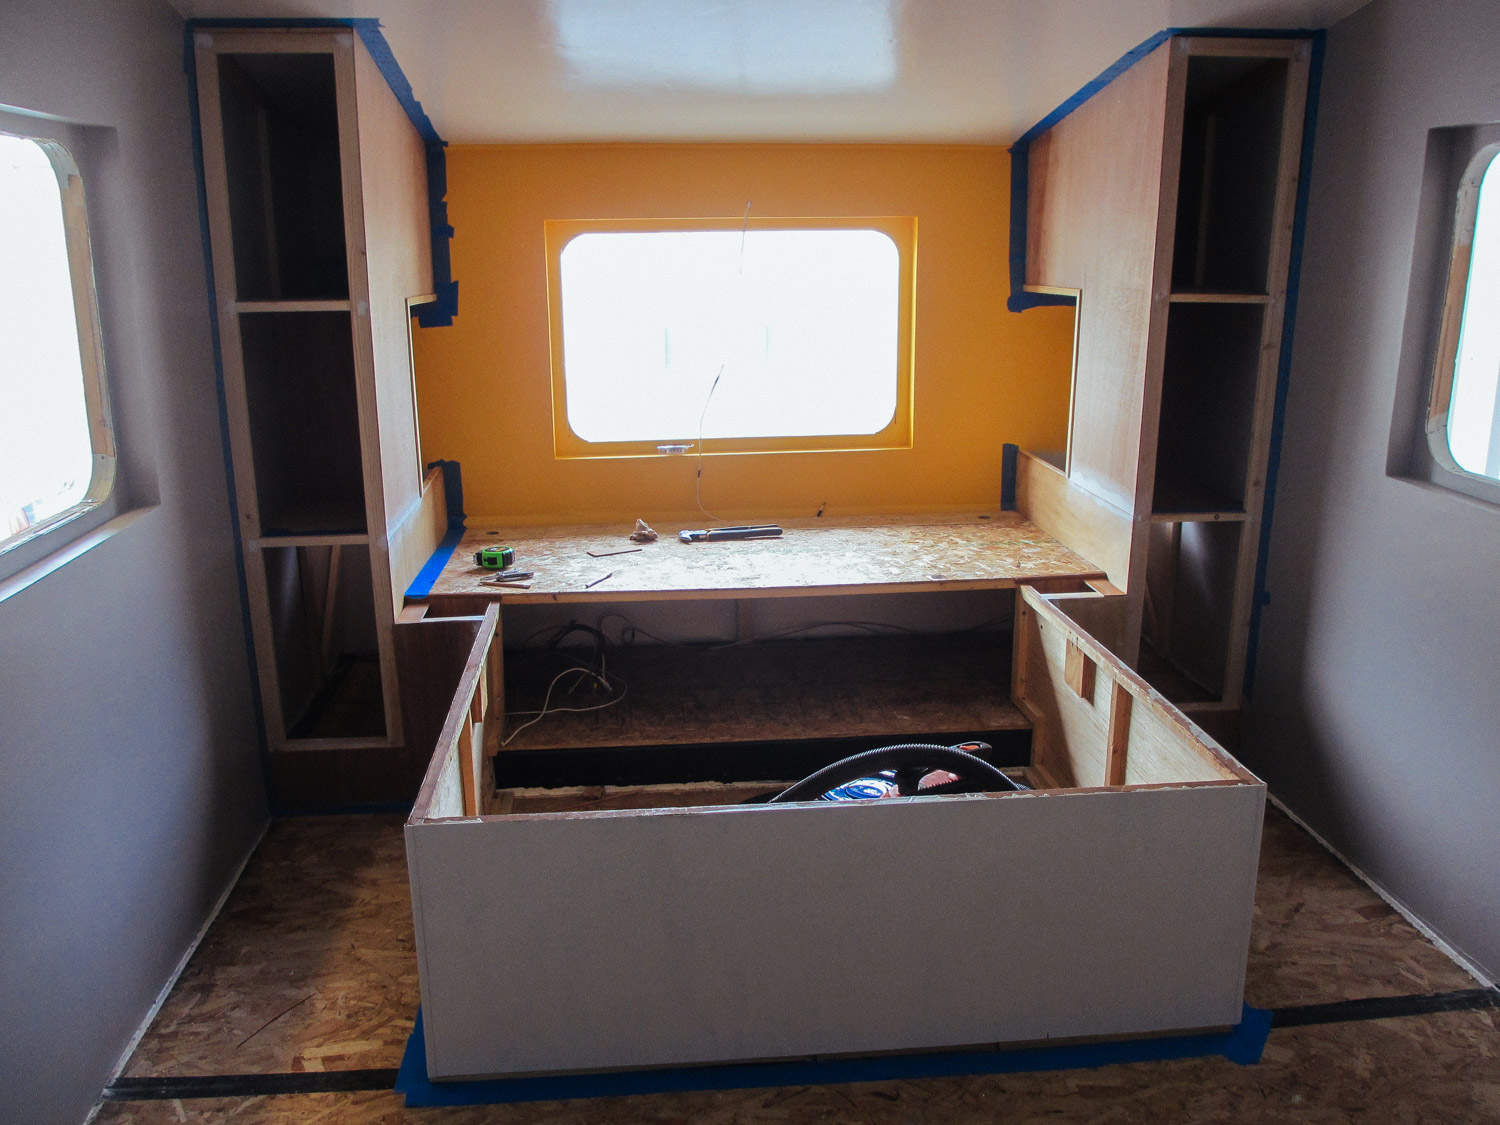
We each also have our own night stand with a USB outlet, AC receptacle and 12 volt "cigarette lighter" outlet.
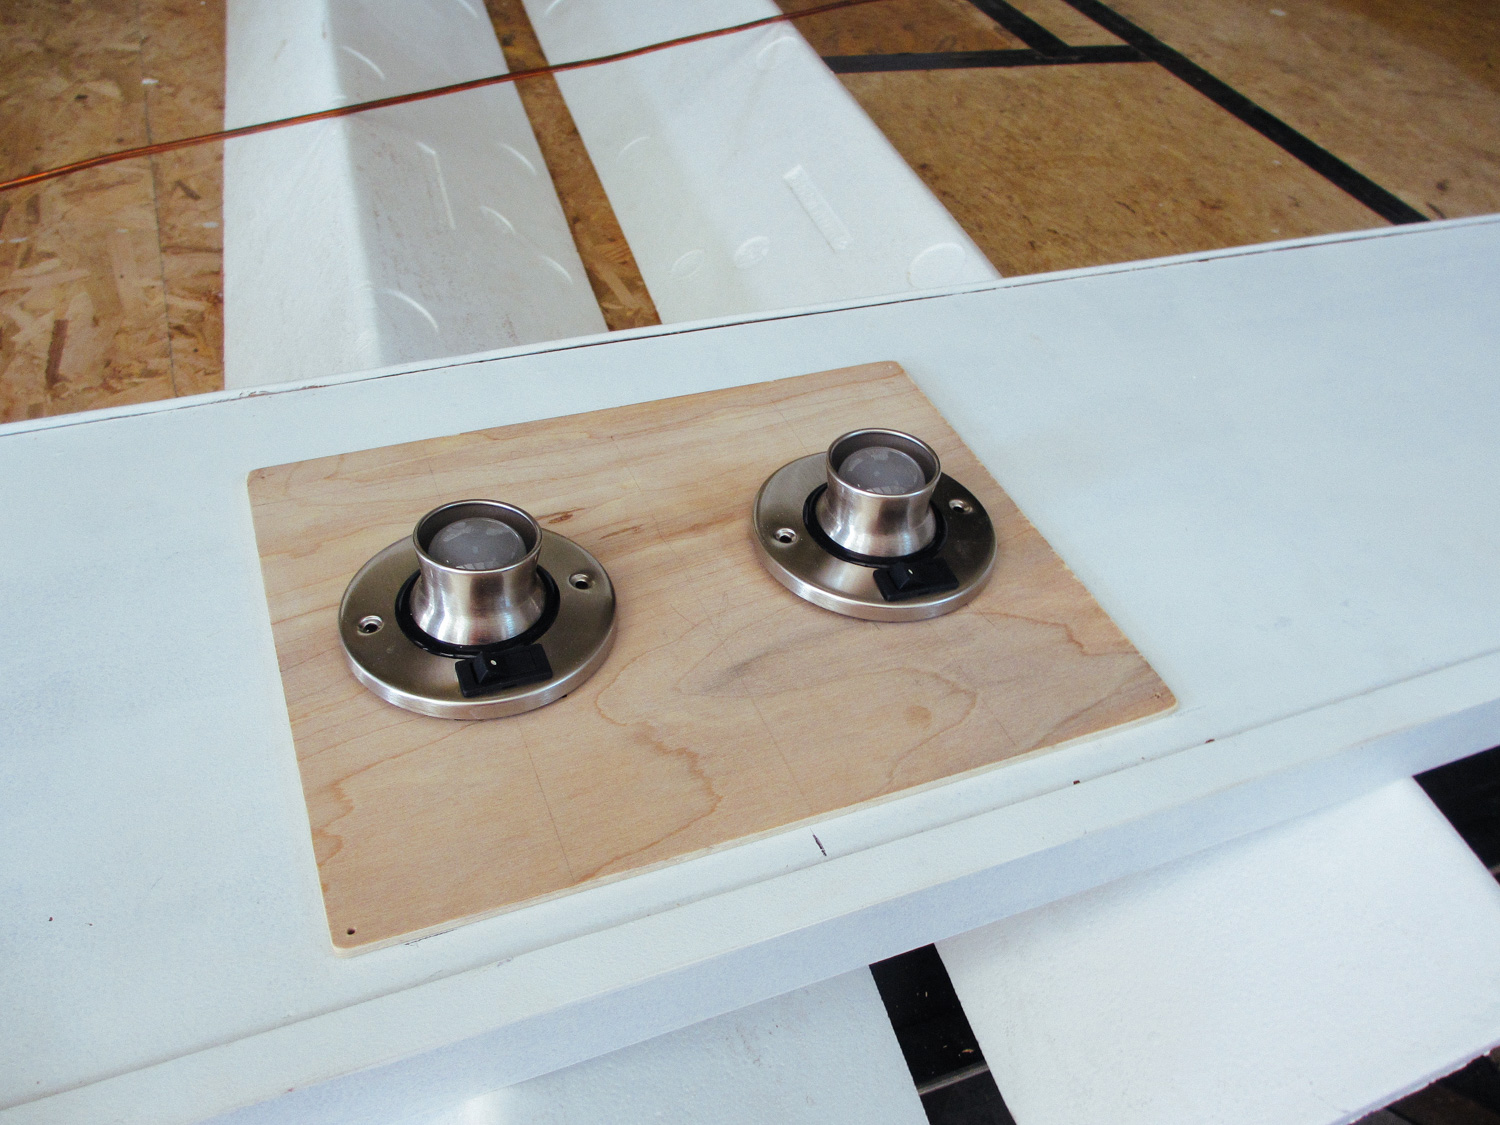
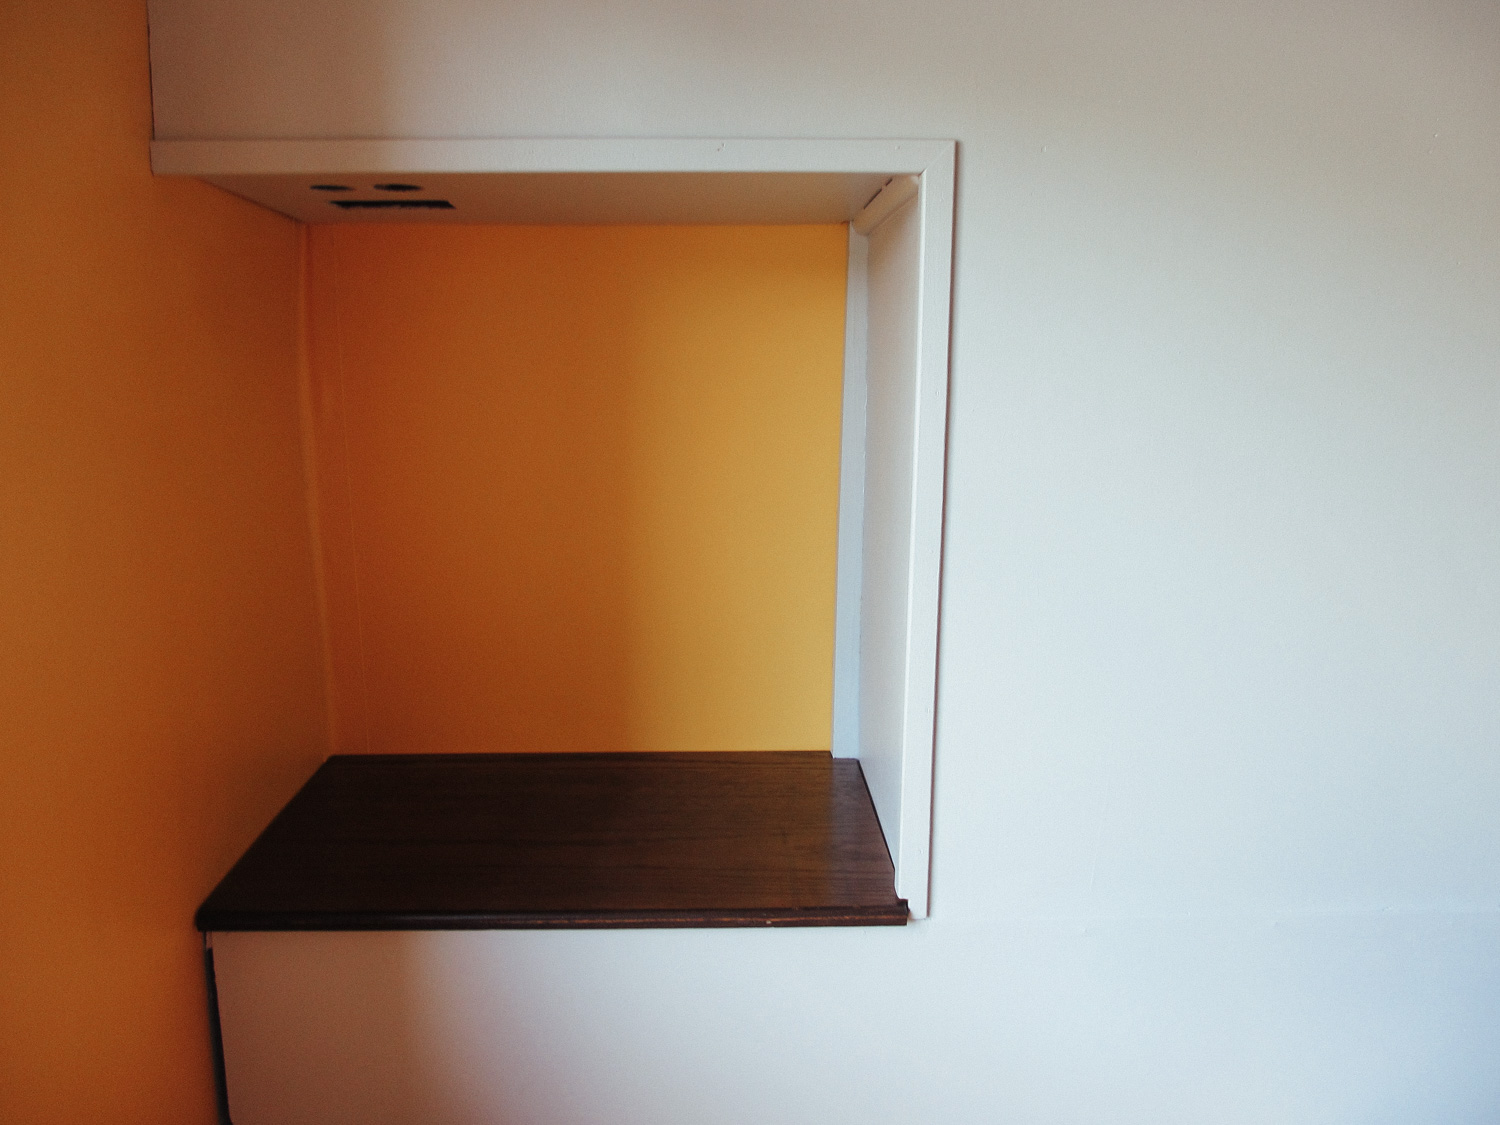
We installed new reading lights in the shelf above the bed.
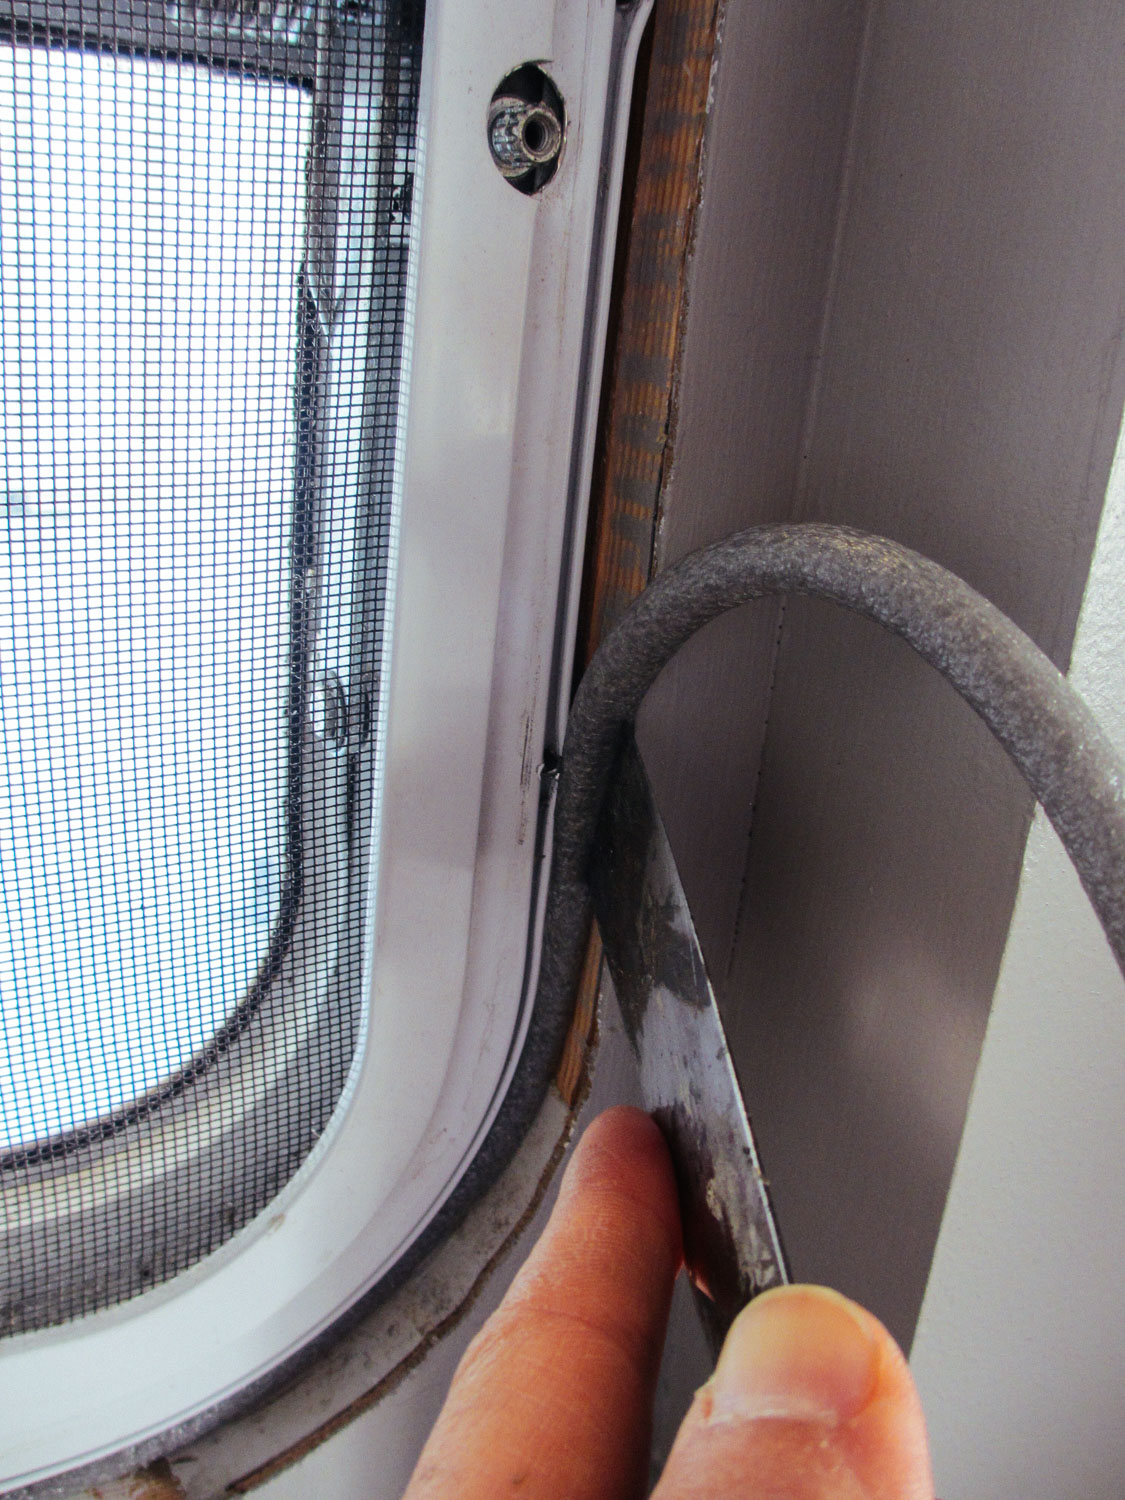
When the windows were reinstalled throughout the rig, we stuffed insulation tubing in the gap between the window and wall.
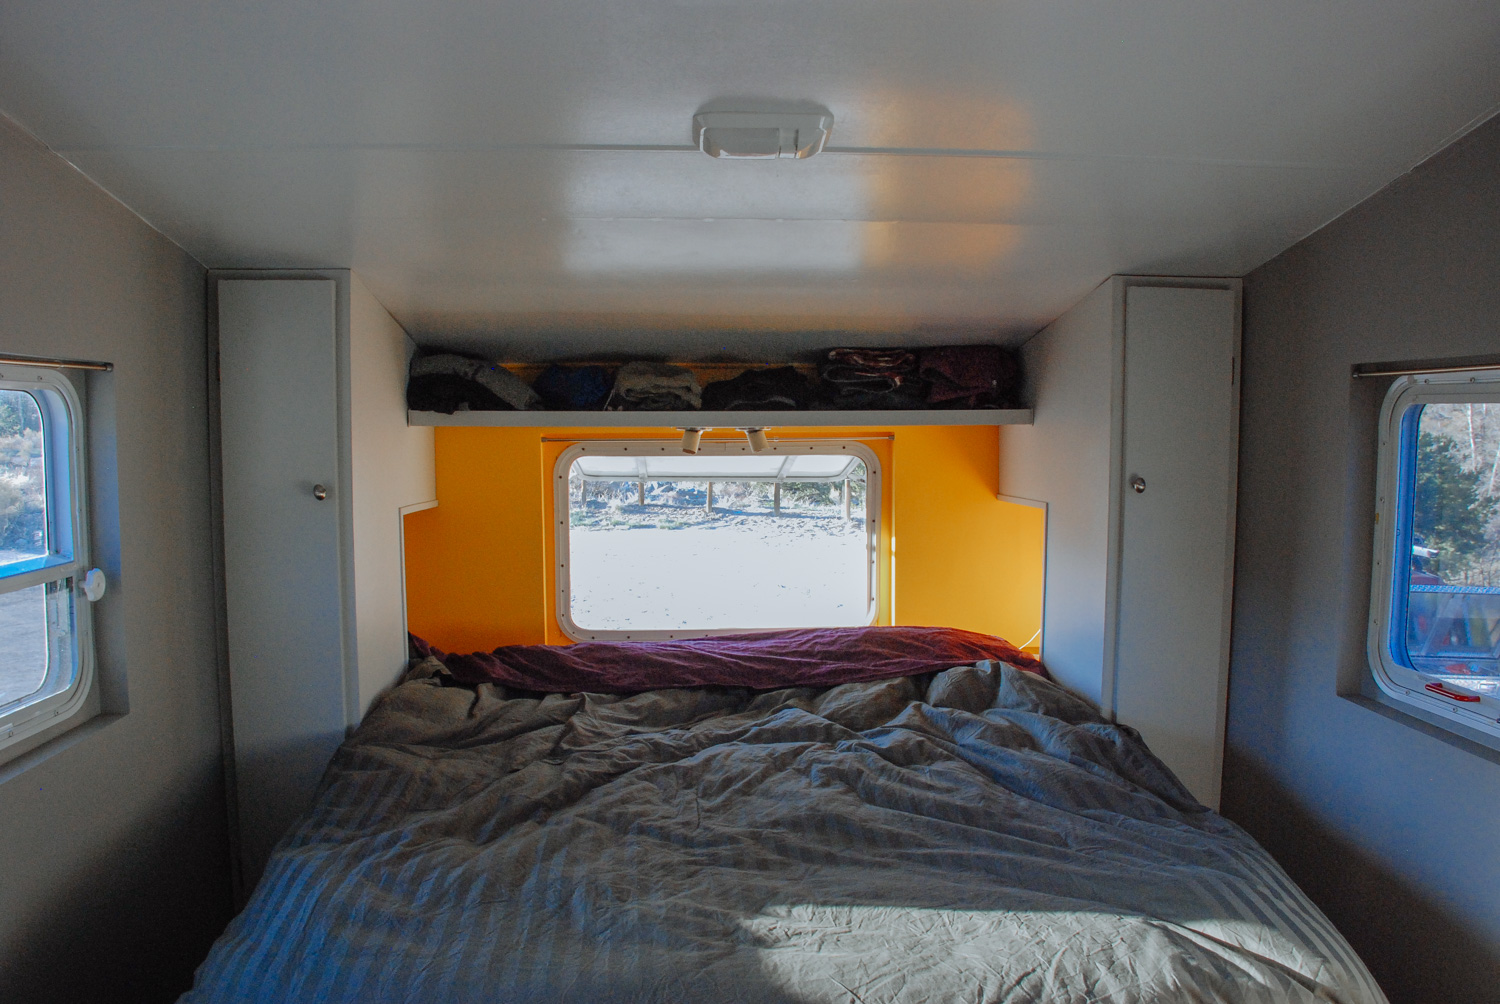
Completed bedroom interior.
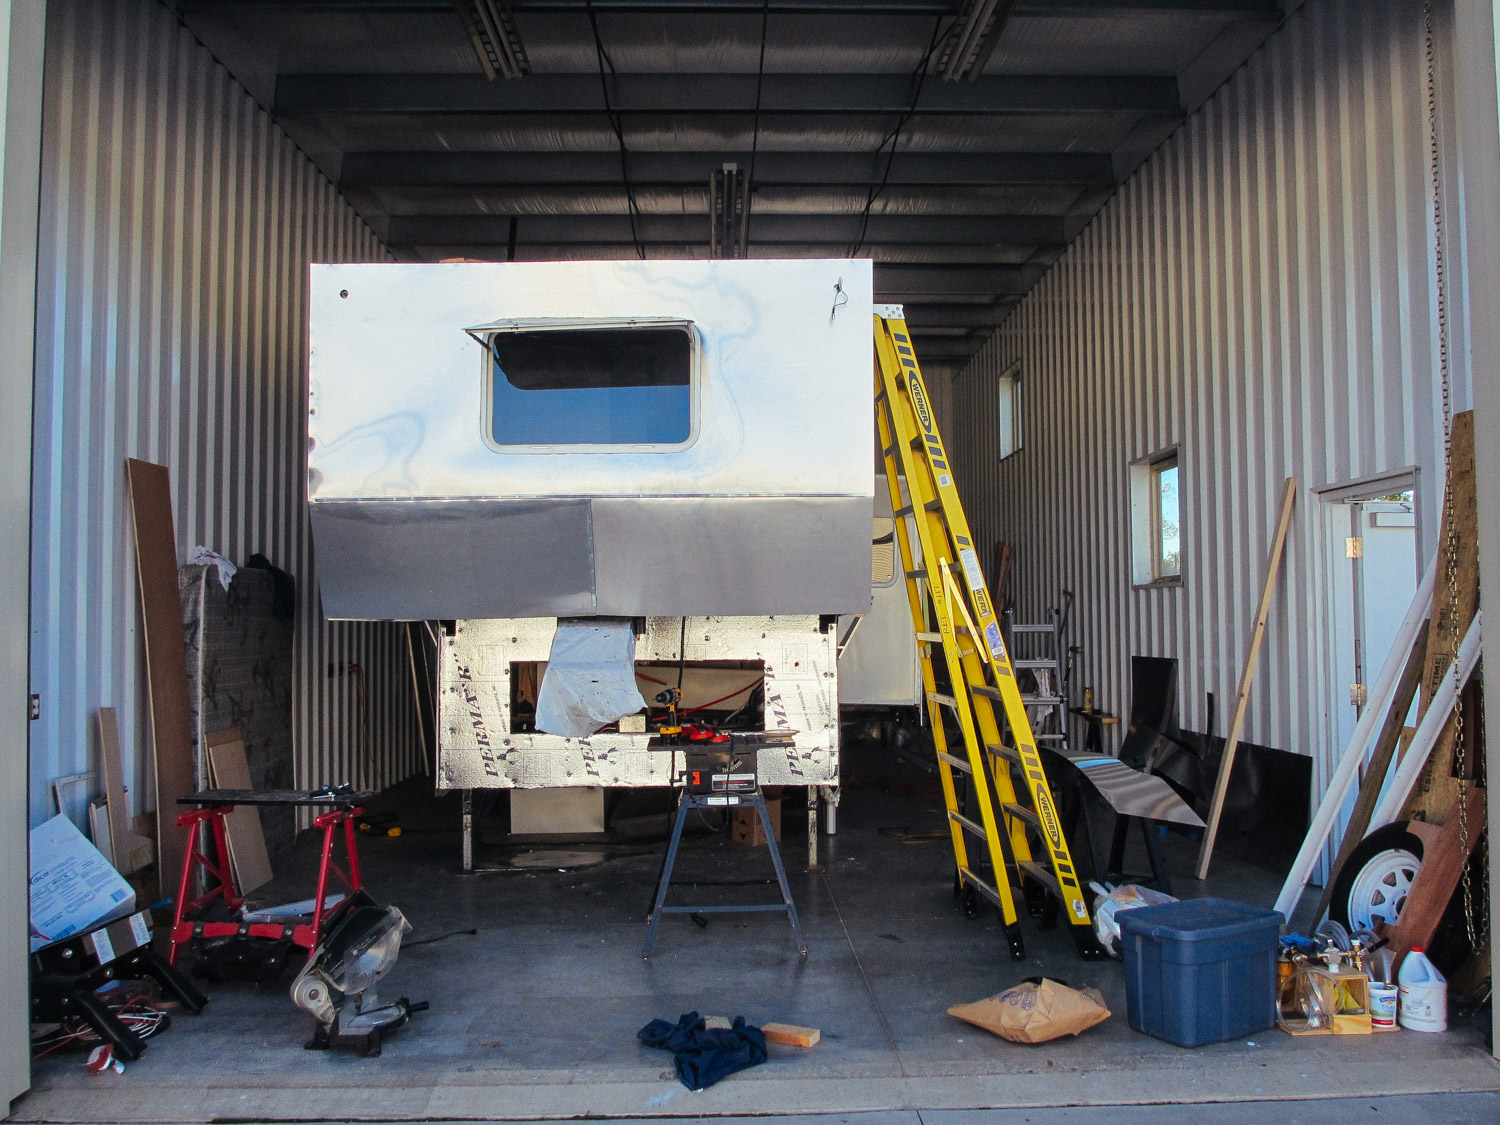
View of the exterior of the finished bedroom.


Posts About The Bedroom
Kitchen
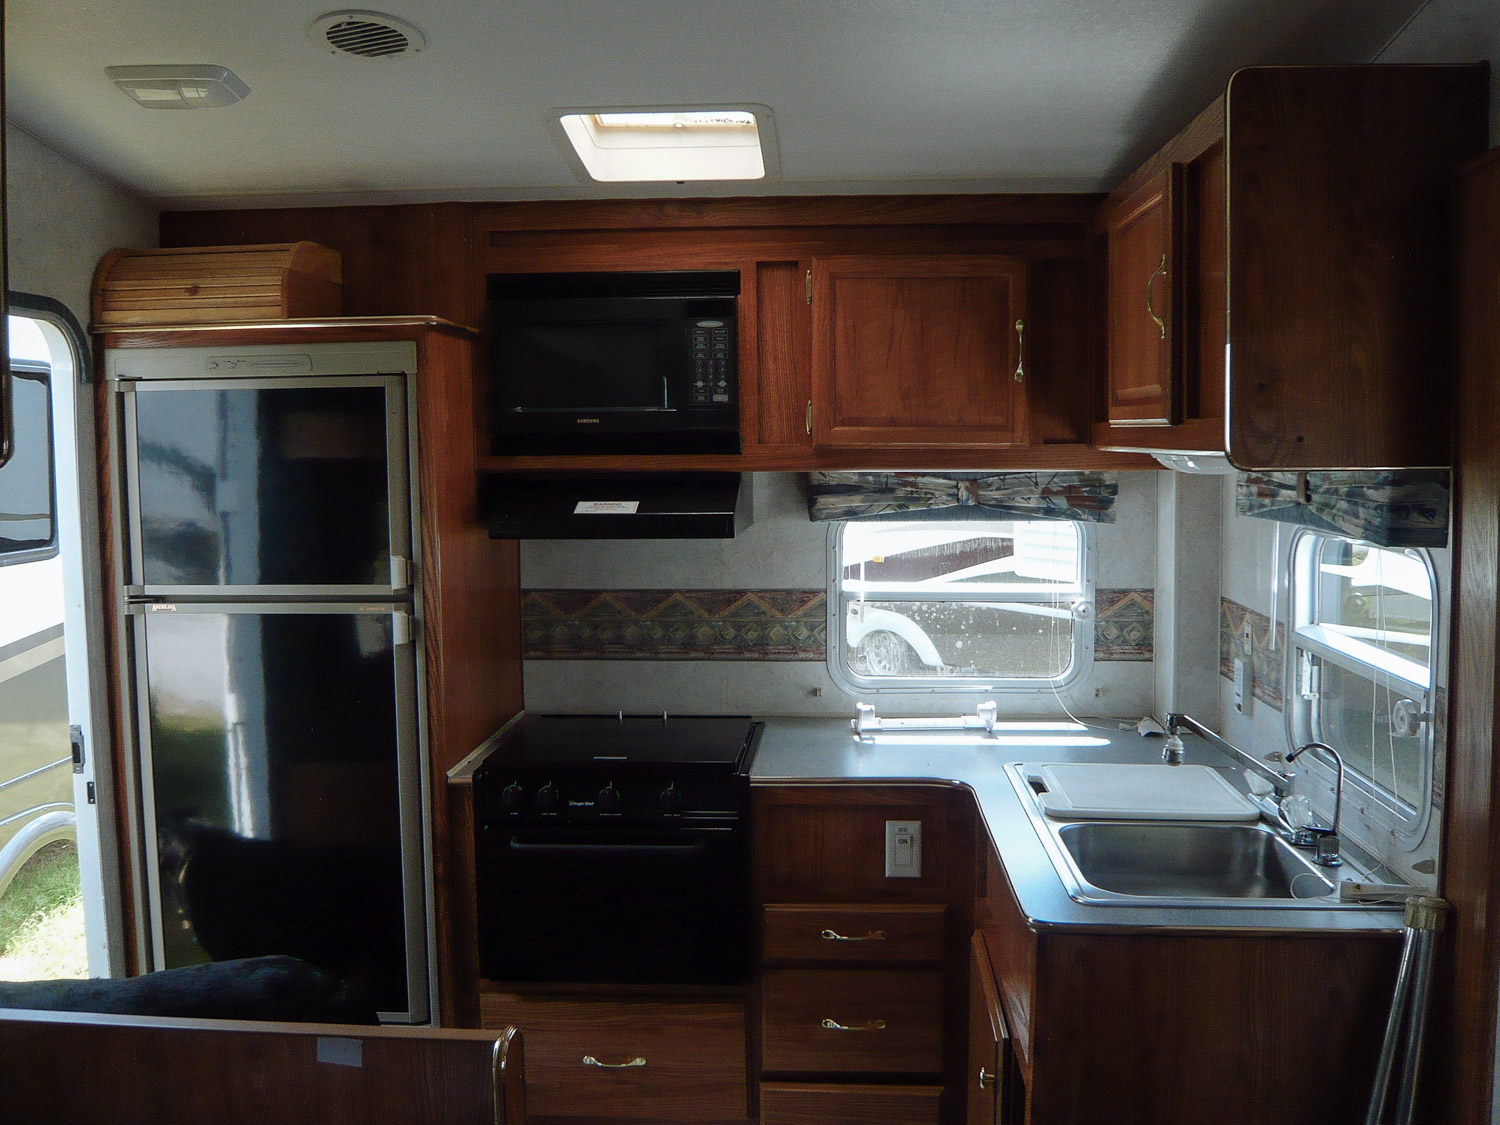
The original kitchen.

The water damaged areas in the kitchen.
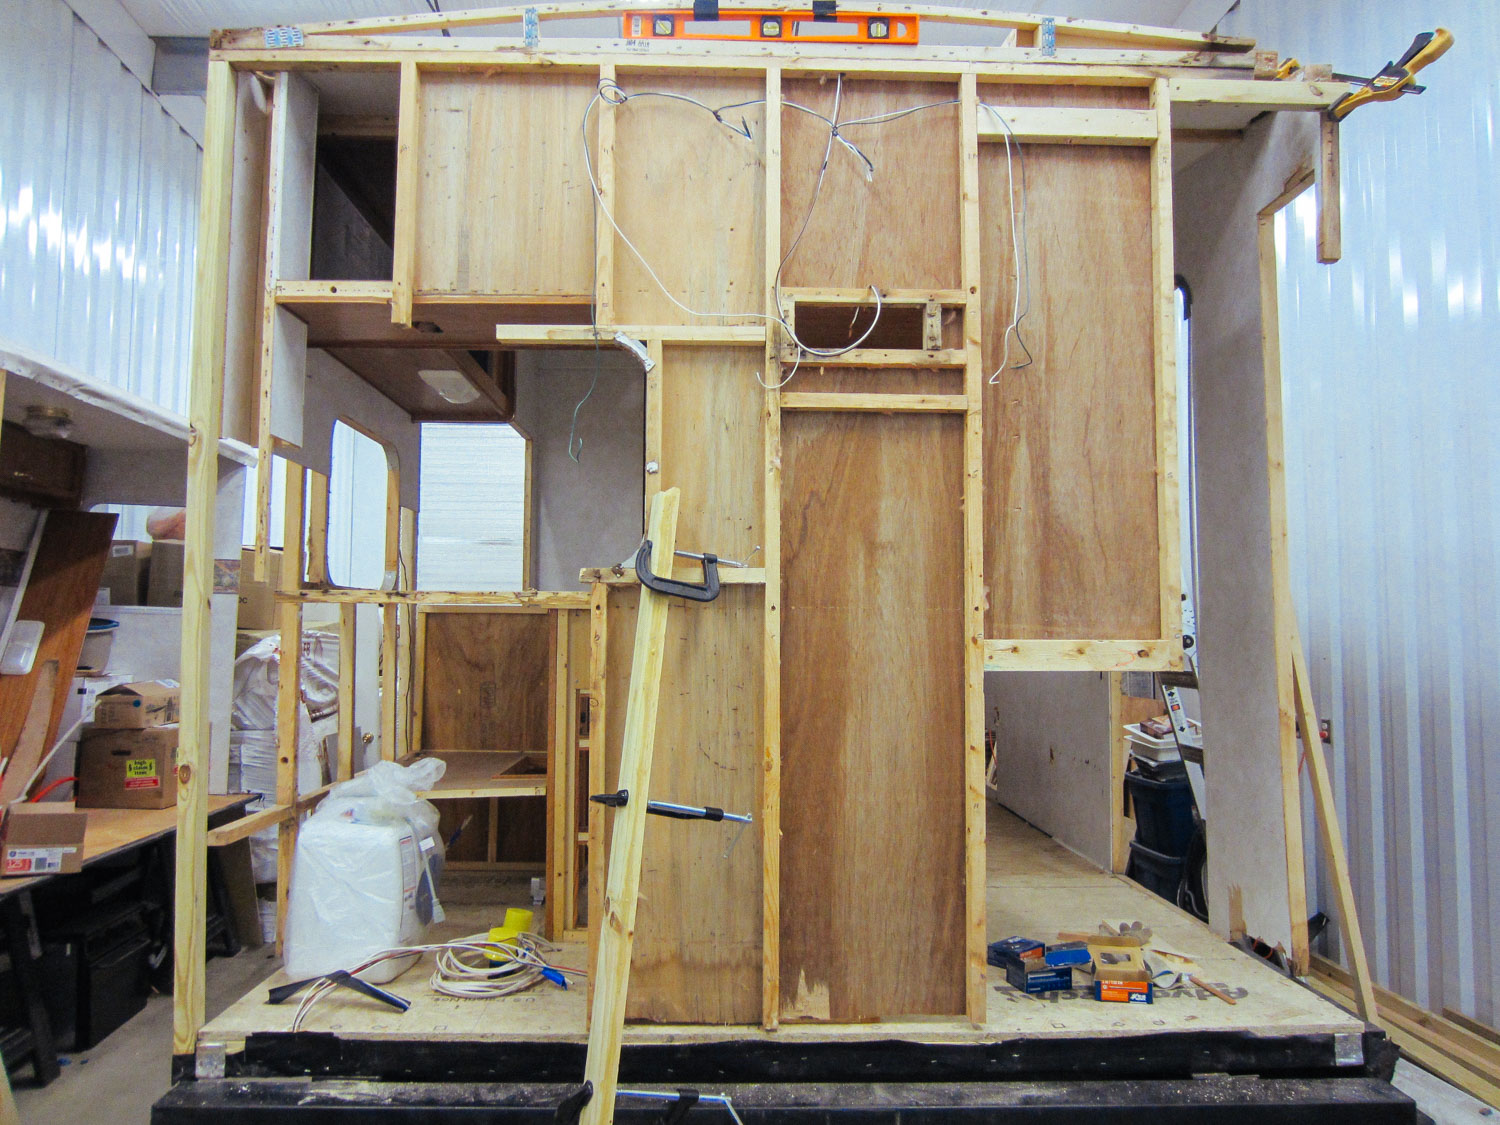
We tore out the rotted sections and replaced the studs.

Since we were going to put in a residential fridge, we removed original cabinetry that held the RV fridge.
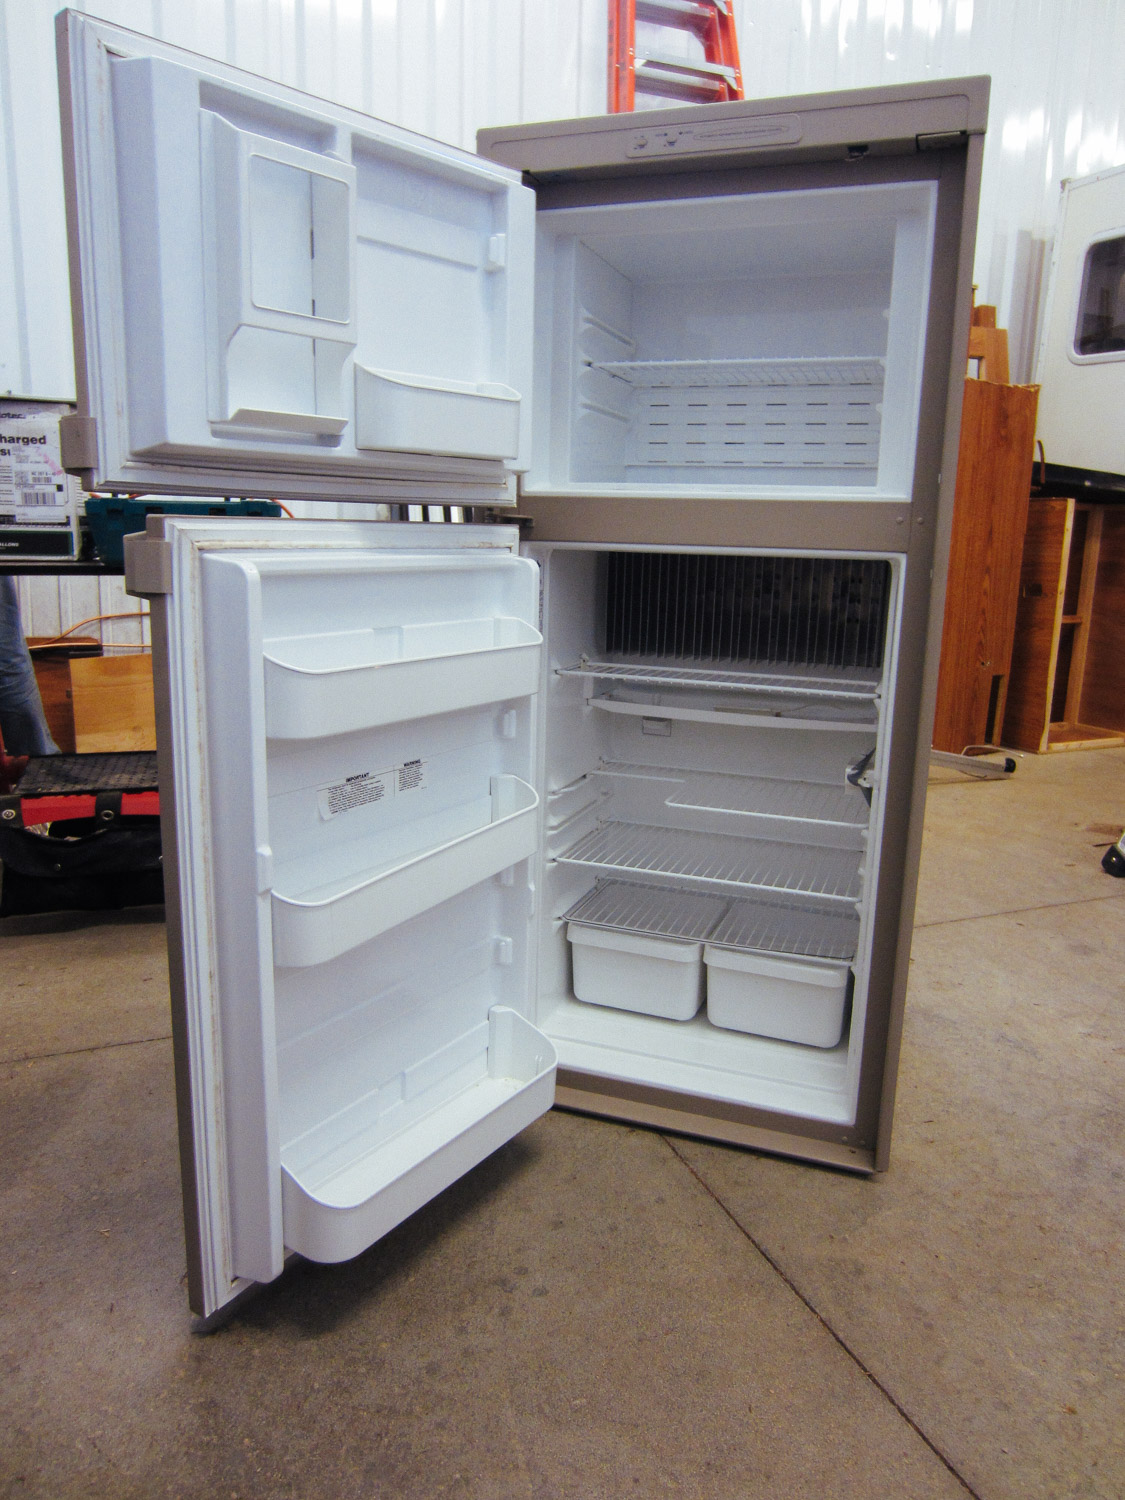
We were able to sell the majority of the original appliances we removed from the rig: fridge, furnace, toilet, awning hardware, black tank, etc.

A strip of wall paper accent was left on sections of the kitchen, slide and bedroom walls. It was removed using a heat gun.
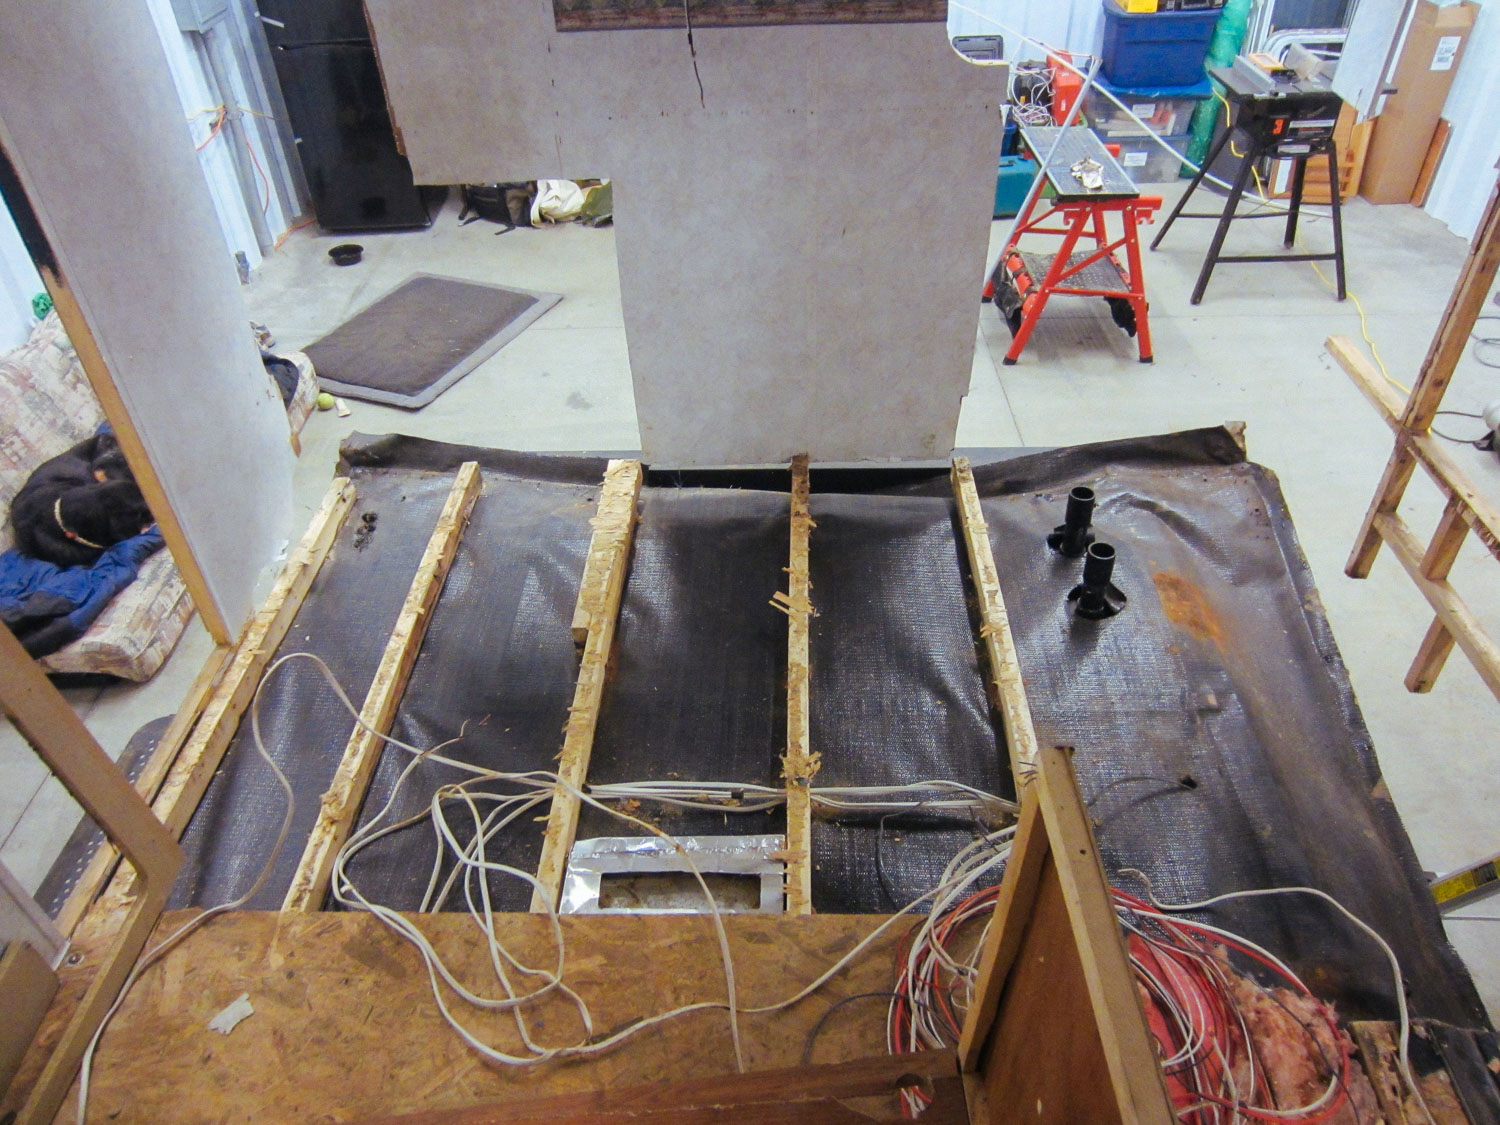
We had to rip out the kitchen floor because it was rotted from water (we think the original water heater had leaked).
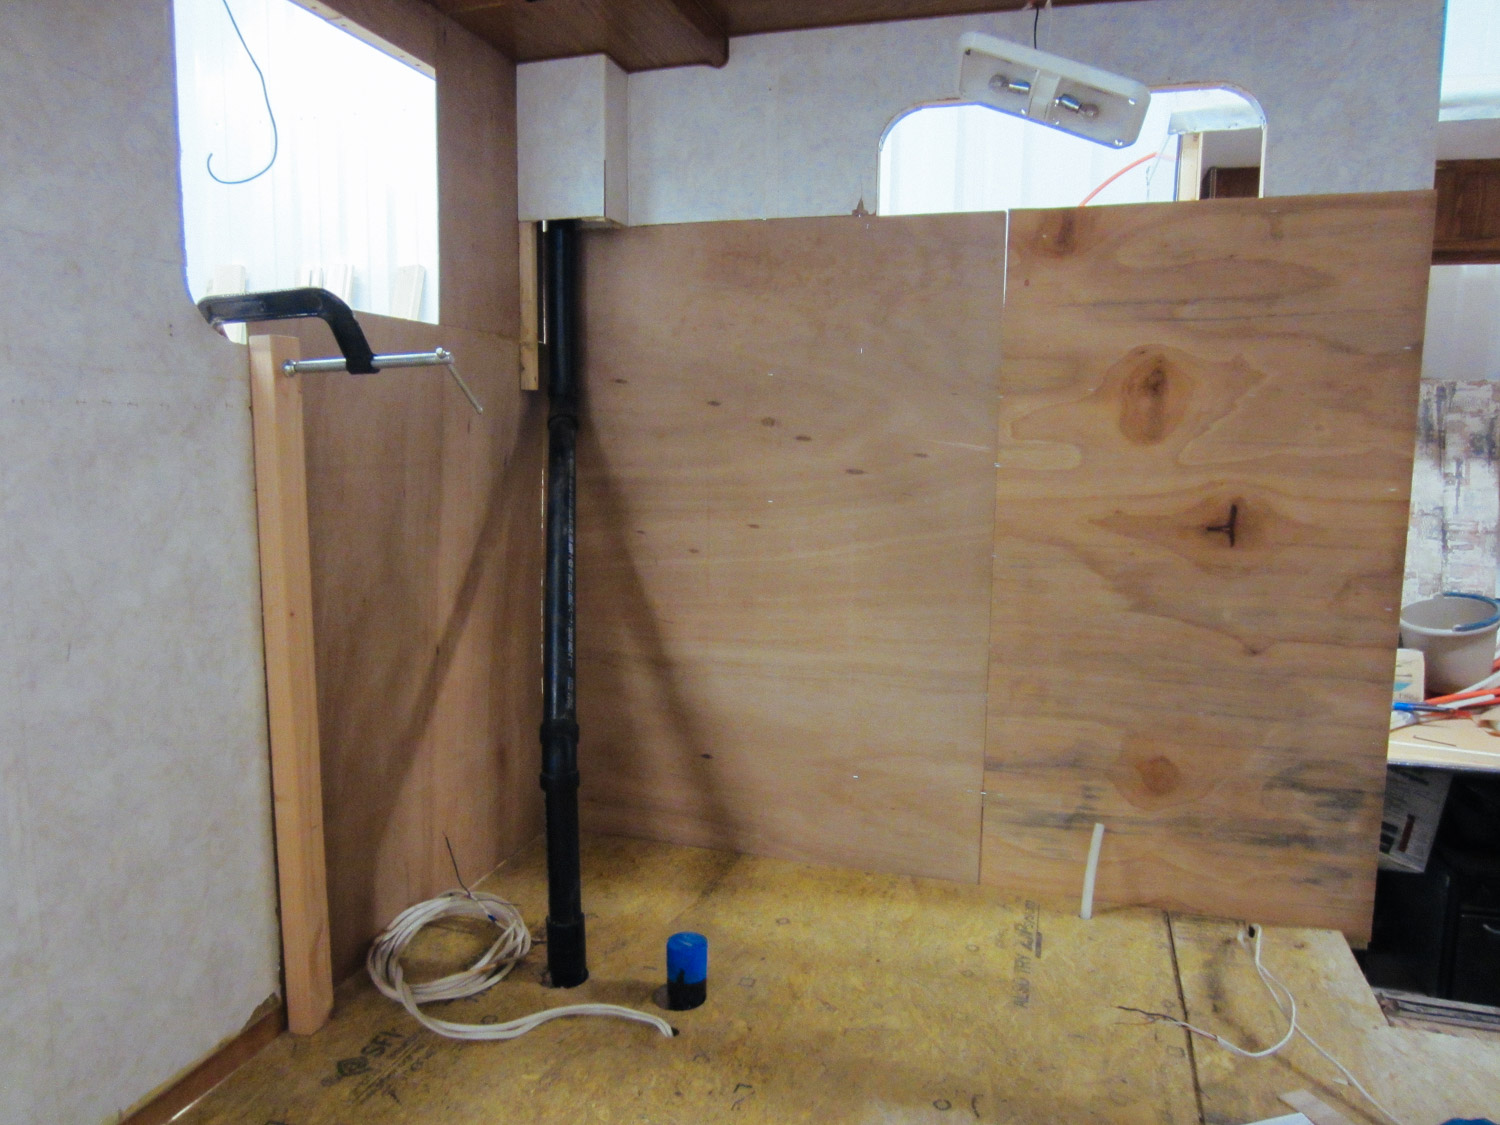
New kitchen walls by the sink area were installed.
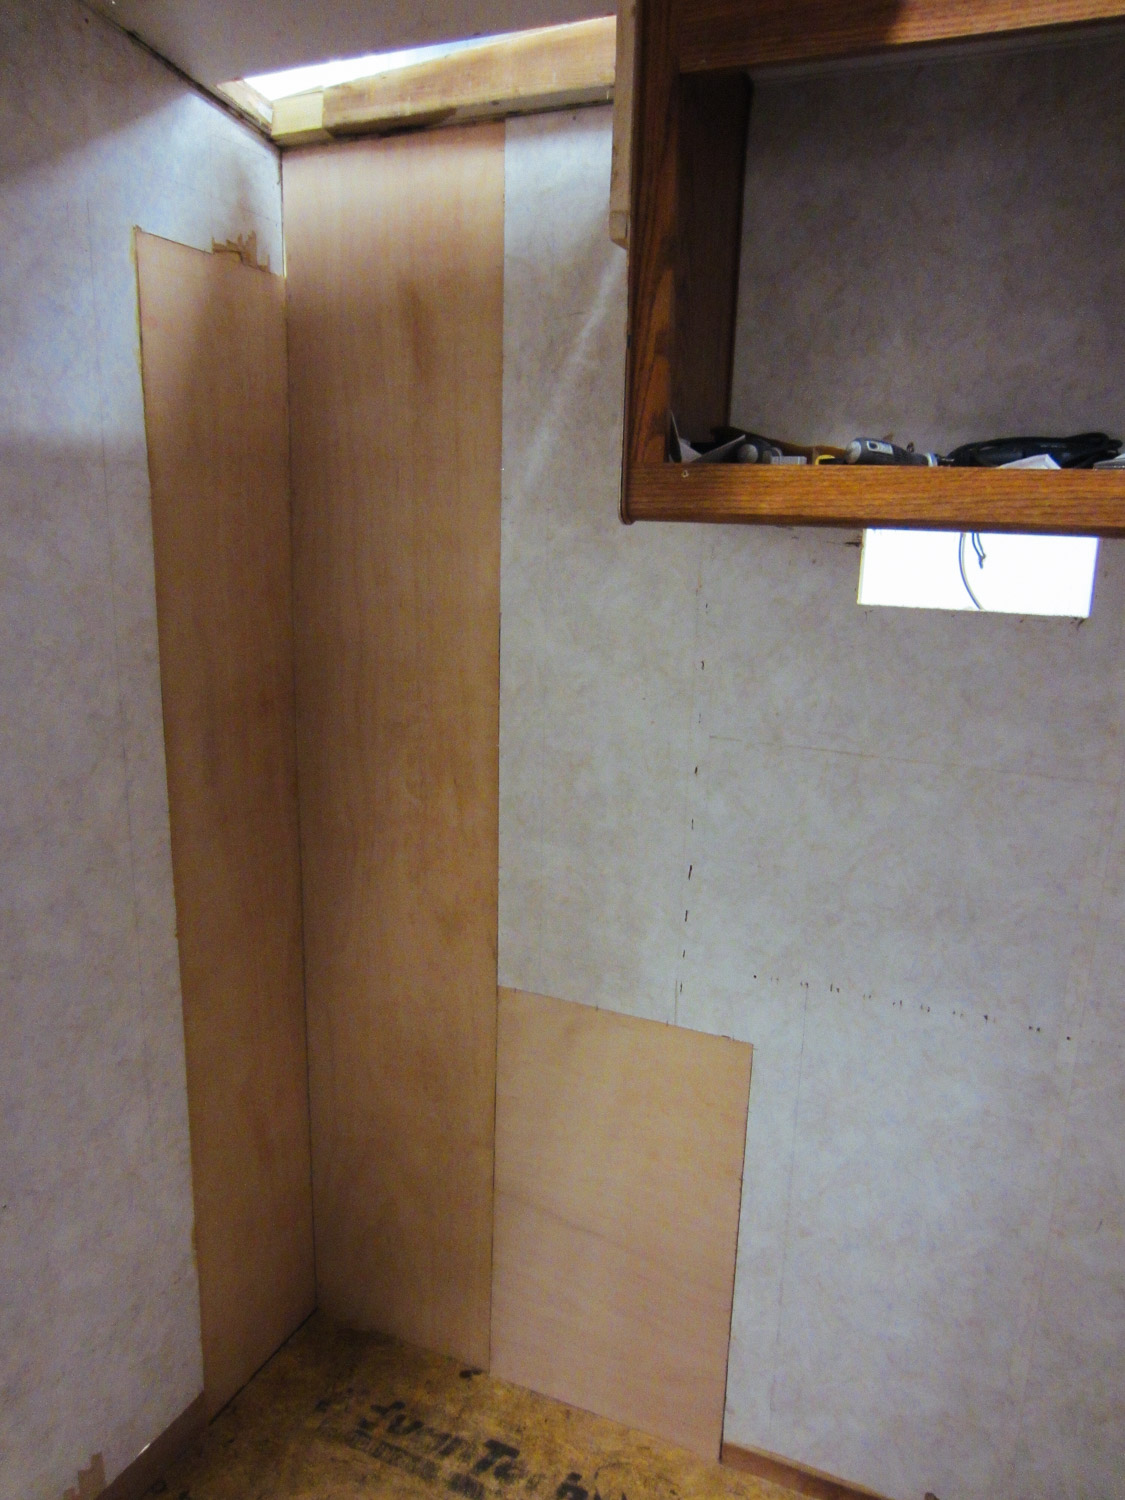
The rotten walls behind the fridge were patched.
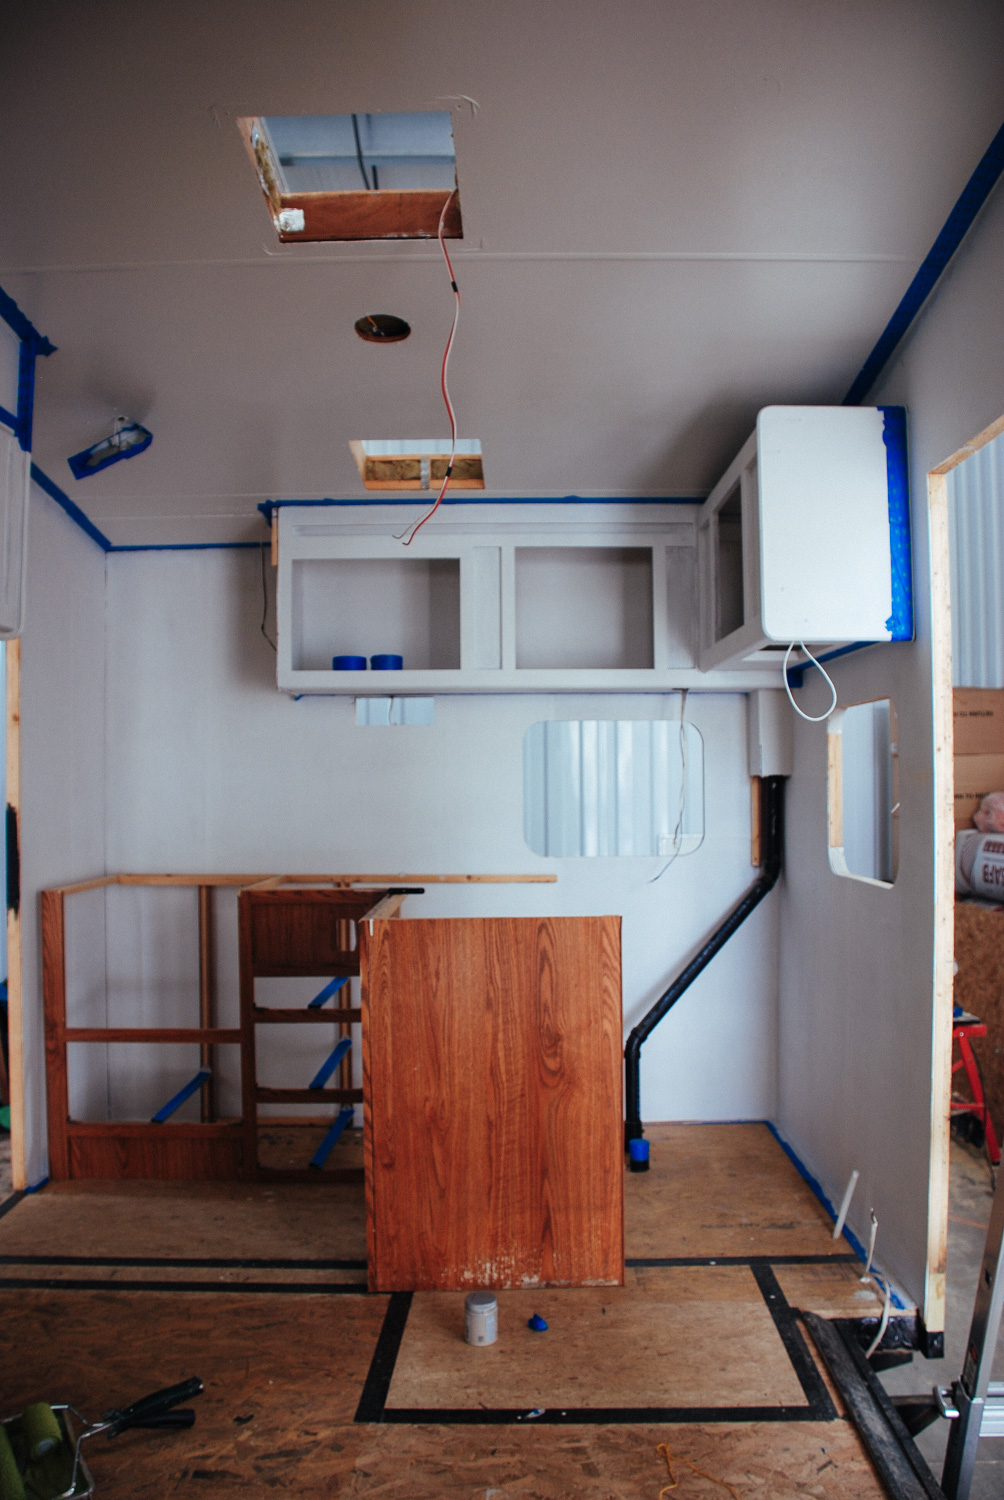
New subfloors were installed, kitchen walls primed, and upper cabinets painted.
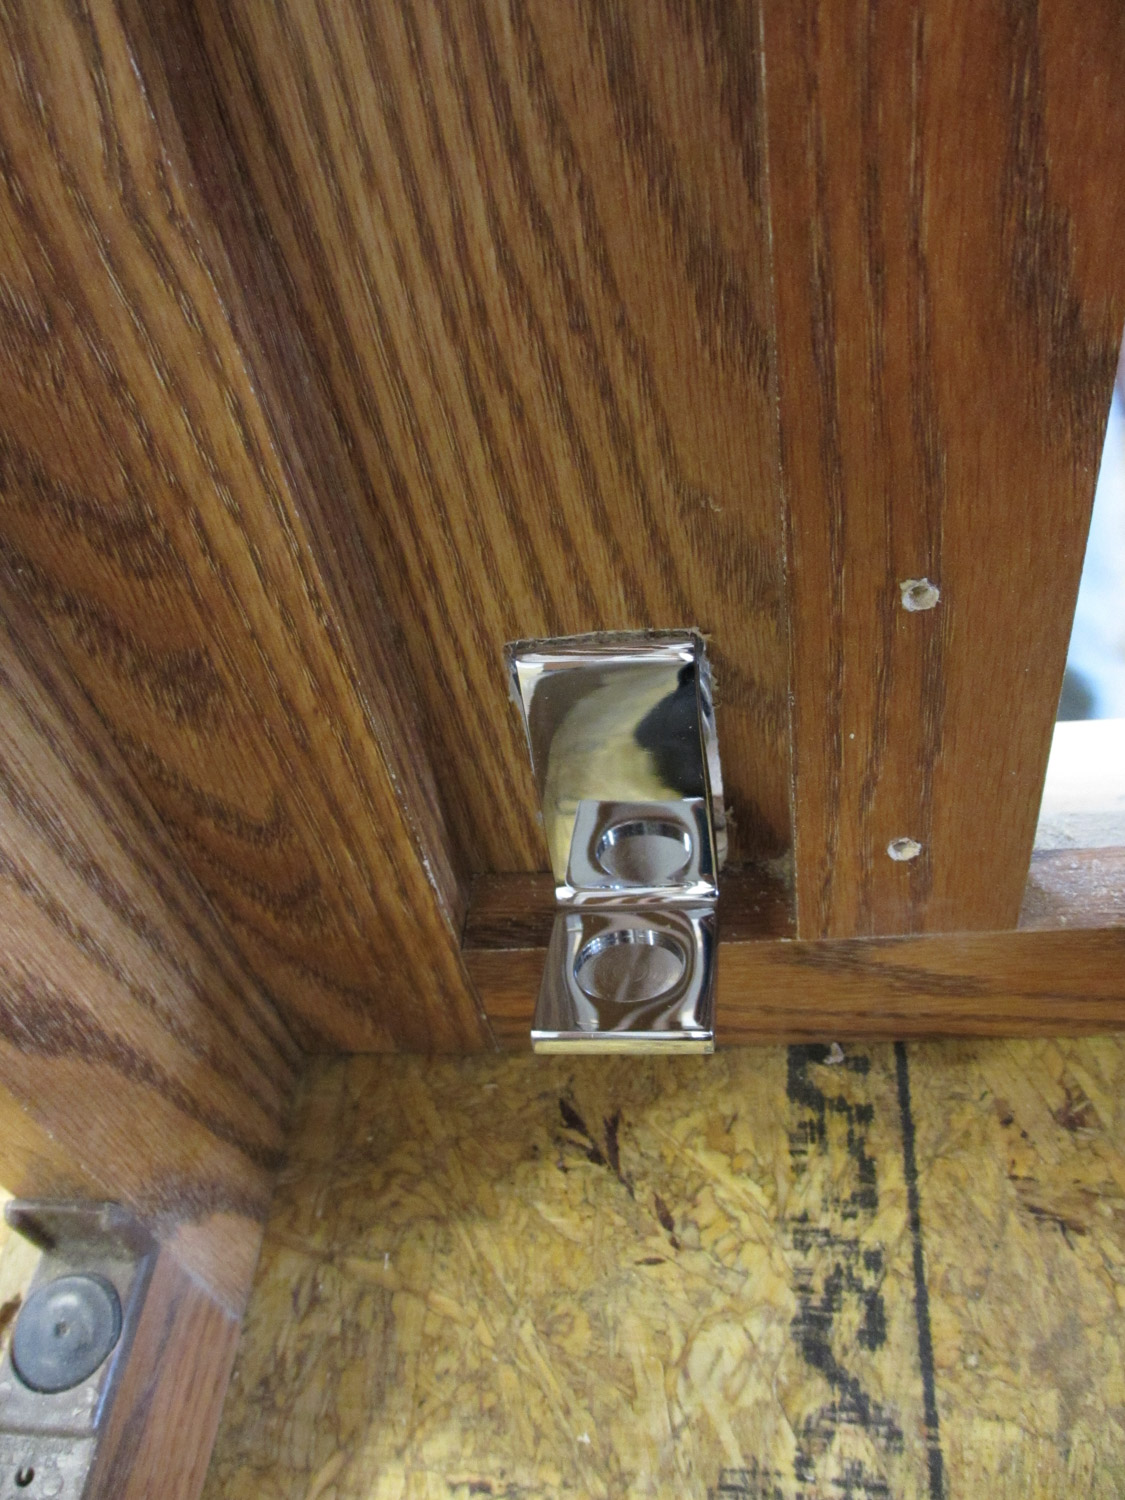
We installed a foot pedal in the kitchen cabinet. This foot pedal turns the water on and off in the kitchen sink - allowing us to conserve water.
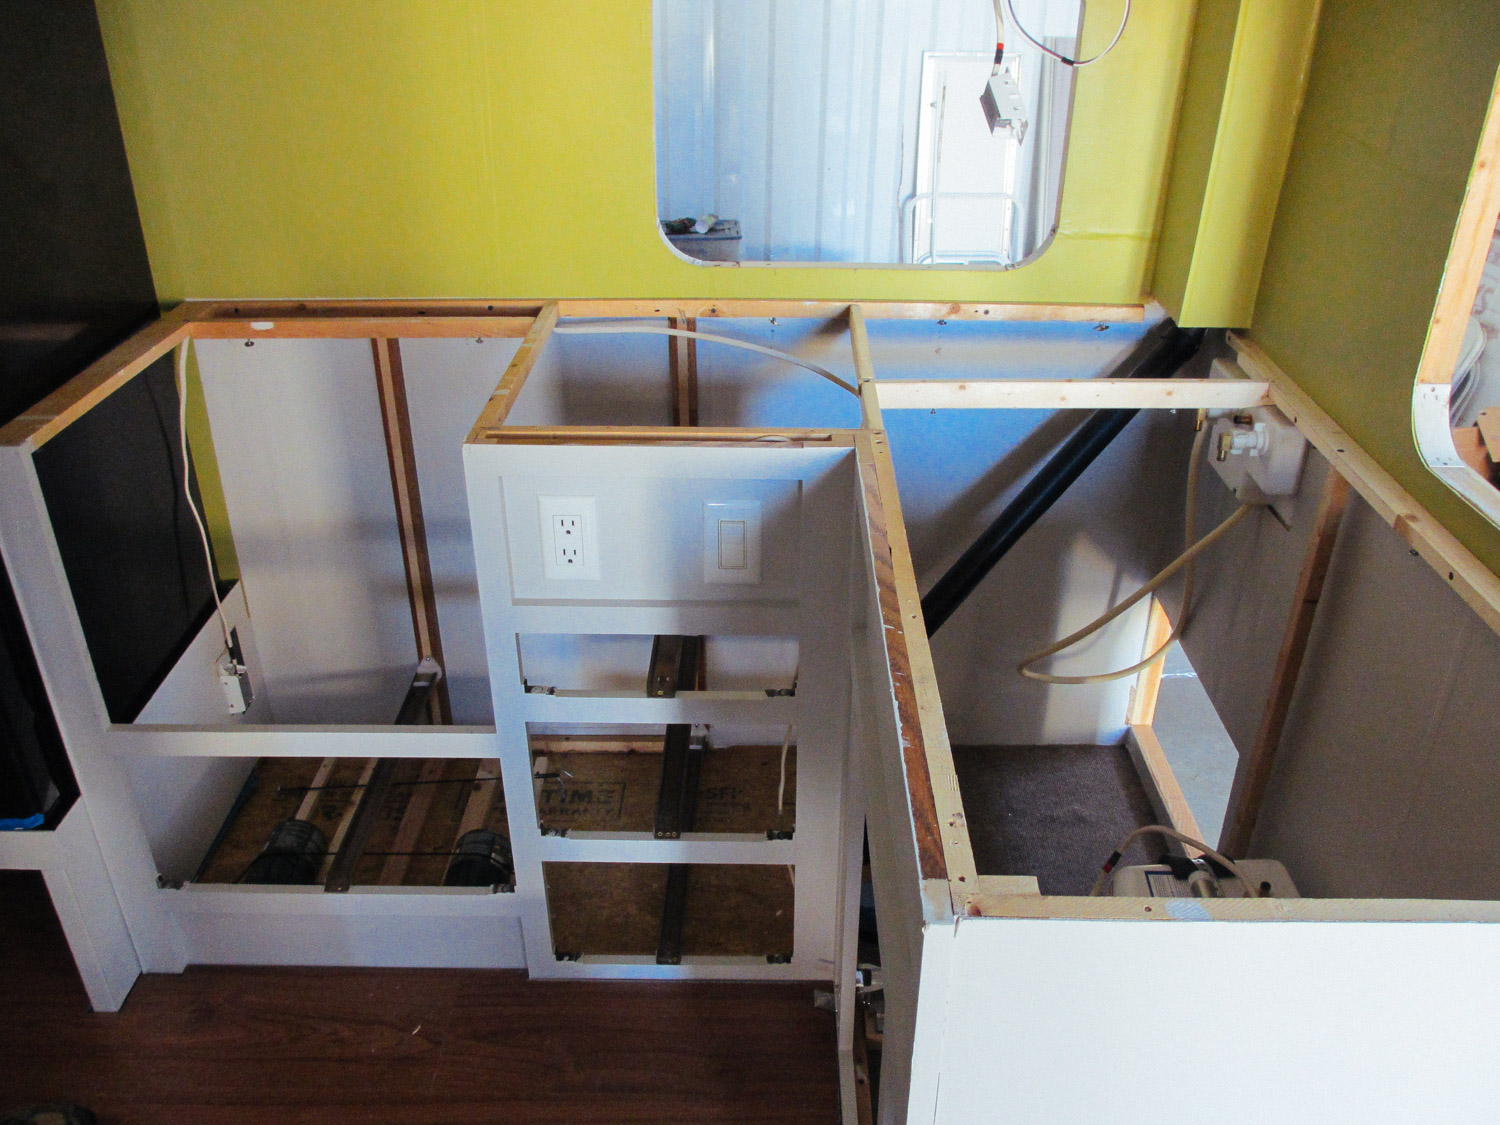
The main kitchen cabinets were reinstalled after being painted.
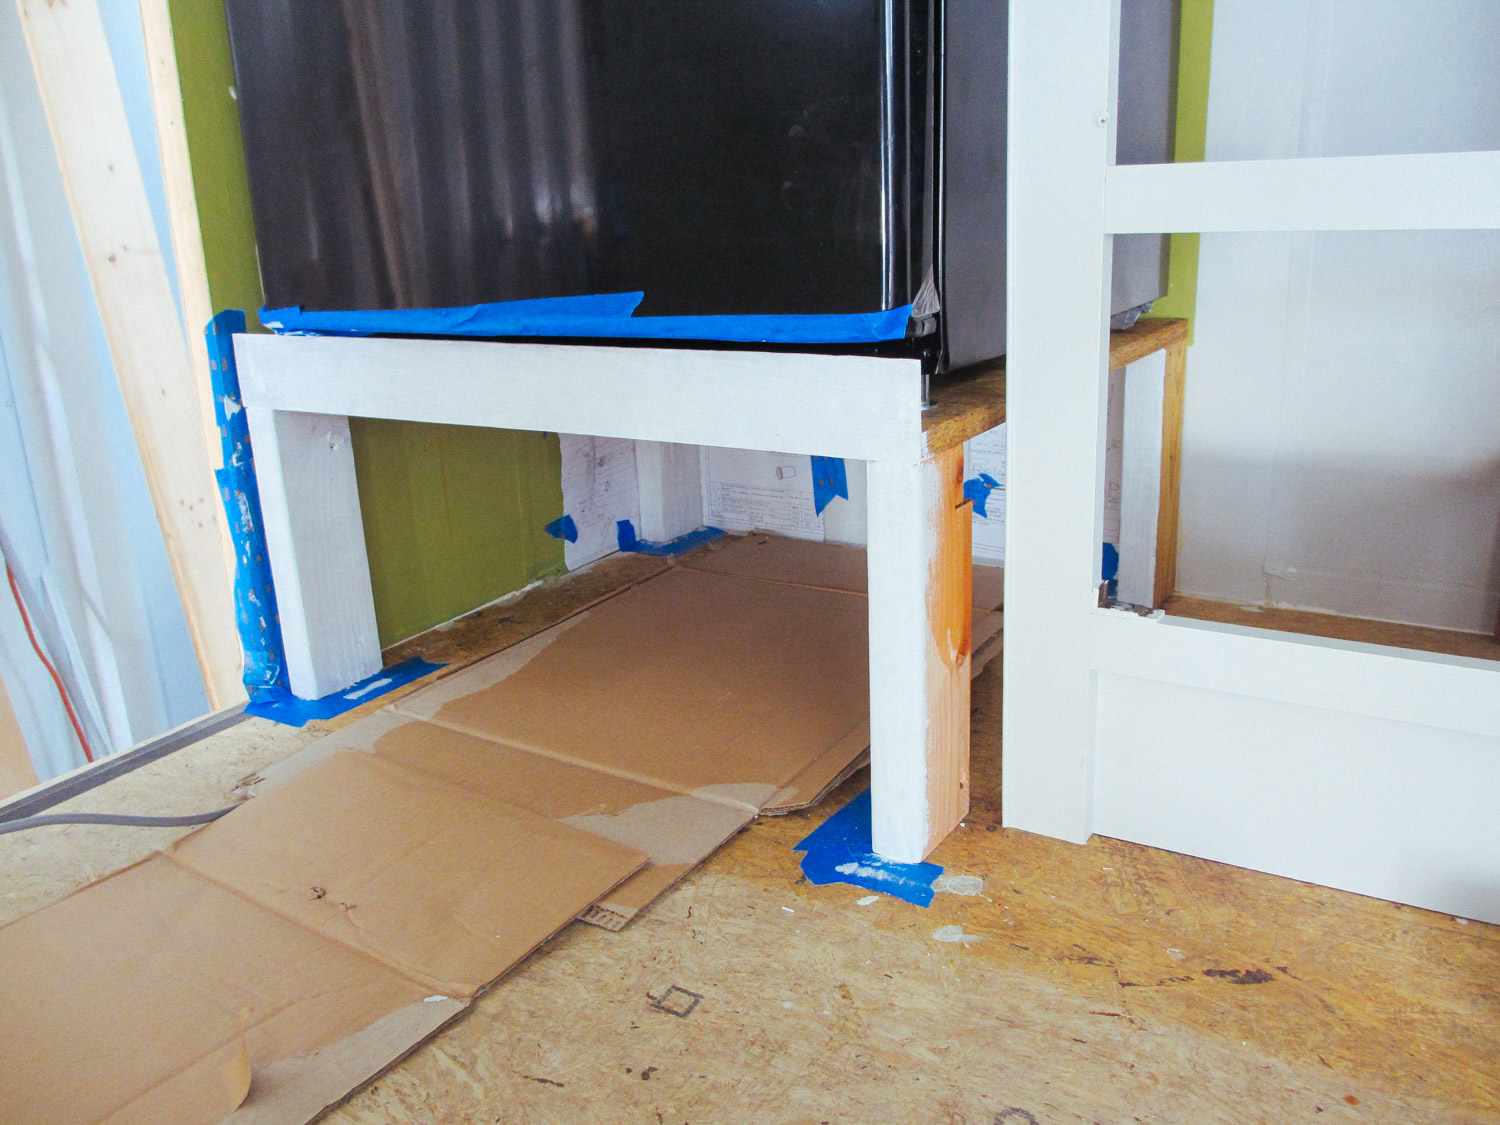
We built a stand for our new residential fridge, which is also a spot for our shoes when we enter the Toaster.
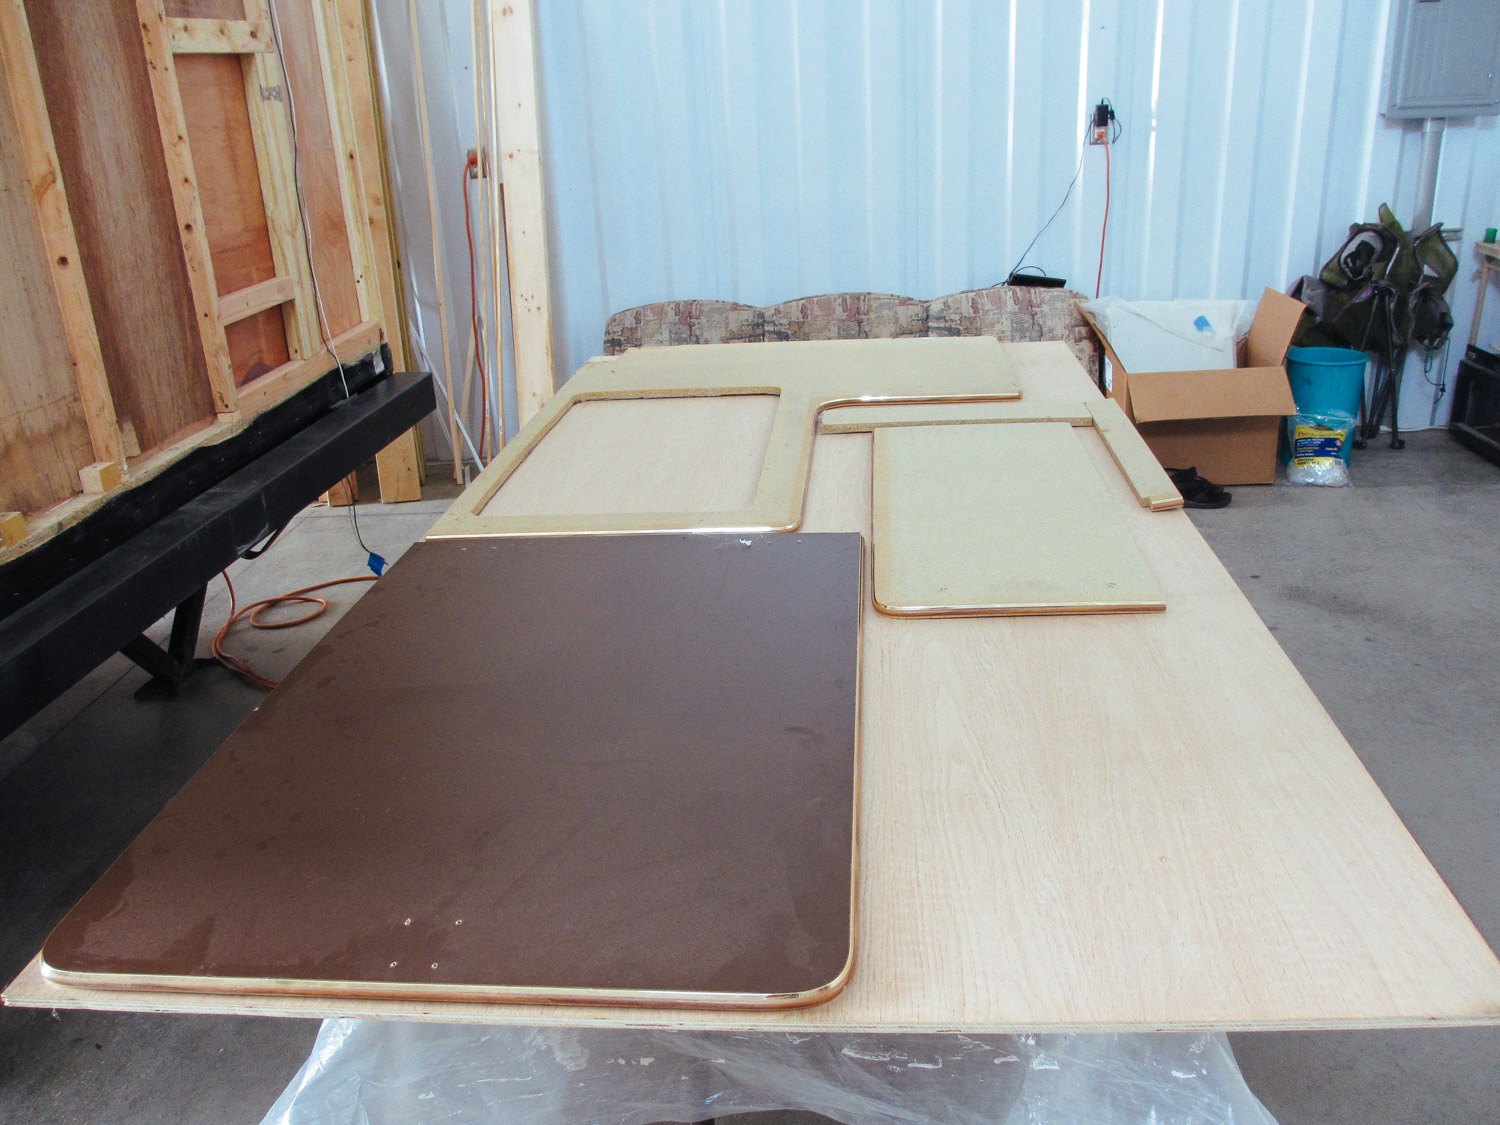
We traced the original kitchen countertop and flip-up on oak plywood to make new countertops.

We cleaned, sanded, stained and polyurethaned the new countertops.
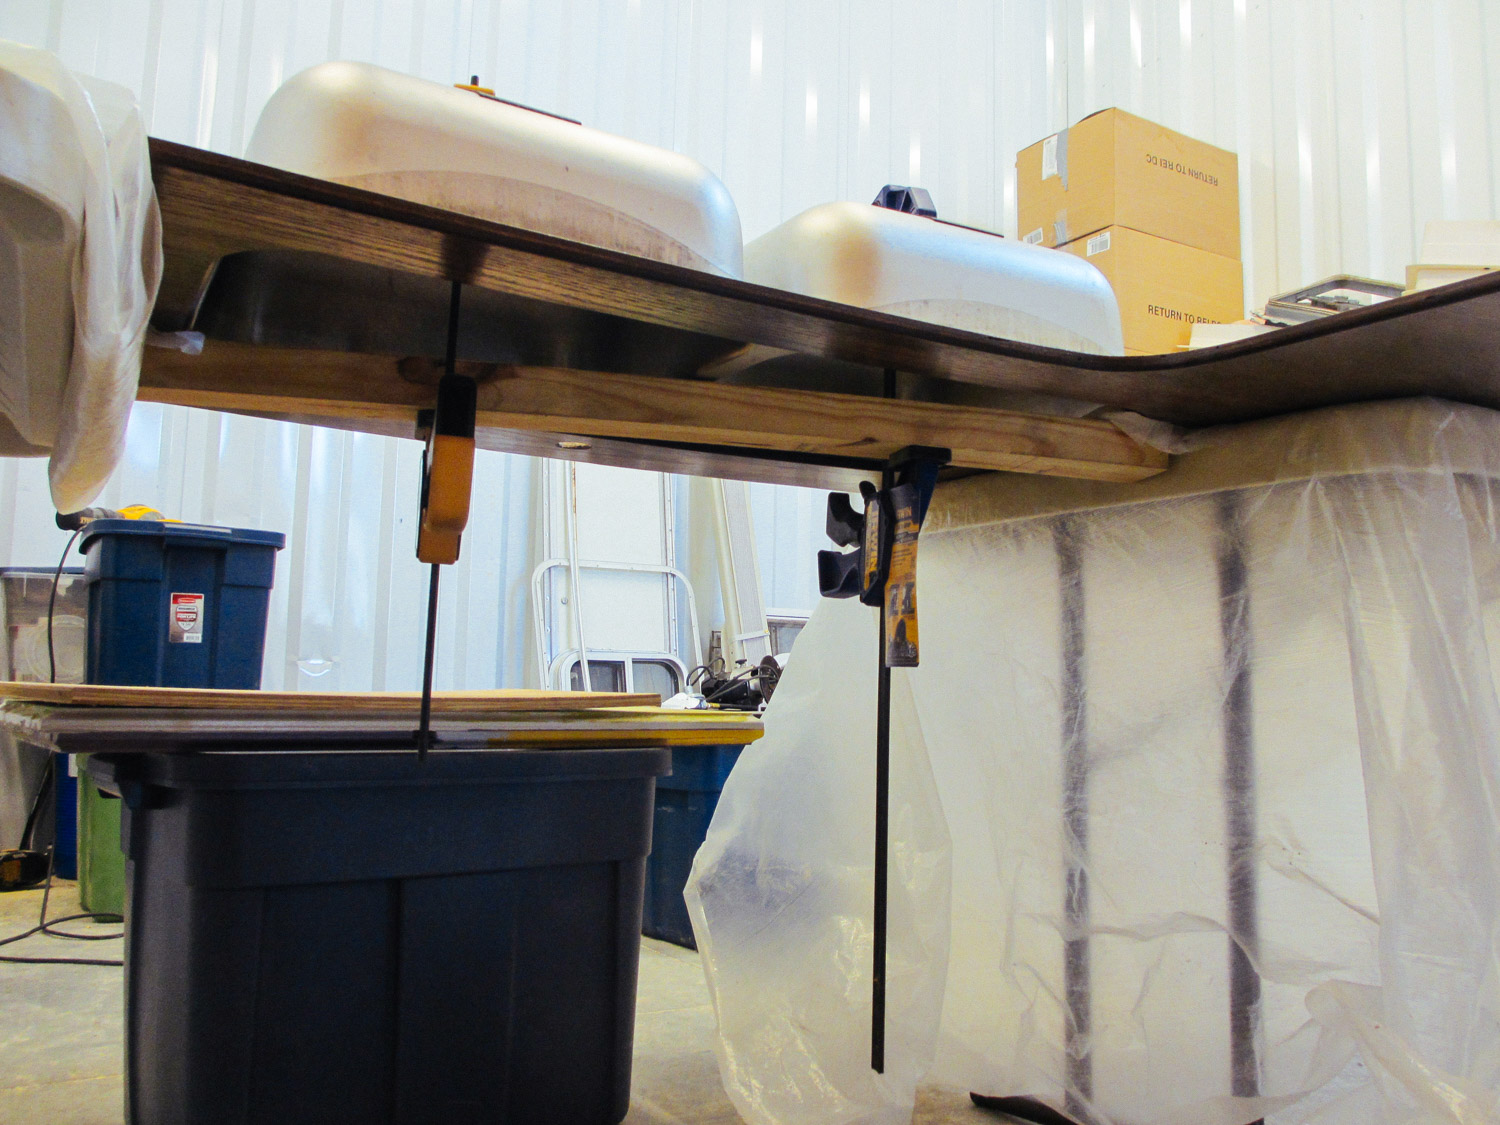
The original kitchen sink was top mounted to the countertop. We converted it to under-mount.
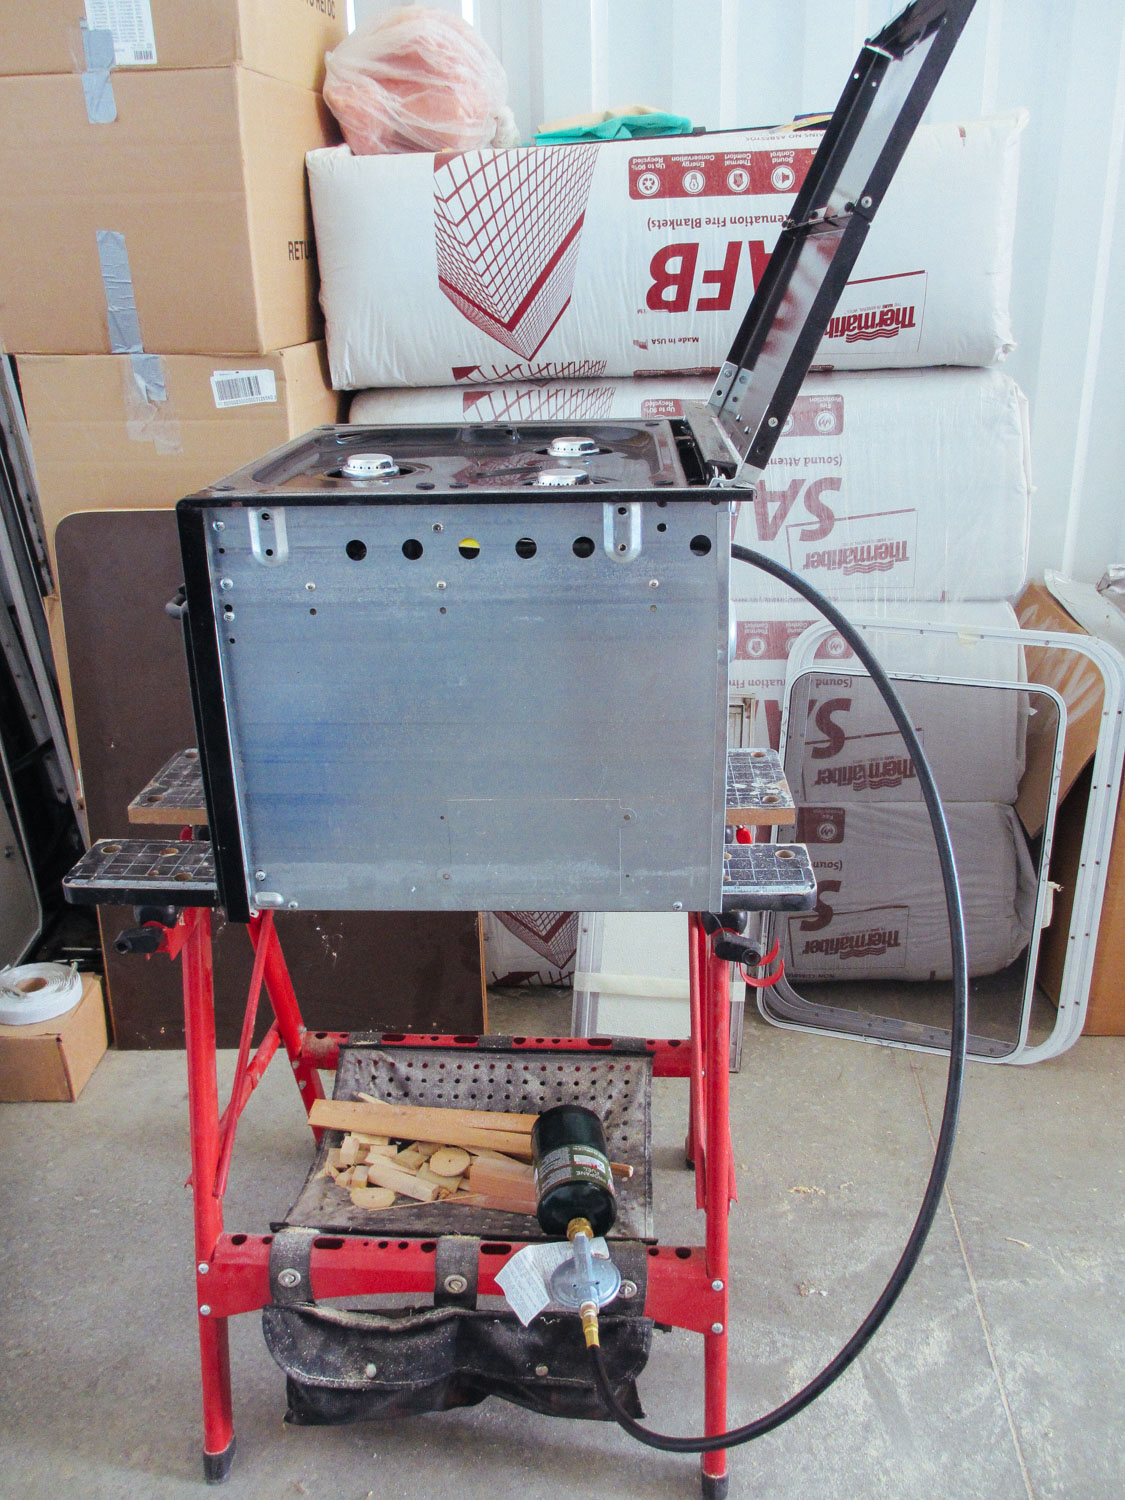
Since the RV stove/oven was our only propane appliance, we wanted to run it off camping propane fuel bottles instead of traditional RV propane tanks.
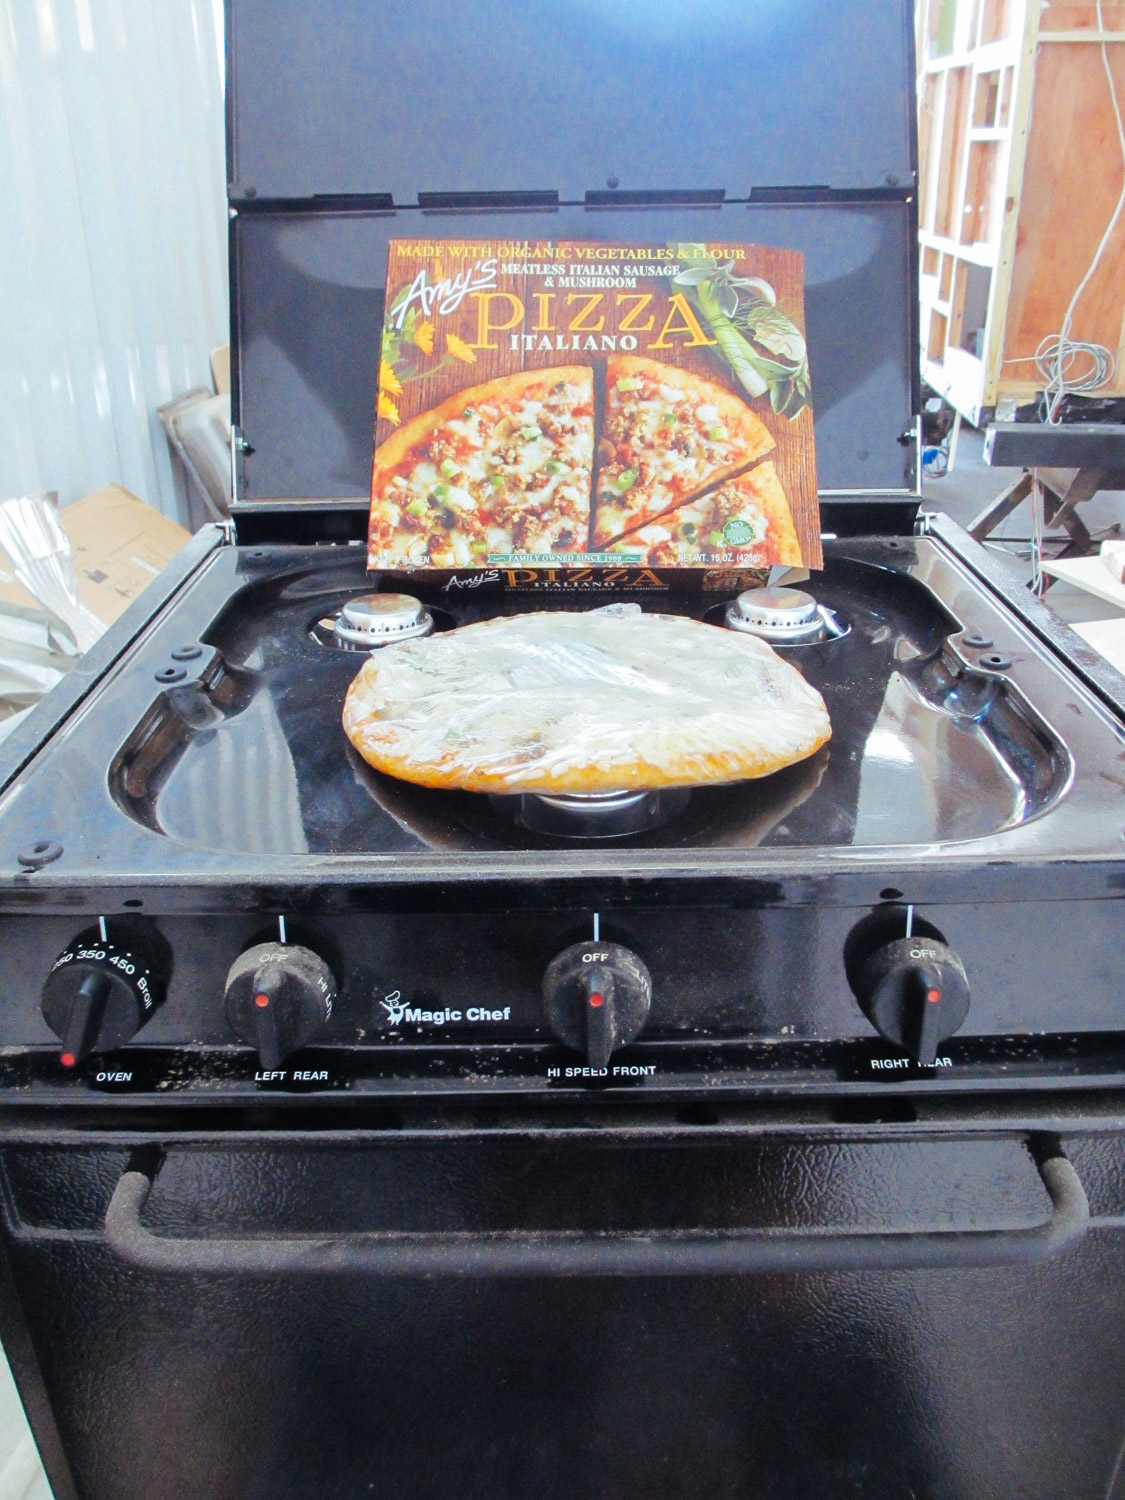
We made sure the RV stove/oven could actually run of camping propane fuel bottles by heating up a frozen pizza.
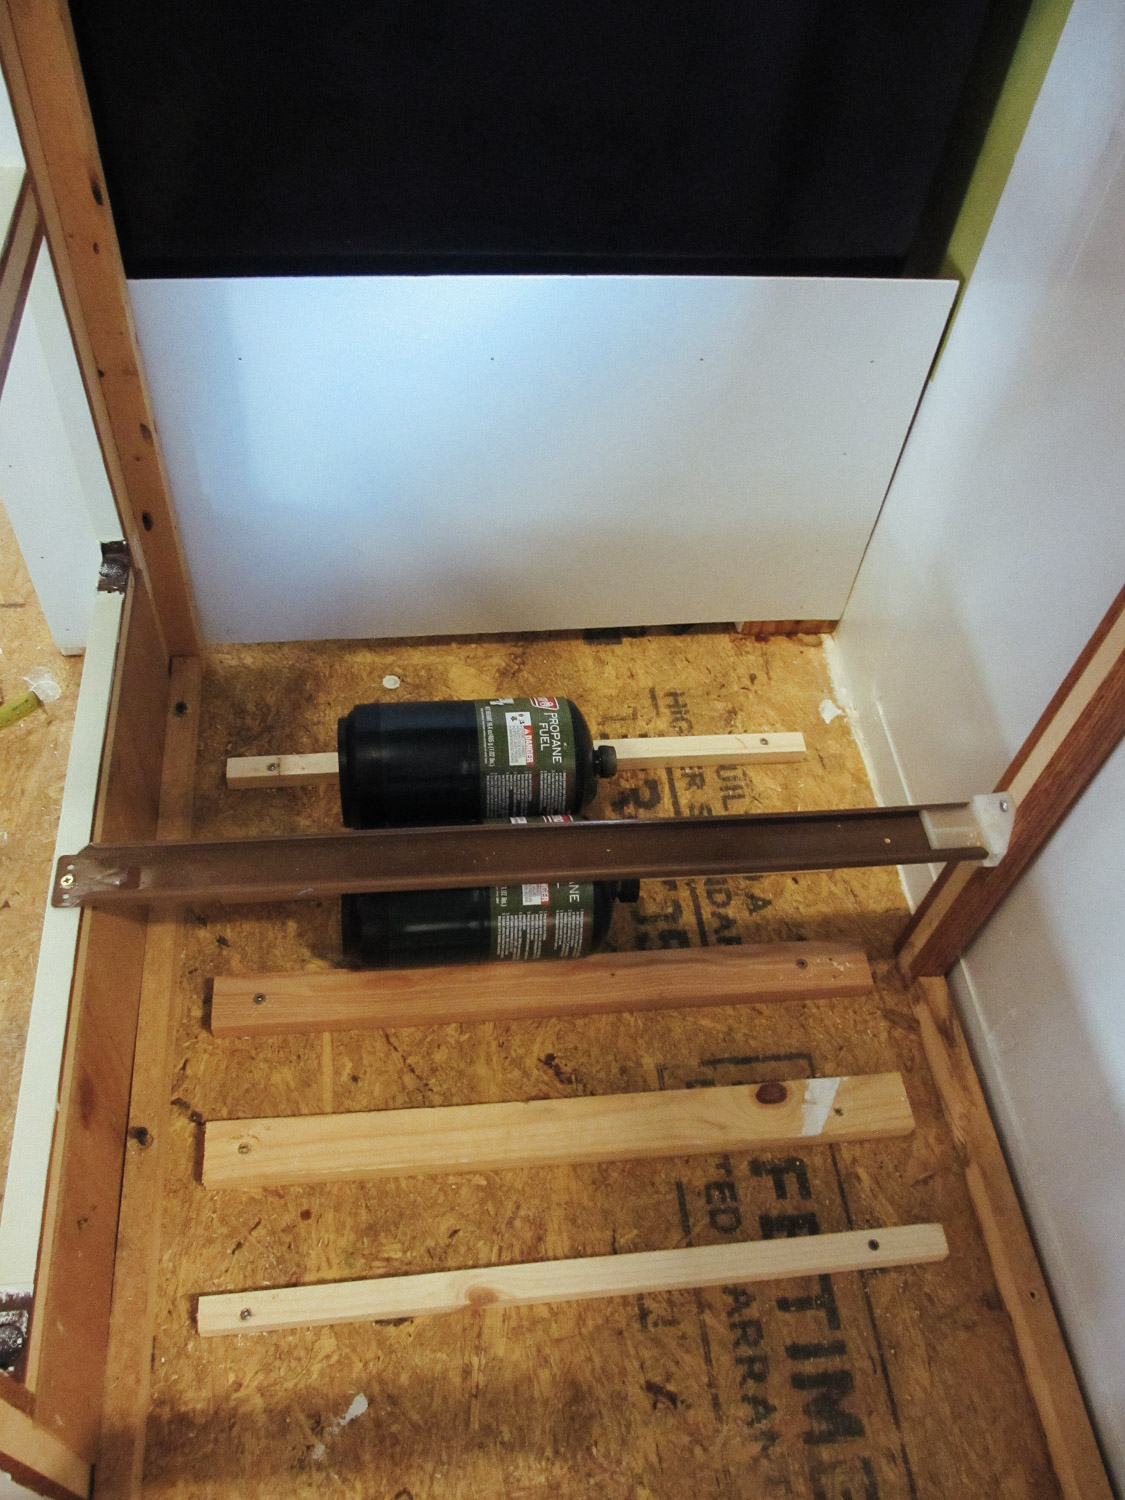
We installed pieces of wood under the RV stove/oven to hold the camping fuel bottles.
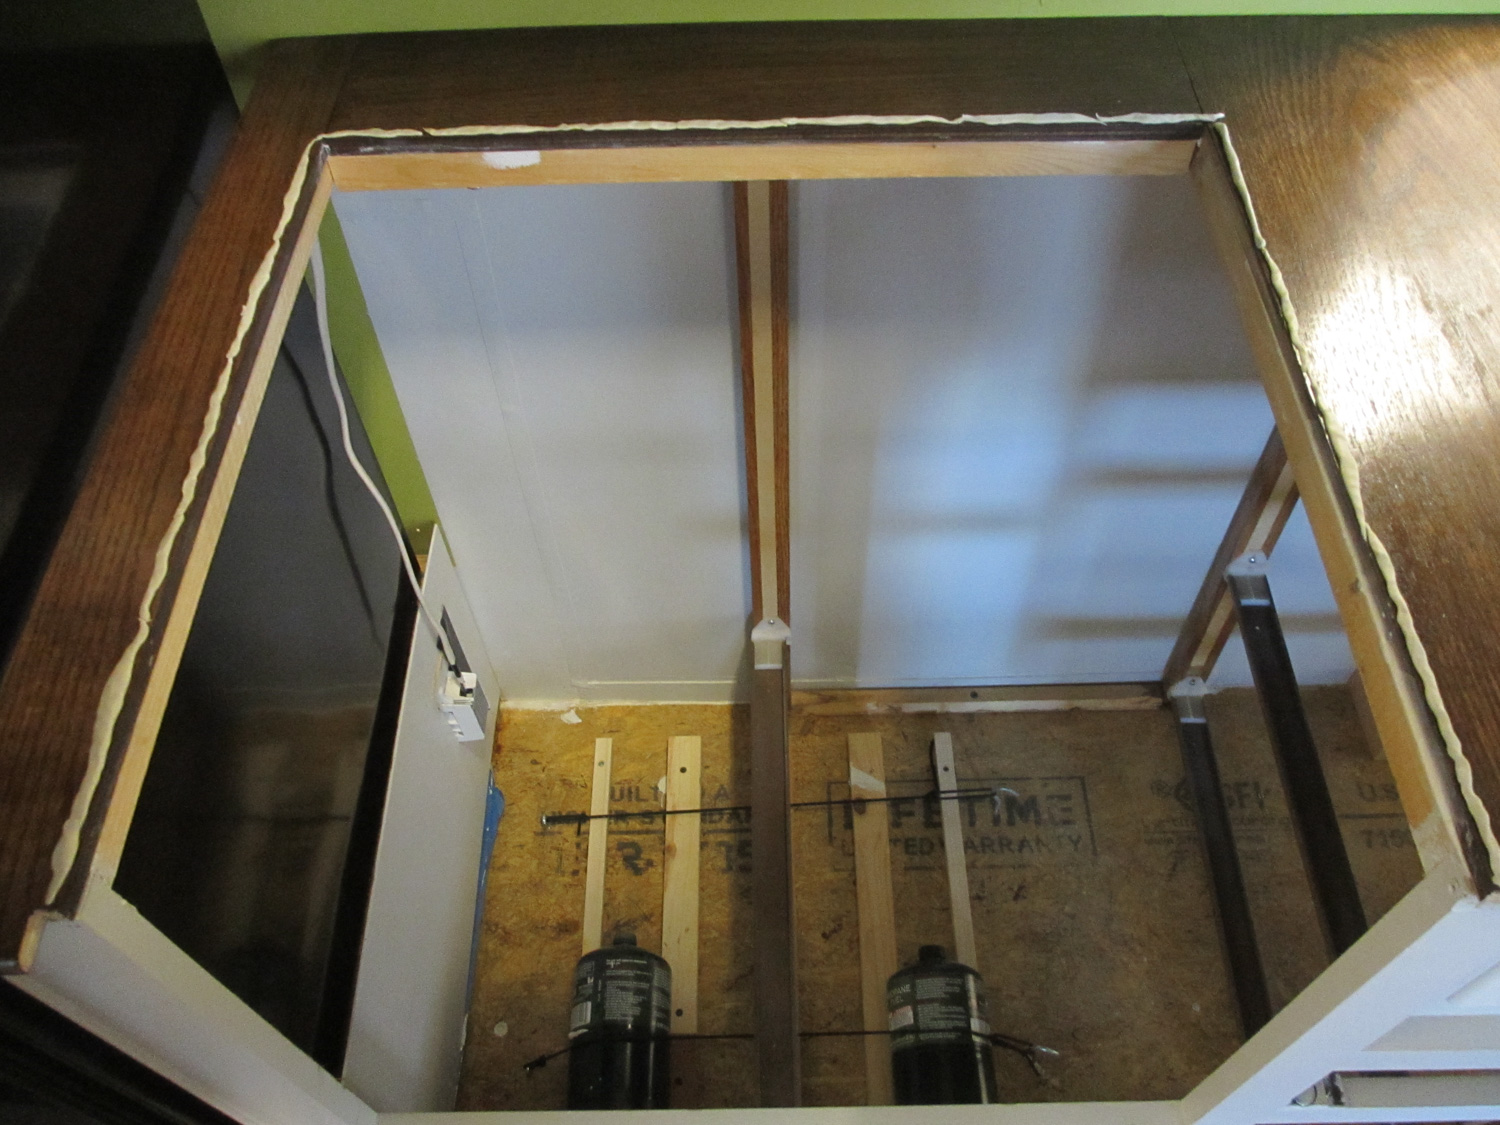
The stove opening was prepped for the stove/oven to be installed.
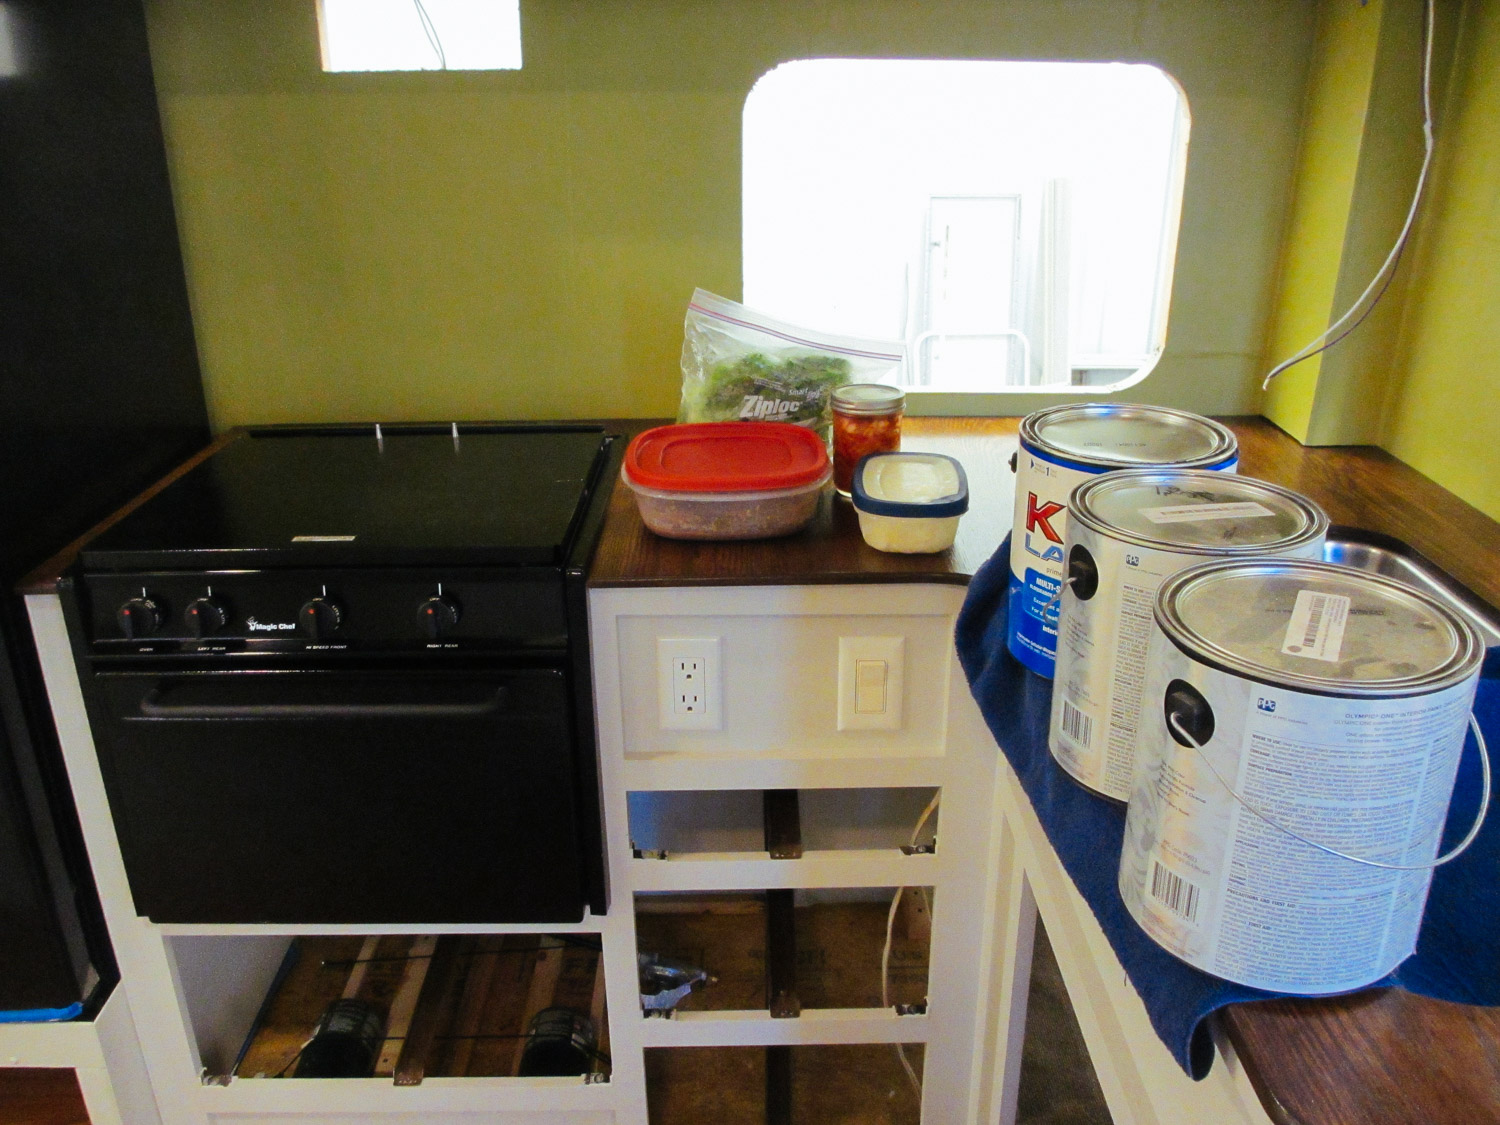
New countertops and the stove installed.
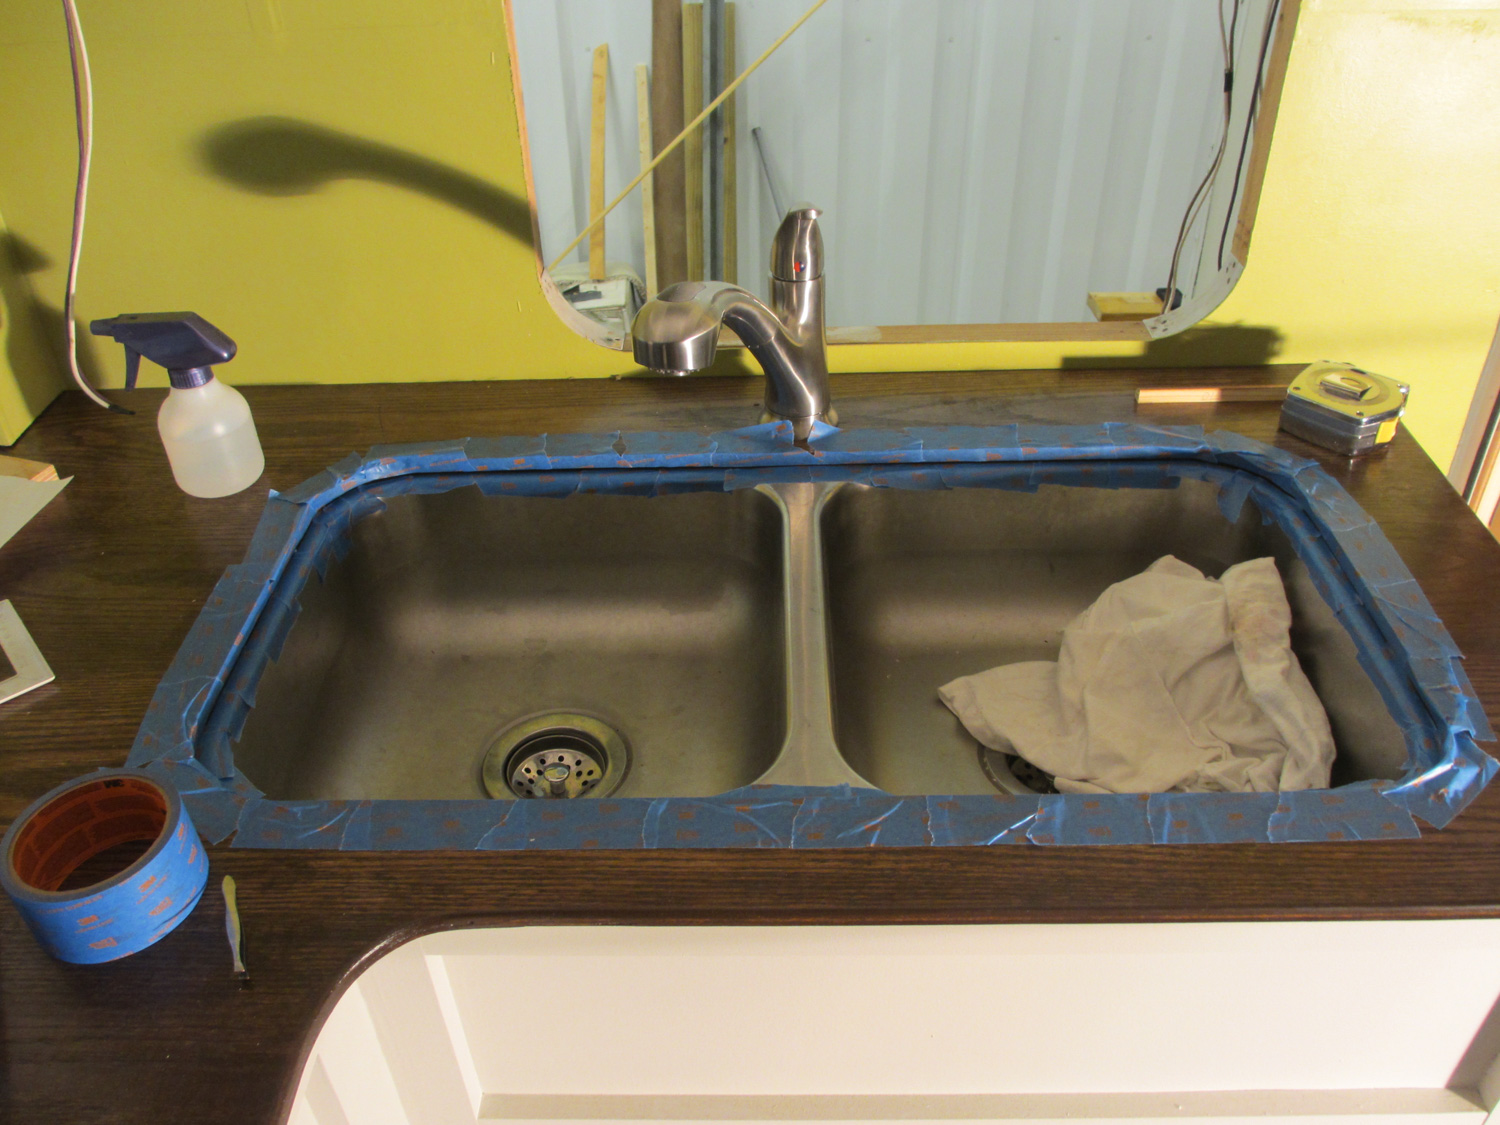
The countertop and kitchen sink were taped off for caulking.
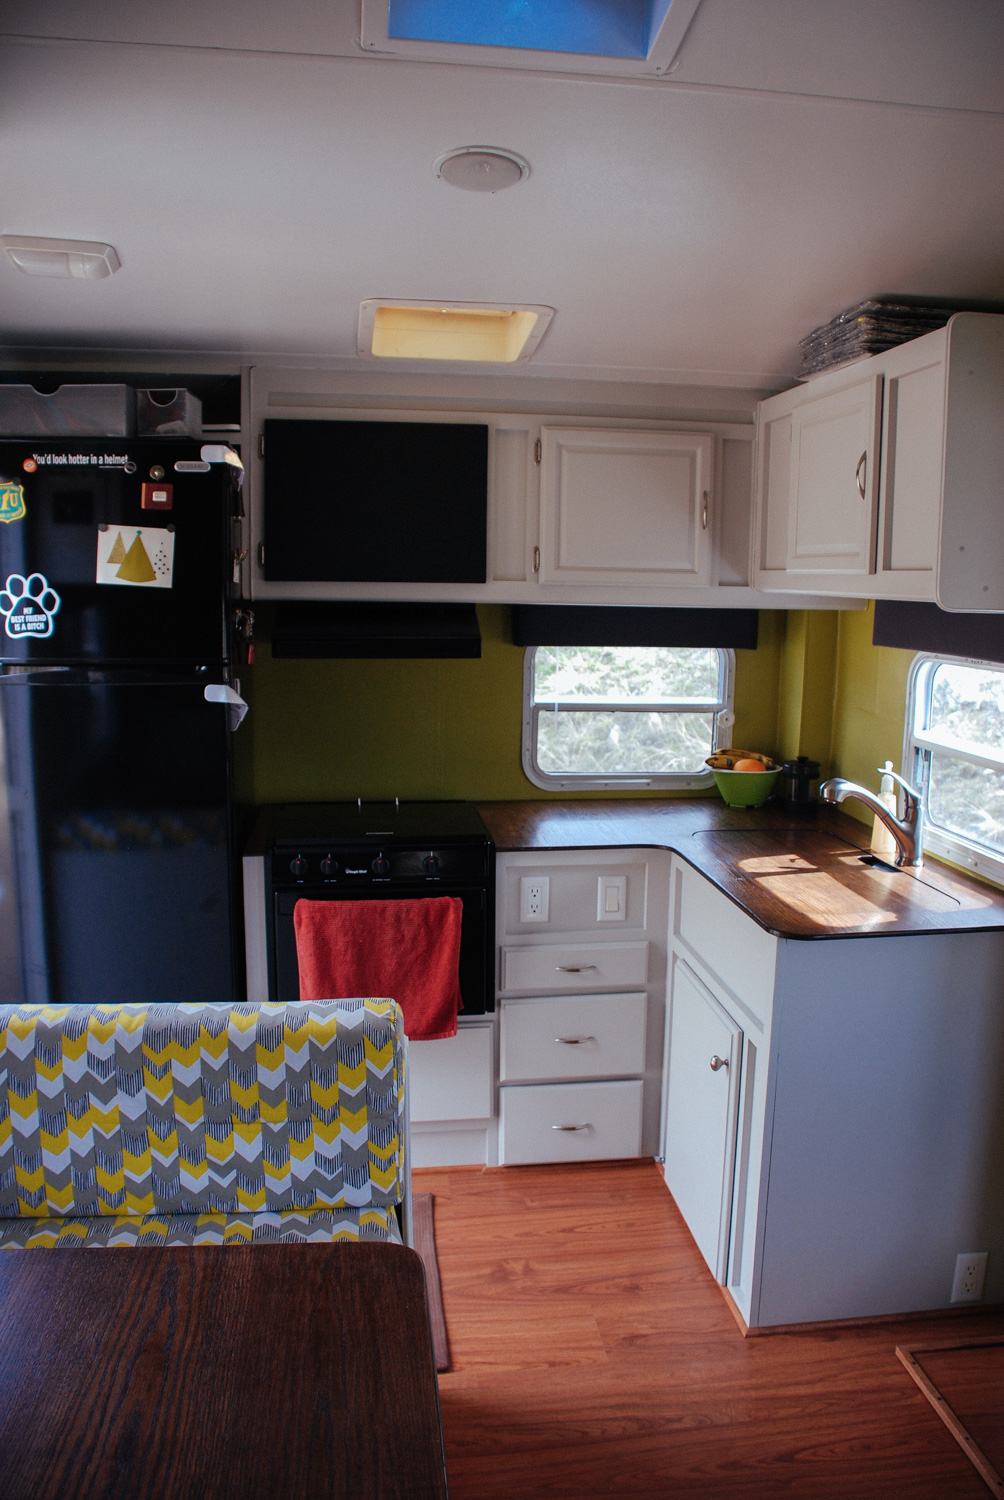
This is what our finished kitchen looked like when we first hit the road.
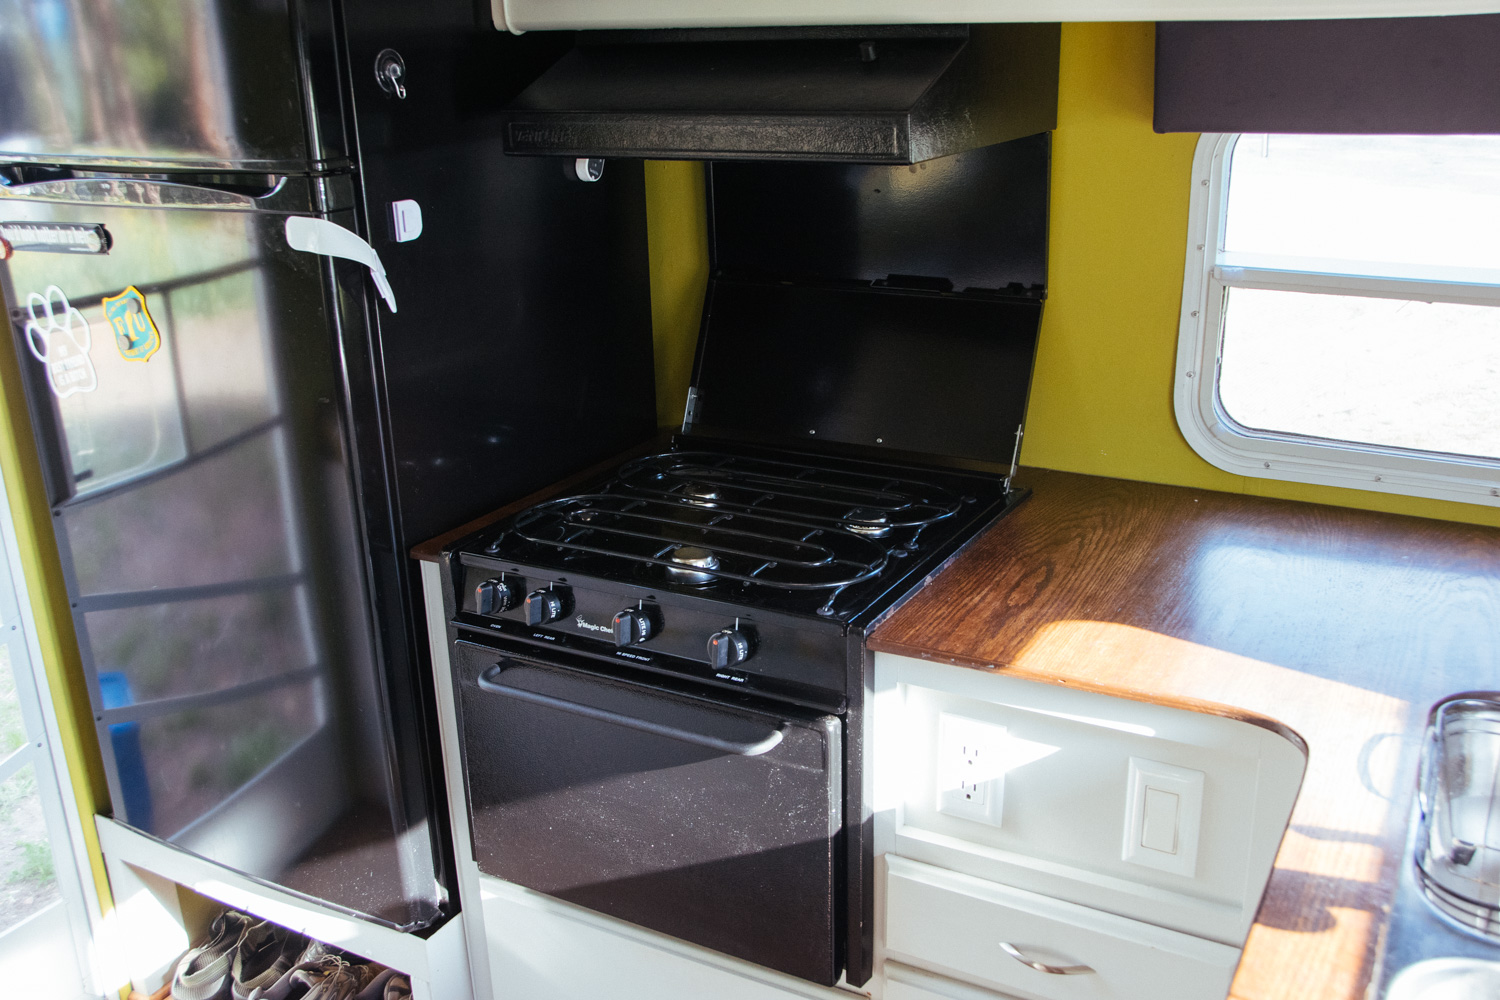
During the summer of 2016, we replaced the propane stove/oven with electric appliances. This made the Toaster officially 100% solar powered!
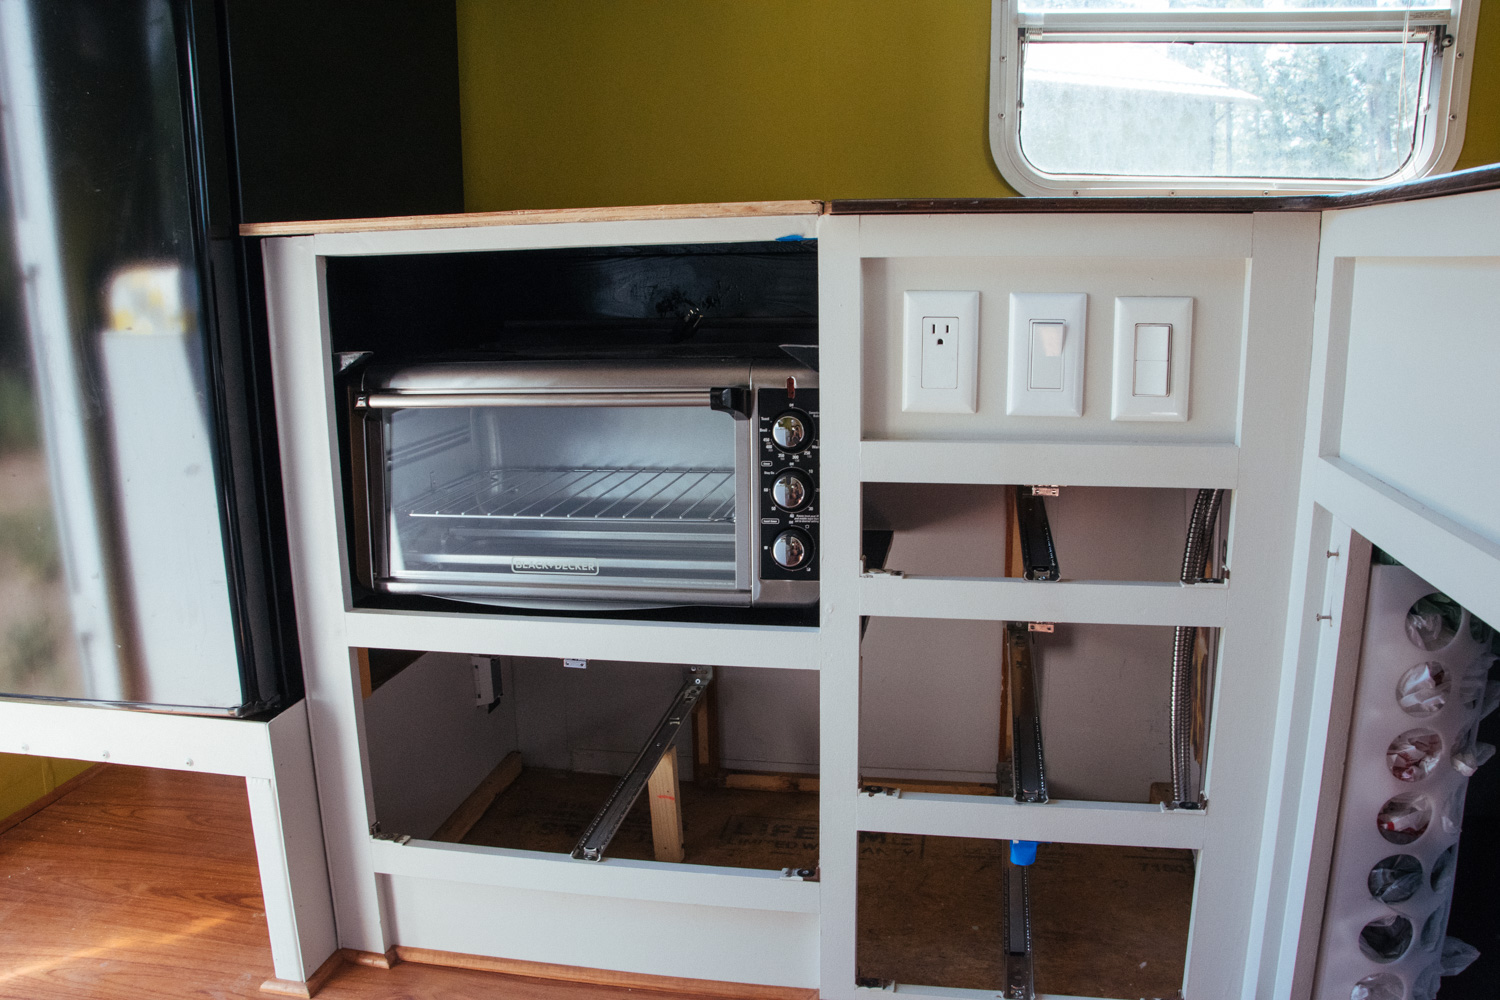
Our new electric oven is actually an extra large countertop toaster oven. We also use an induction countertop cooktop.
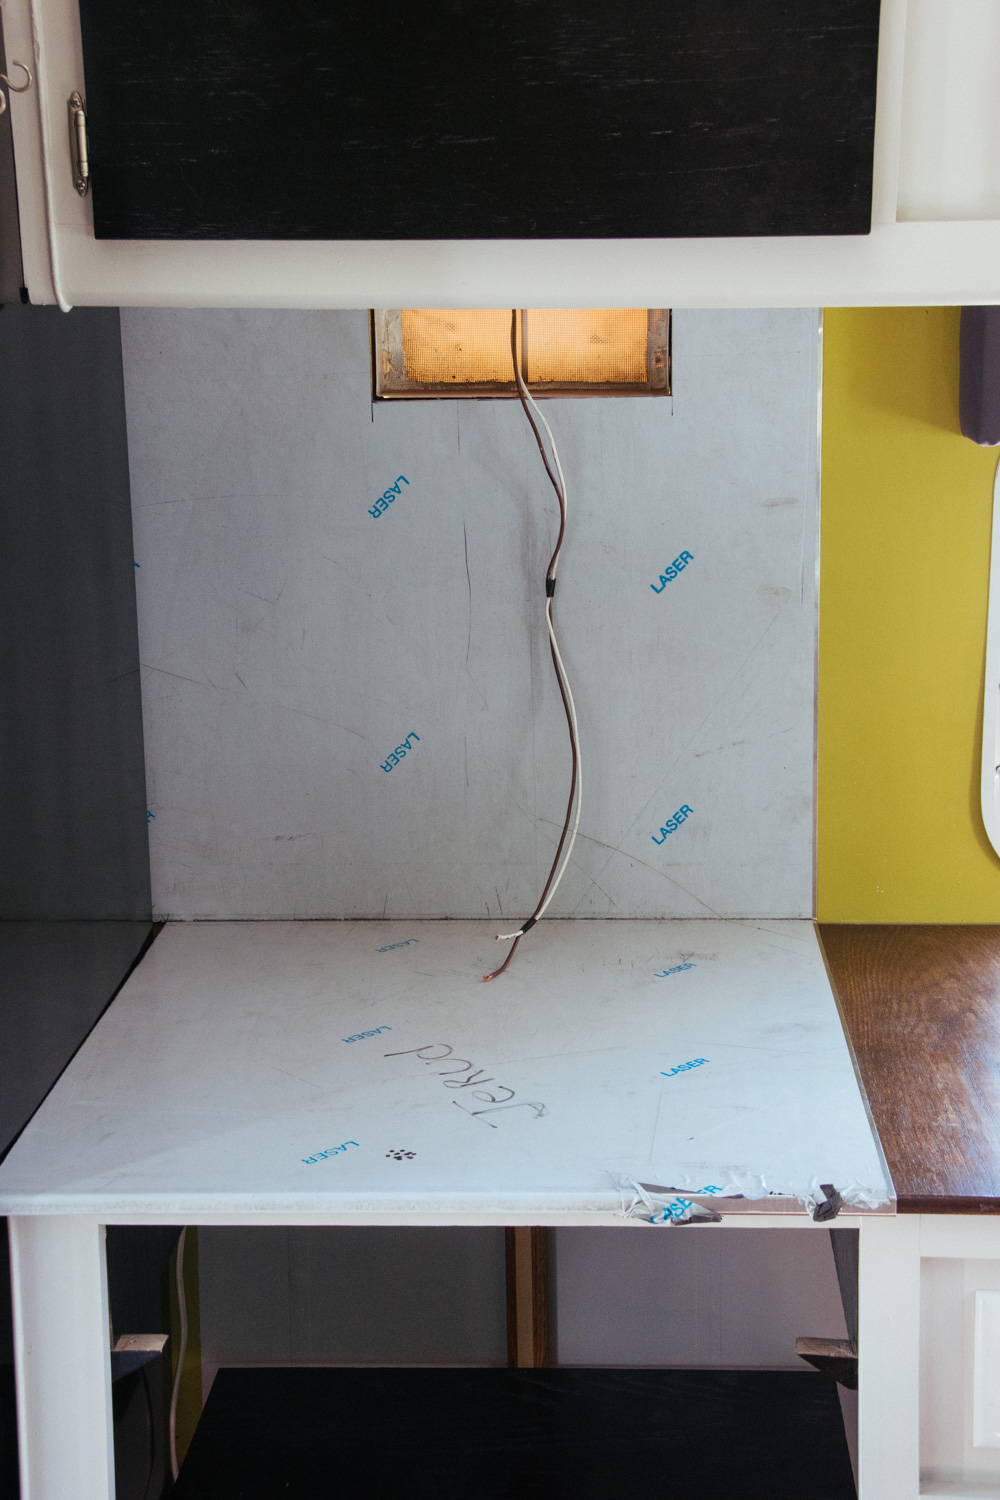
Test fitting the stainless steel counter and backsplash that we had fabricated by a local (Missoula) shop.
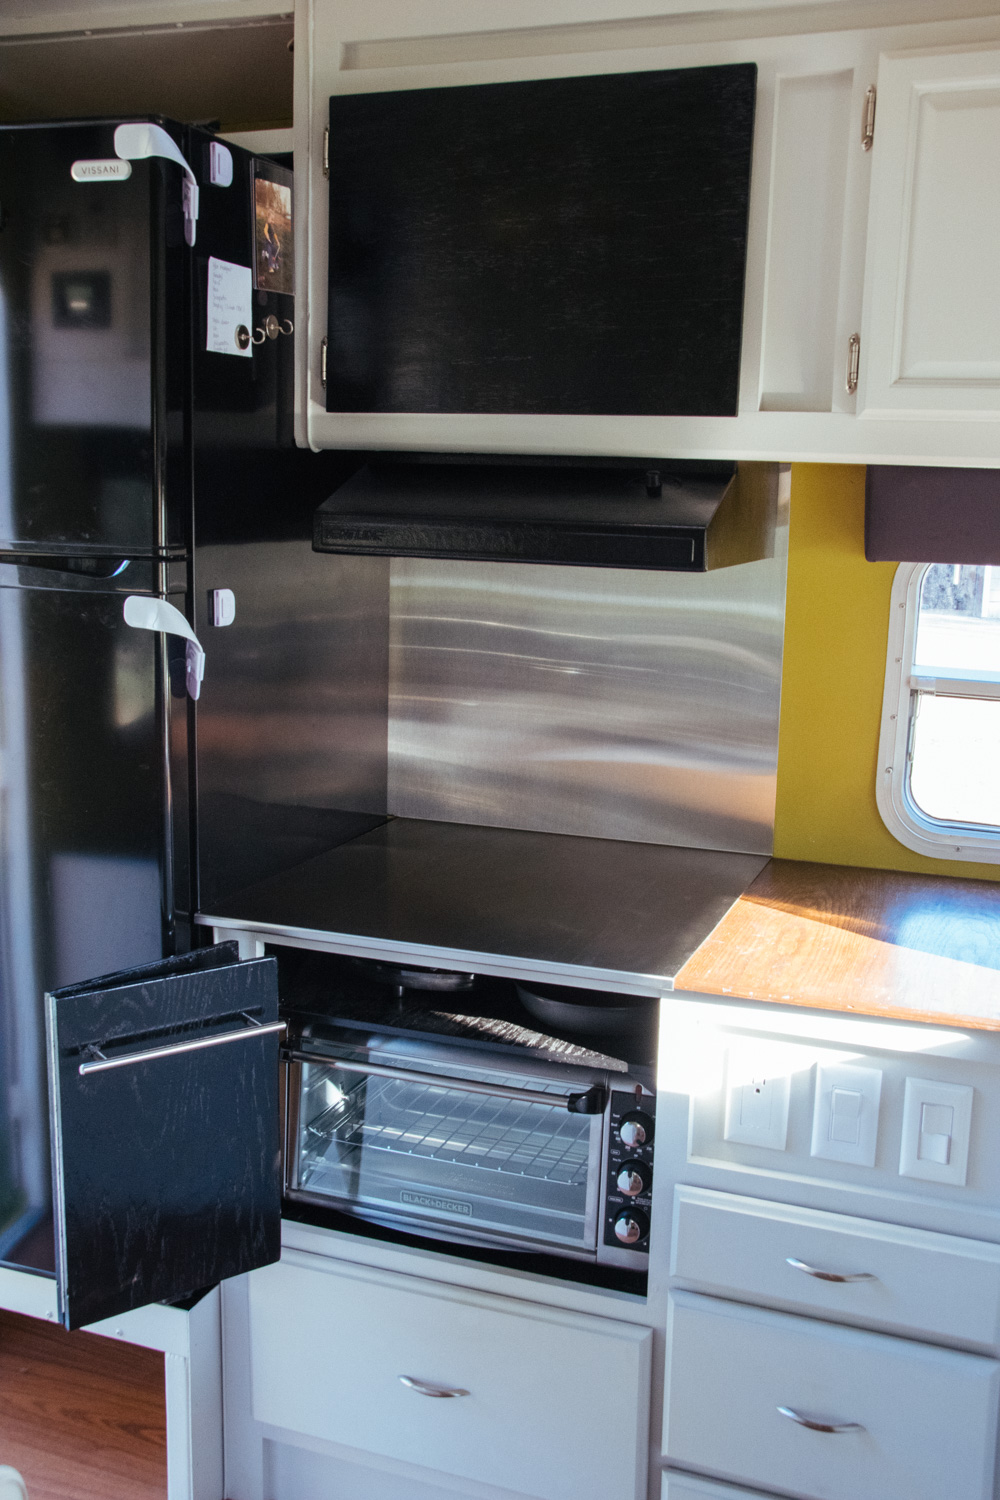
Our new kitchen! The induction cooktop is stored in the shelf above the toaster oven.
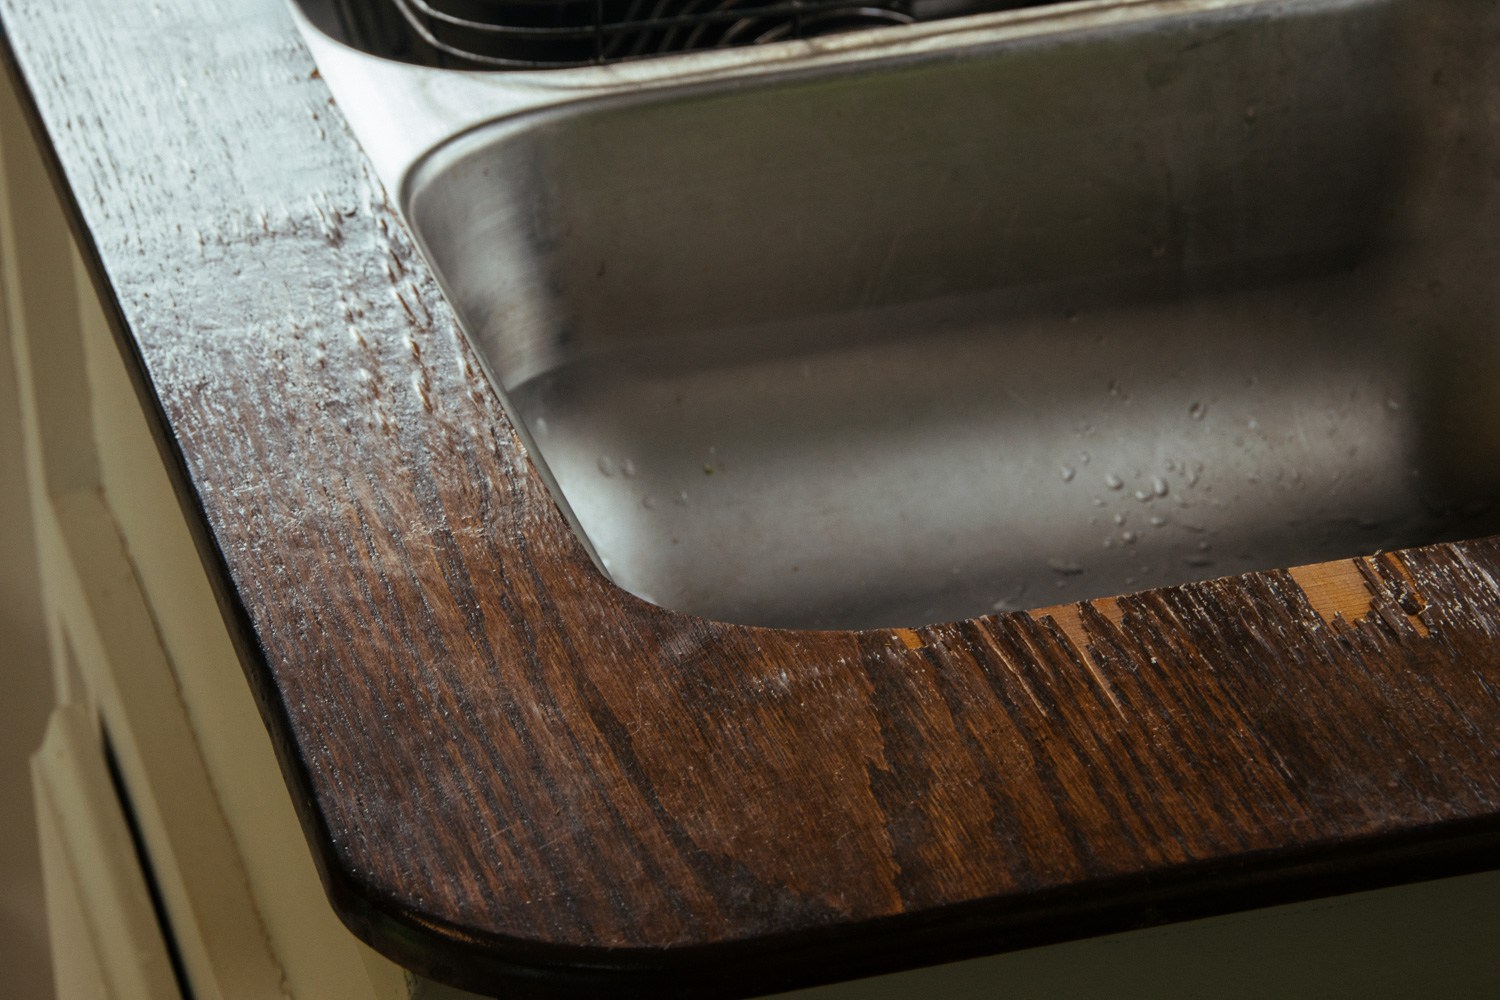
Our kitchen countertops had not weathered well. During the summer of 2017, we decided to sand them down and refinish them.
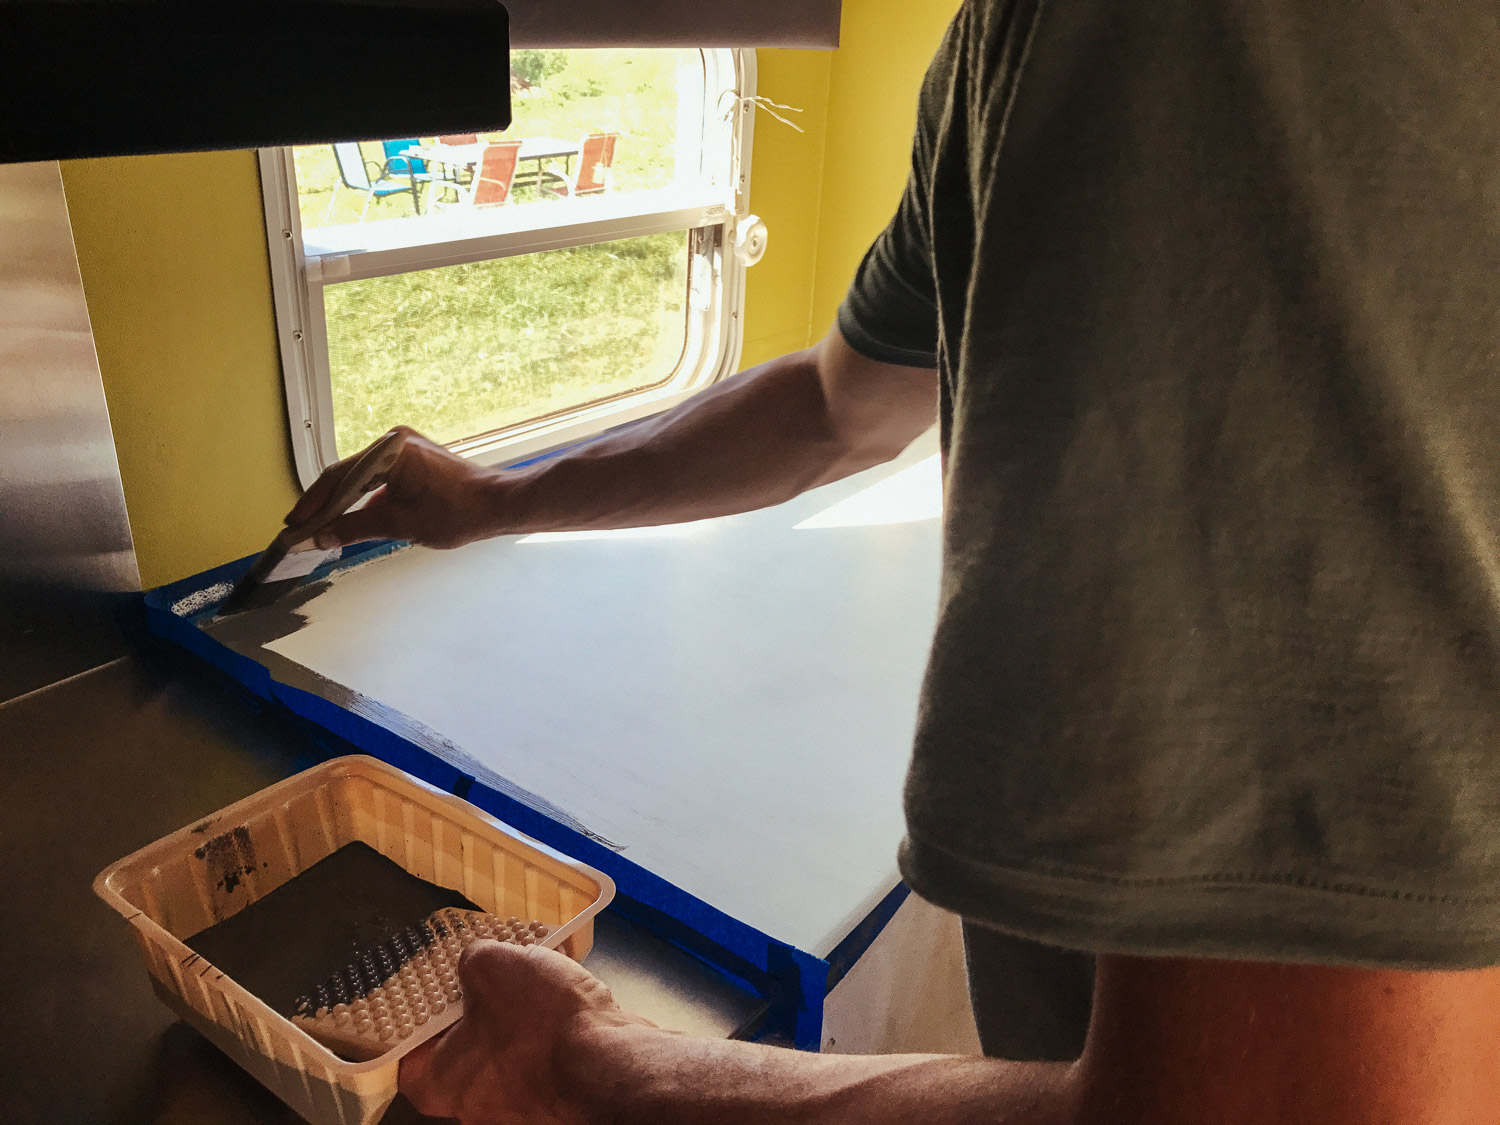
We repainted them with Rust-Oleum Countertop Paint. It's a waterproof, antimicrobial, and wear resistant epoxy acrylic
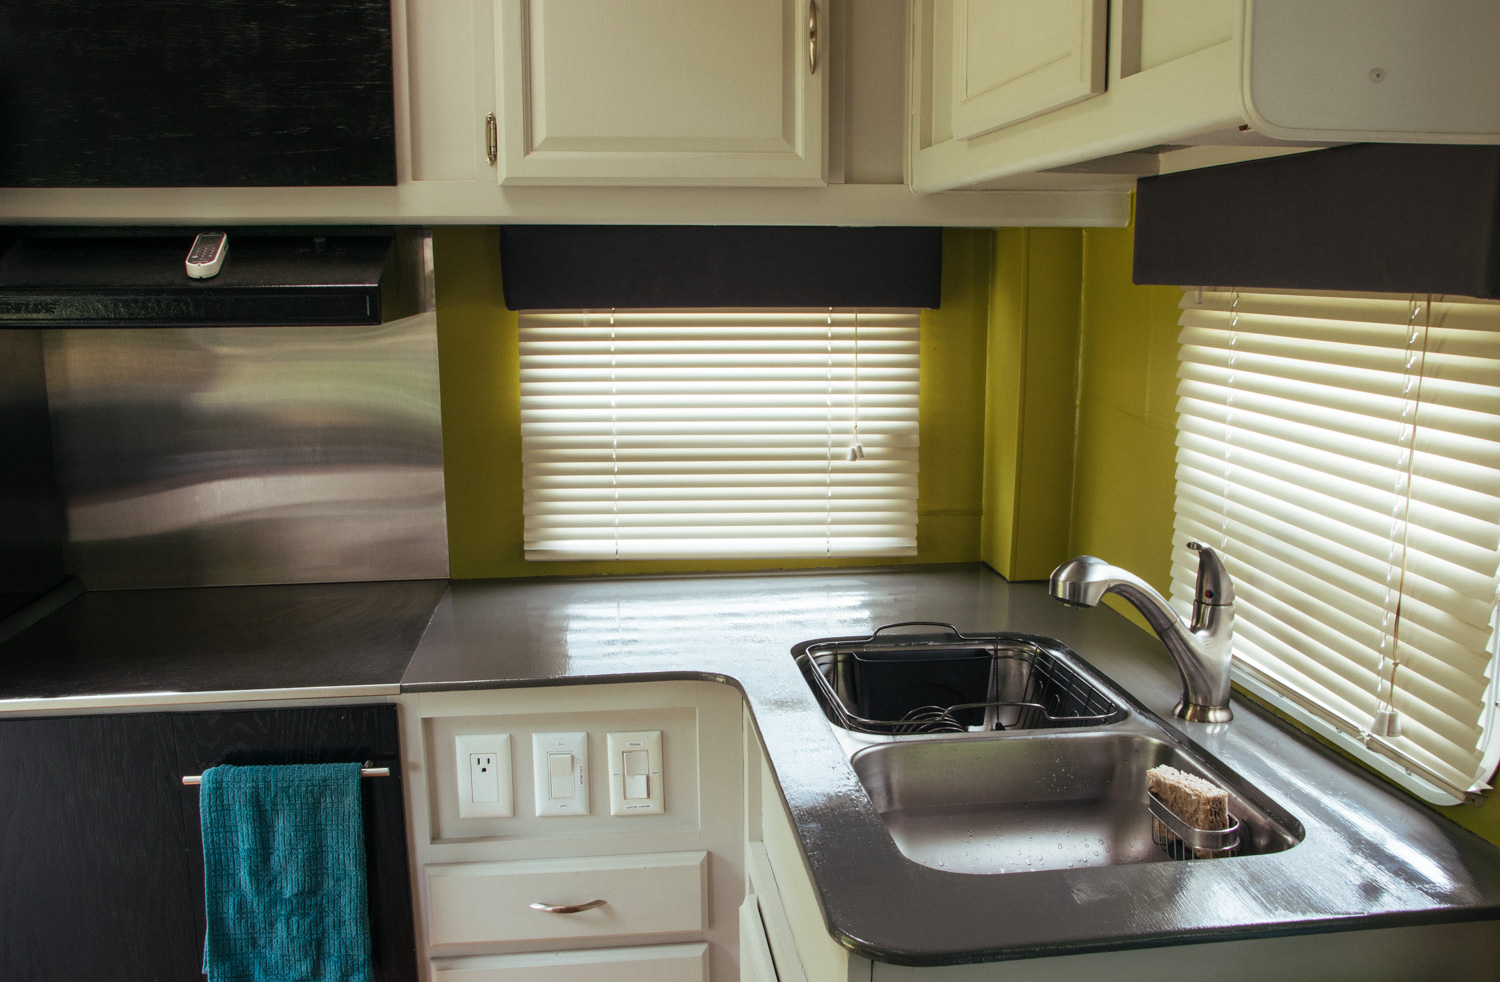
Completed countertops.


Posts About The Kitchen
Back To Top
Dinette And Slide
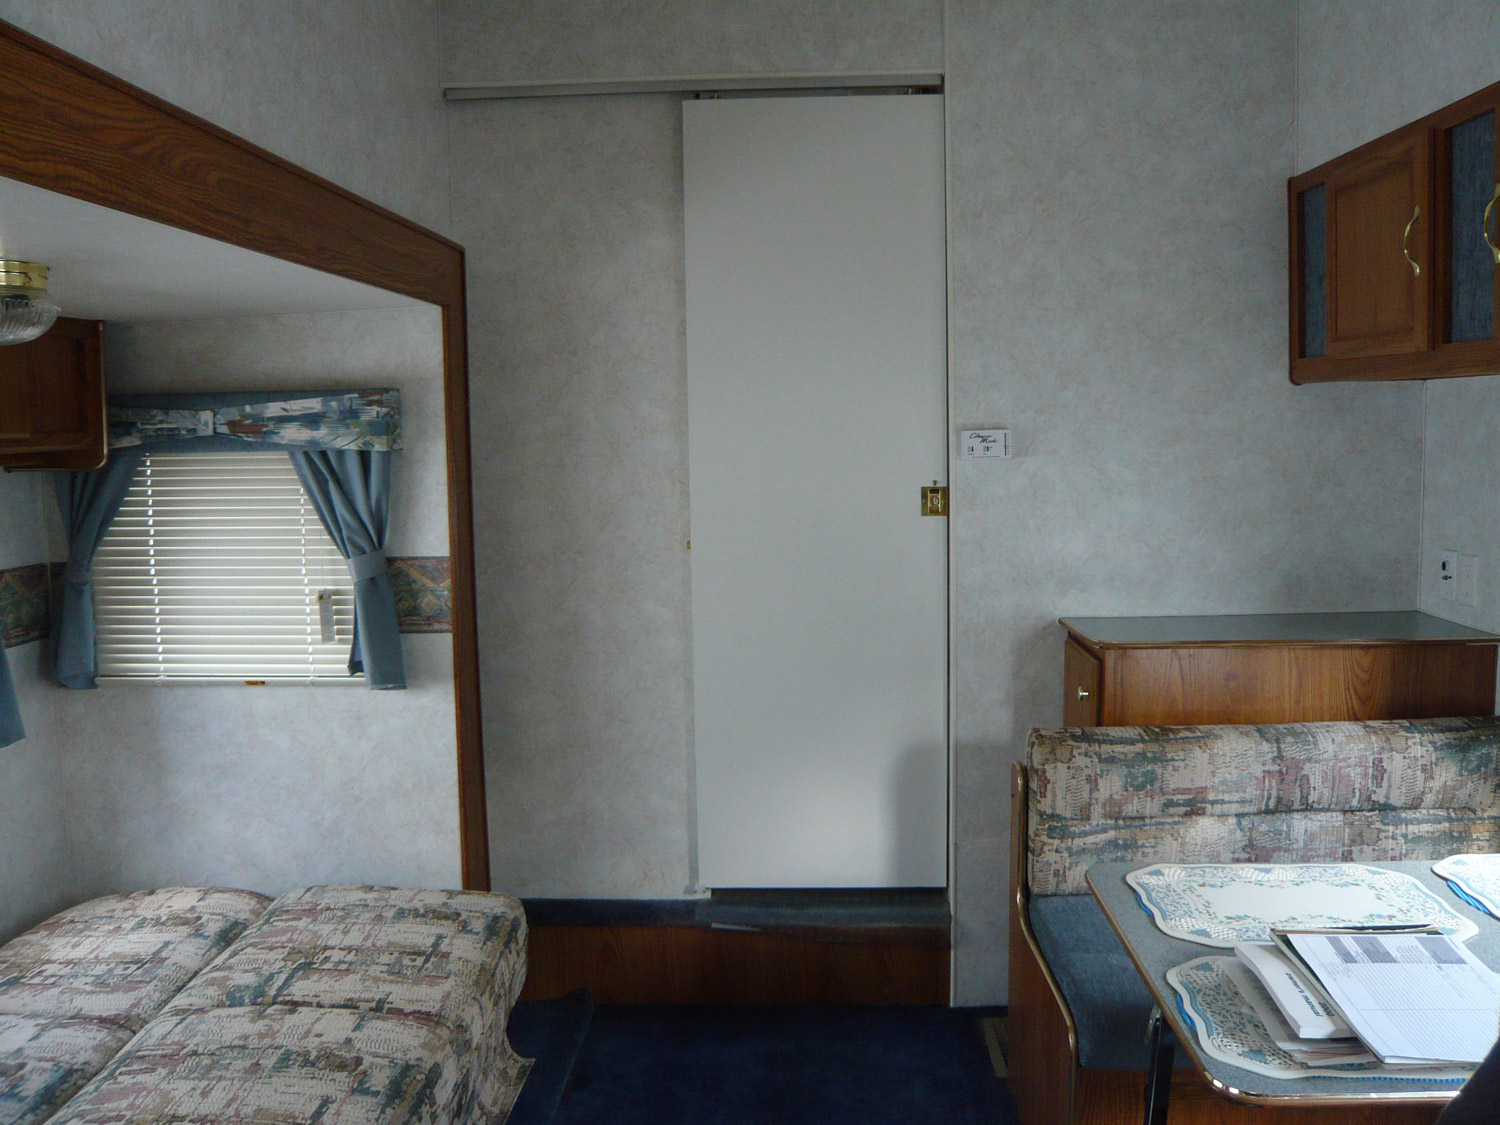
This is what the original dinette and slide space looked like.
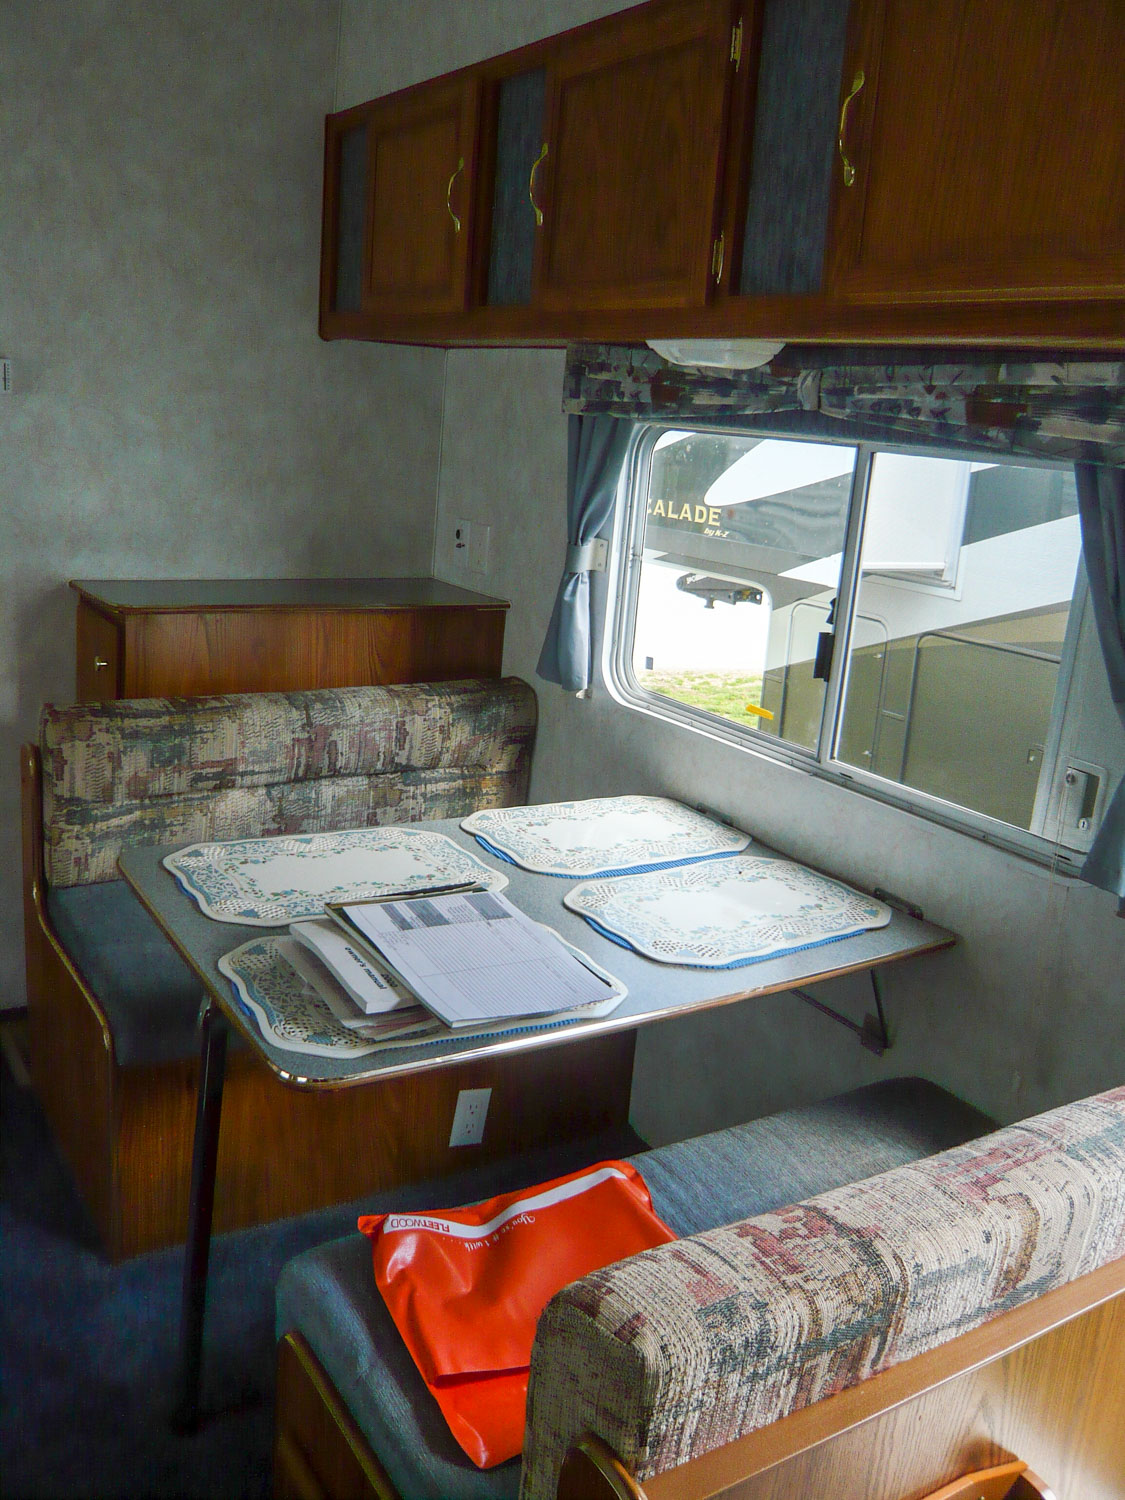
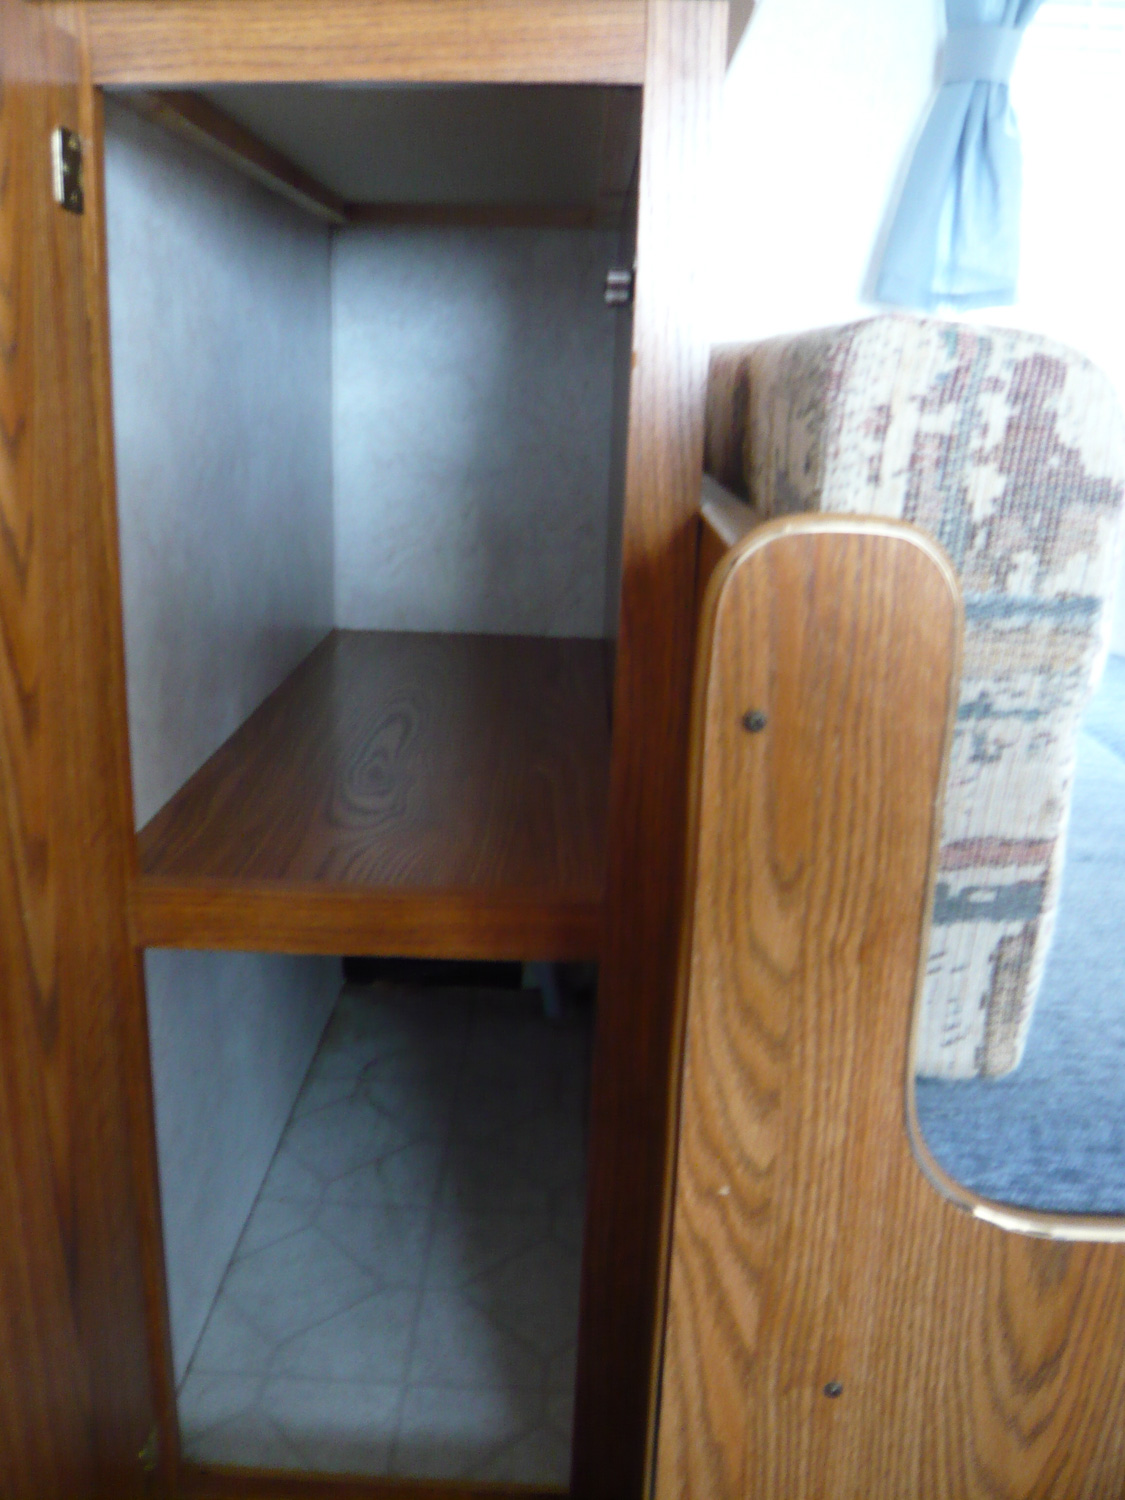
We have a pantry behind one of the dinette seats.
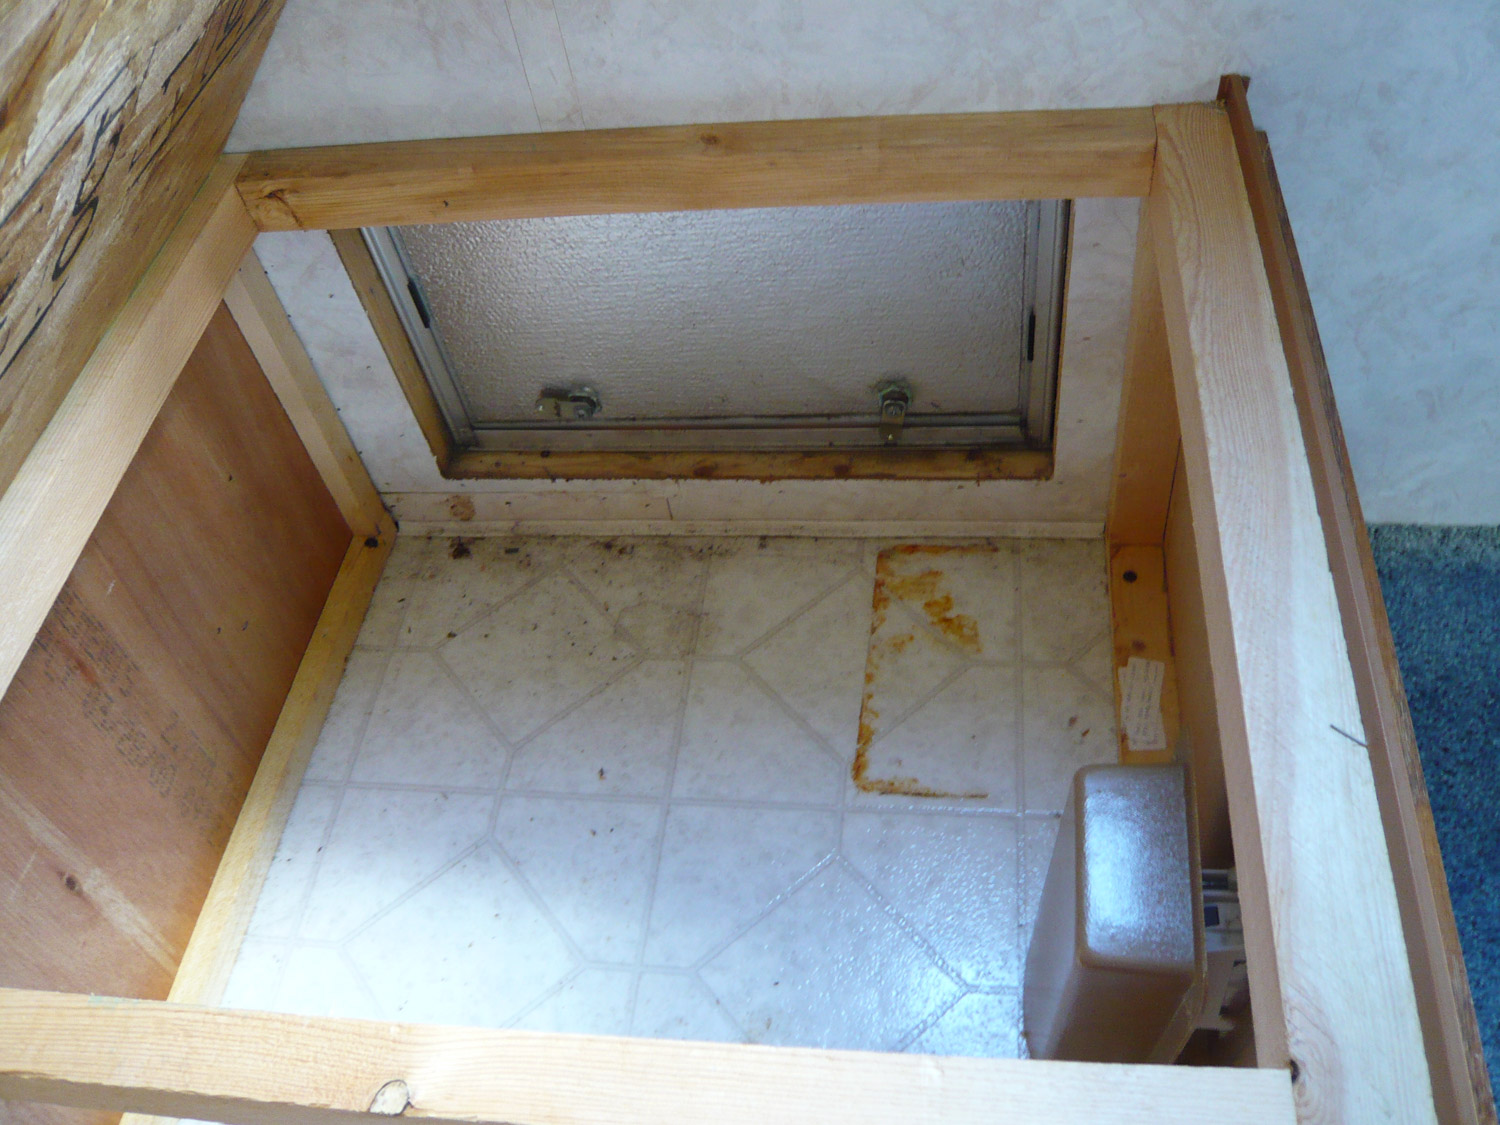
The space under one of the dinettes was accessible from outside the RV.
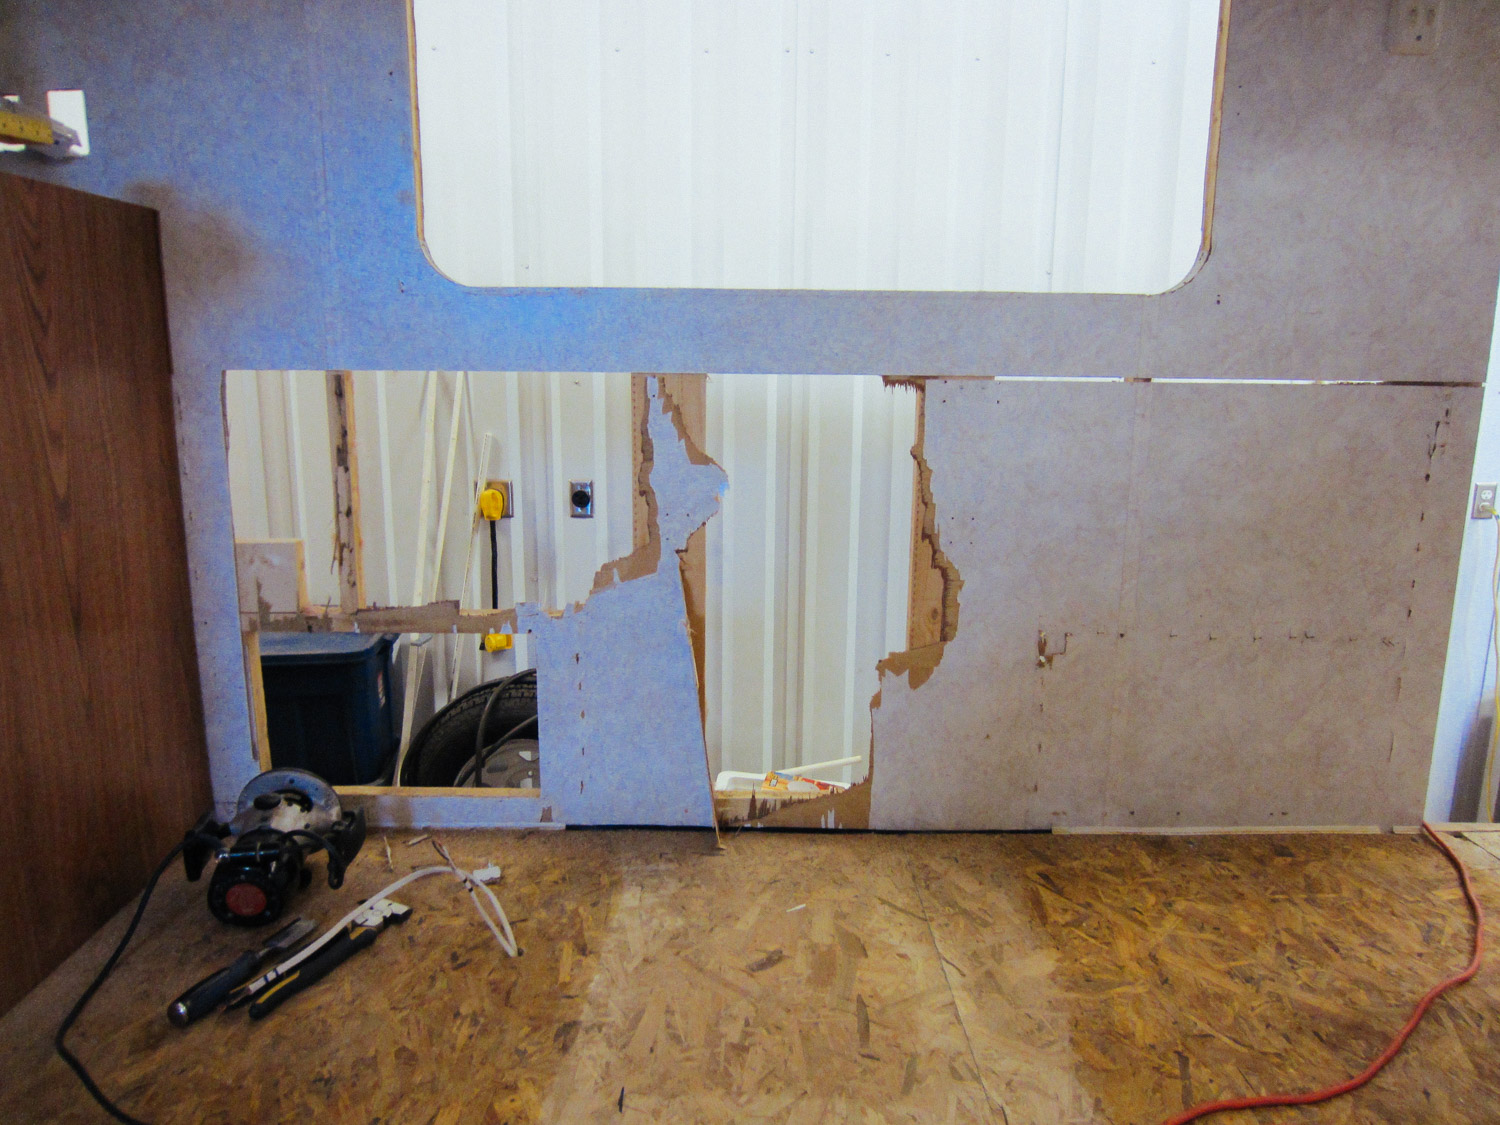
We had to remove the dinette set so we could paint it, but didn't realize how much damage it would cause to the wall.
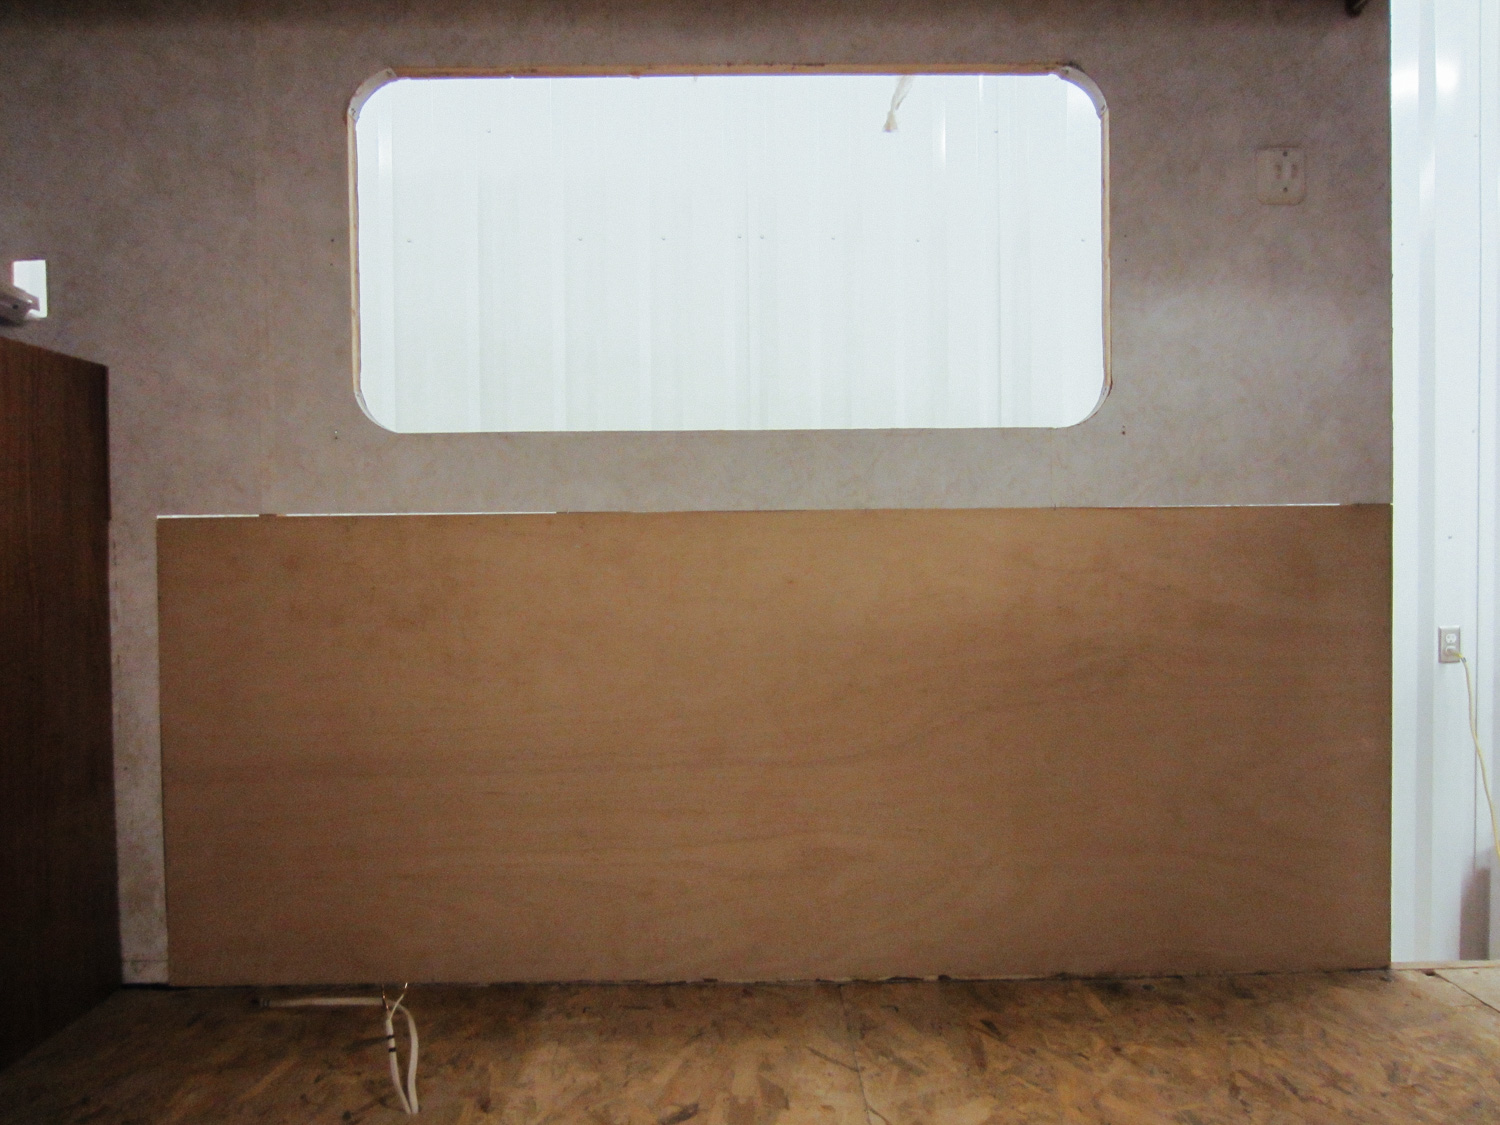
After cleaning the studs, we installed a new wall for the dinettes to attach to. We also got rid of the outside door to access the space under one of the dinettes.
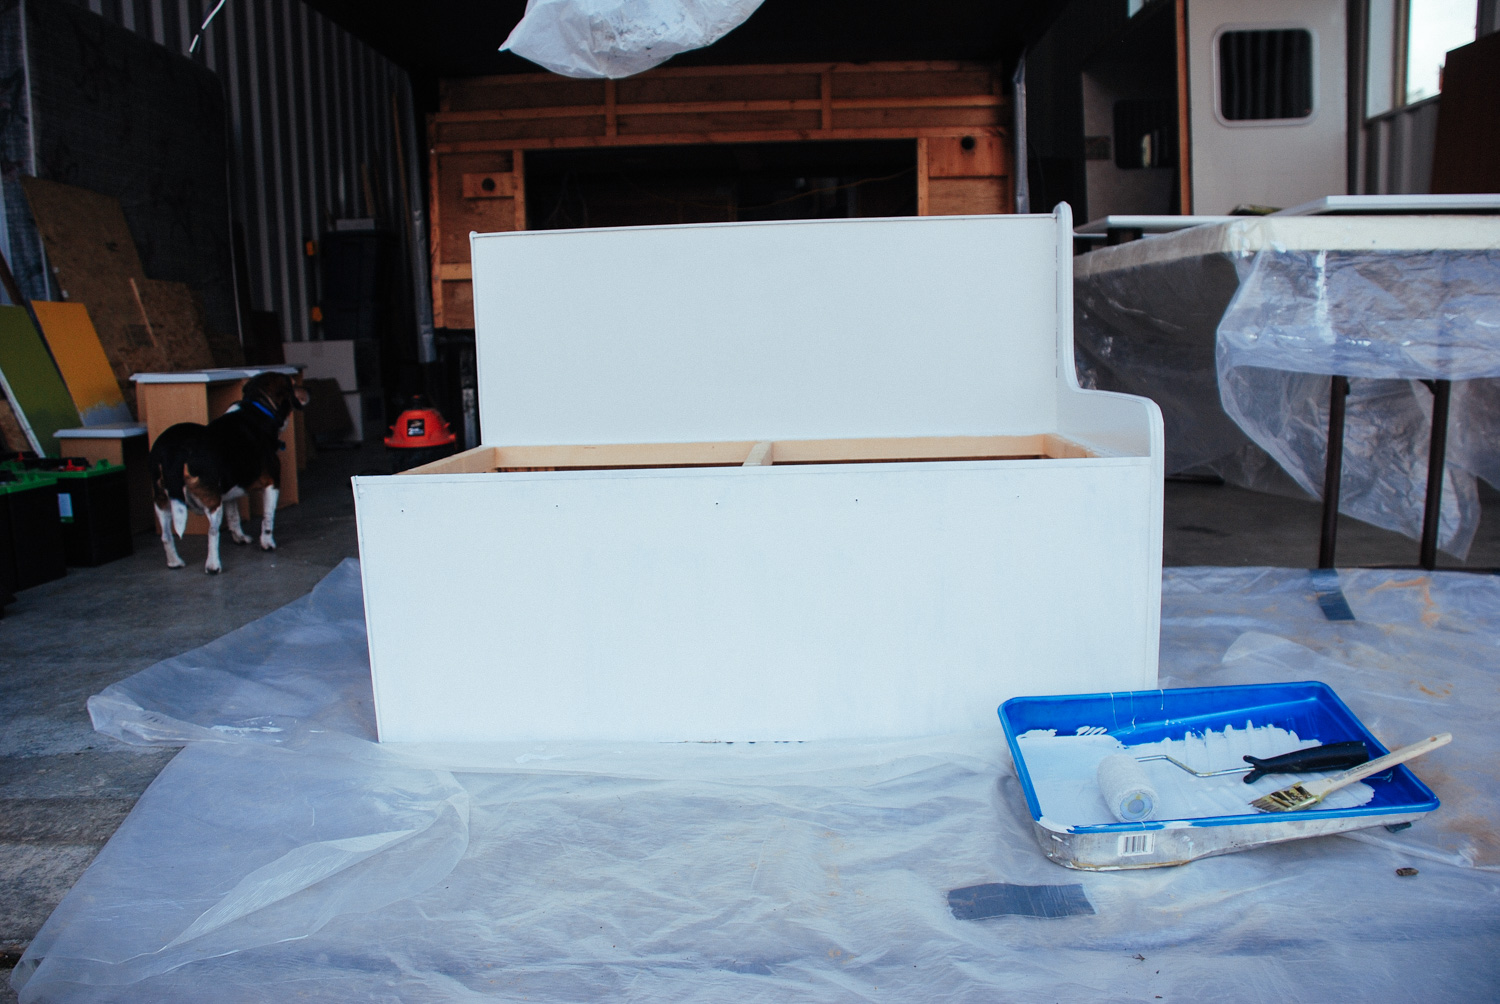
The dinette seats were repainted.
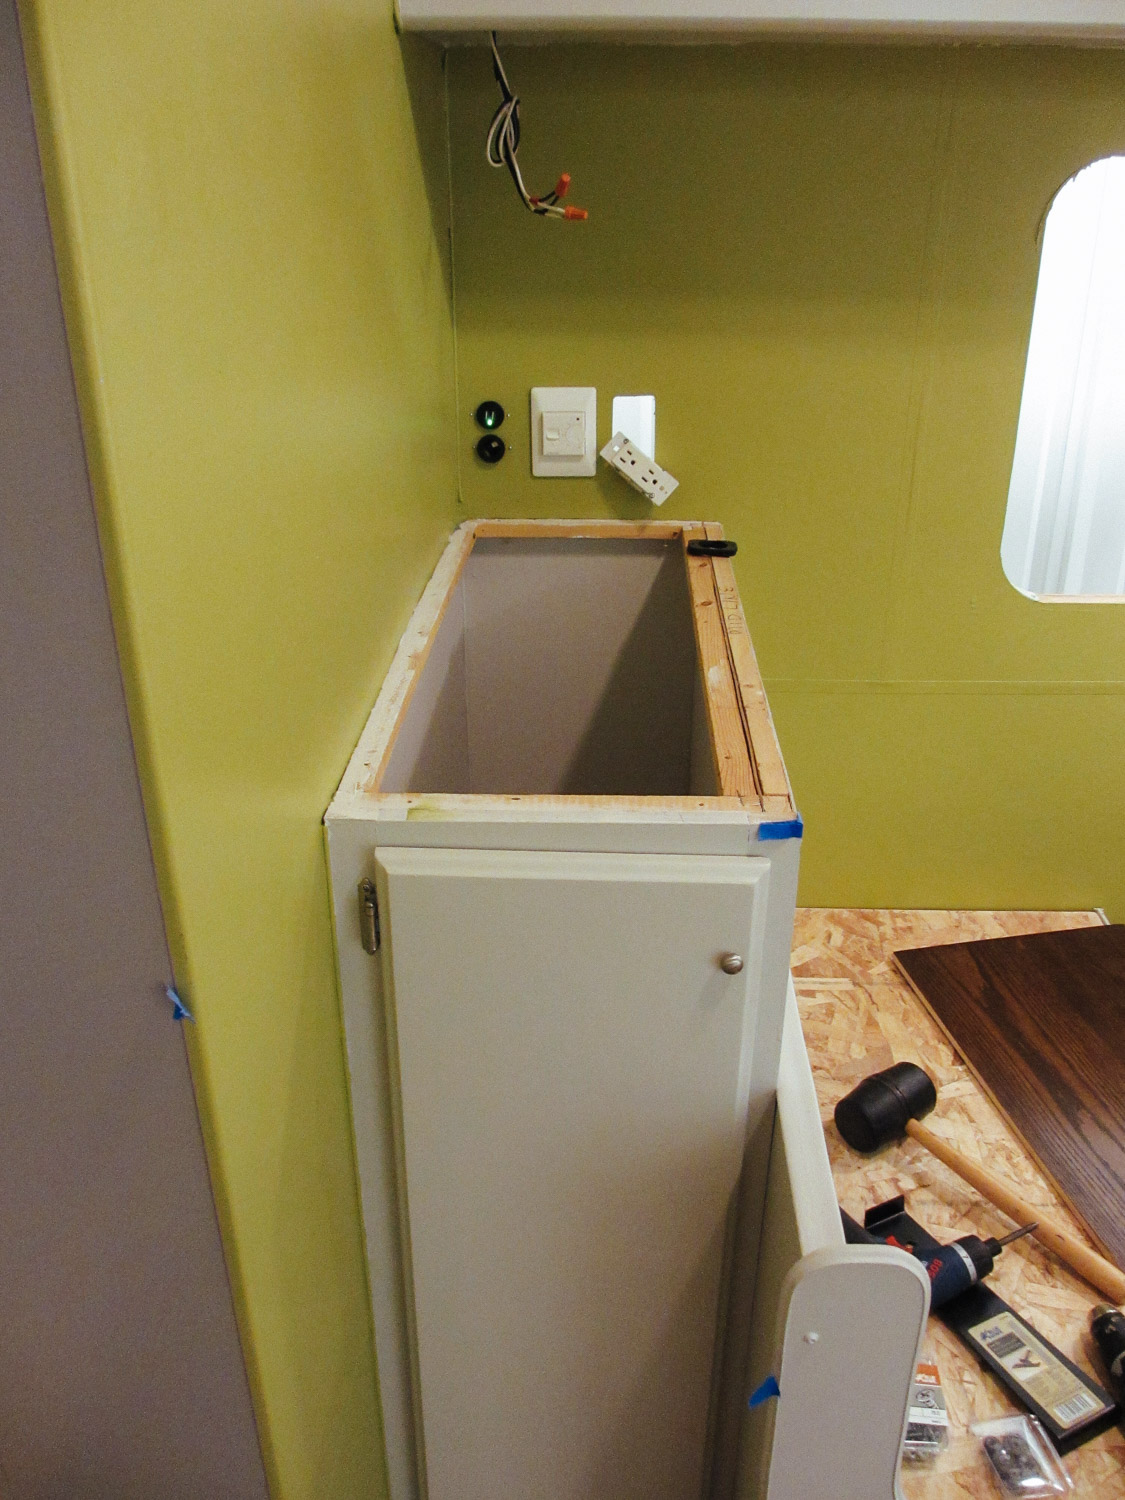
We painted the pantry.
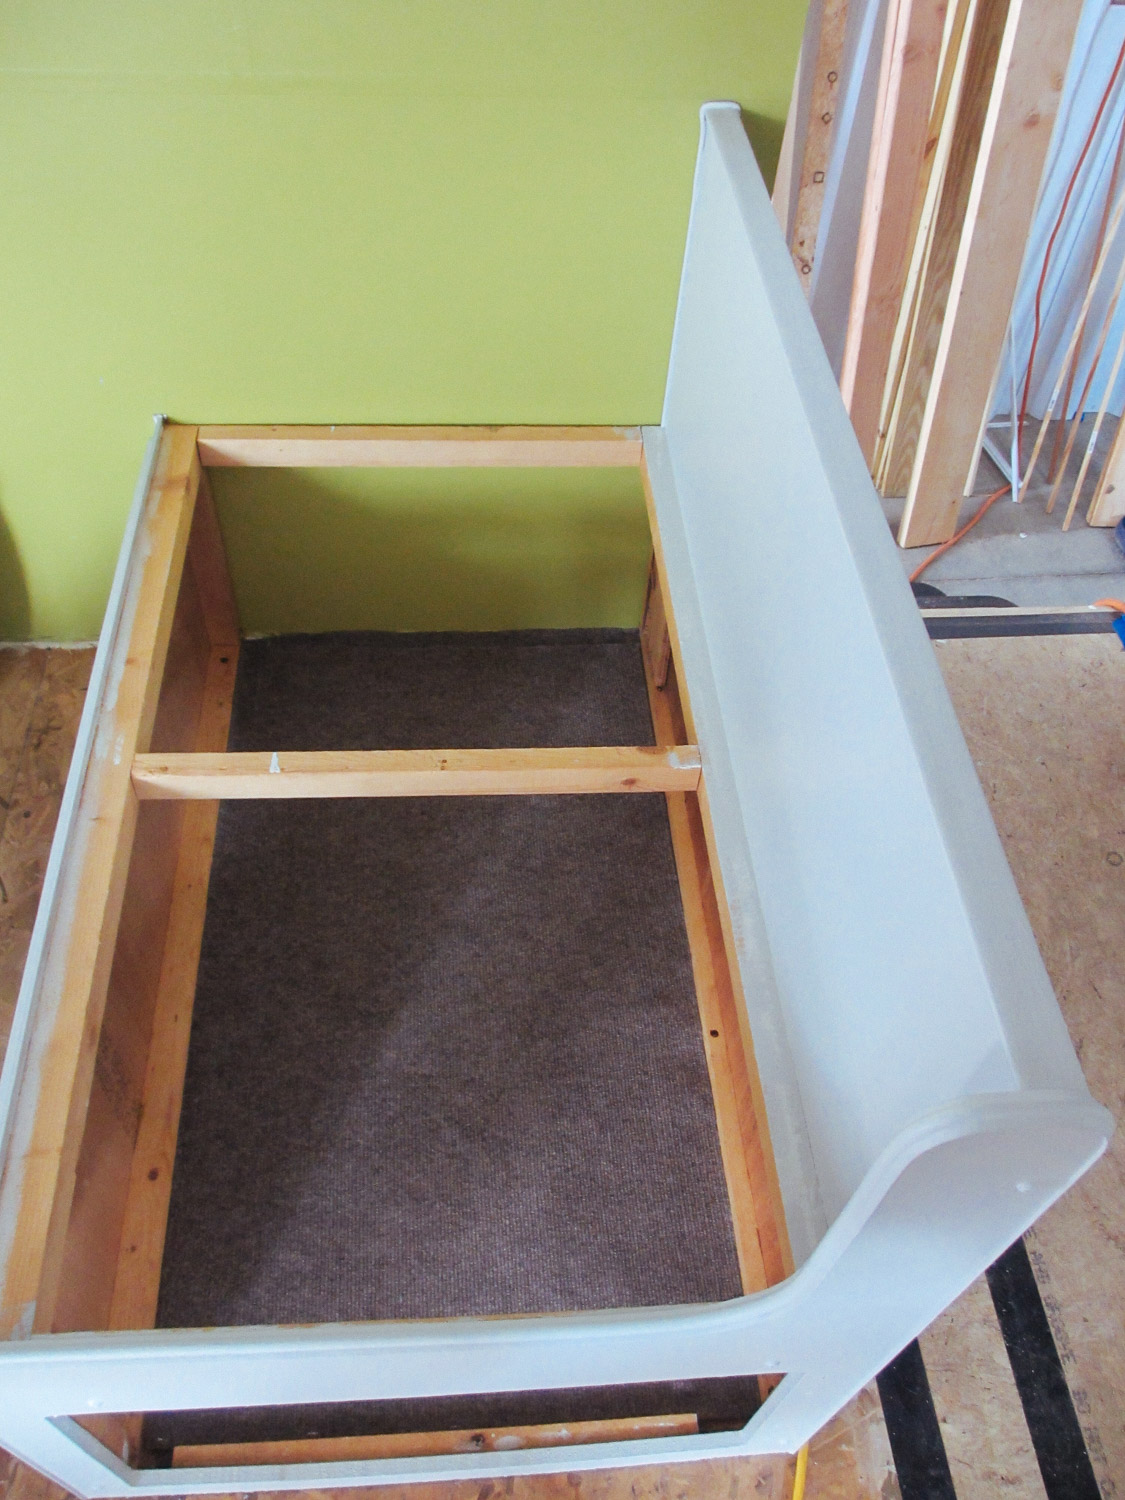
We added pieces of carpet in the dinette seat storage area.
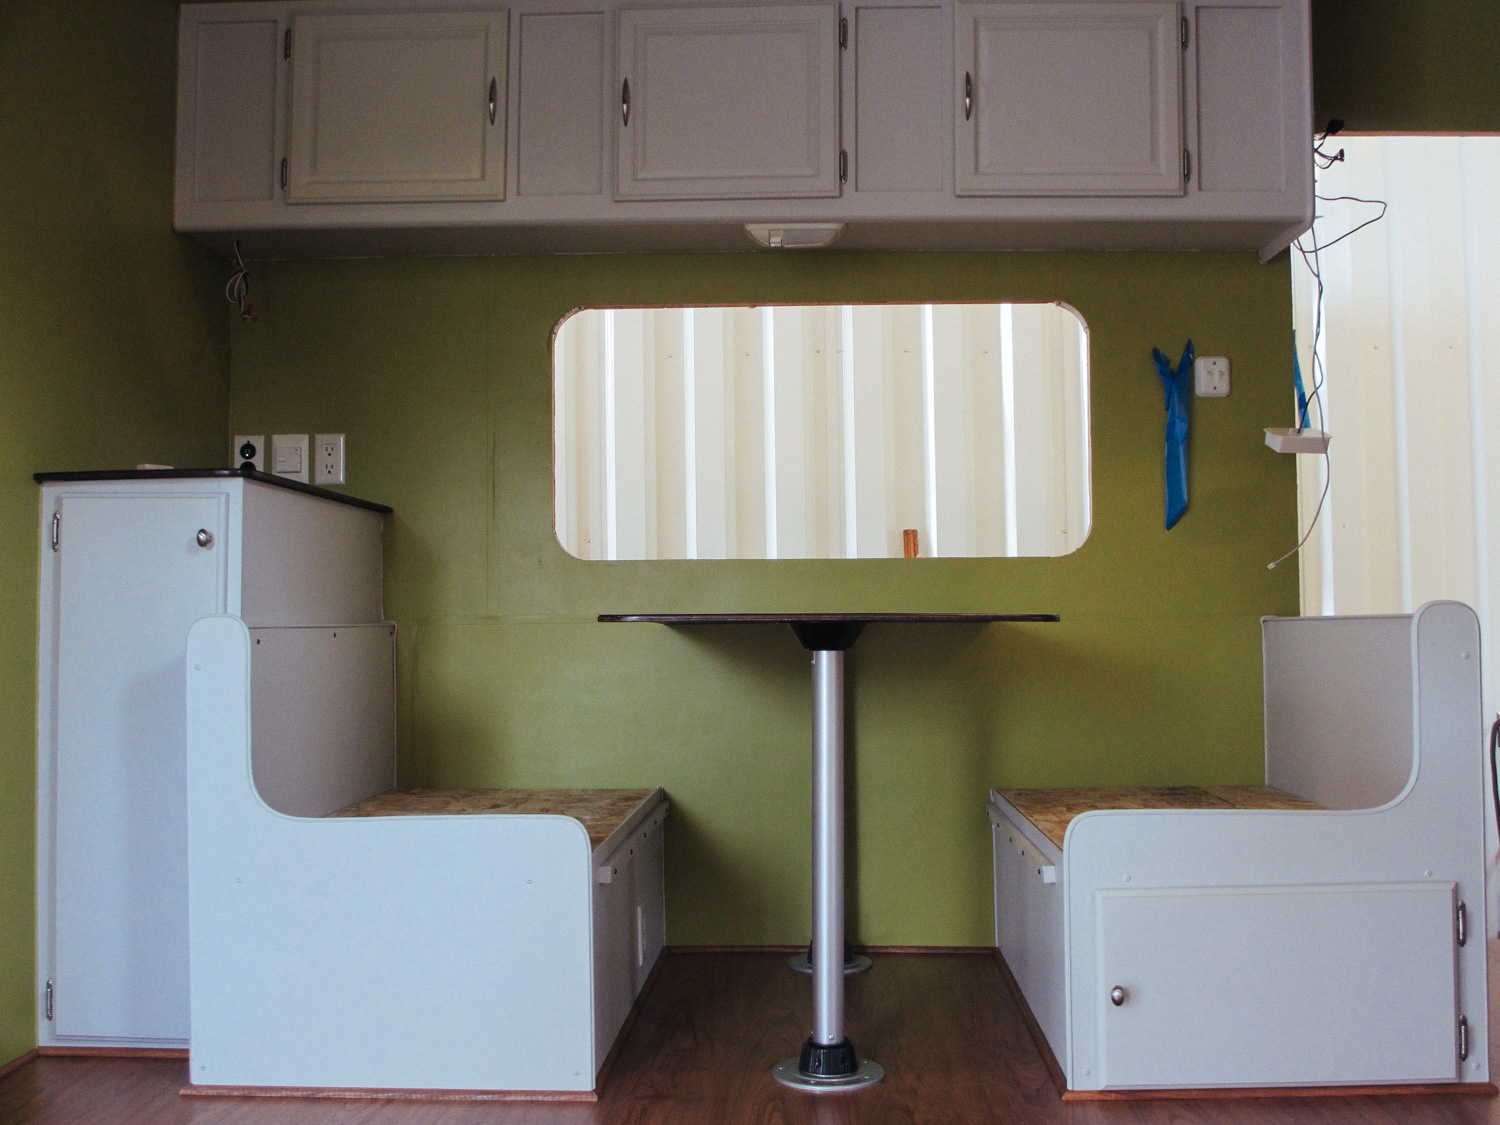
We installed a new table for the dinette.
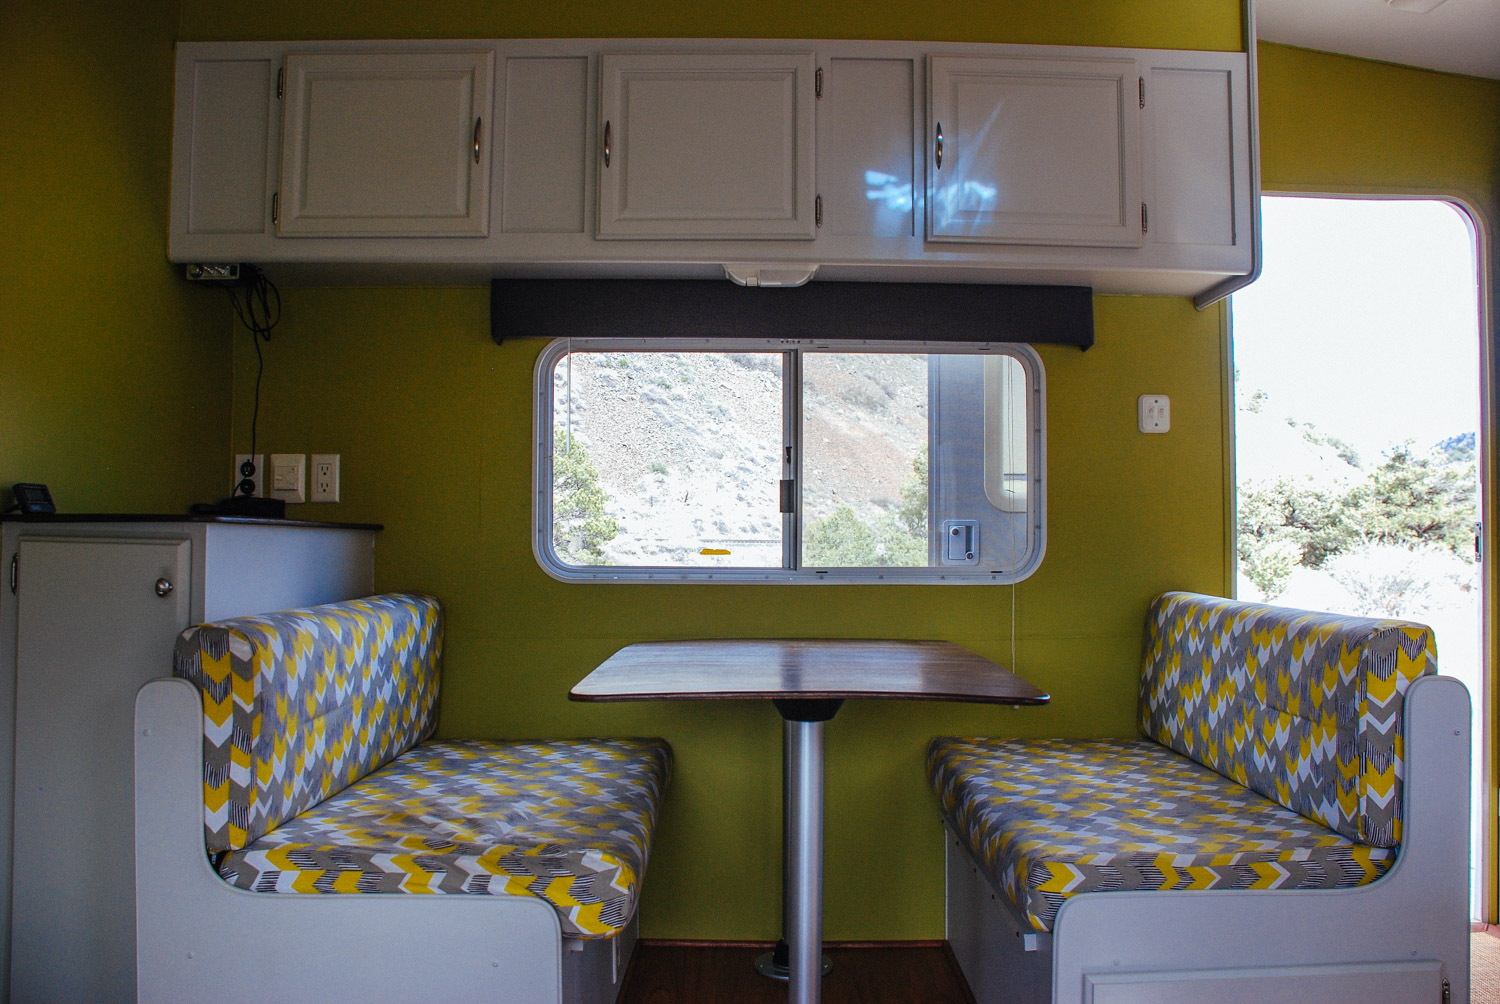
Completed dinette with newly reupholstered cushions.
The hallway to the bedroom originally had a built-in step.
We redid that entire step area.
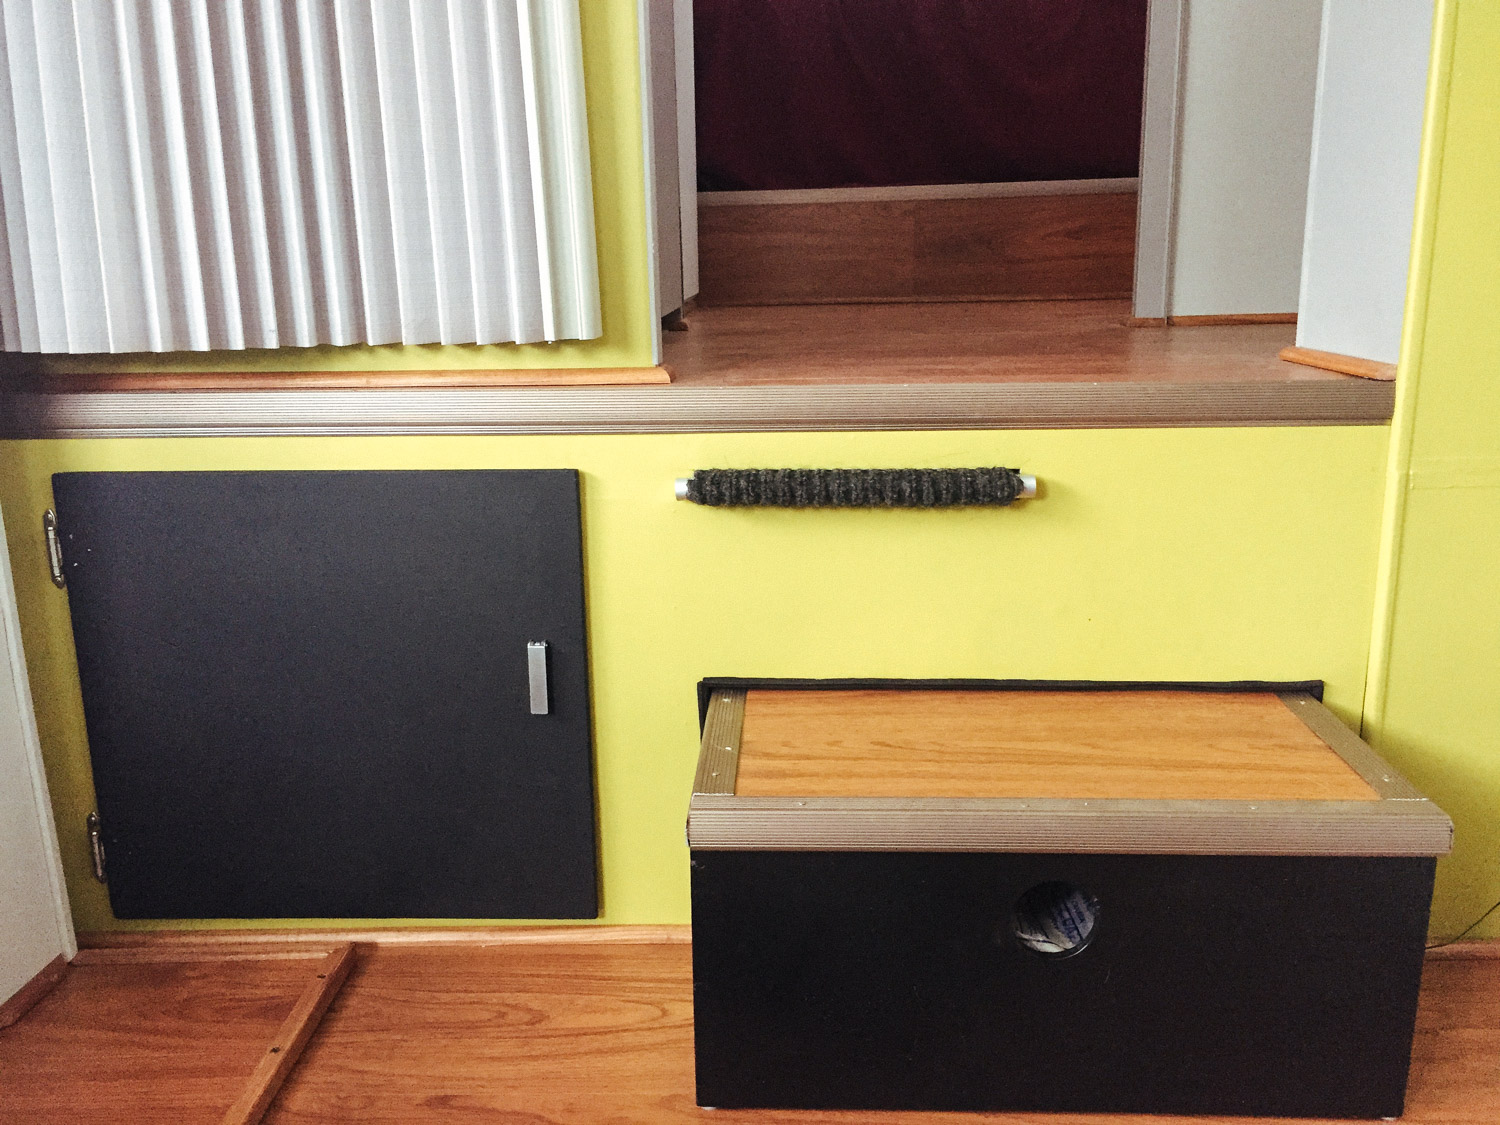
We created a pantry to hold dog bowls, a carpeted ramp for Tybee to walk up into the bedroom, and a pull-out step that also has storage space inside it.
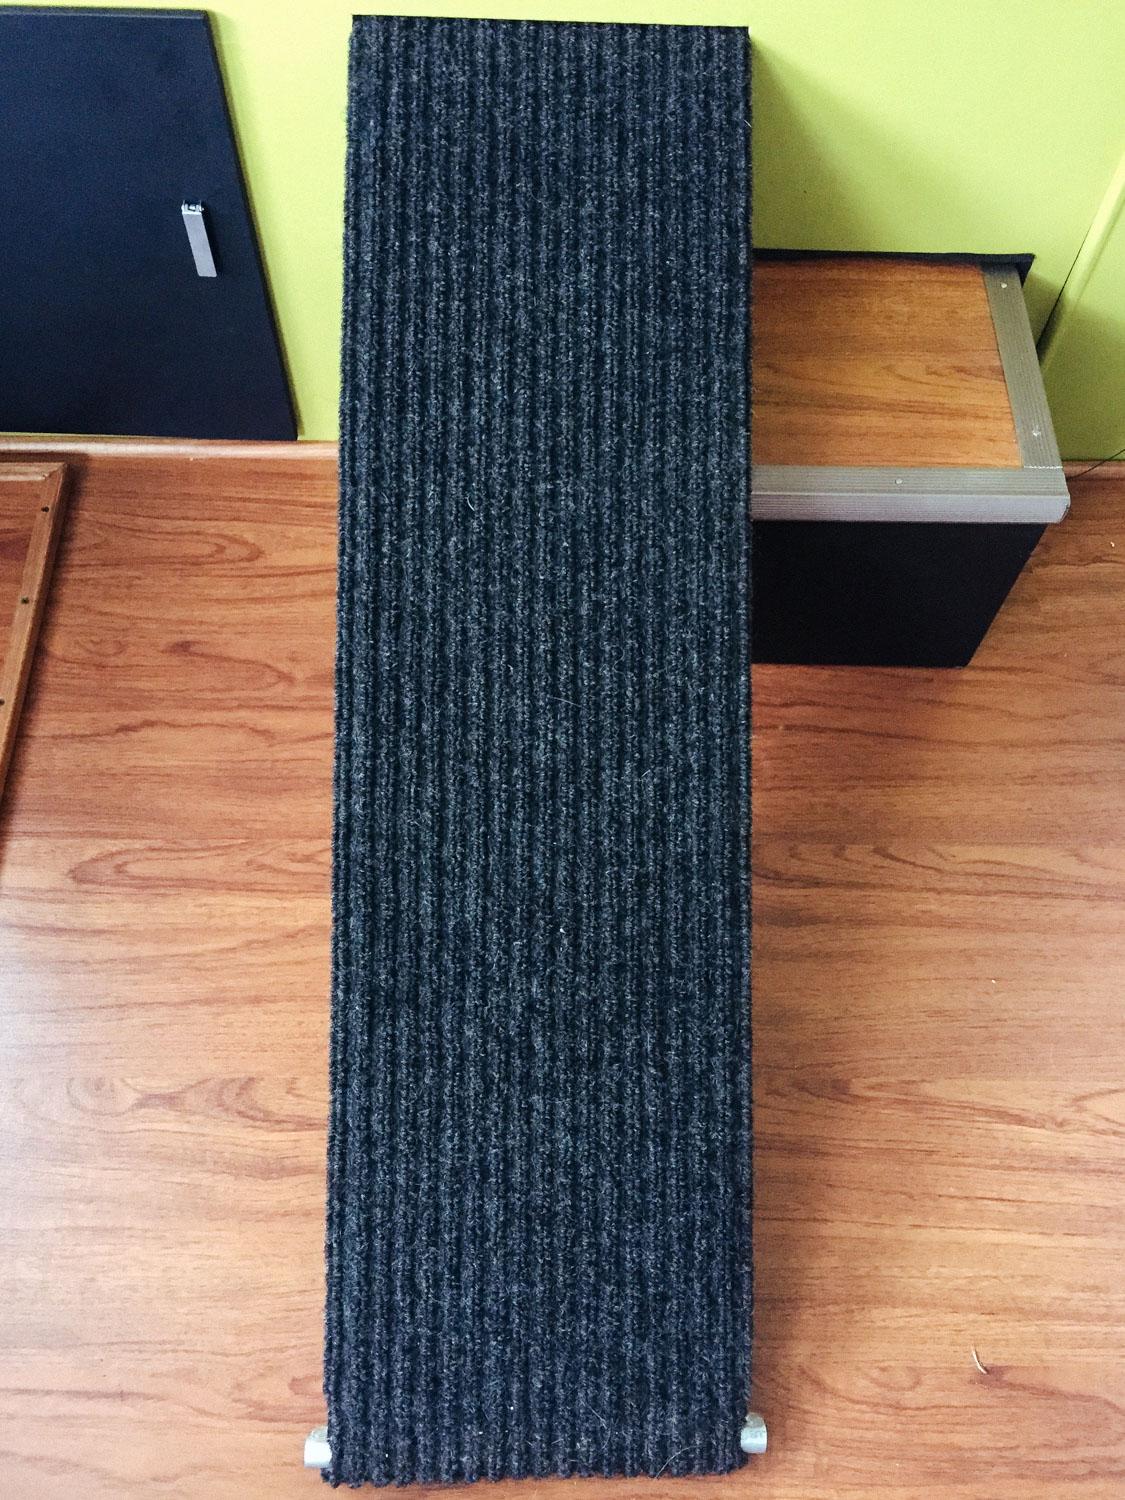
This is what the ramp looked like when it was pulled out.
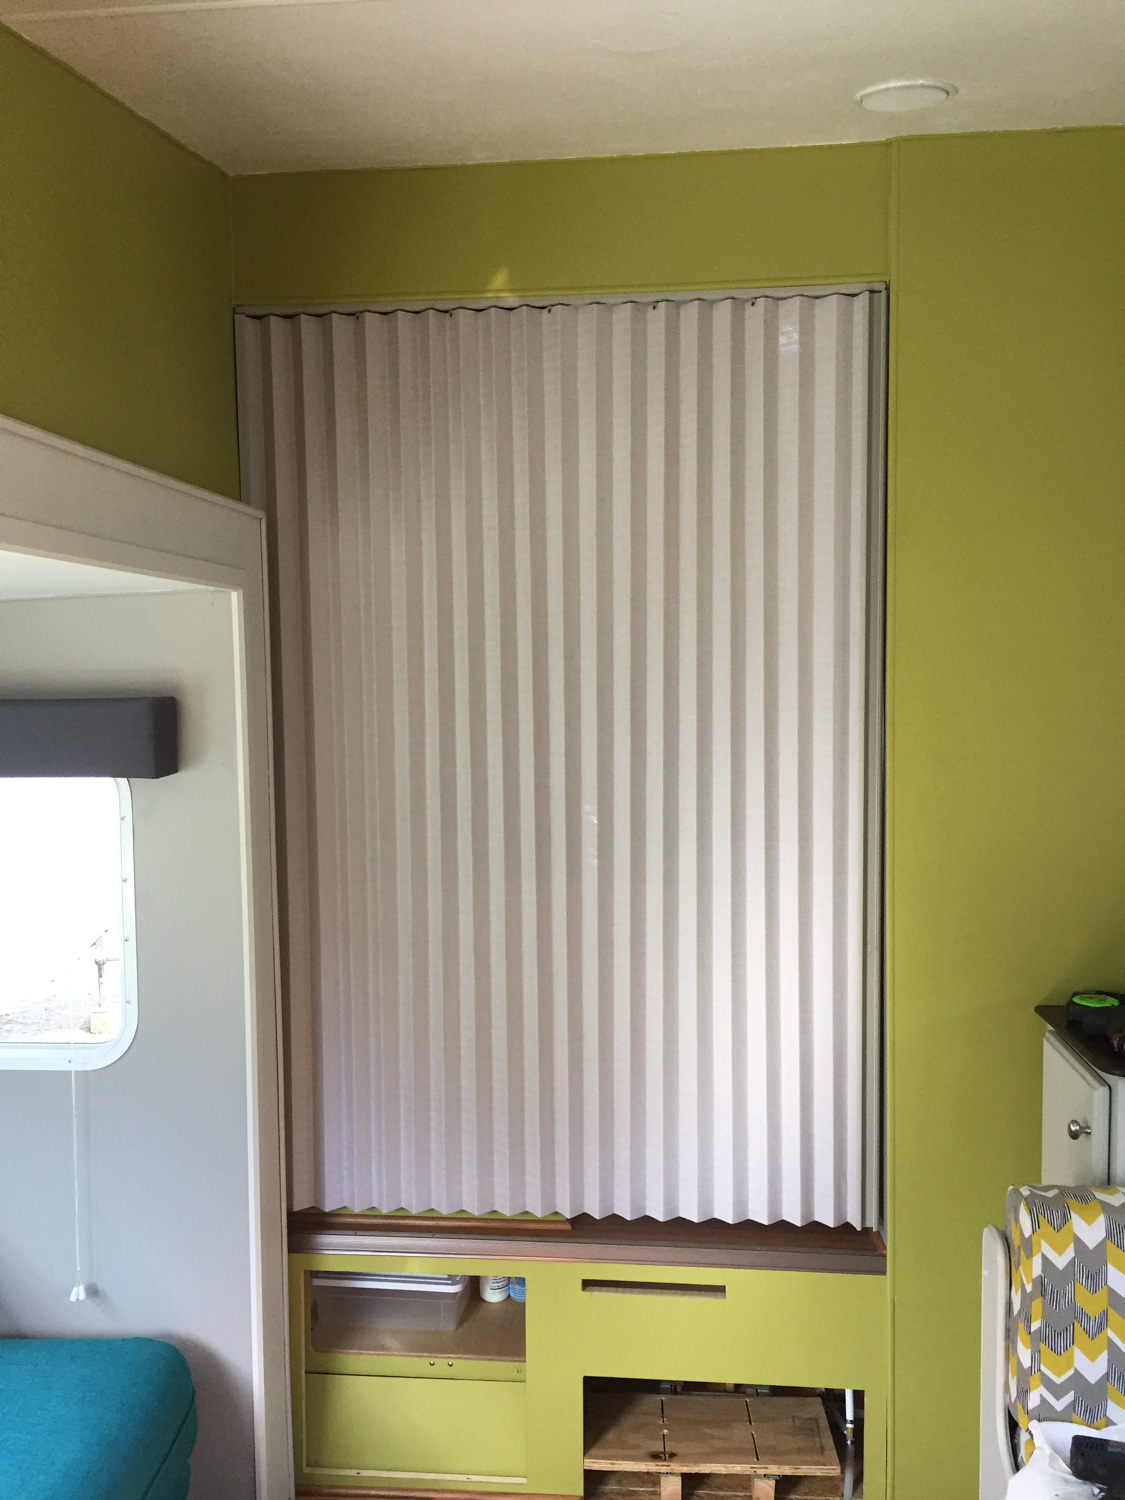
We moved the accordion partition from the bedroom to here.
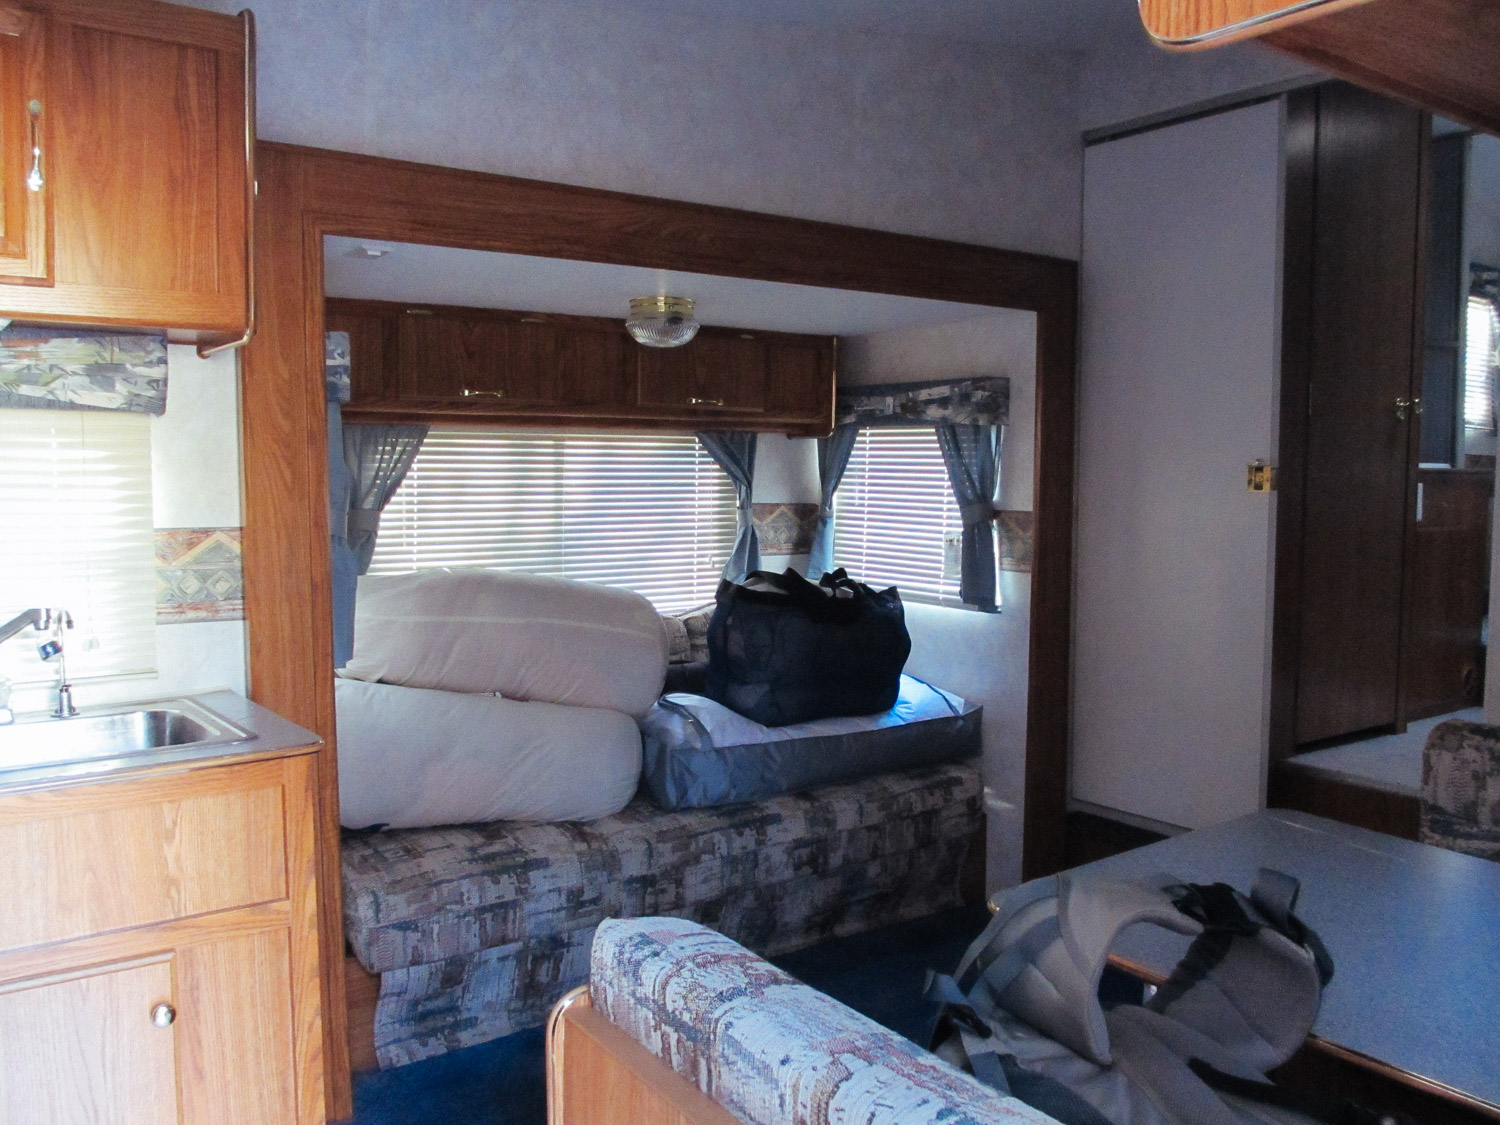
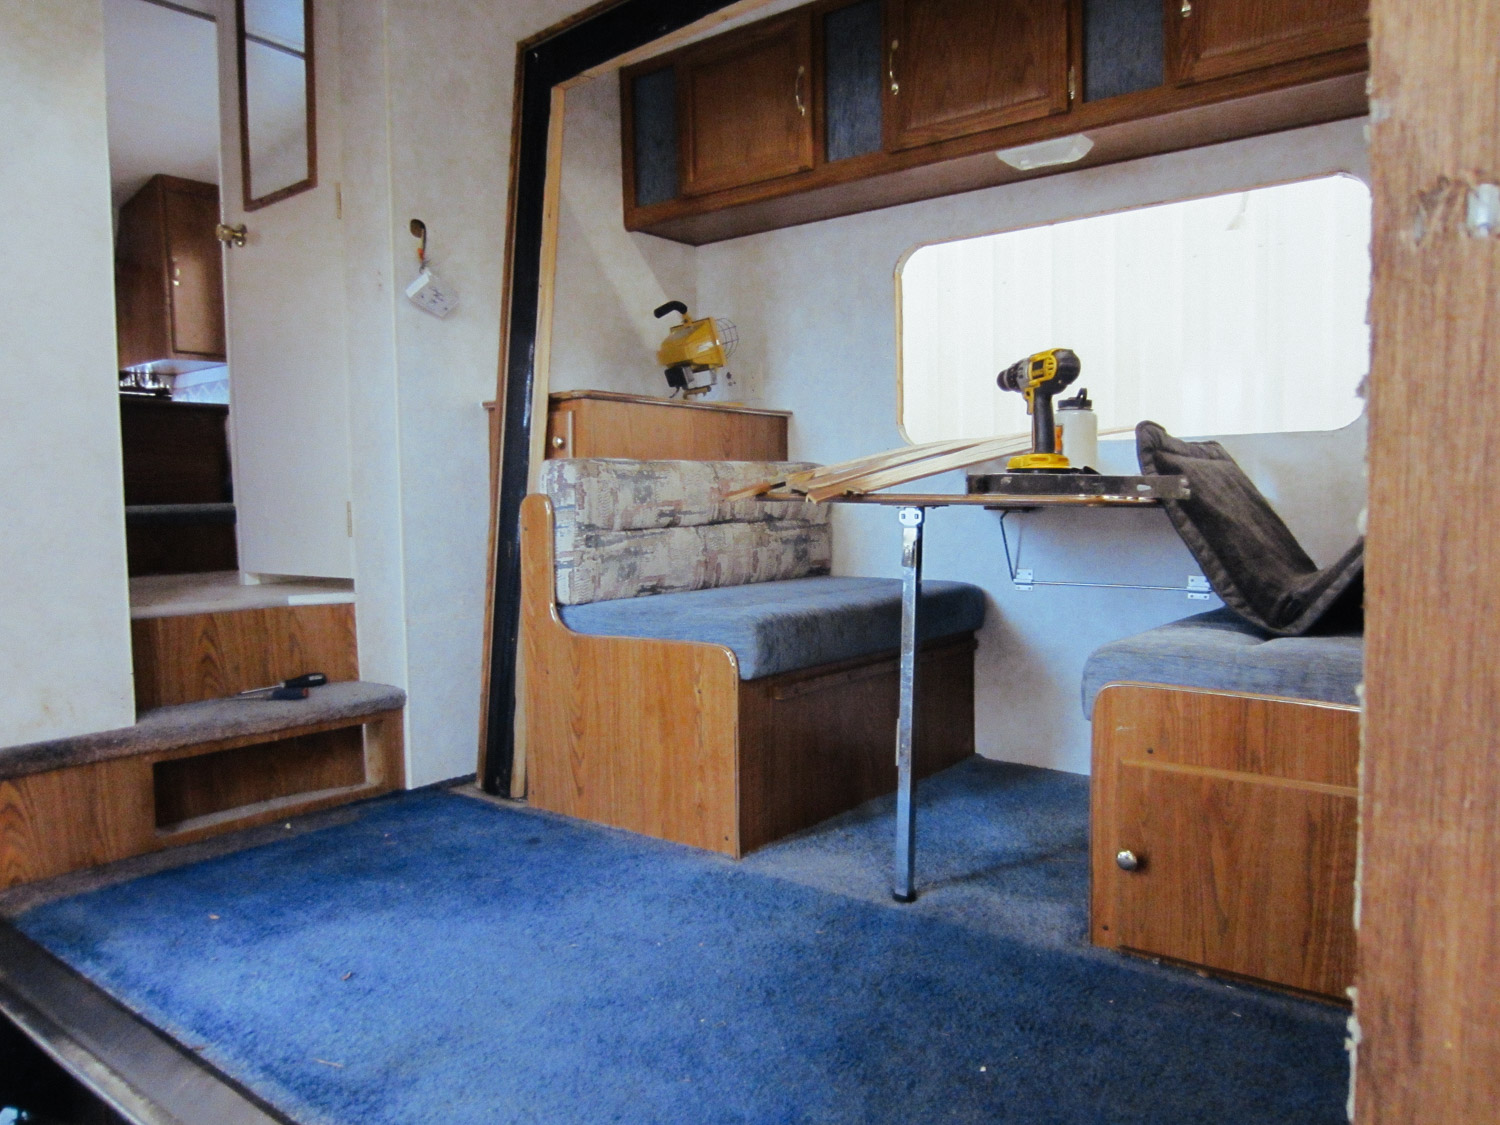
This is what the slide area originally looked like.
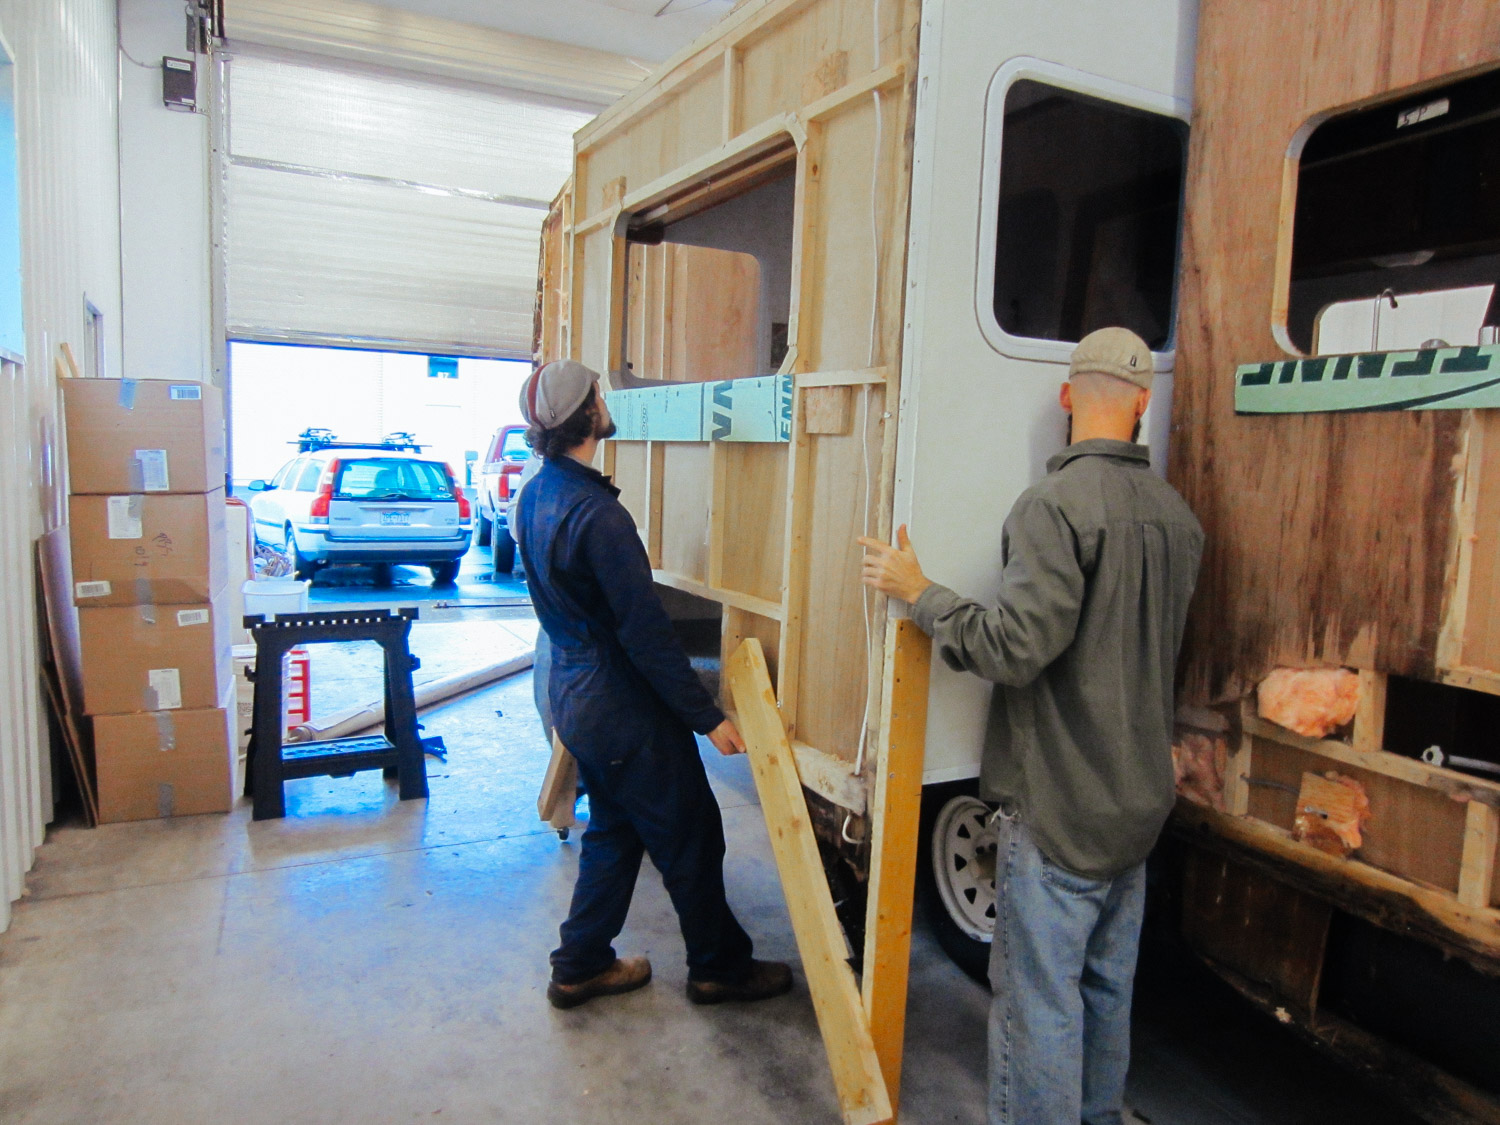
We actually had to remove the entire slide for the rebuild.
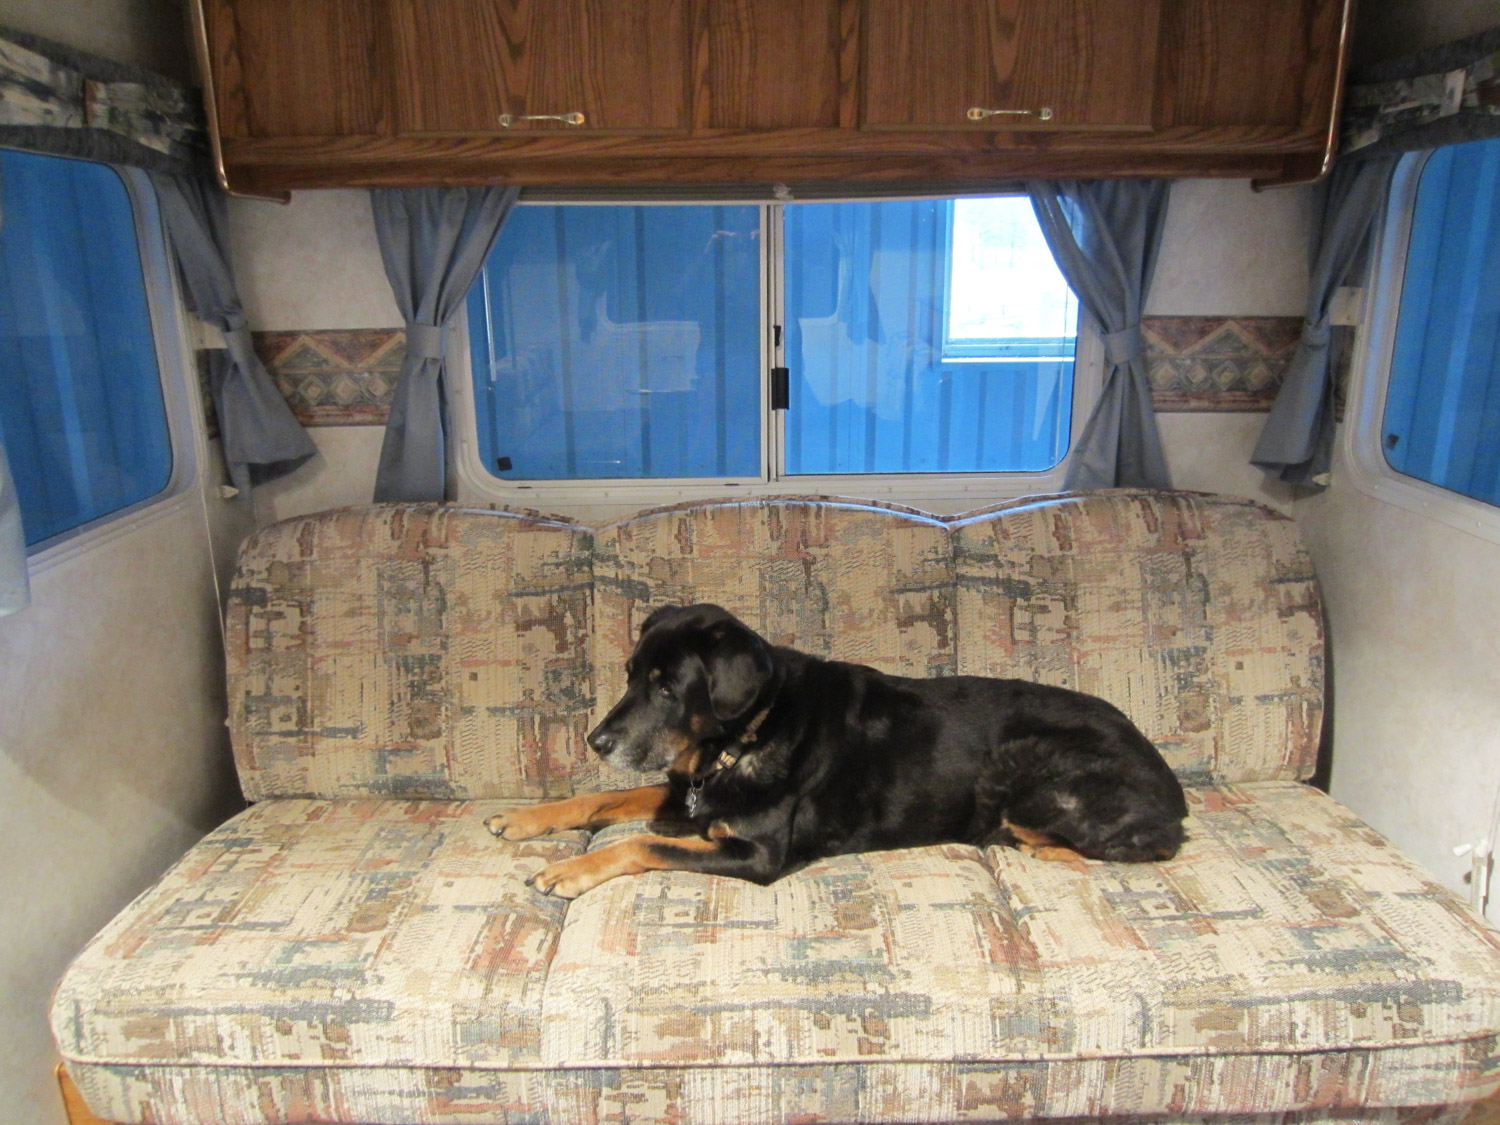
We kept the jack-knife couch, but had it reupholstered.
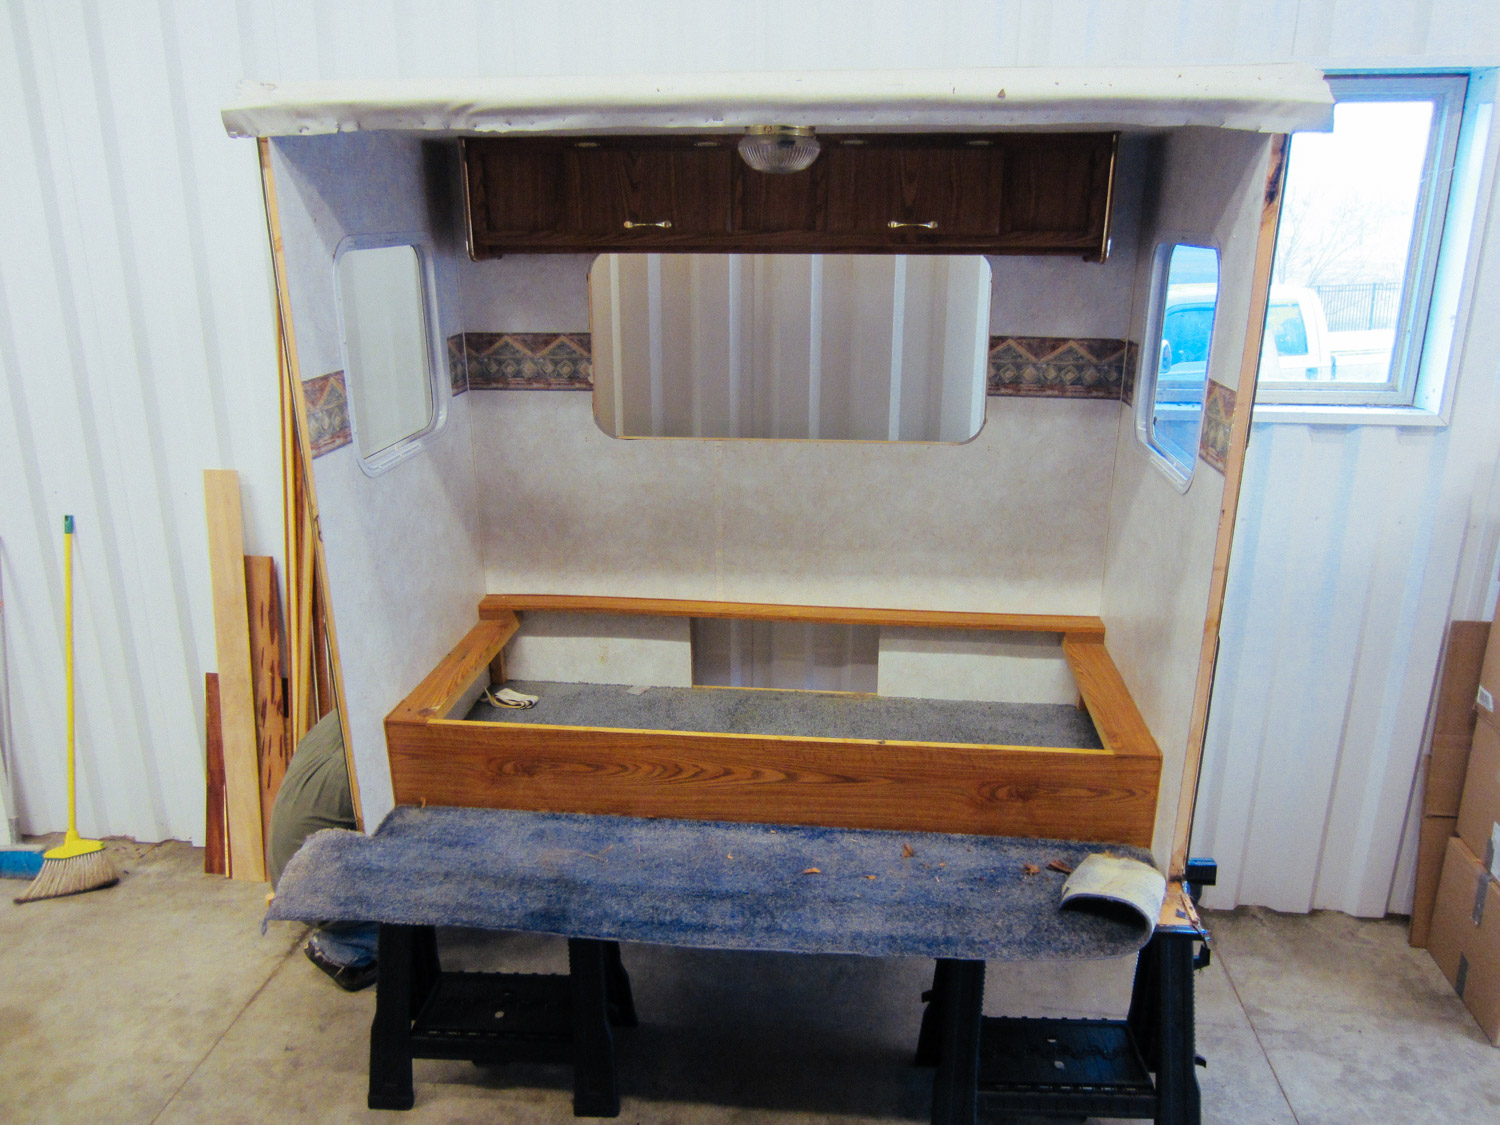
The slide sat here for months while we worked on the rest of the rig.
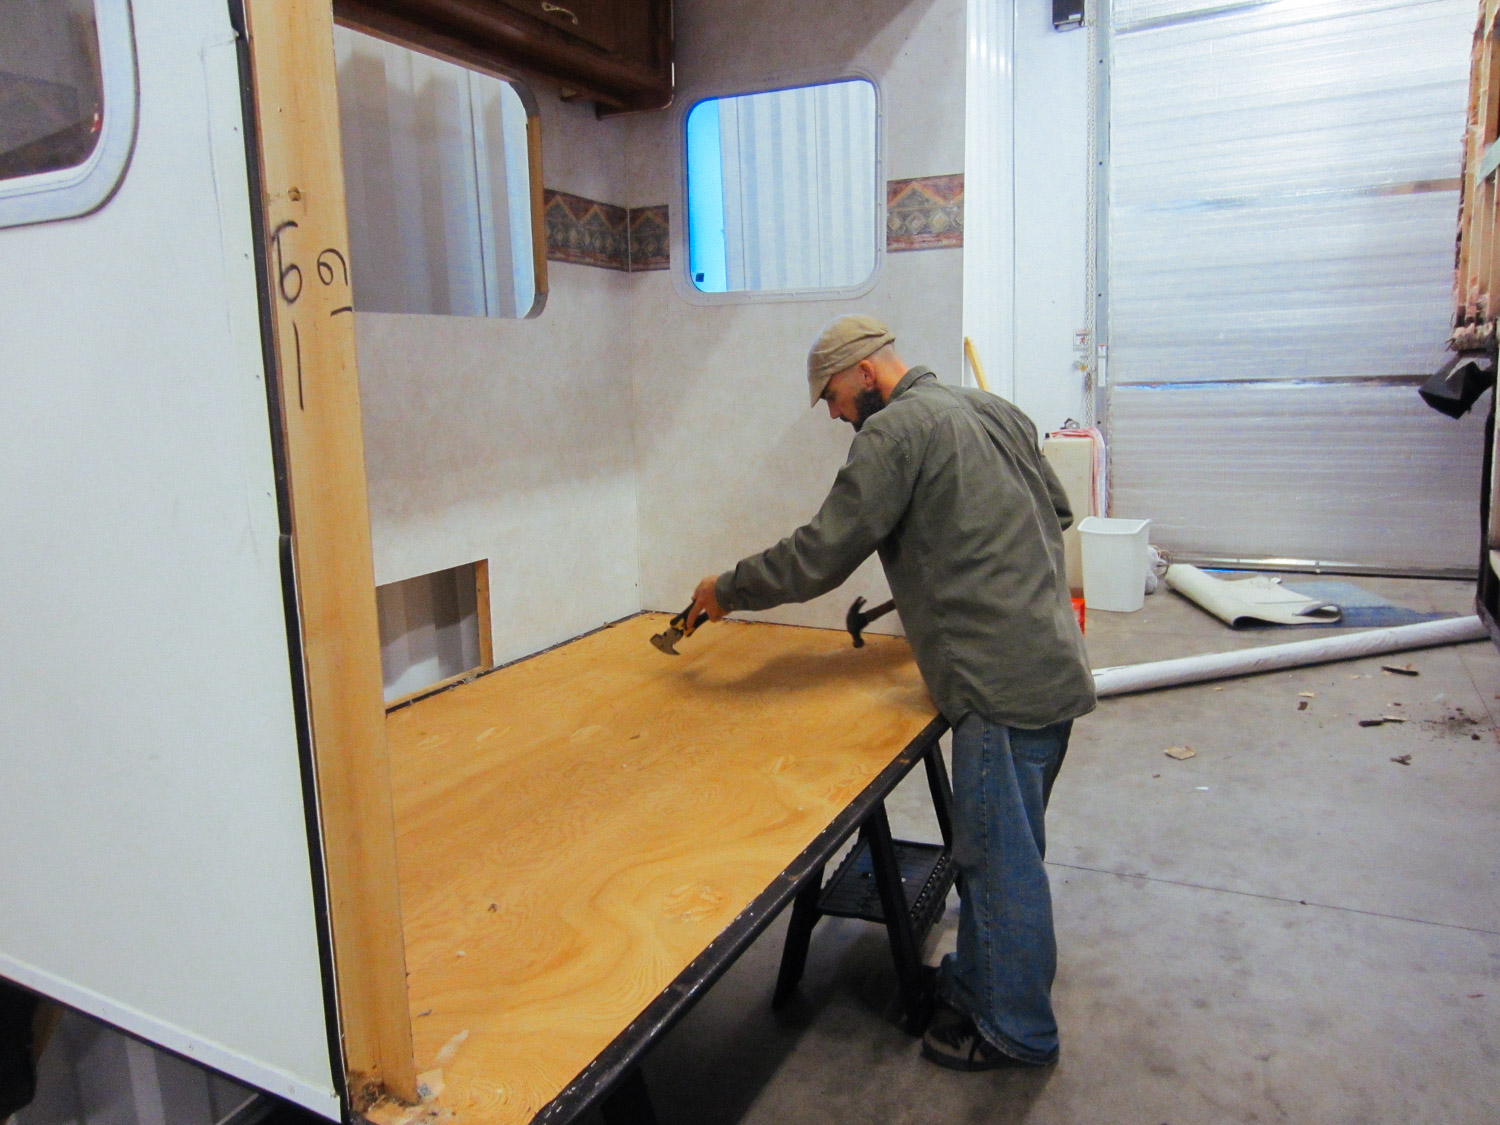
We tore out the blue carpet and removed all the staples that it was installed with.
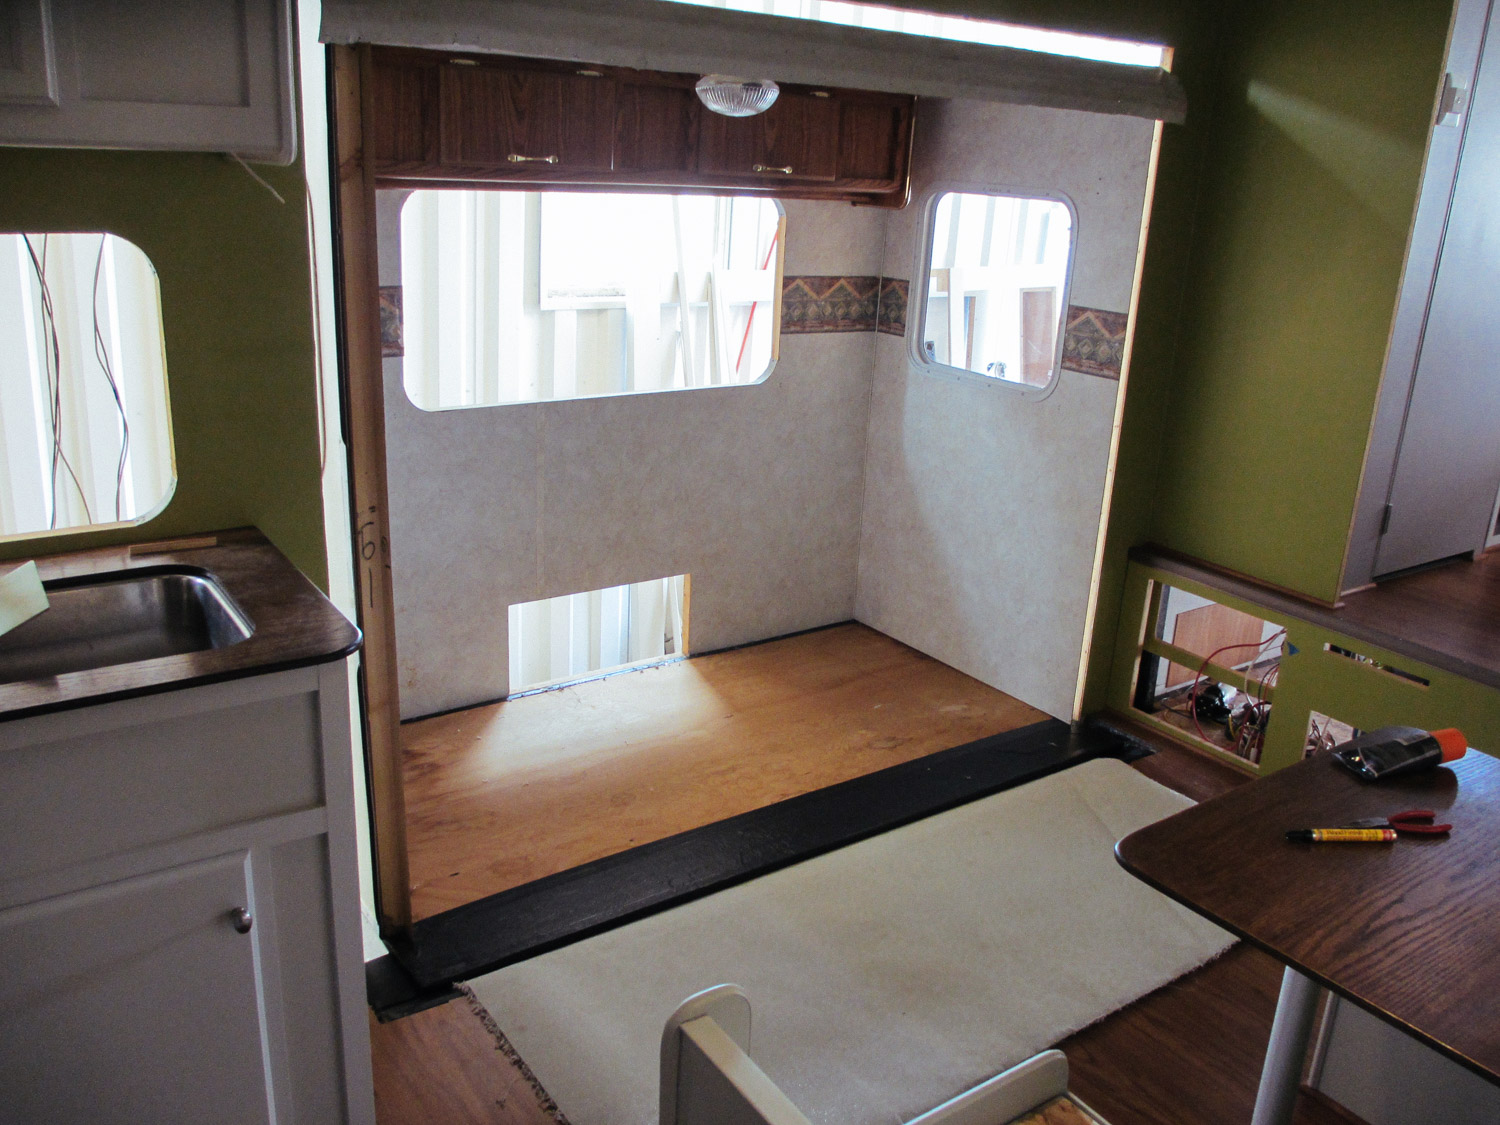
Eventually we moved the slide back in place so we could glue a piece of carpet under it.
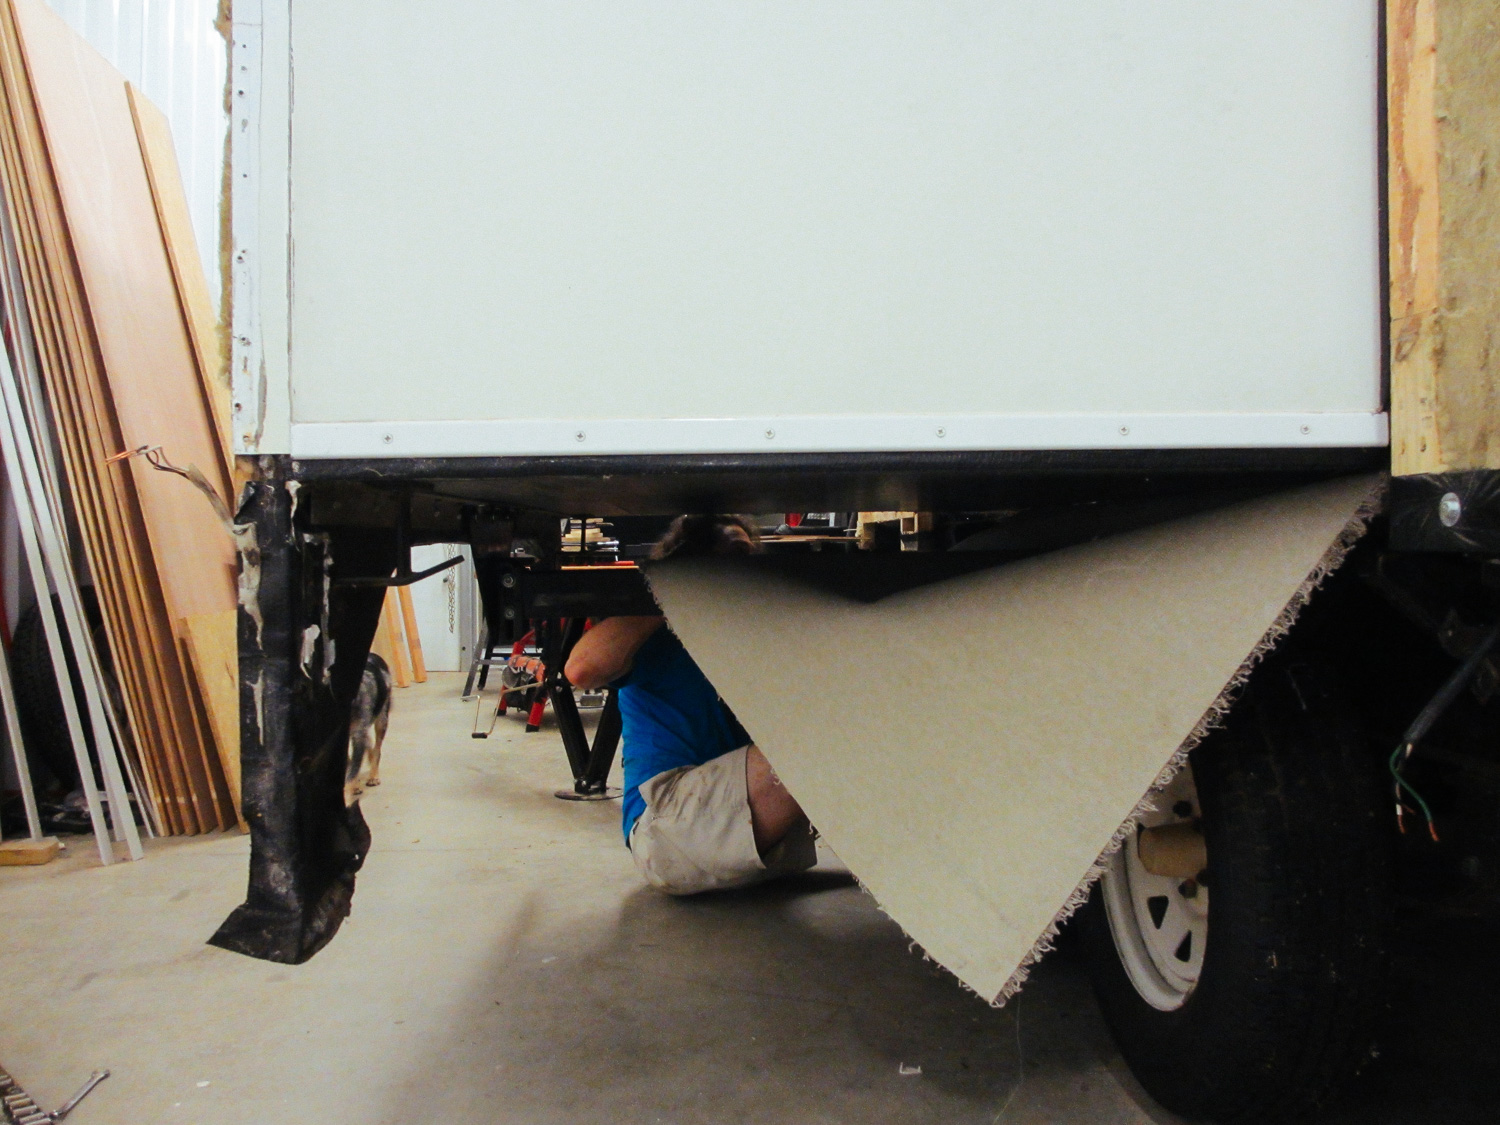
The carpet was installed so the slide could slide over the hardwood floor when it was retracted in.
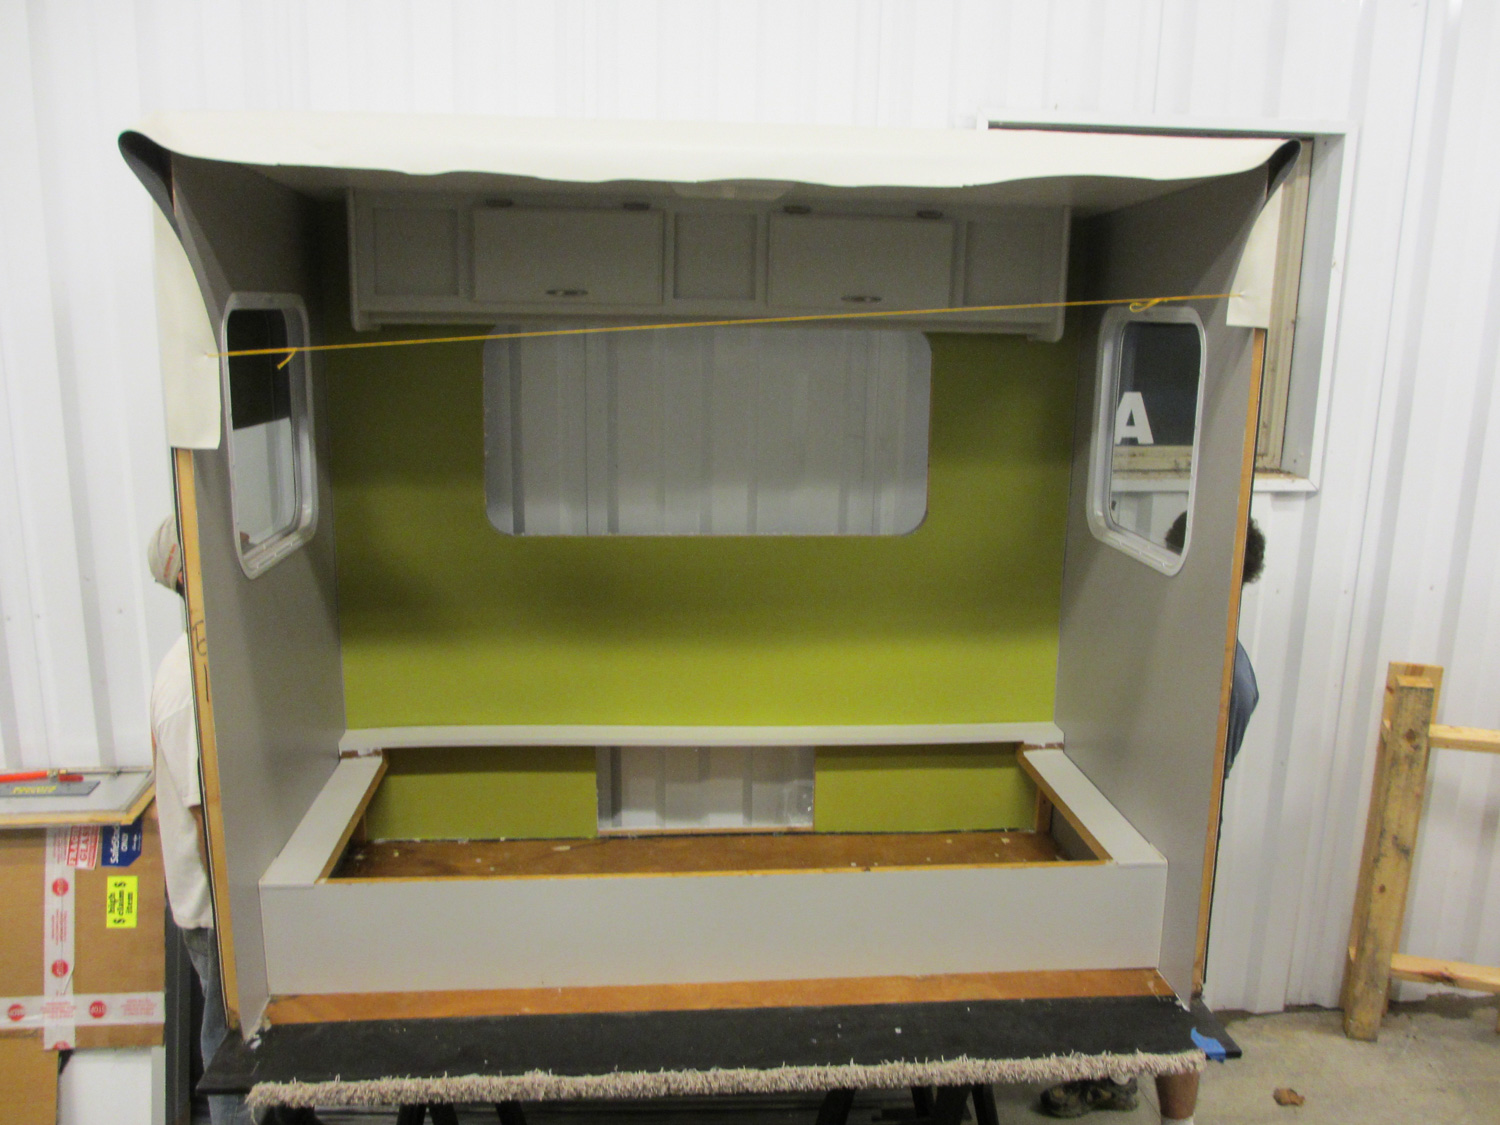
The walls and cabinets were repainted.
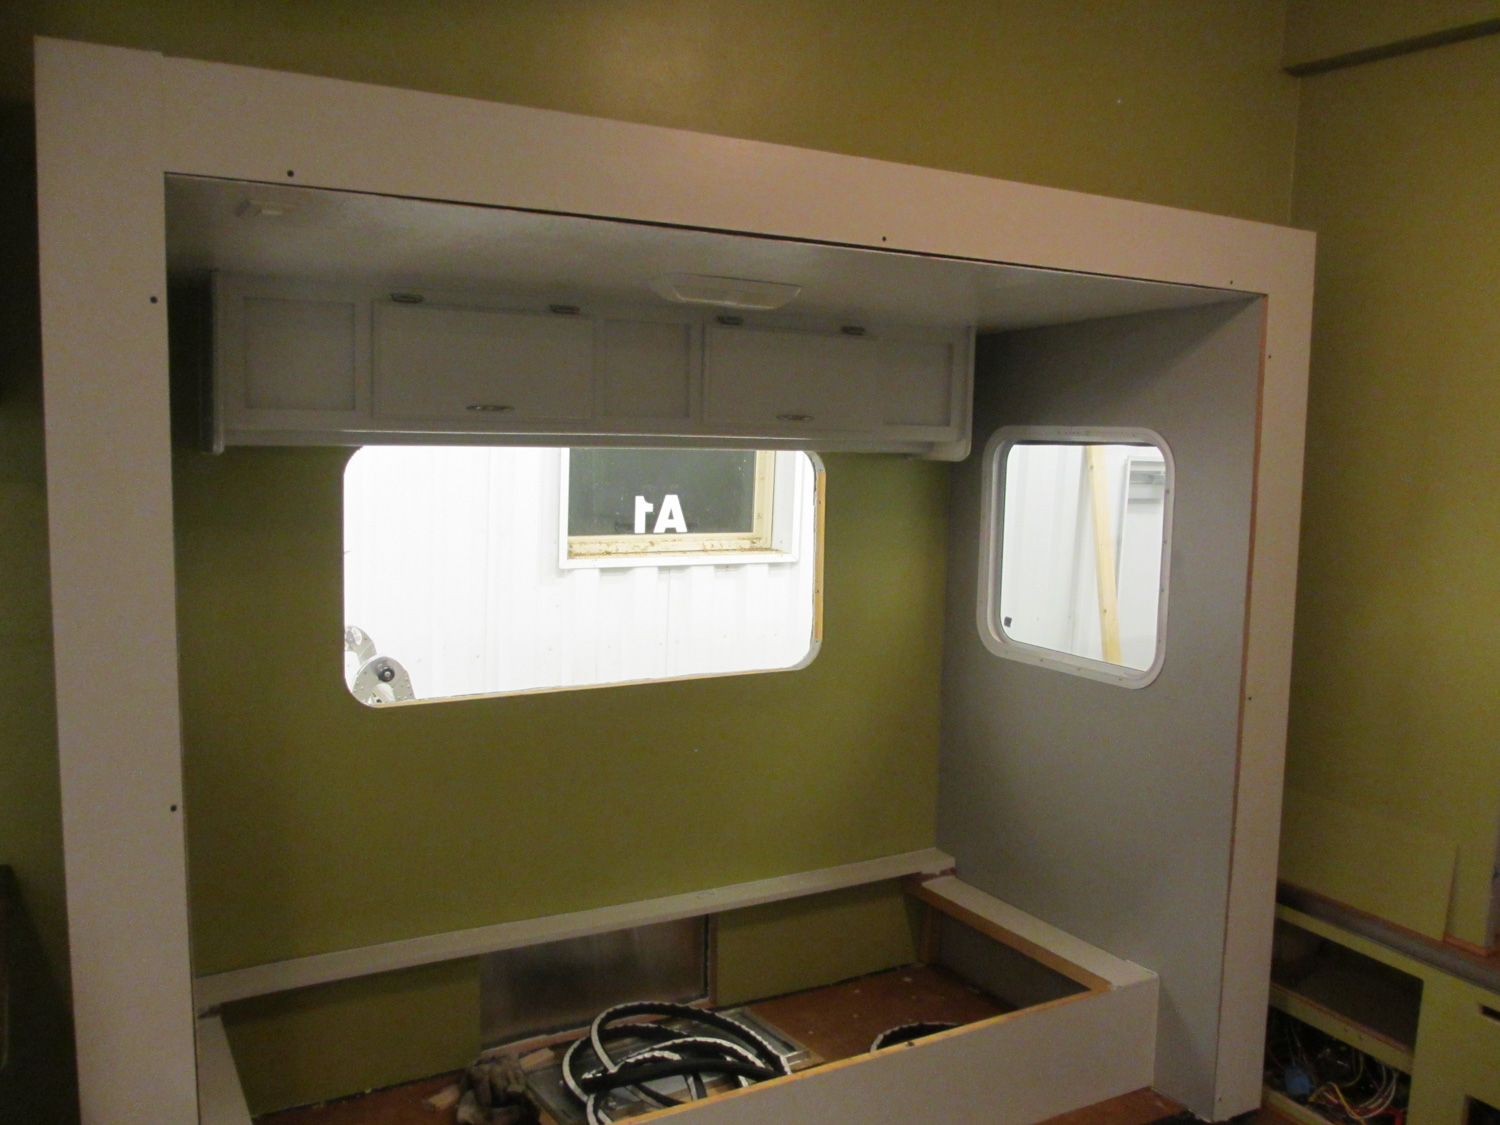
Eventually the slide was reunited with the rest of the rig for good.
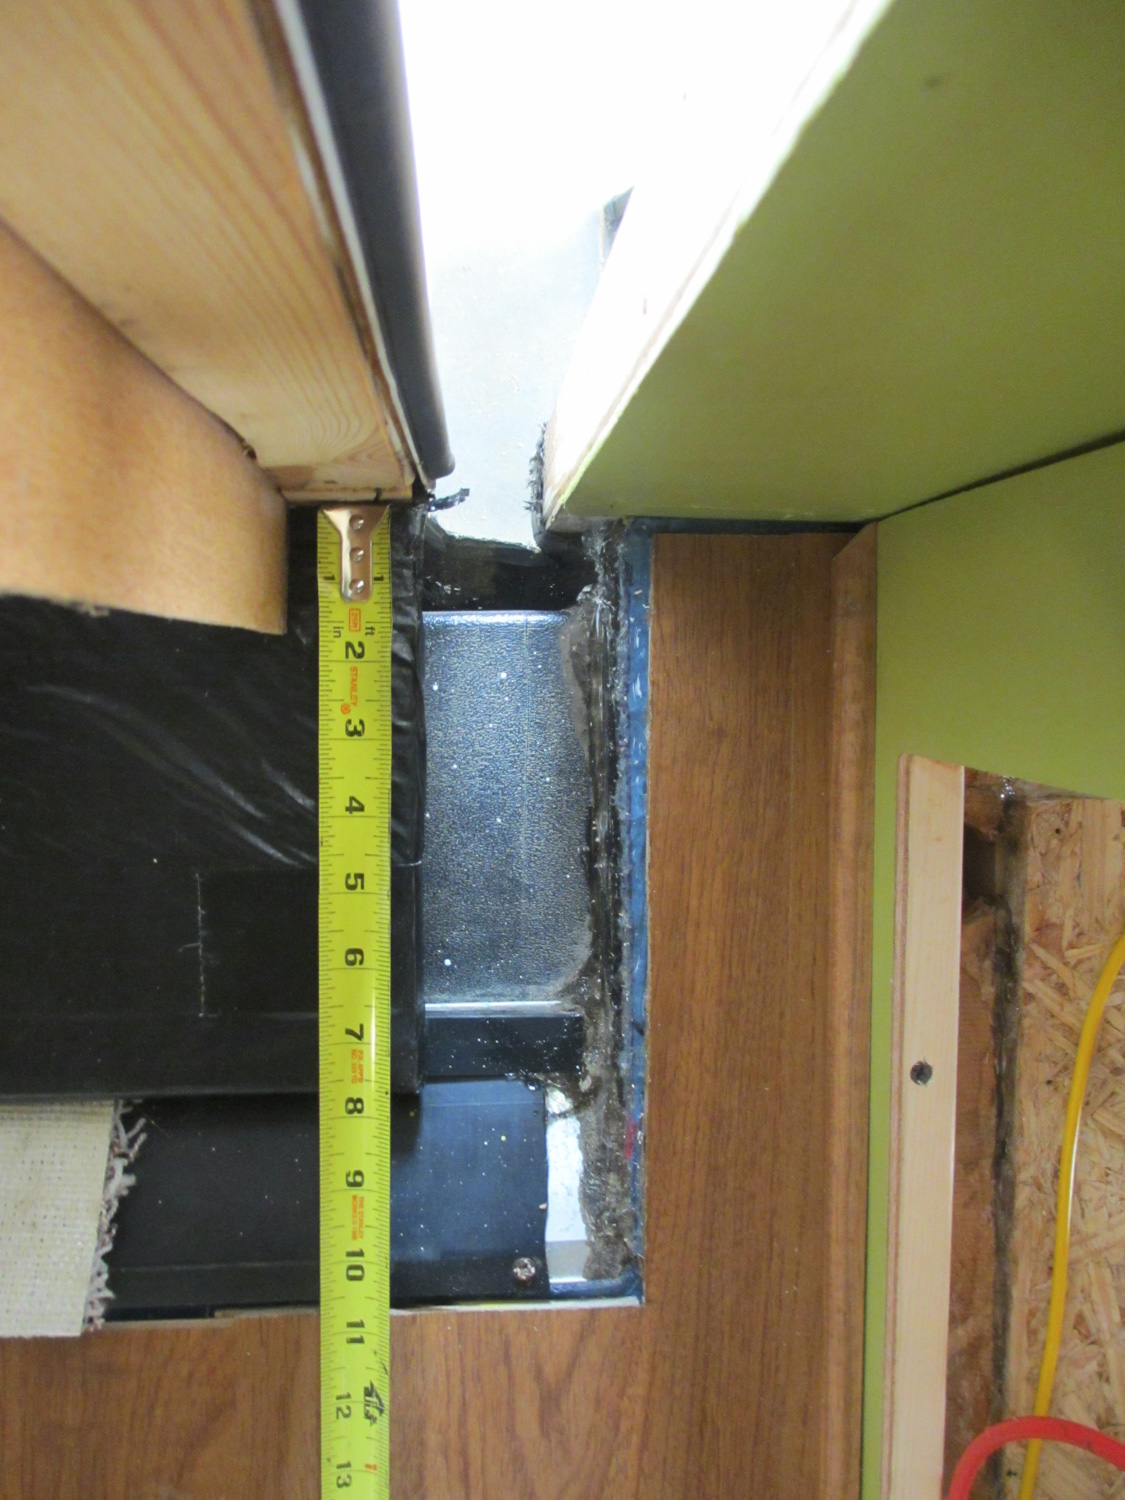
Ensuring that the slide was centered and even was difficult, but extremely important.
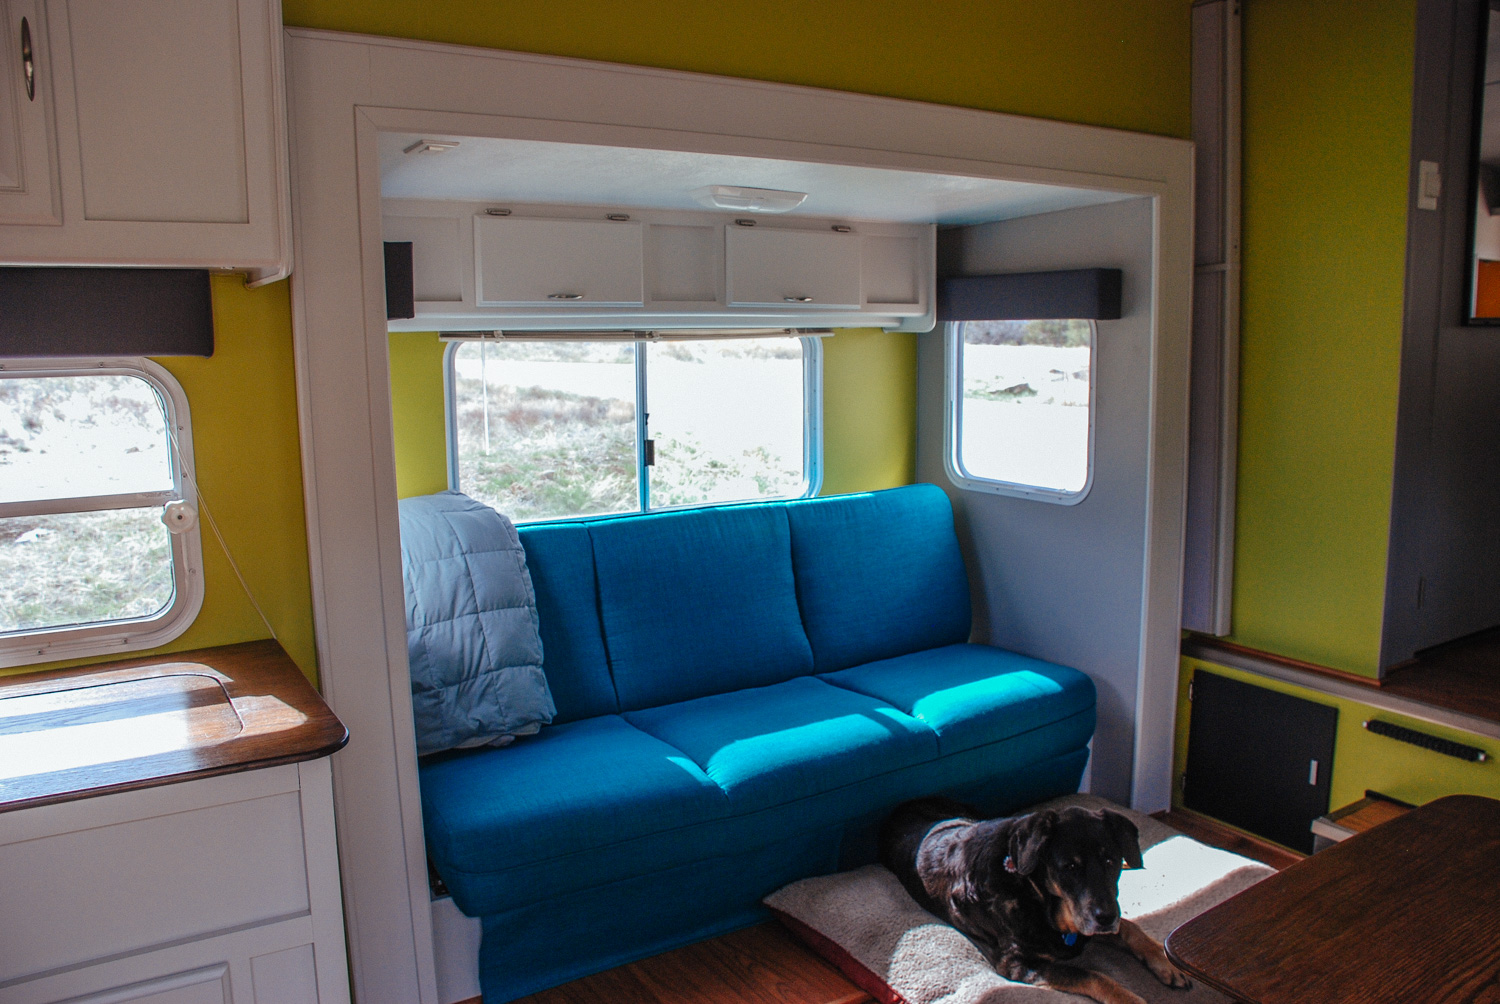
The newly reupholstered couch in the finished slide.
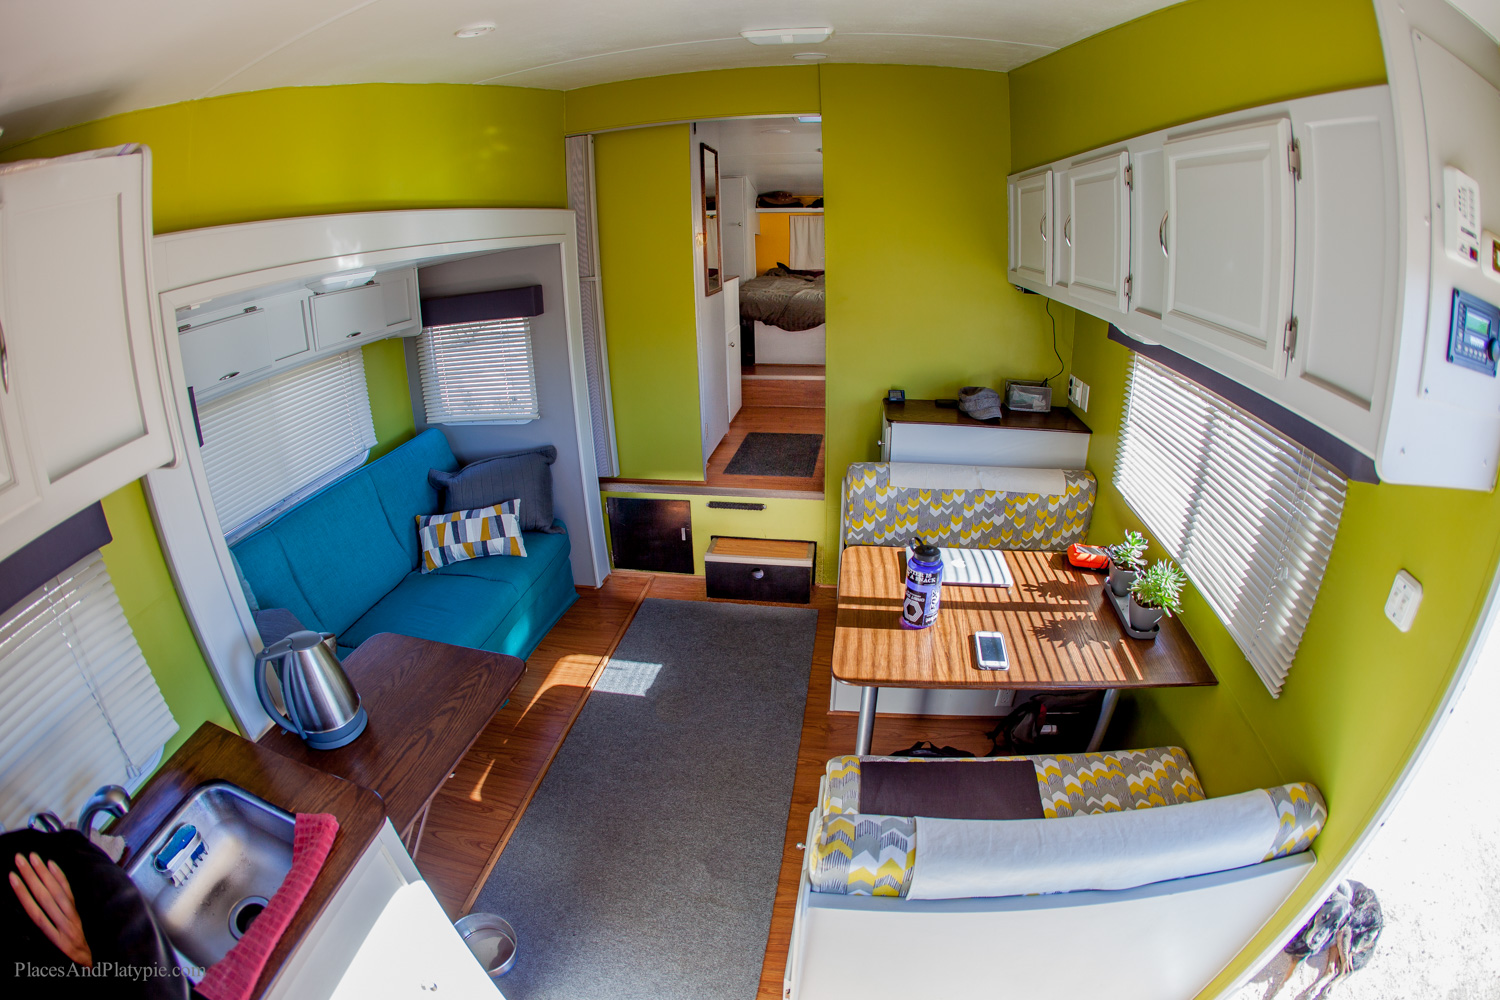
A view of the dinette and slide area.
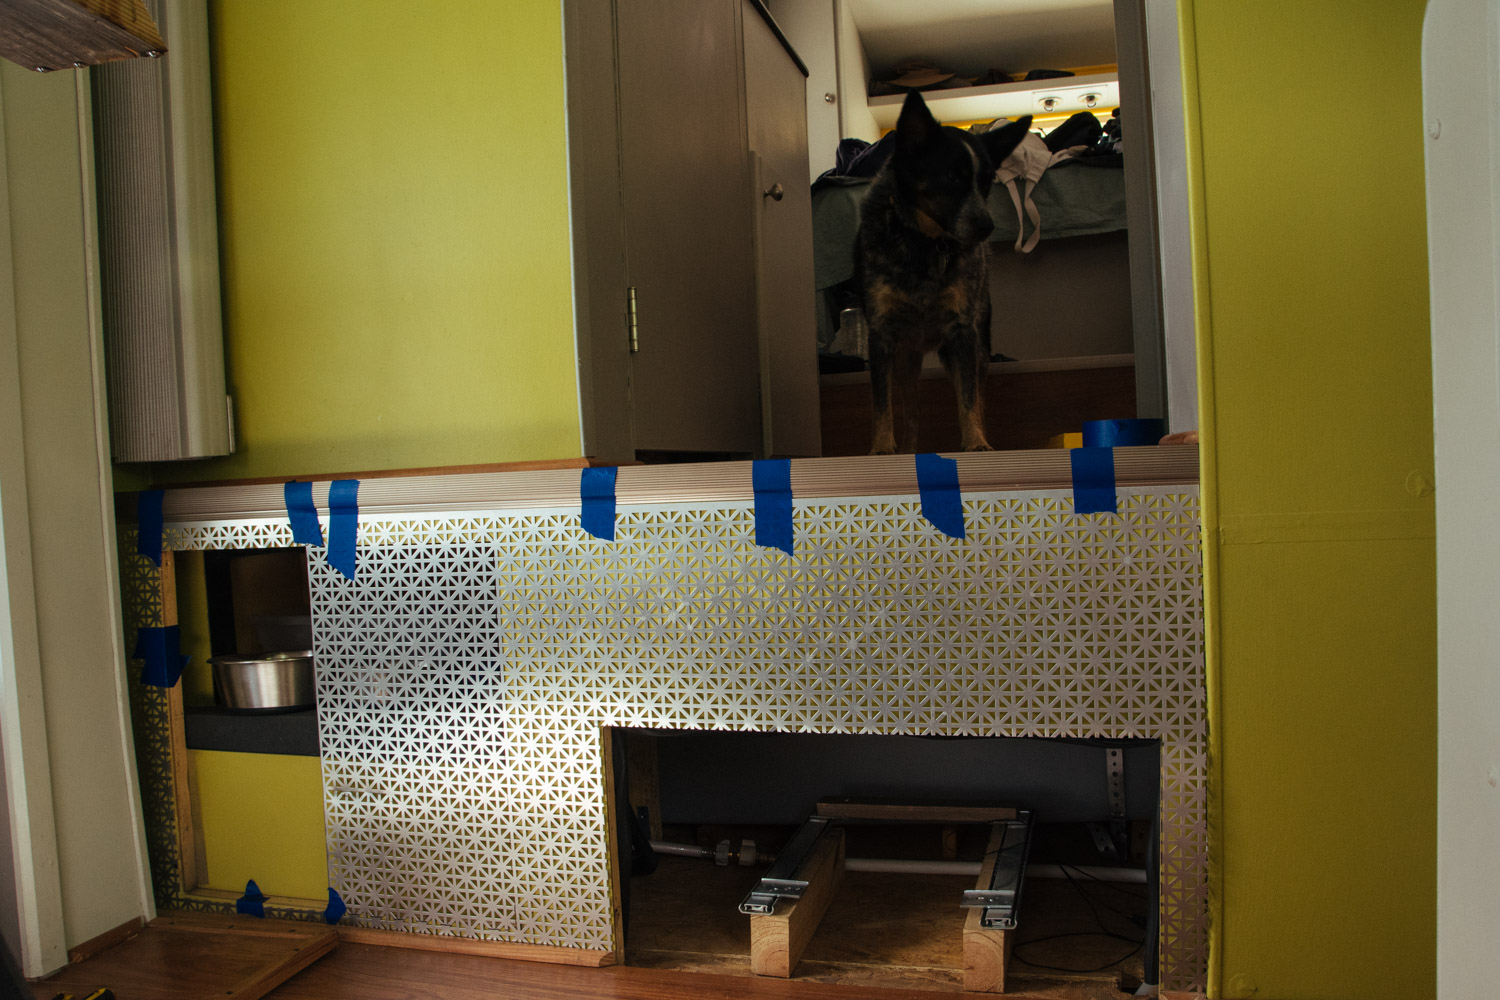
In the summer of 2017, we redid the step area. We removed Tybee's ramp and added a decorative metal sheet around the steps. The area was getting scuffed up from feet.
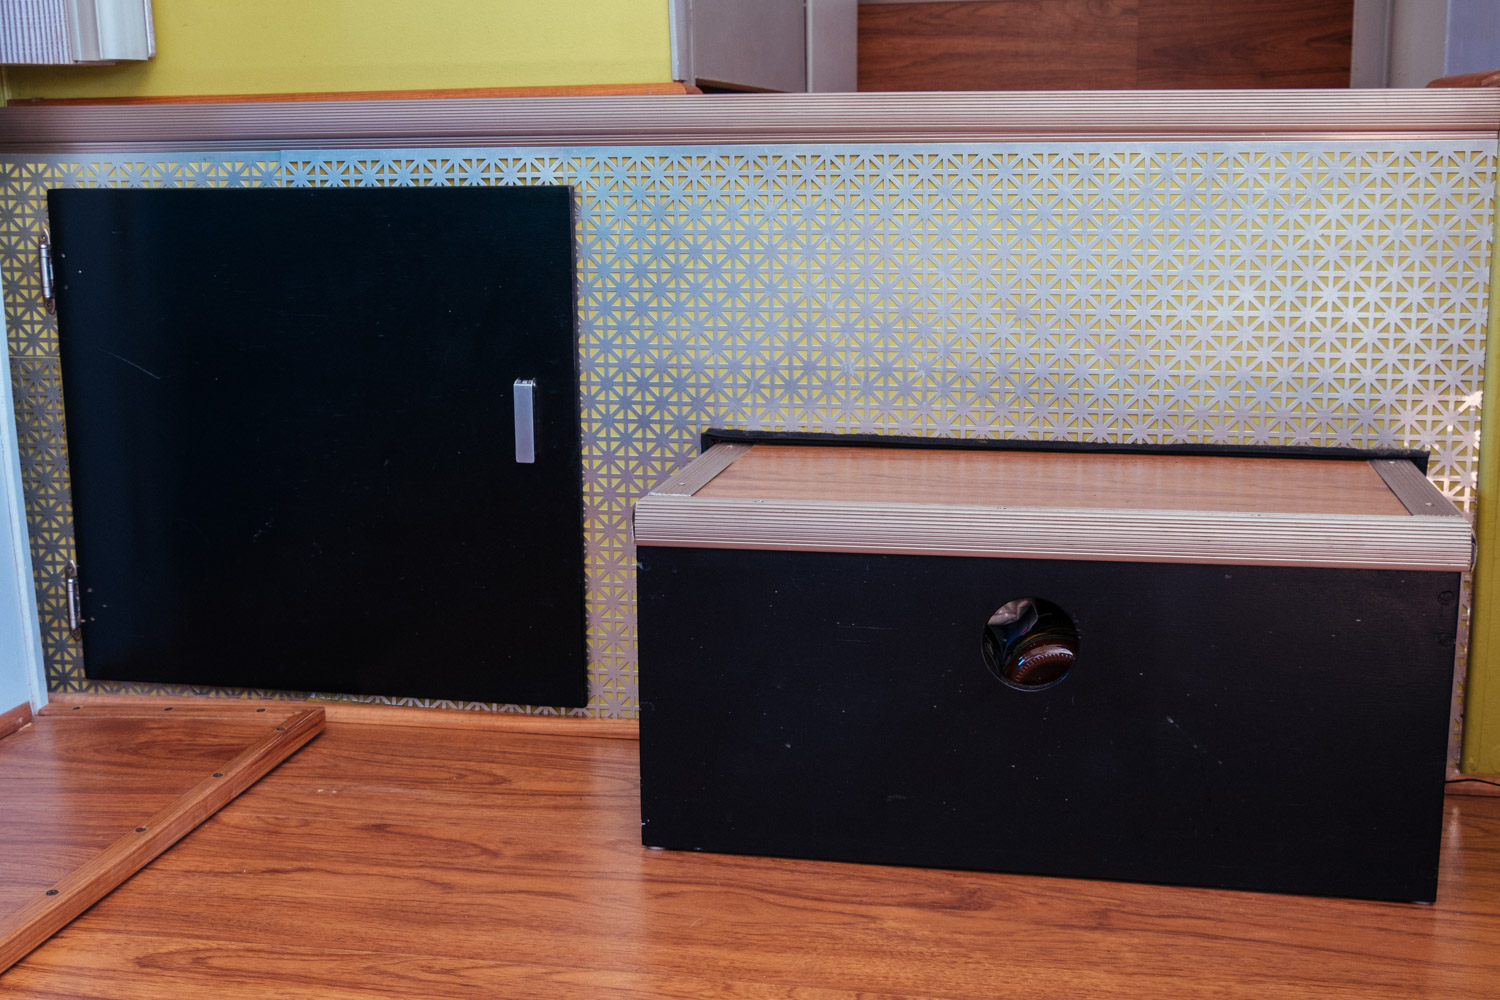
Area finished with the door and step re-installed.
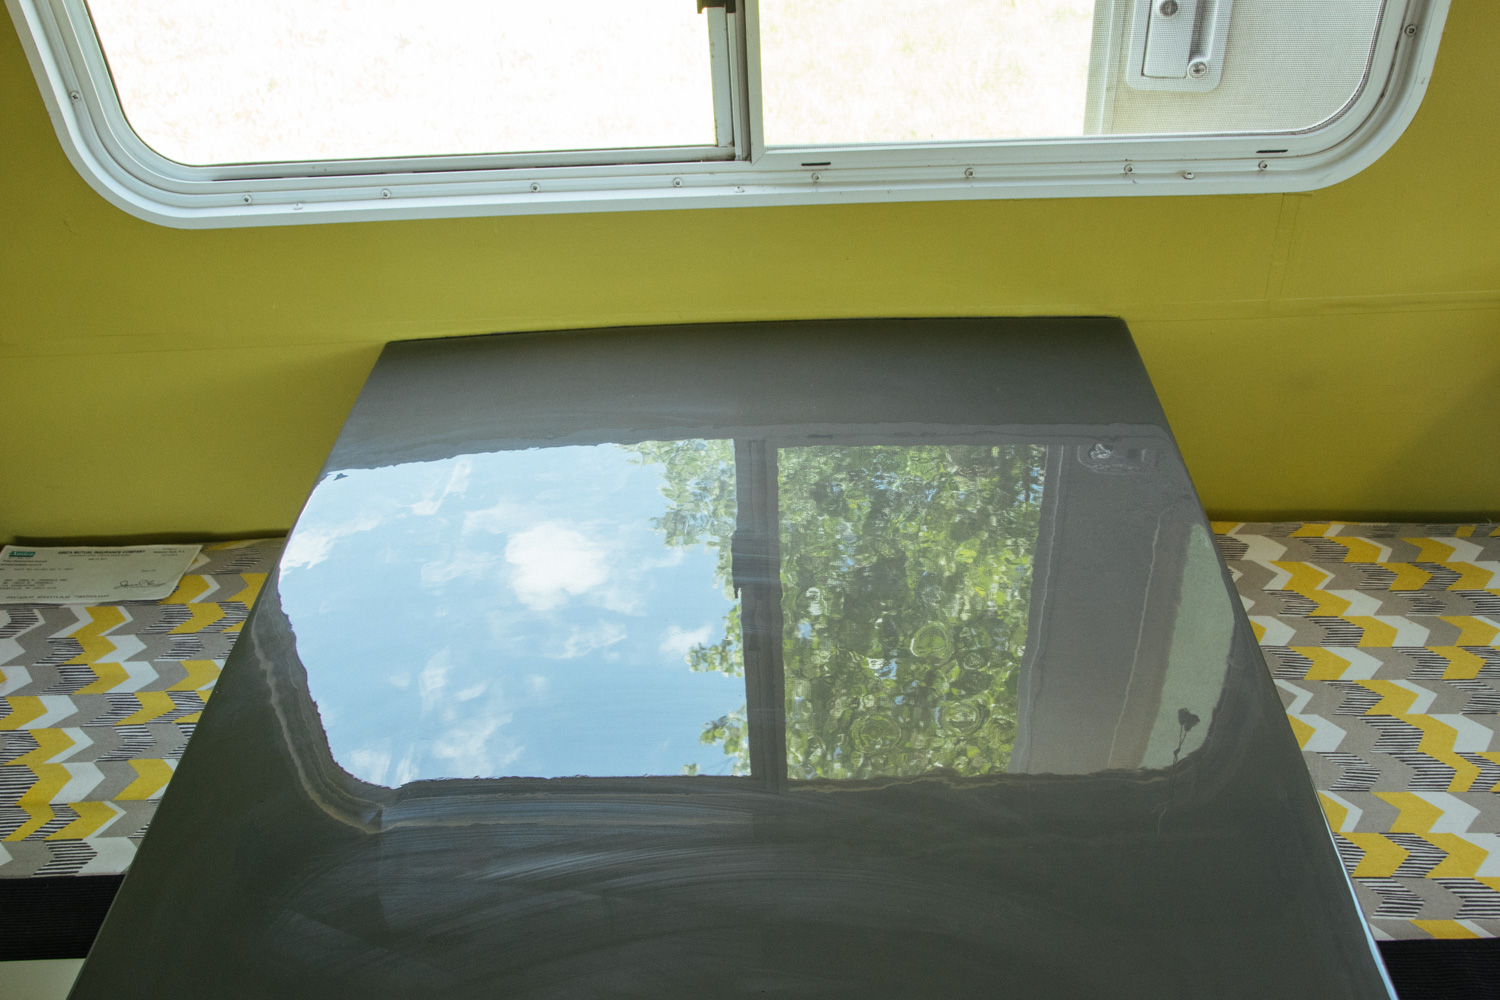
Also during summer of 2017, we repainted our dinette table and pantry countertop and covered it with self-leveling epoxy.
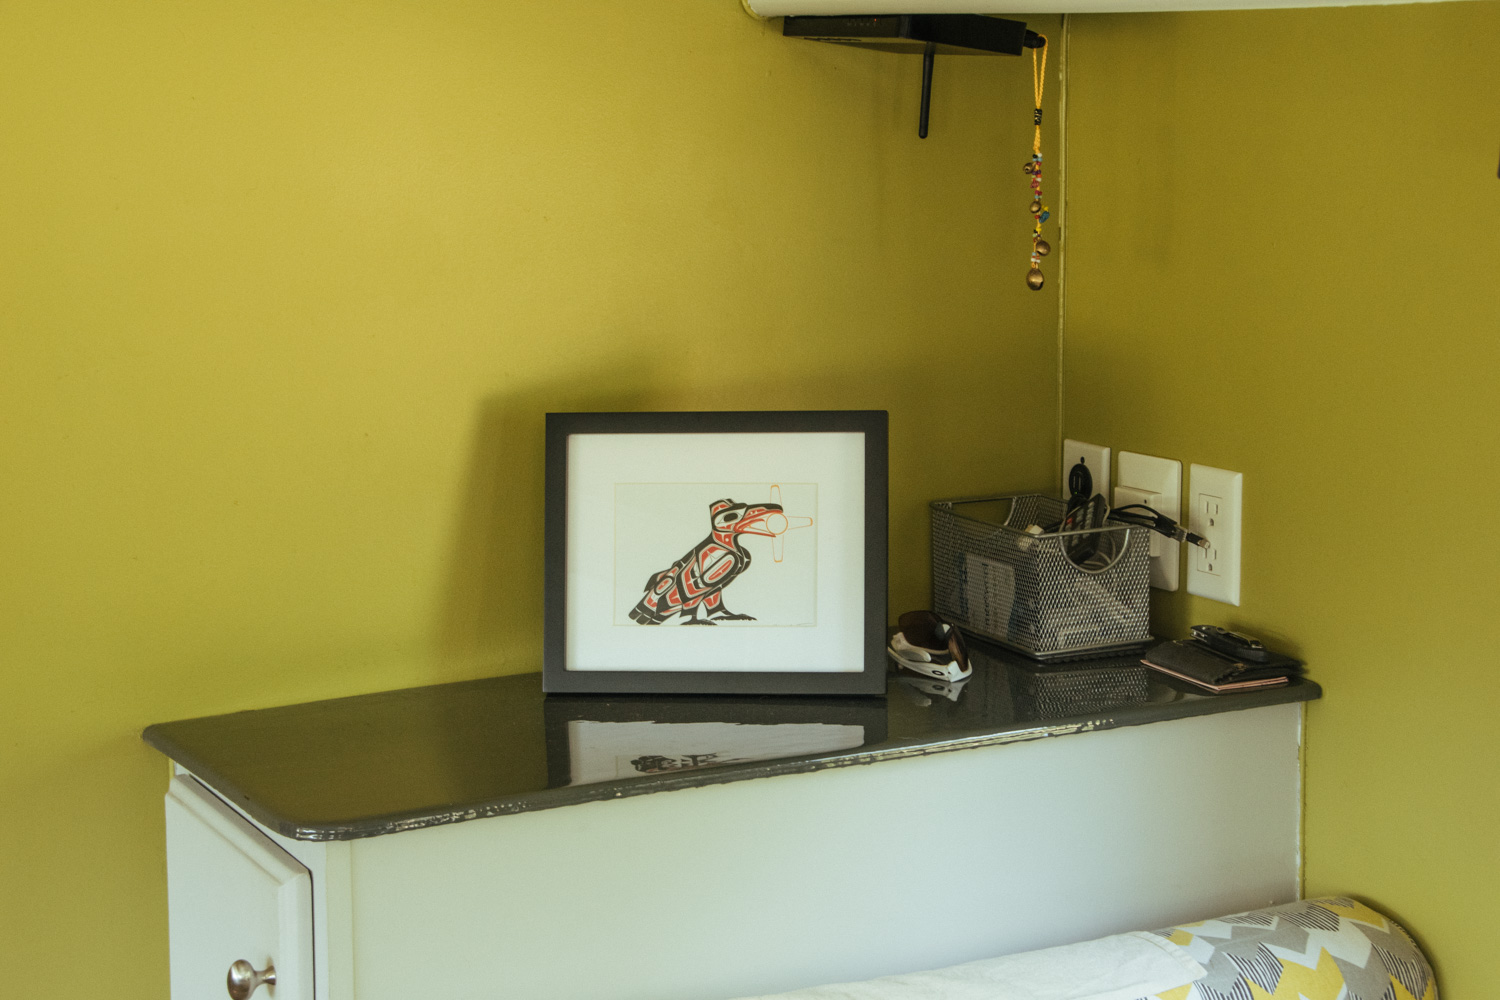
The pantry with a new epoxy coating.


Posts About The Dinette And Slide
Bathroom
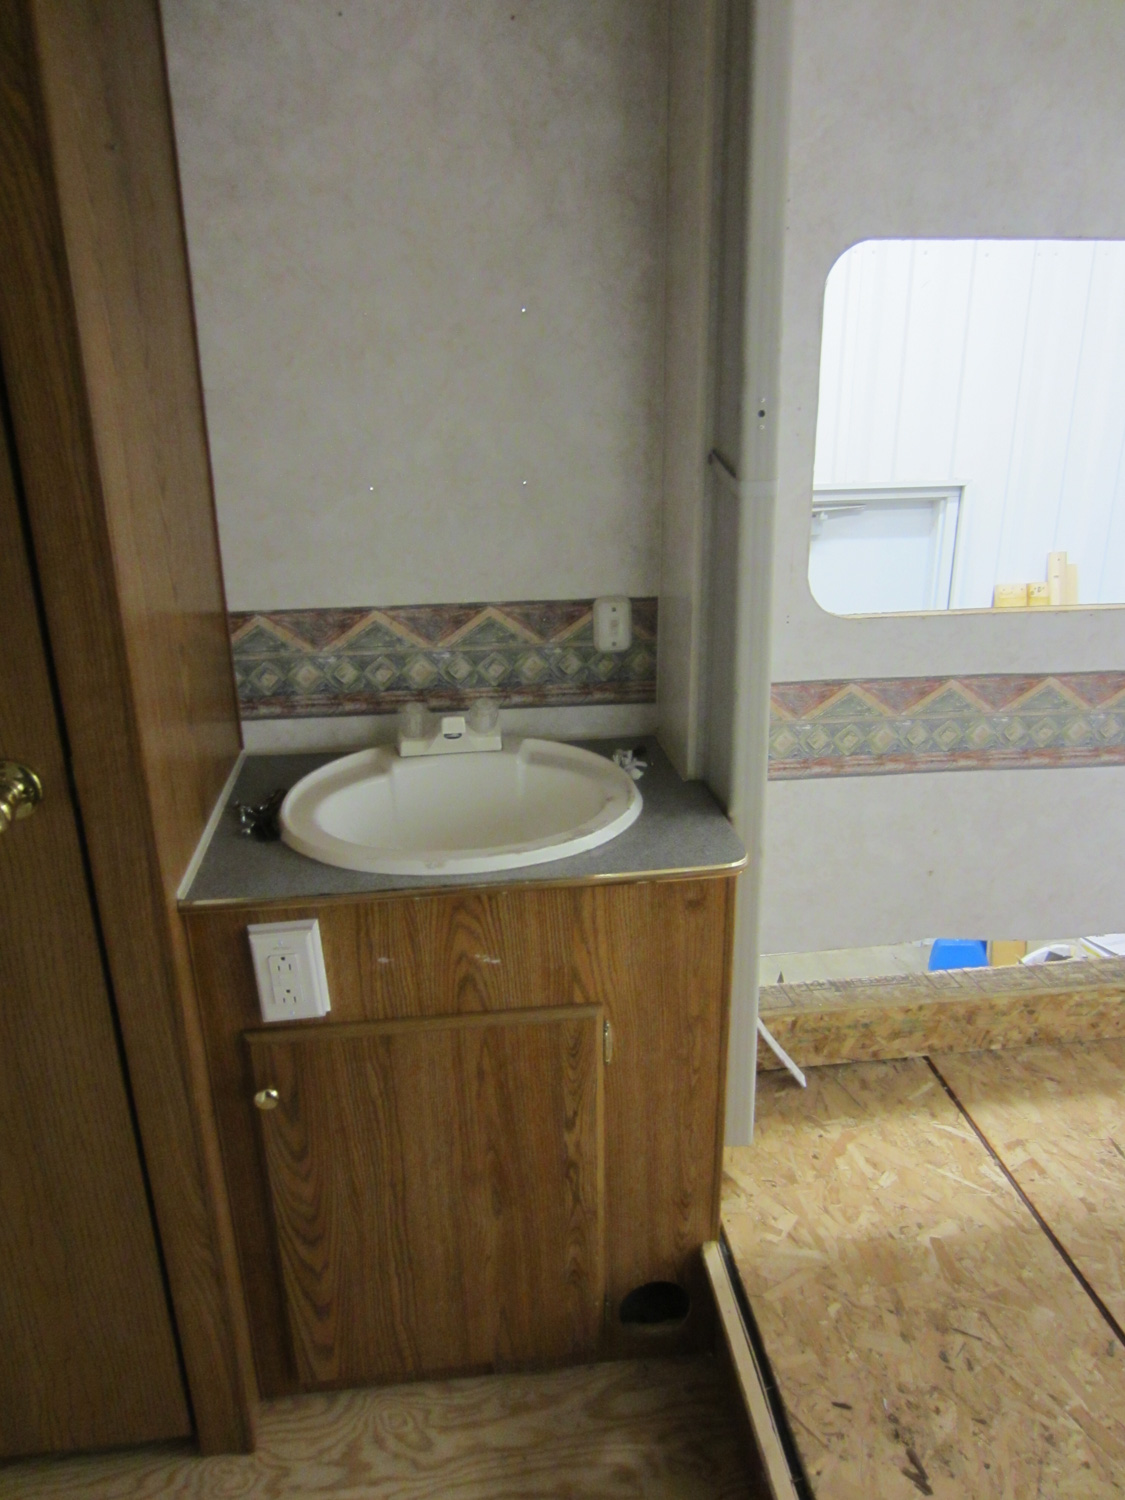
The original bathroom cabinet. It sits across from the shower, at the foot of the bed.
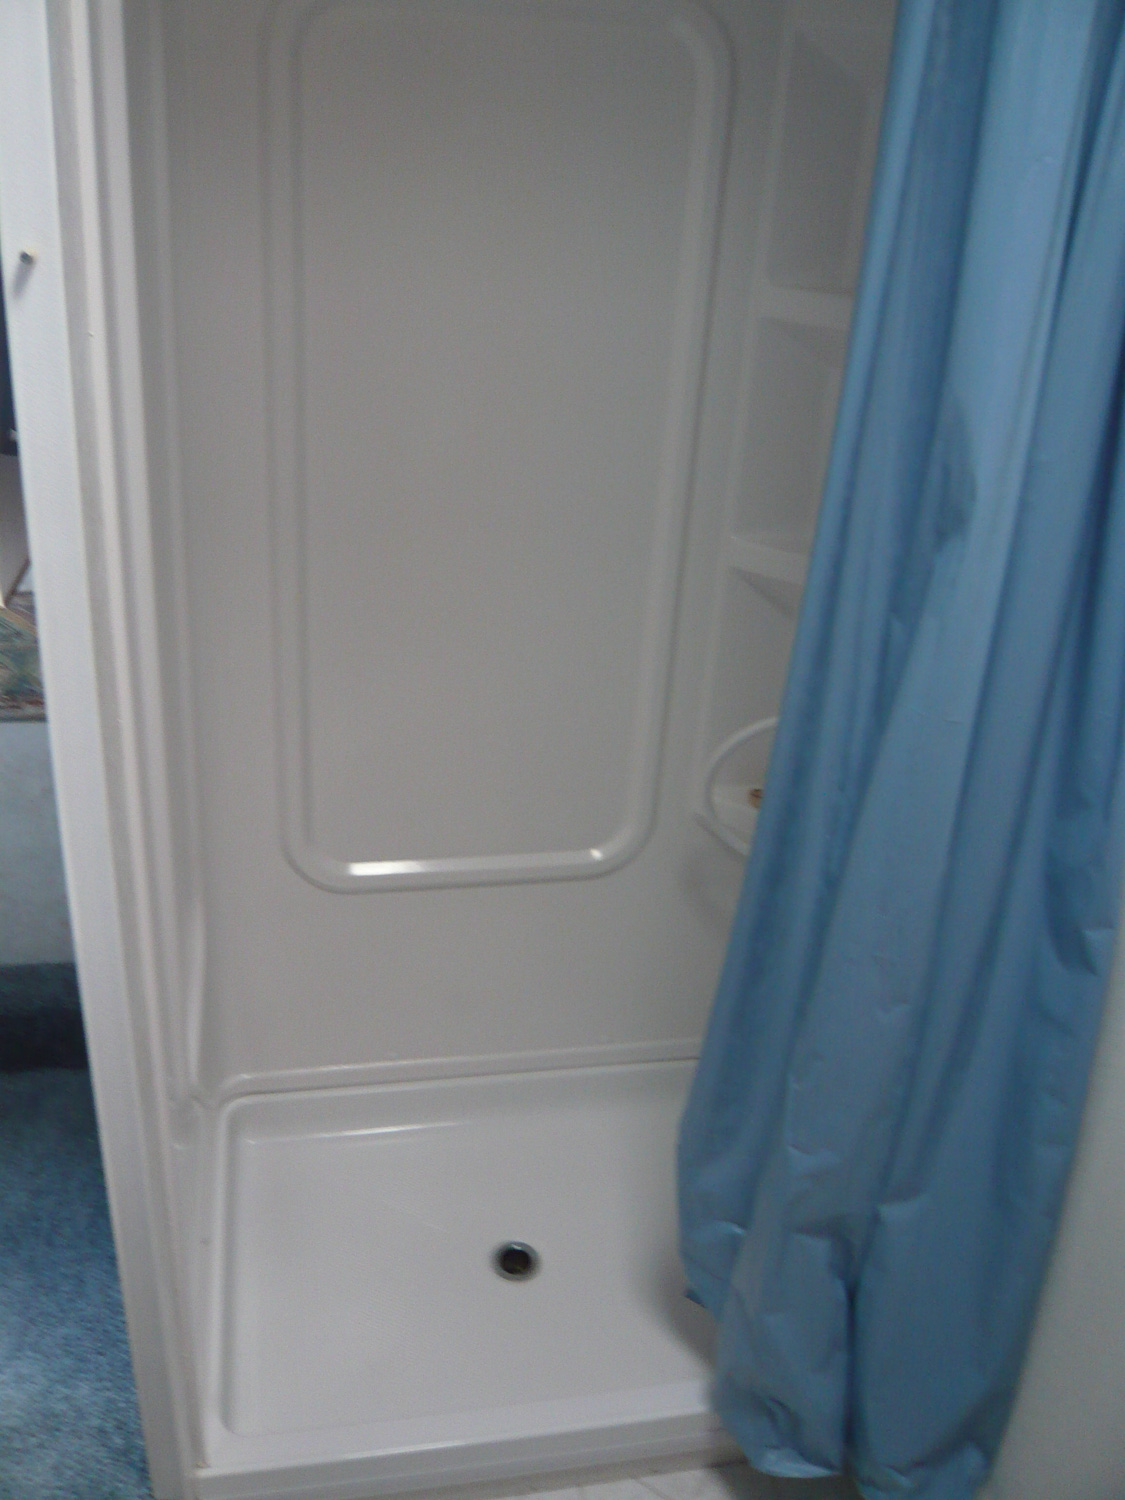
The original shower.
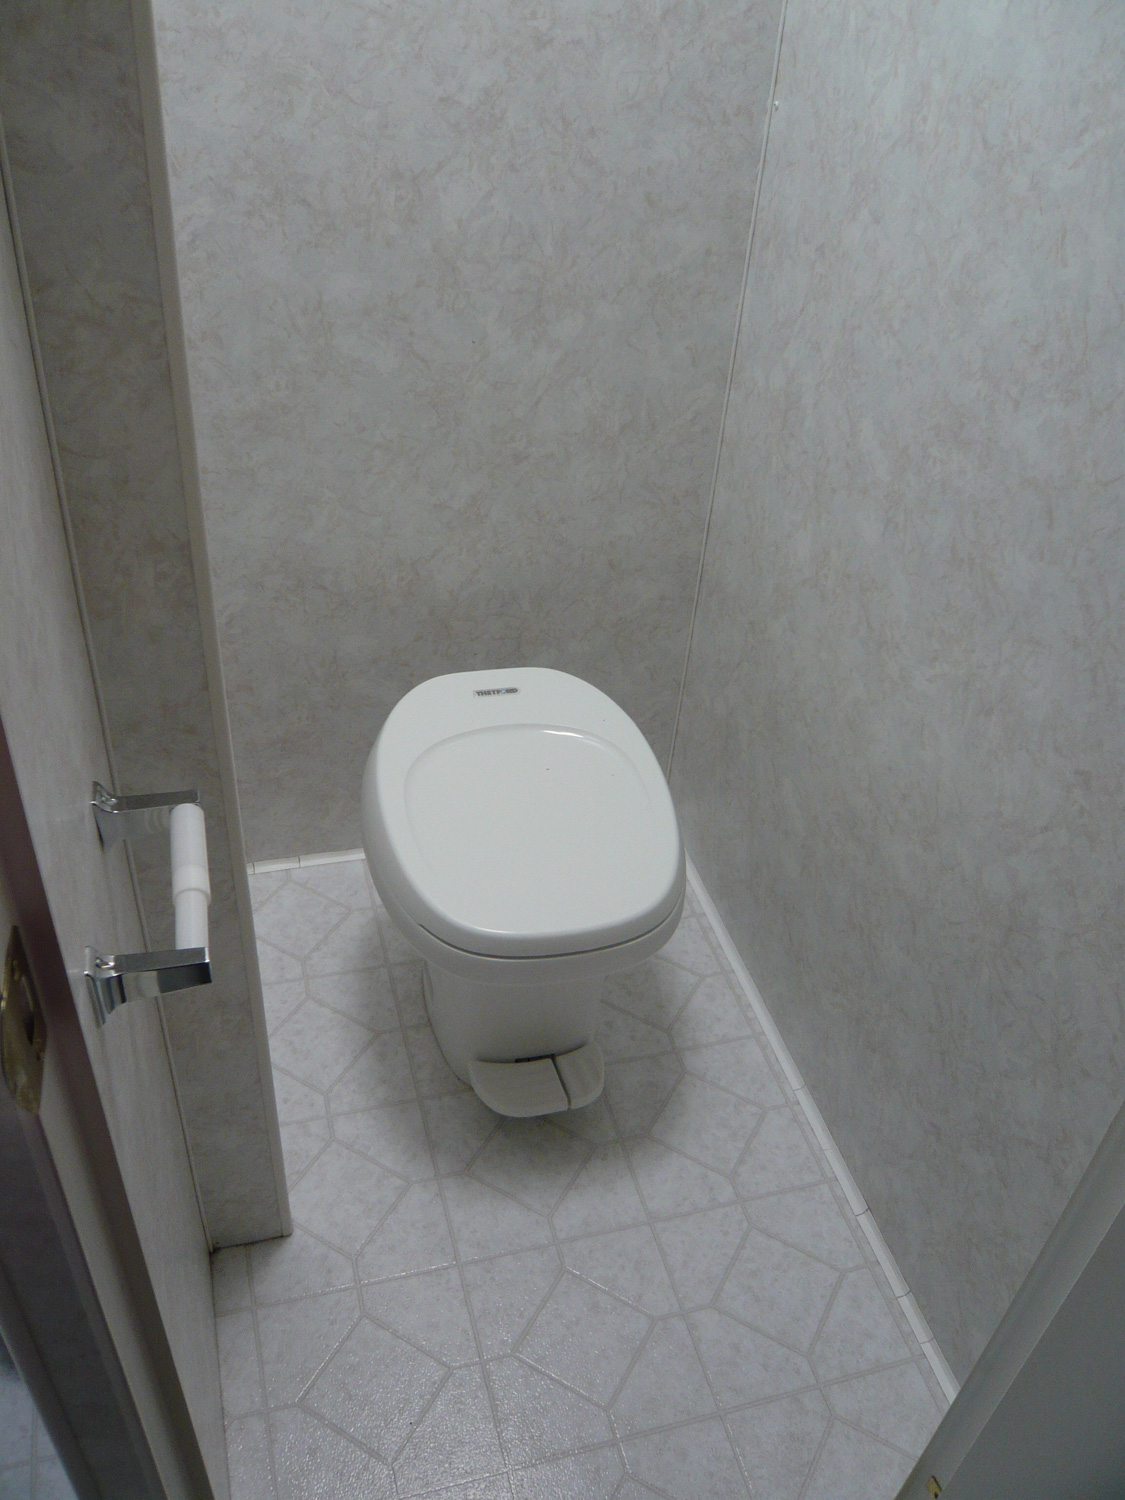
This was how the toilet room originally looked. It sits to the left of the shower, separated by a wall.
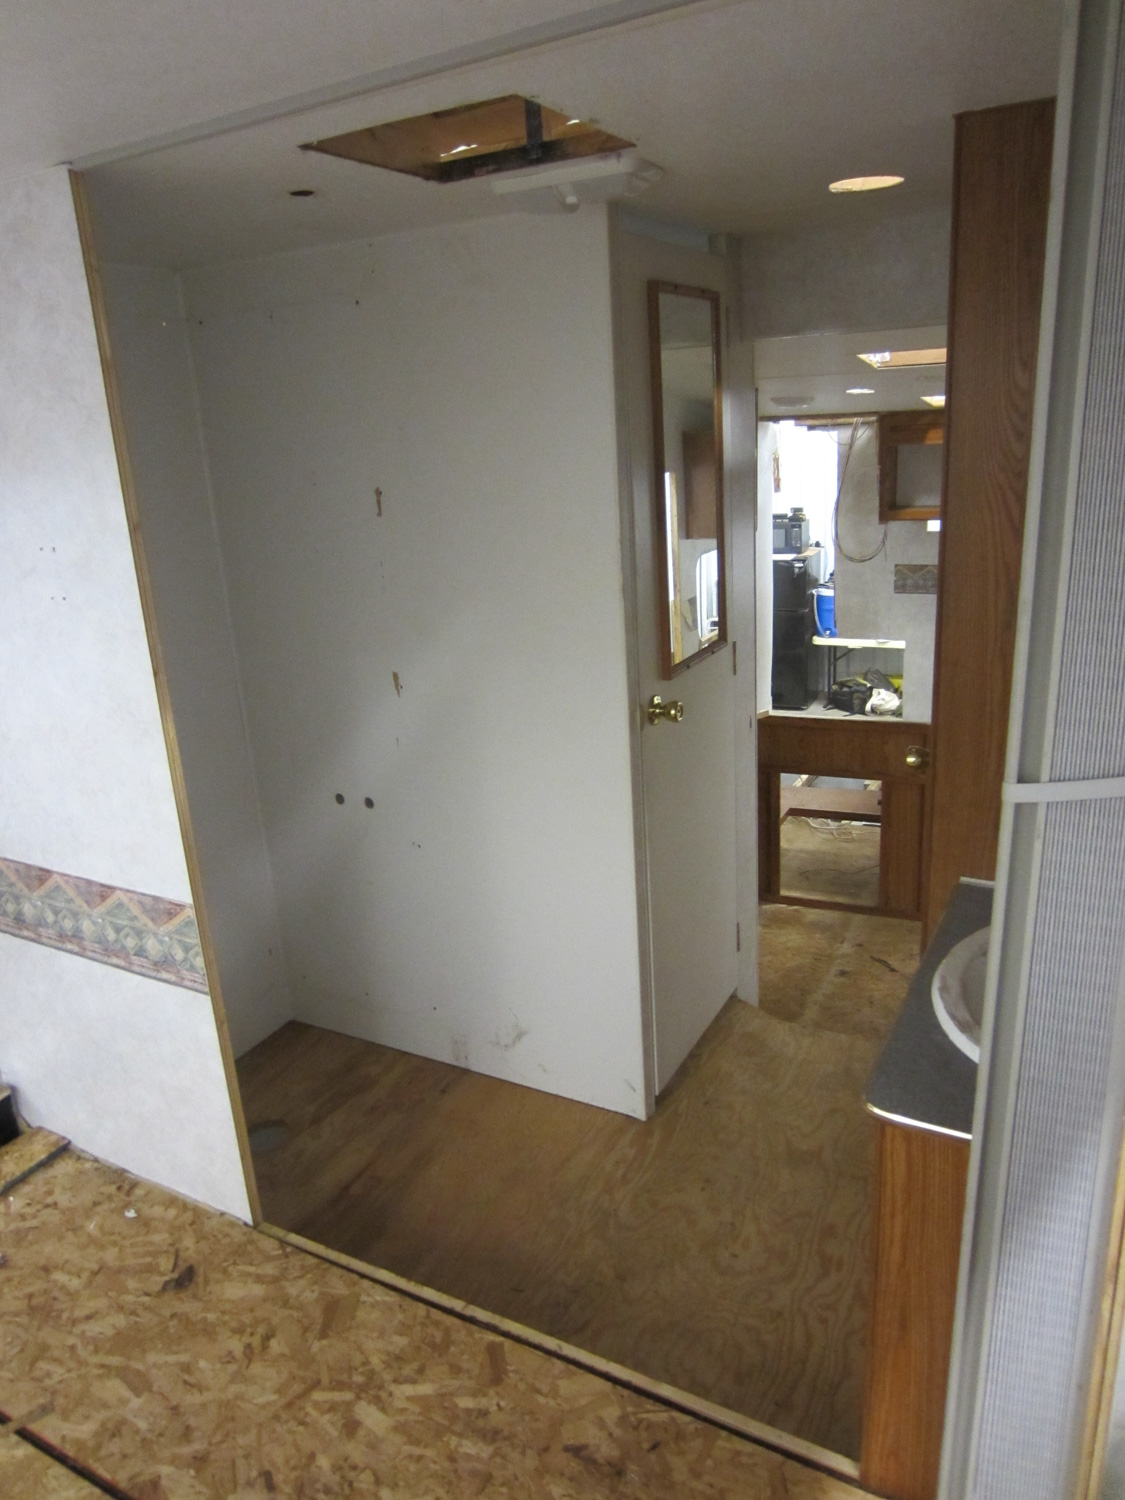
This is what the bathroom area used to look like. The shower was separated from the bedroom by a protruding wall on the left. An accordion door by the sink separated the sleeping and bathroom areas, and there was a door to the toilet.
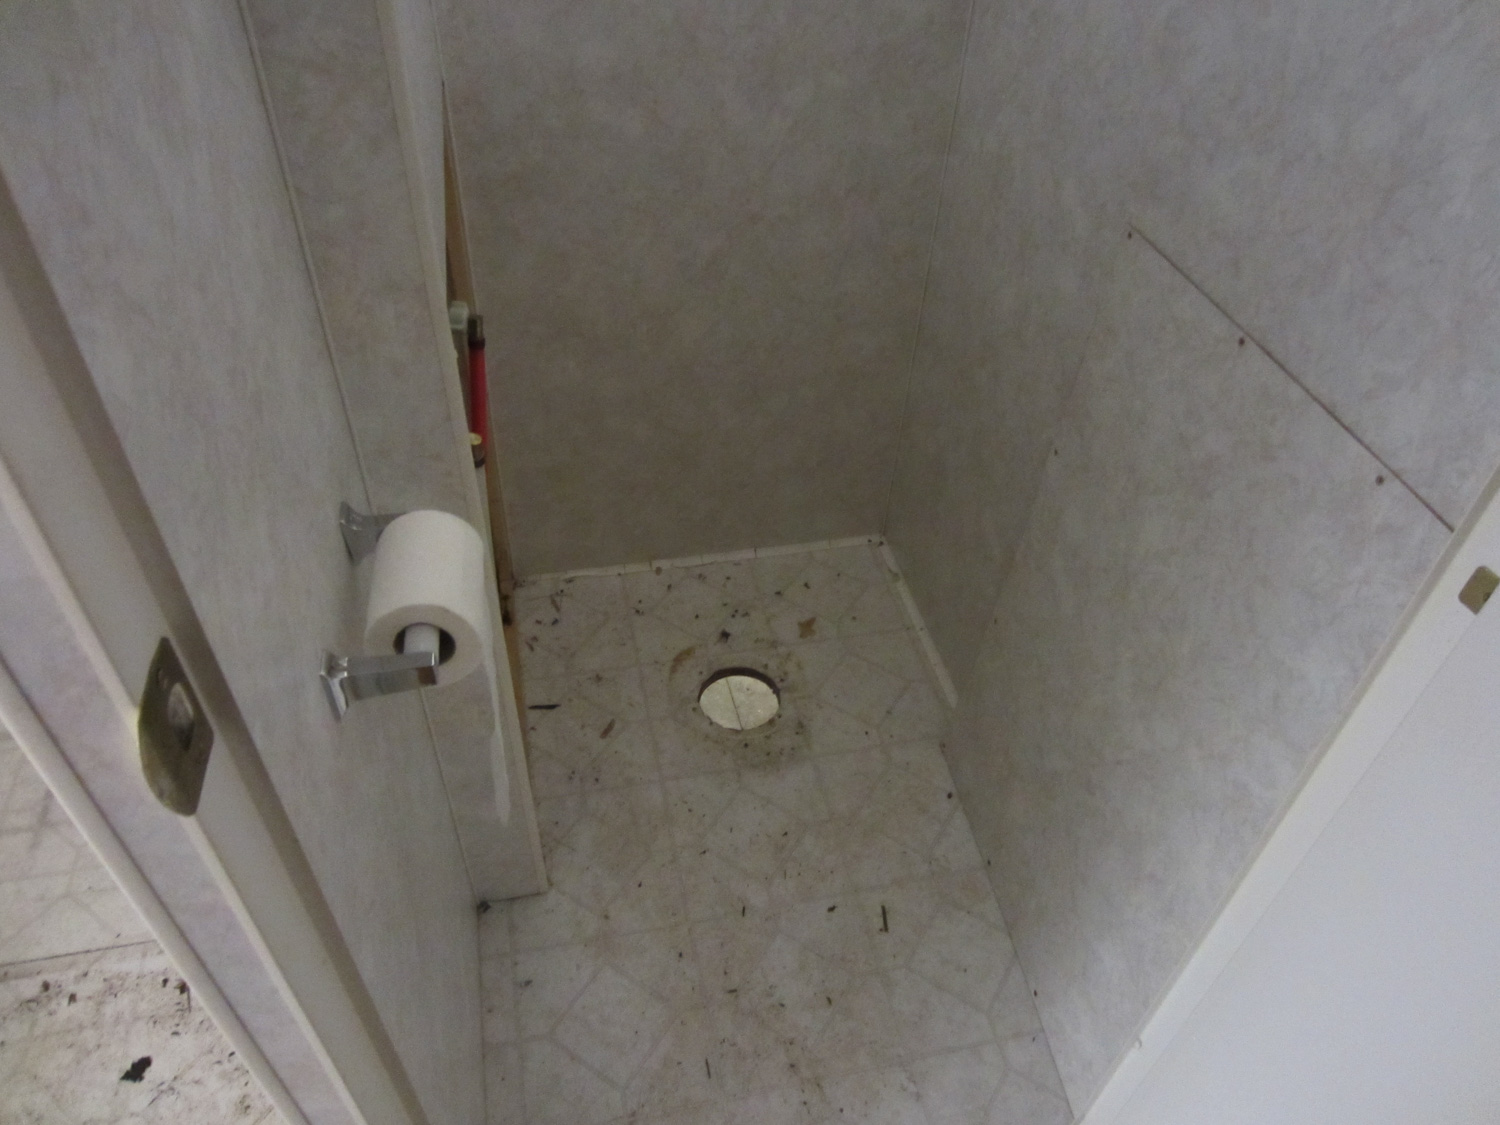
We removed the toilet.
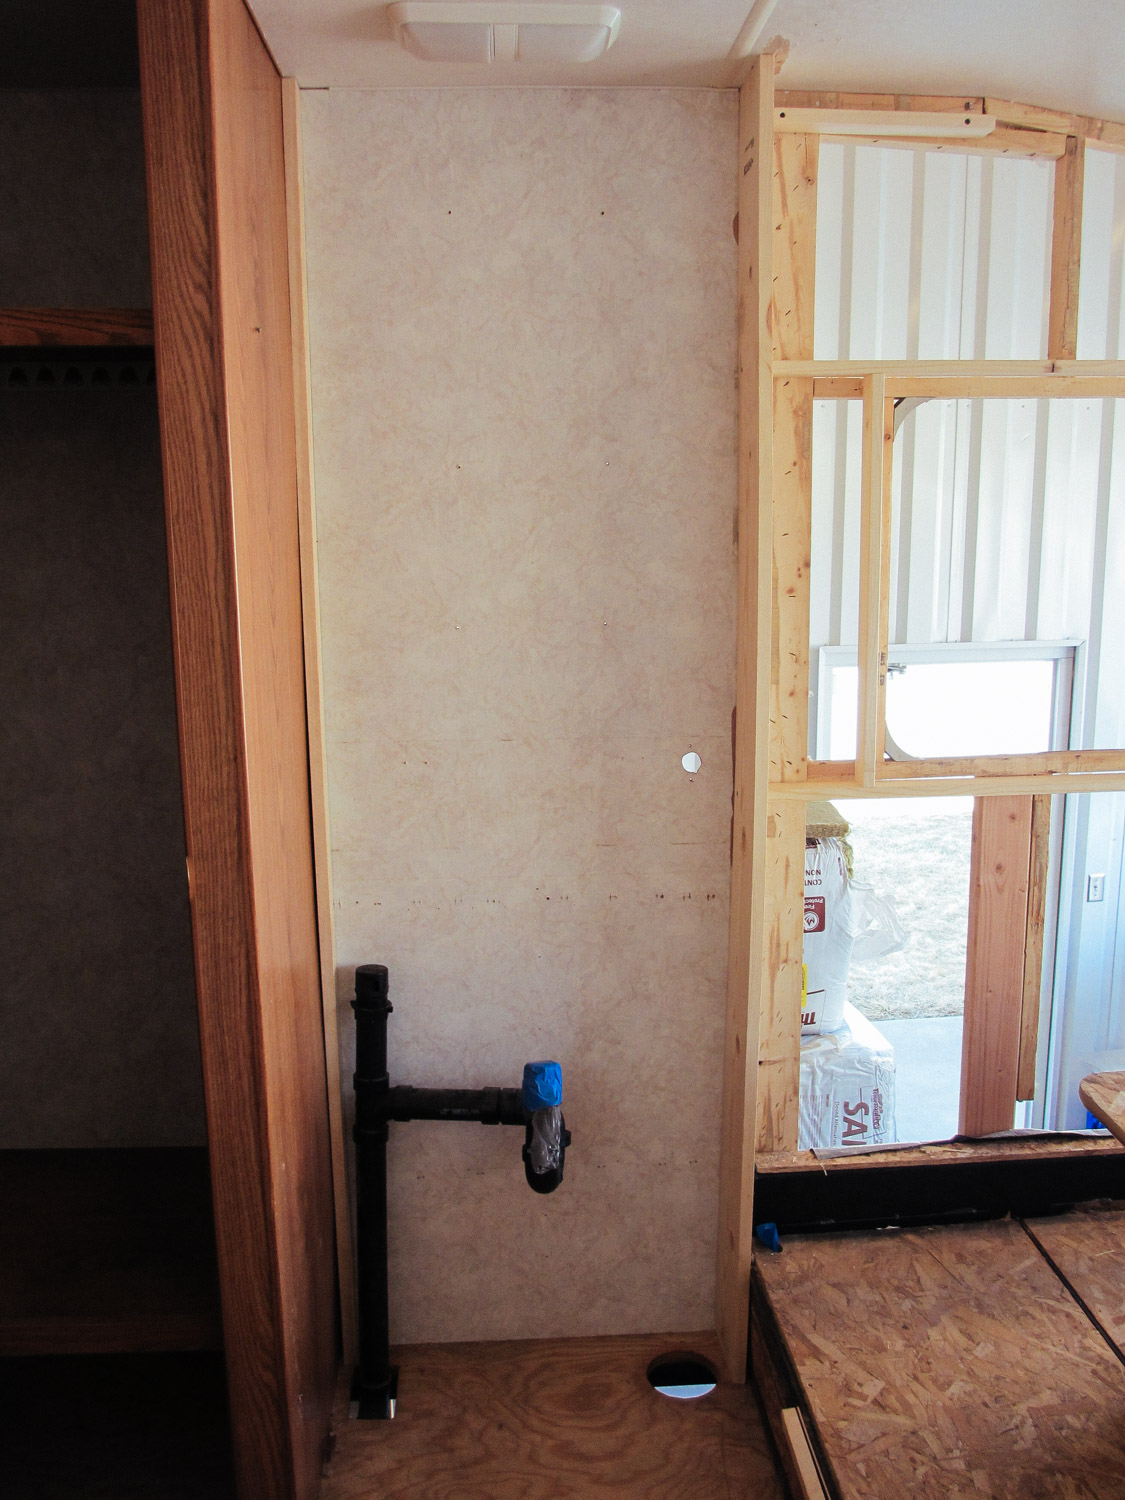
We removed the bathroom cabinet.
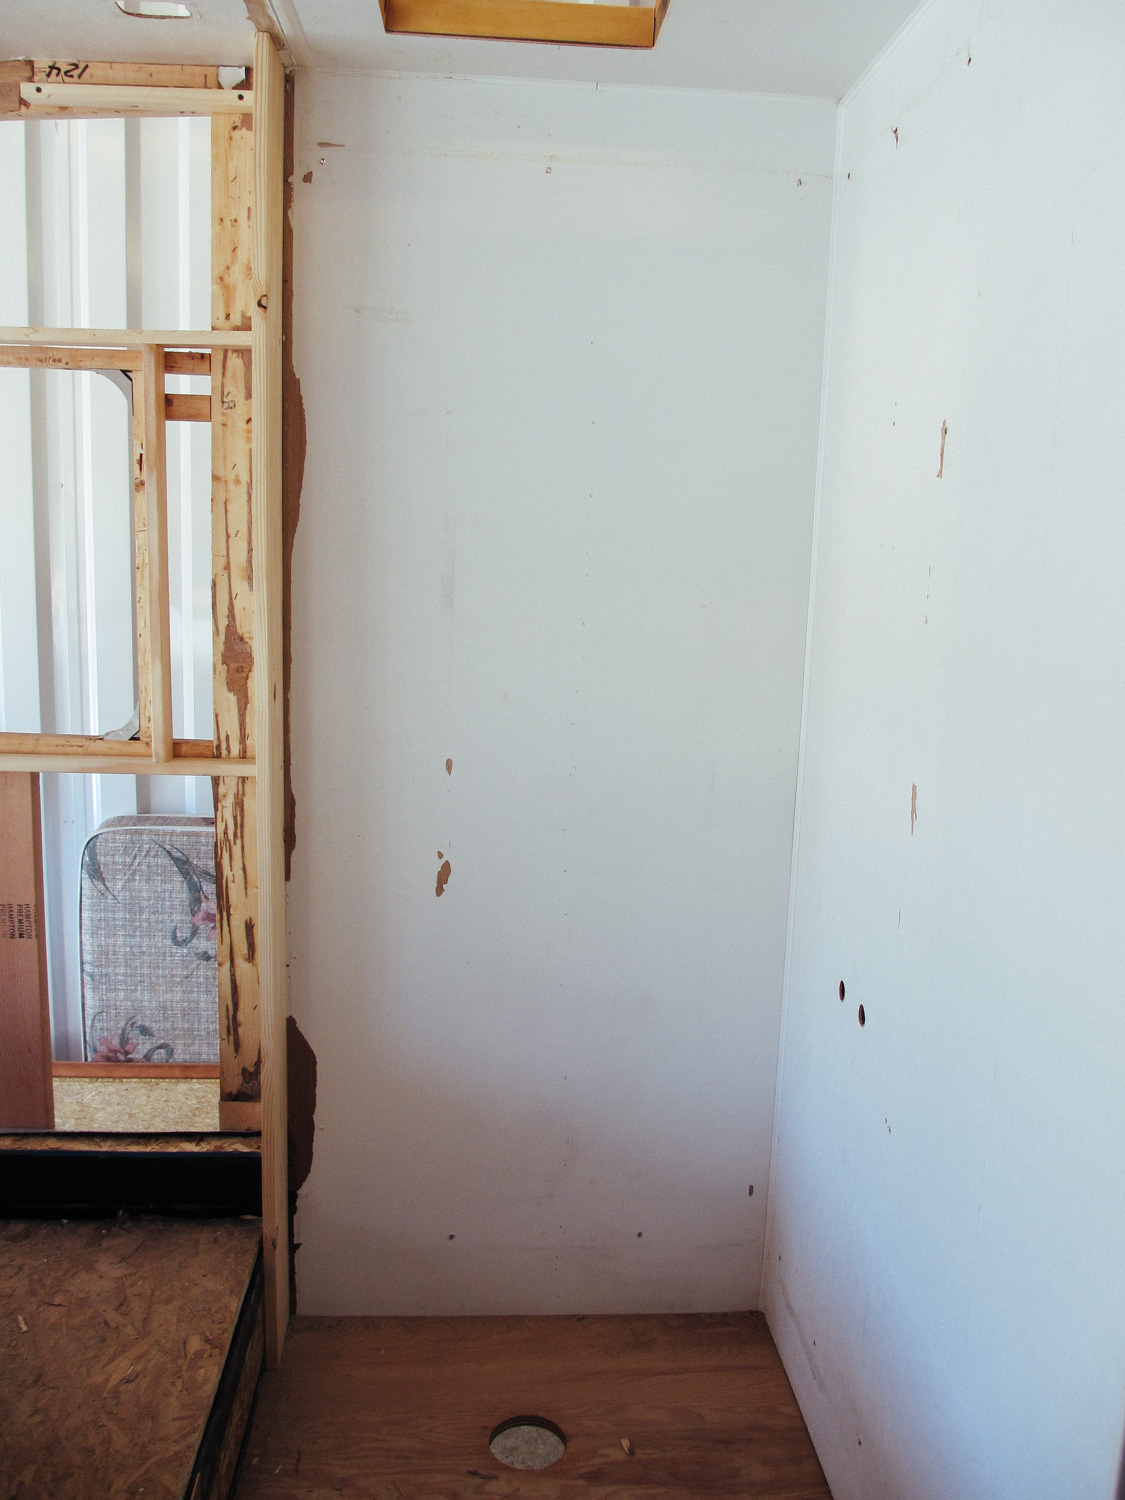
We also removed the shower and the wall that separated the shower and the bedroom.
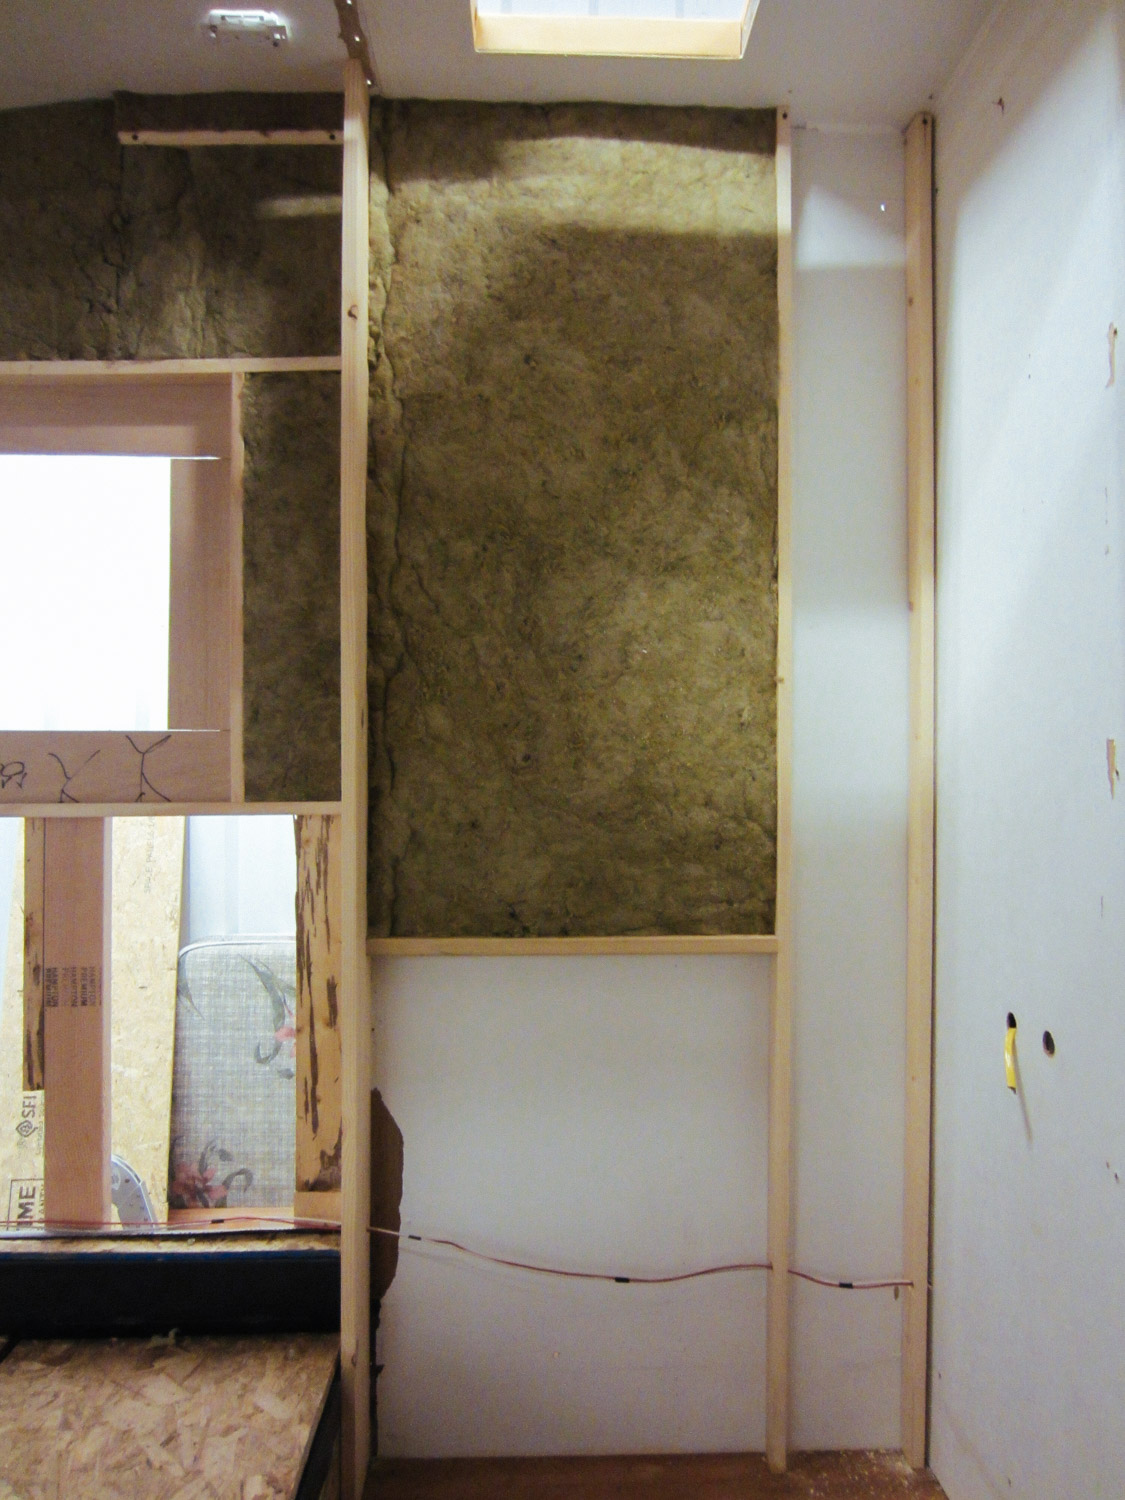
We added studs to the shower wall so we could insulate that space with mineral wool.
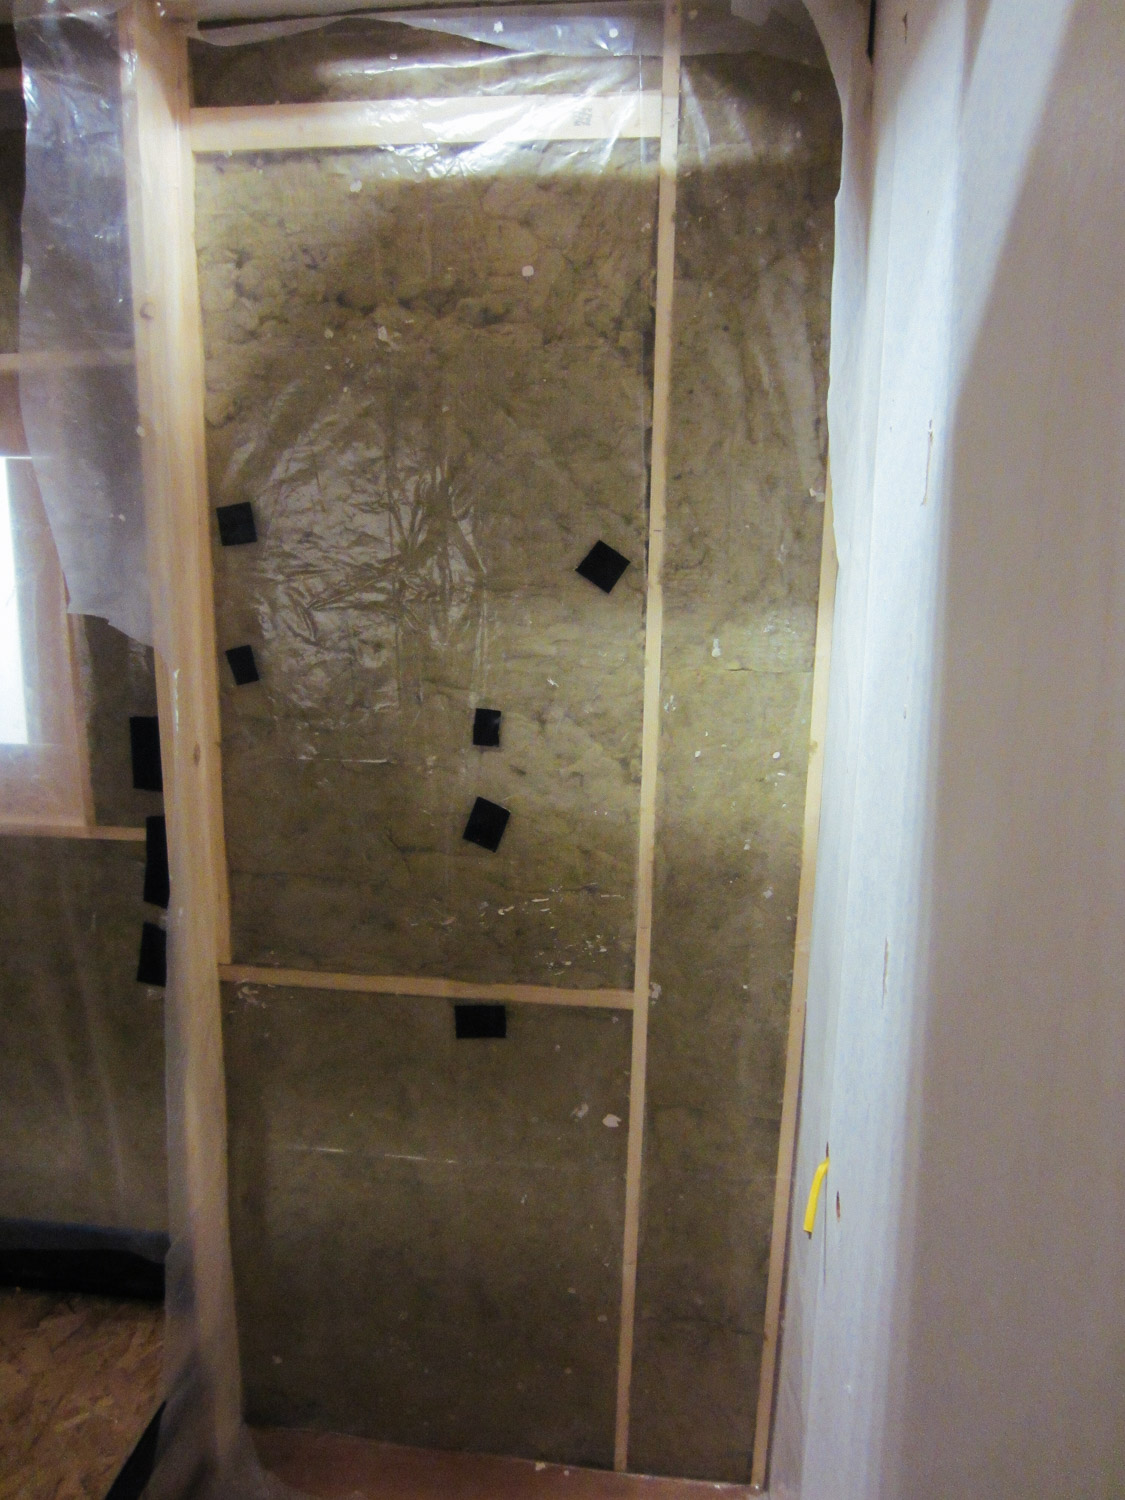
A piece of leftover plastic sheet was used as a vapor barrier.
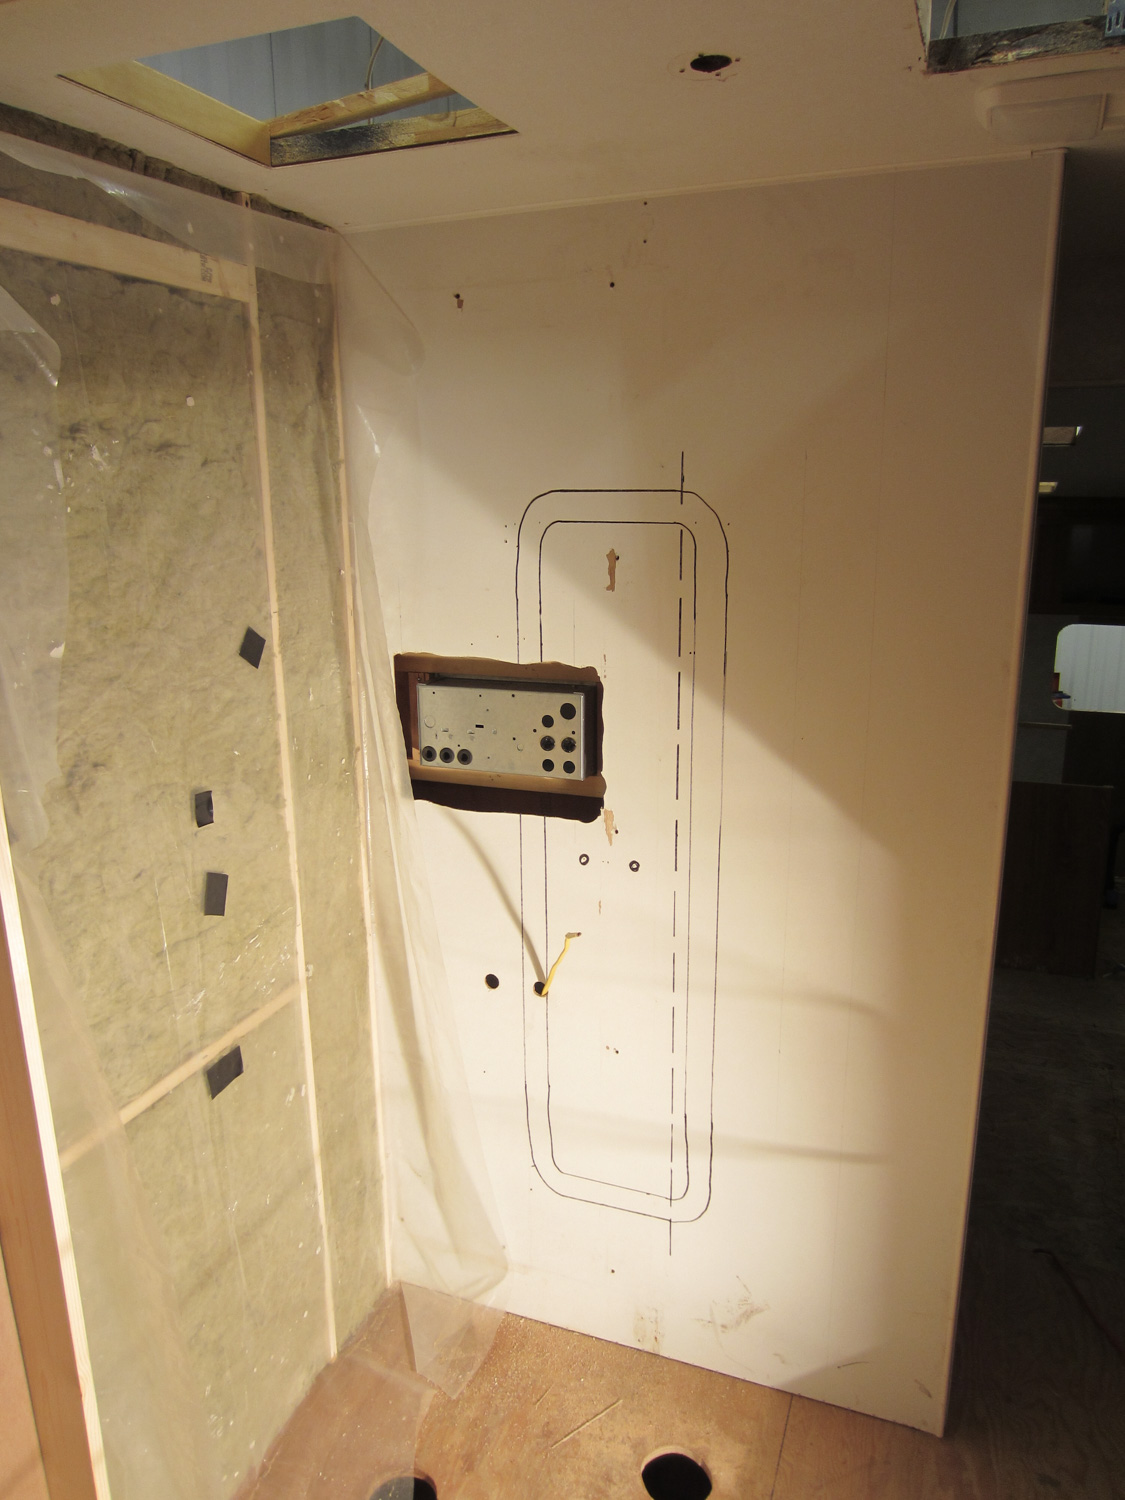
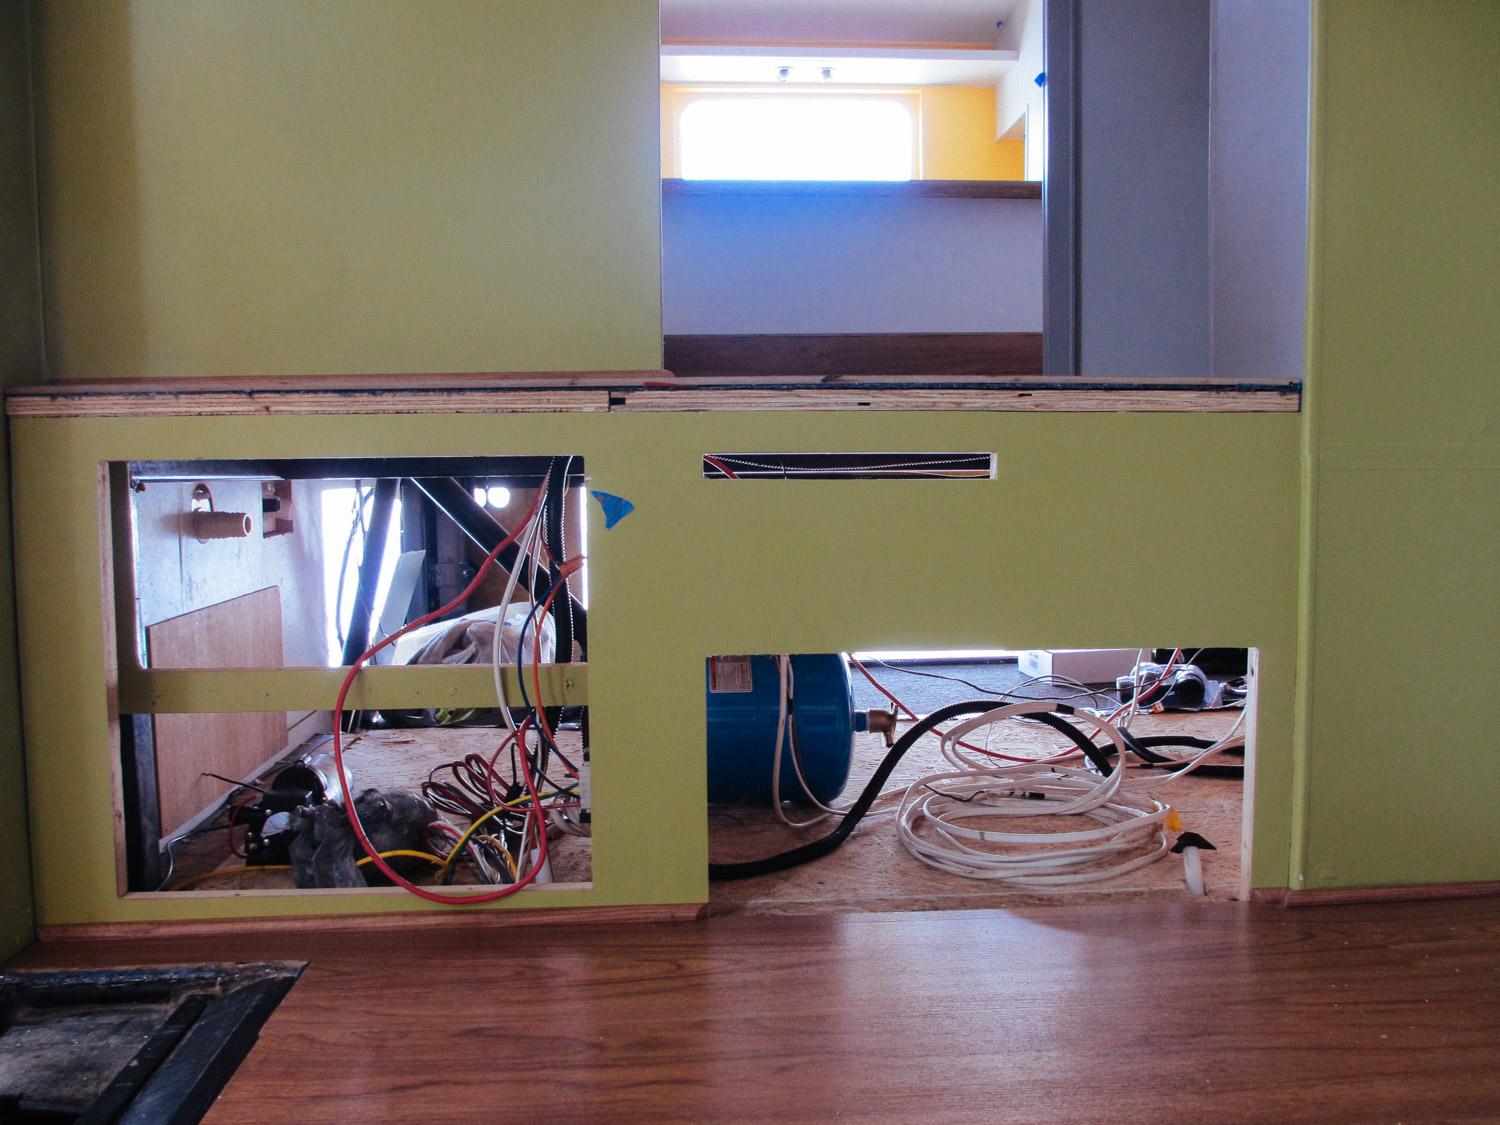
We moved the distribution panel from underneath the fridge to the wall between the shower and the toilet.
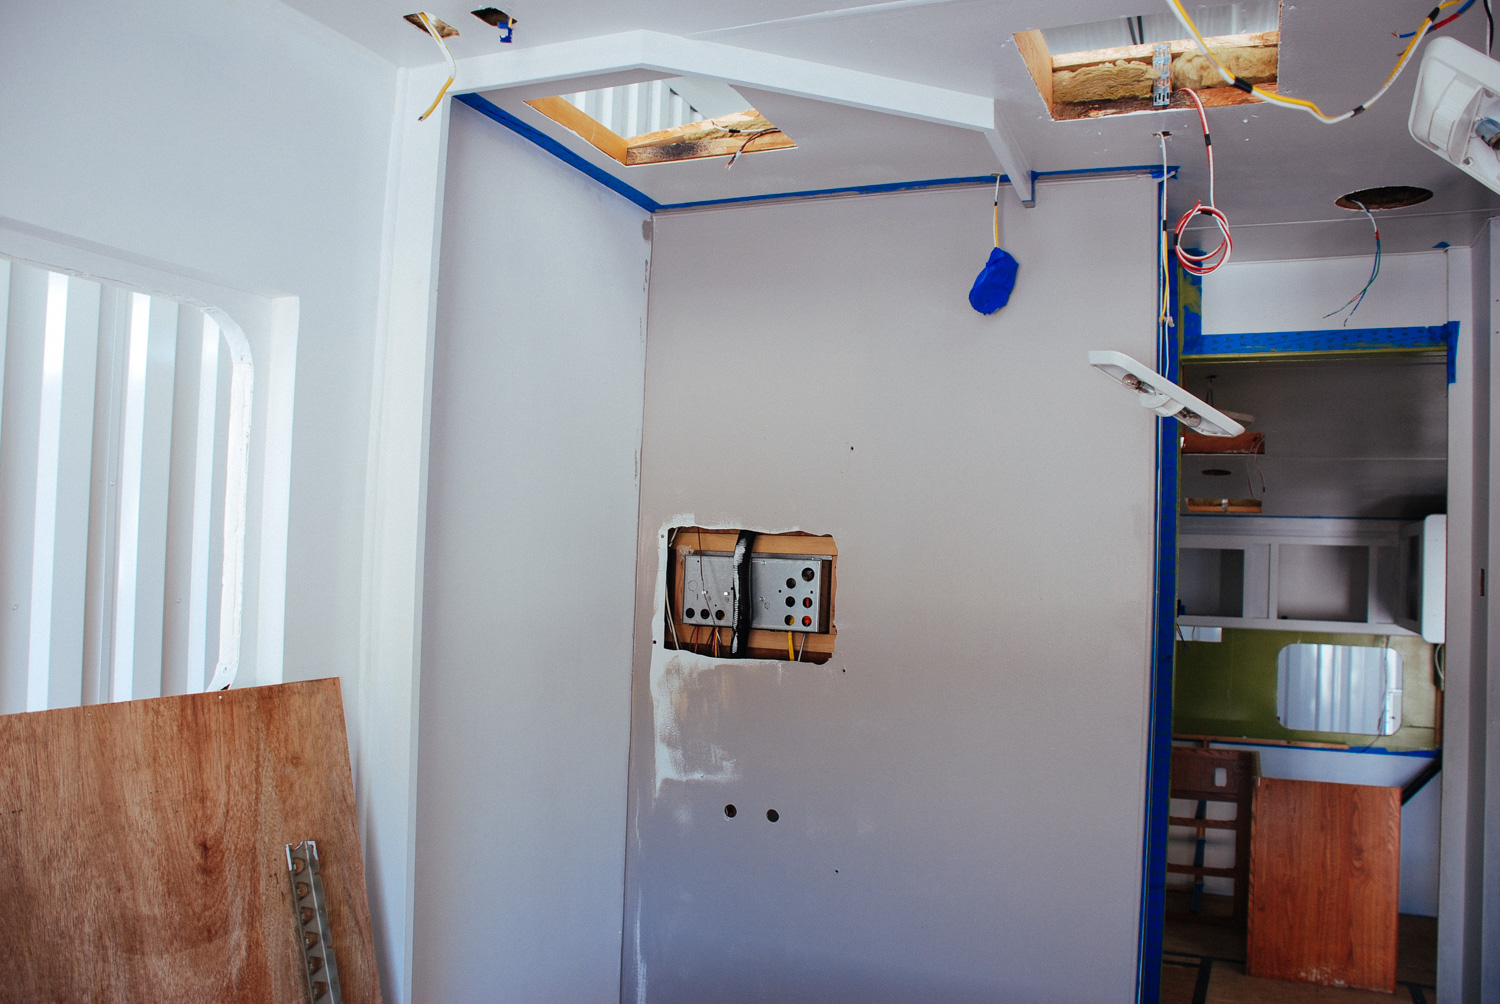
We installed a new shower "valance". The walls were also primed and painted.
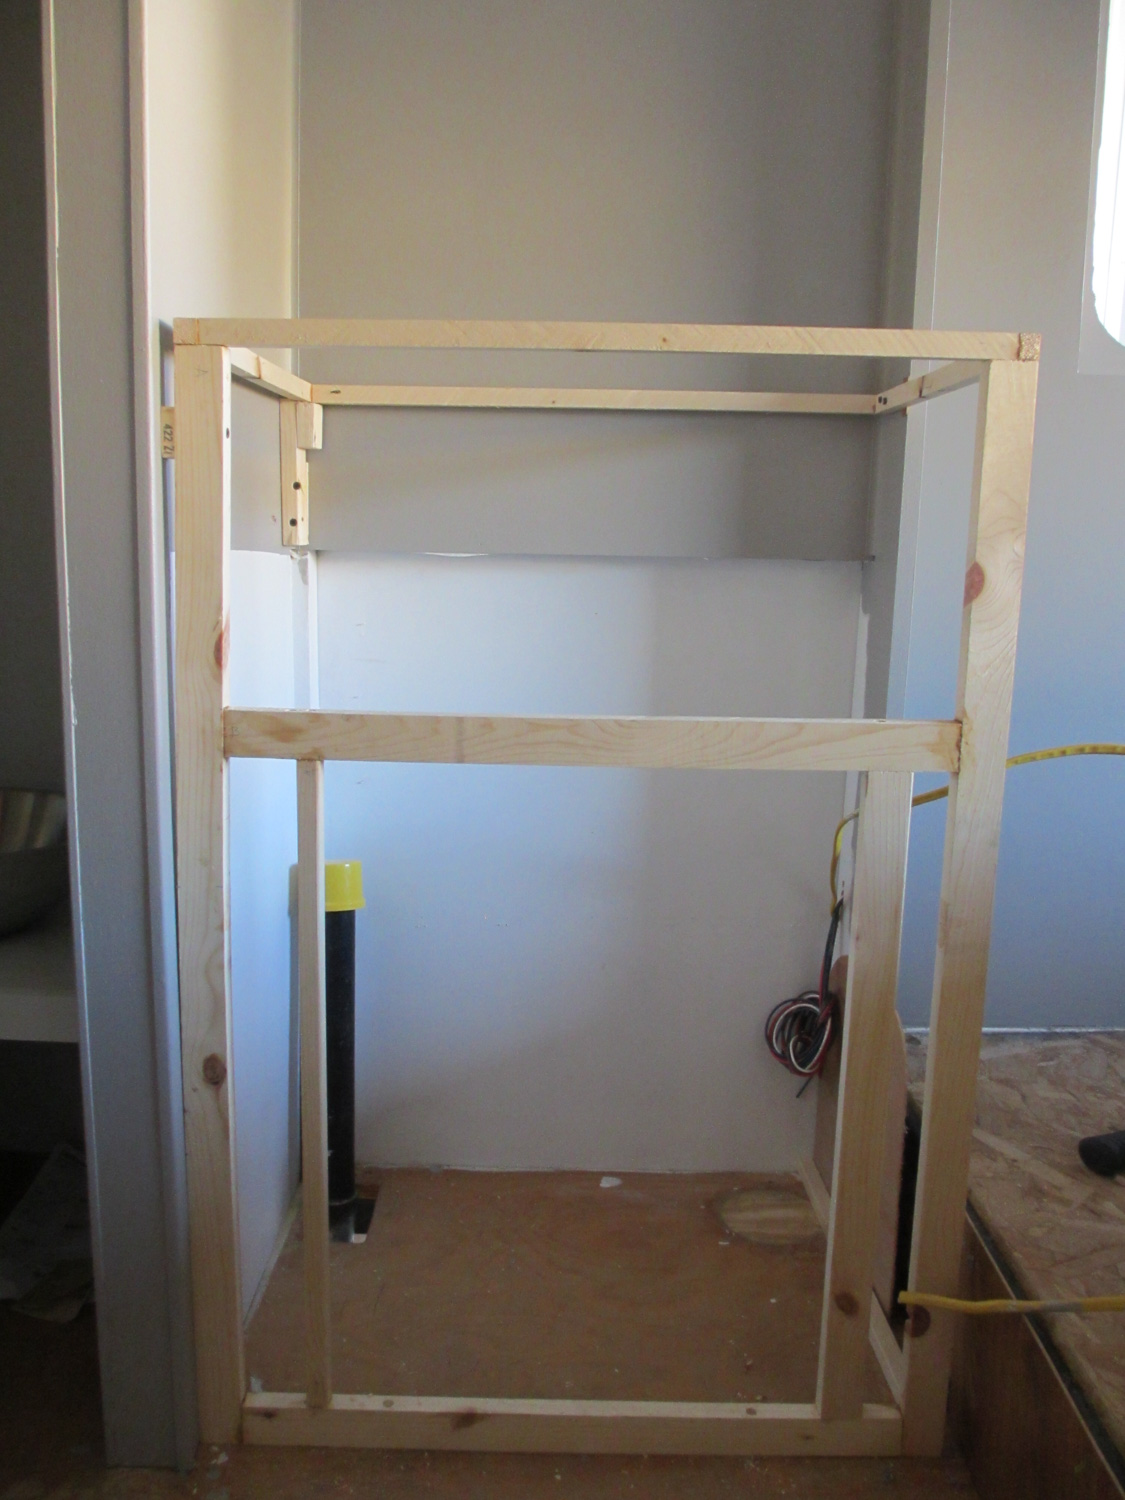
The frame of our new bathroom cabinet.
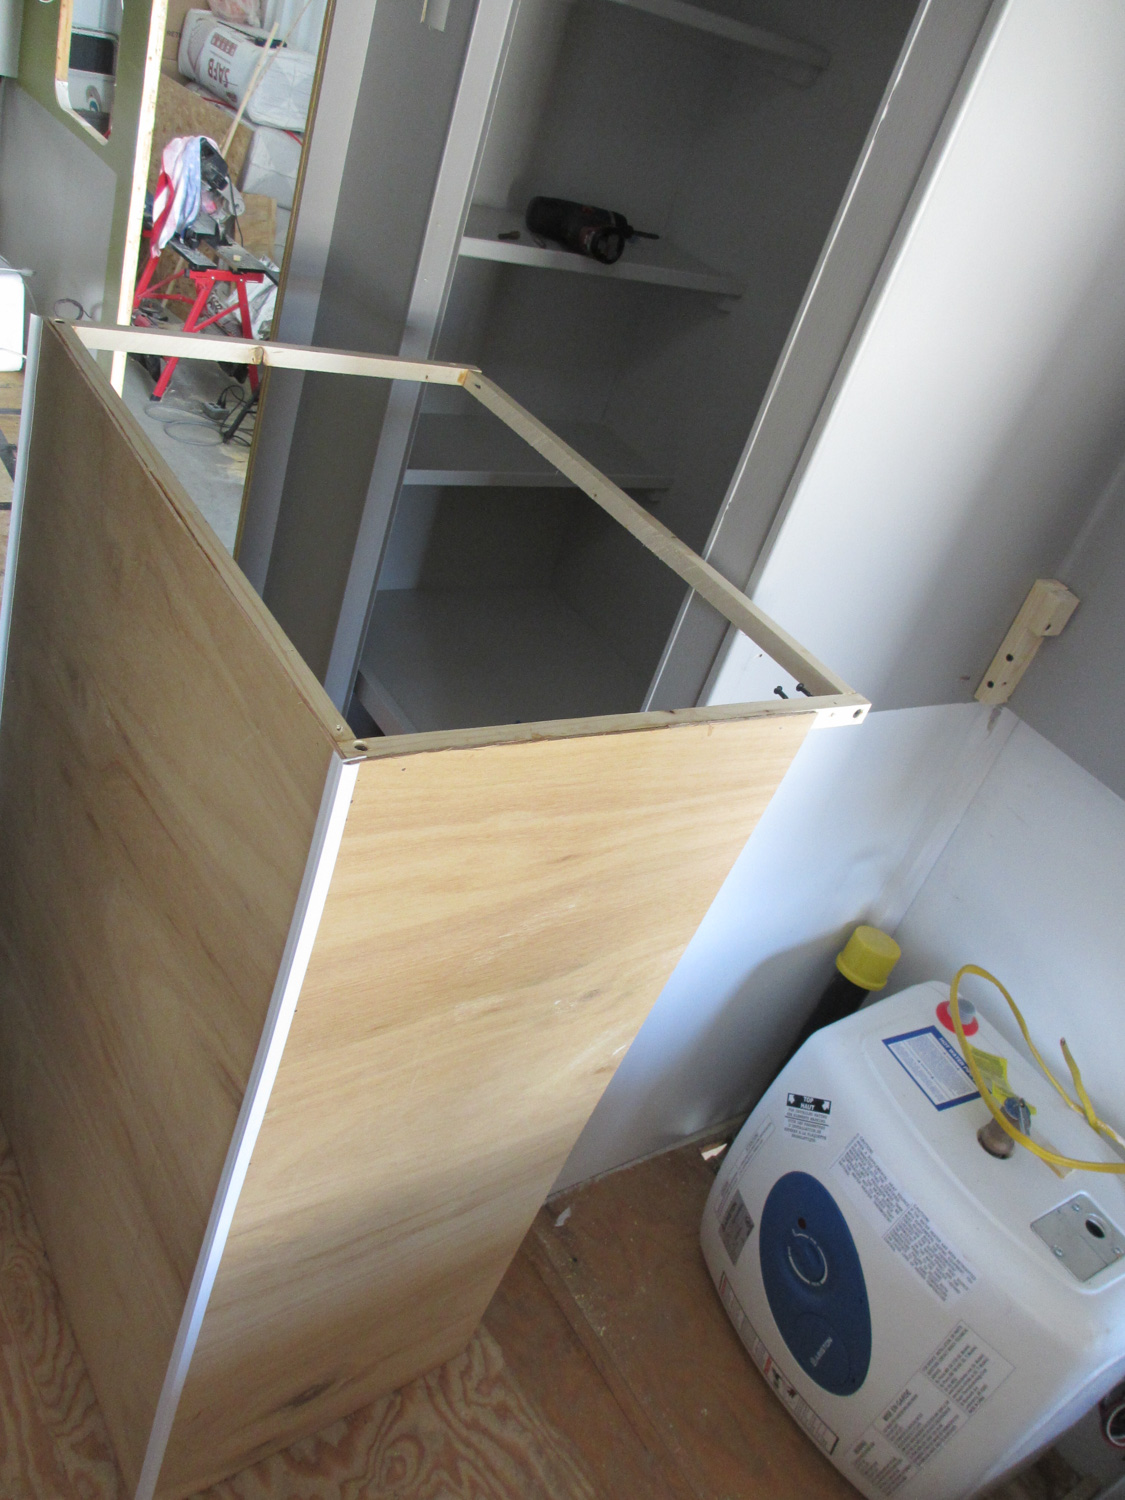
We have a mini hot water heater for the bathroom/shower and a separate one for the kitchen.
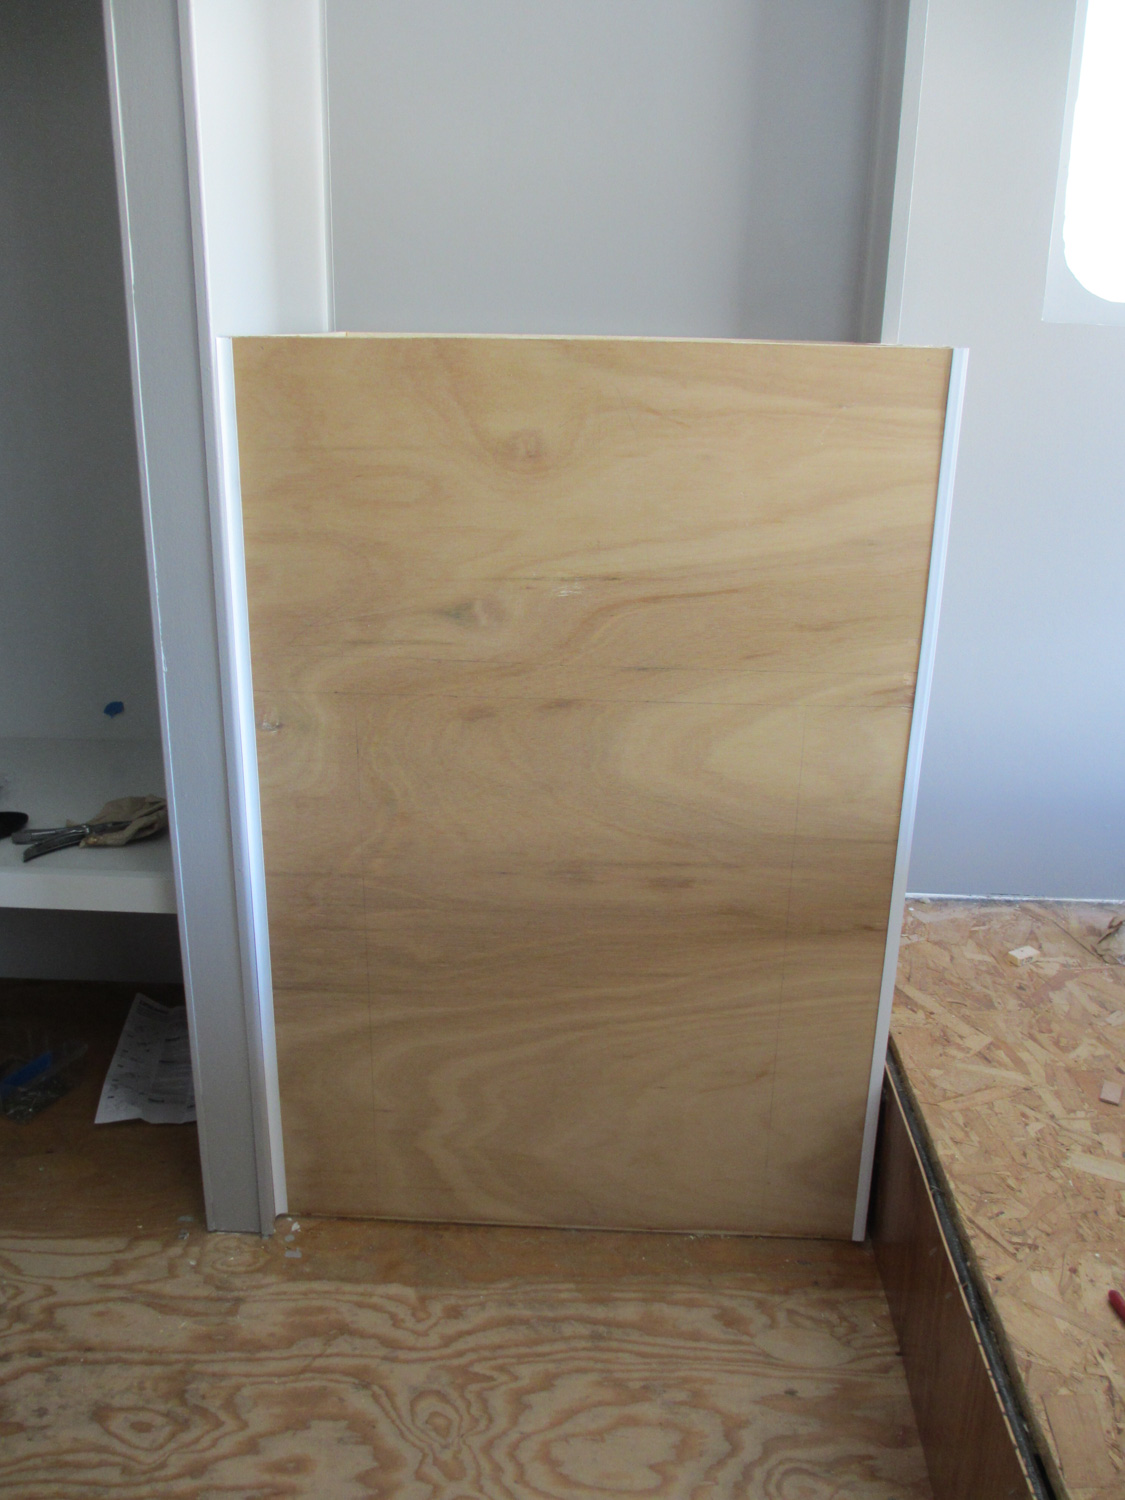
The bathroom cabinet with sides on.
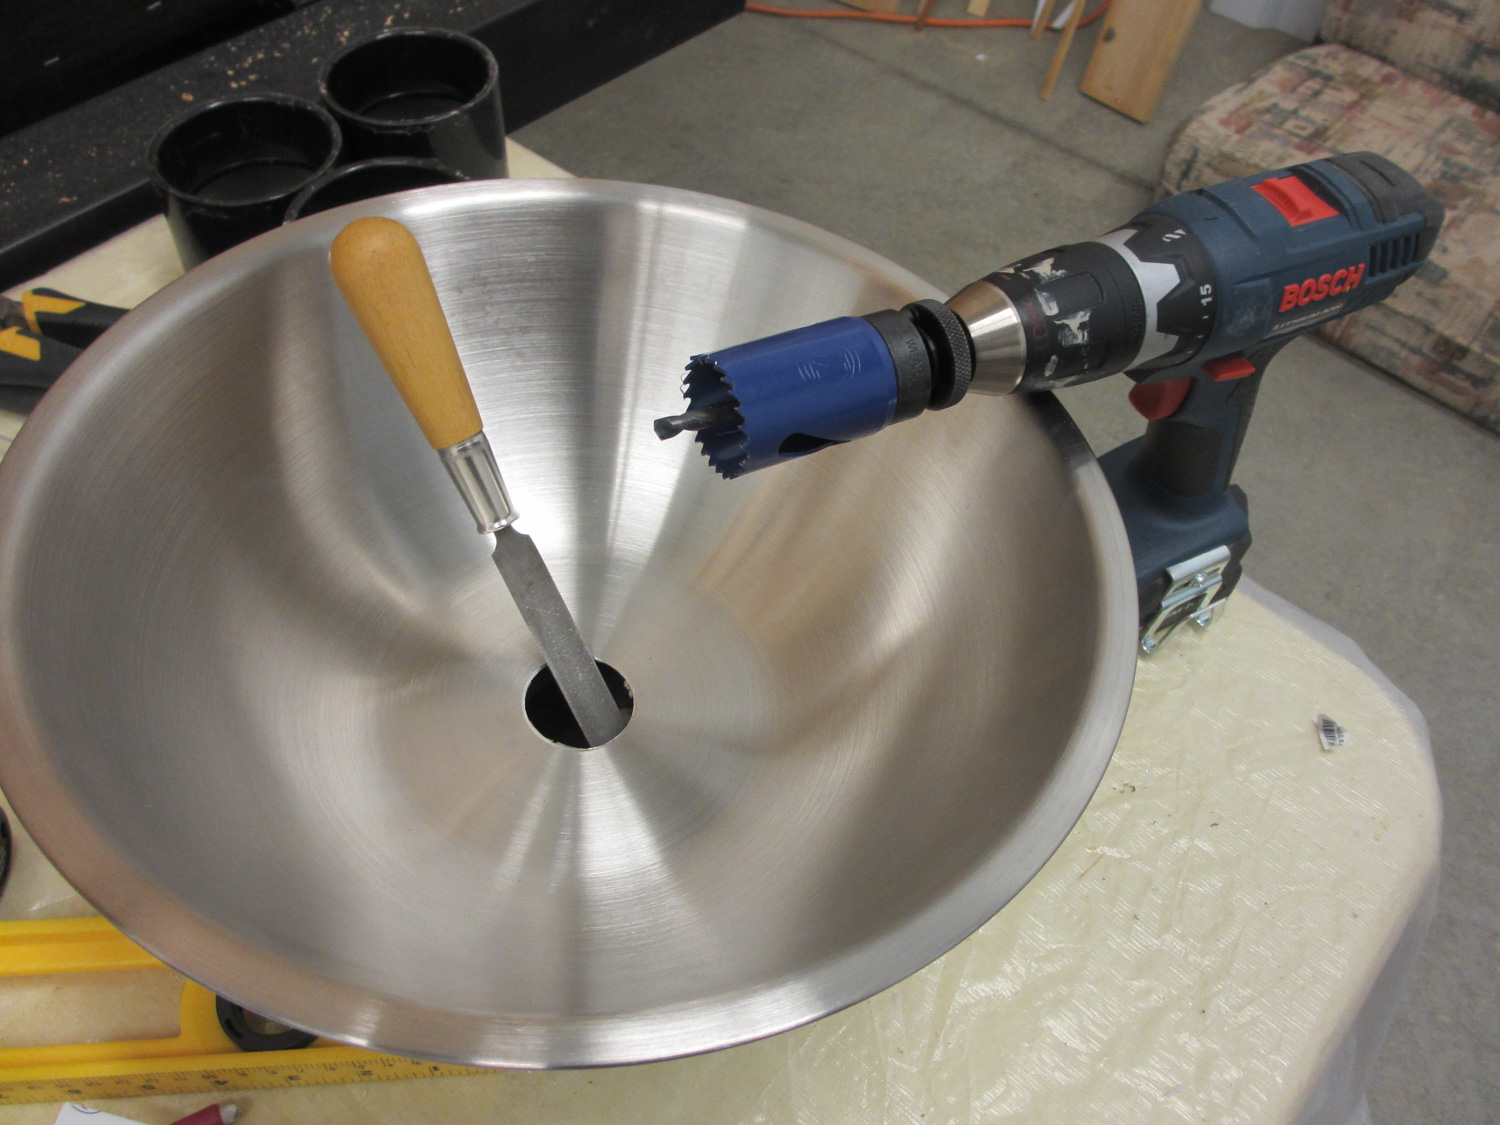
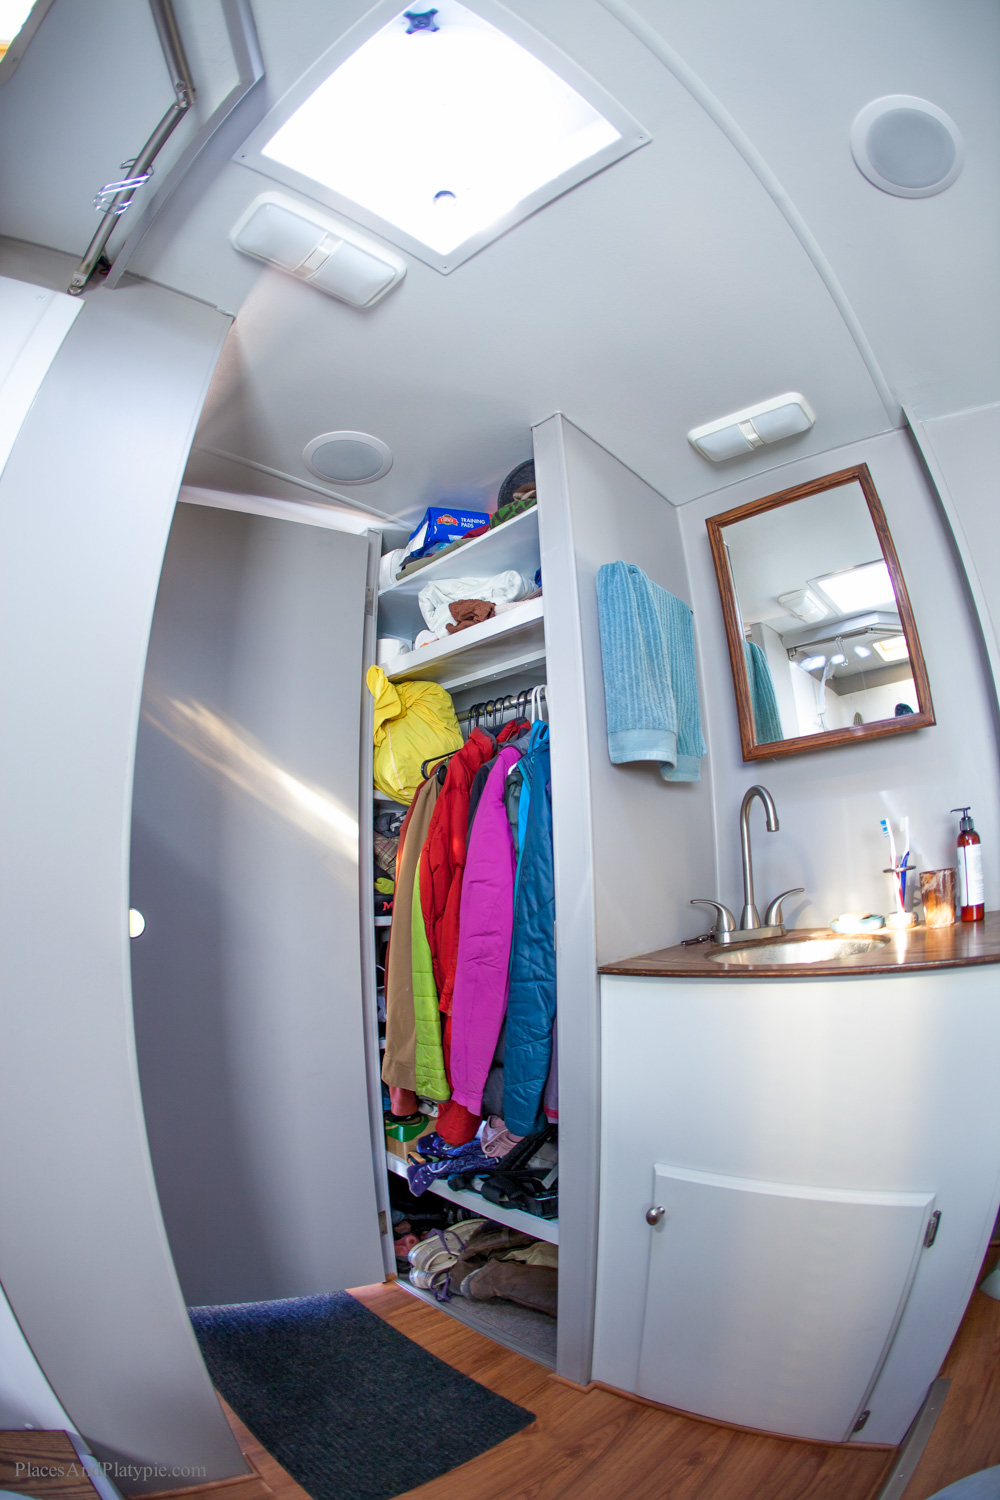
Our bathroom sink is a stainless mixing bowl with a hole drilled out at the bottom.
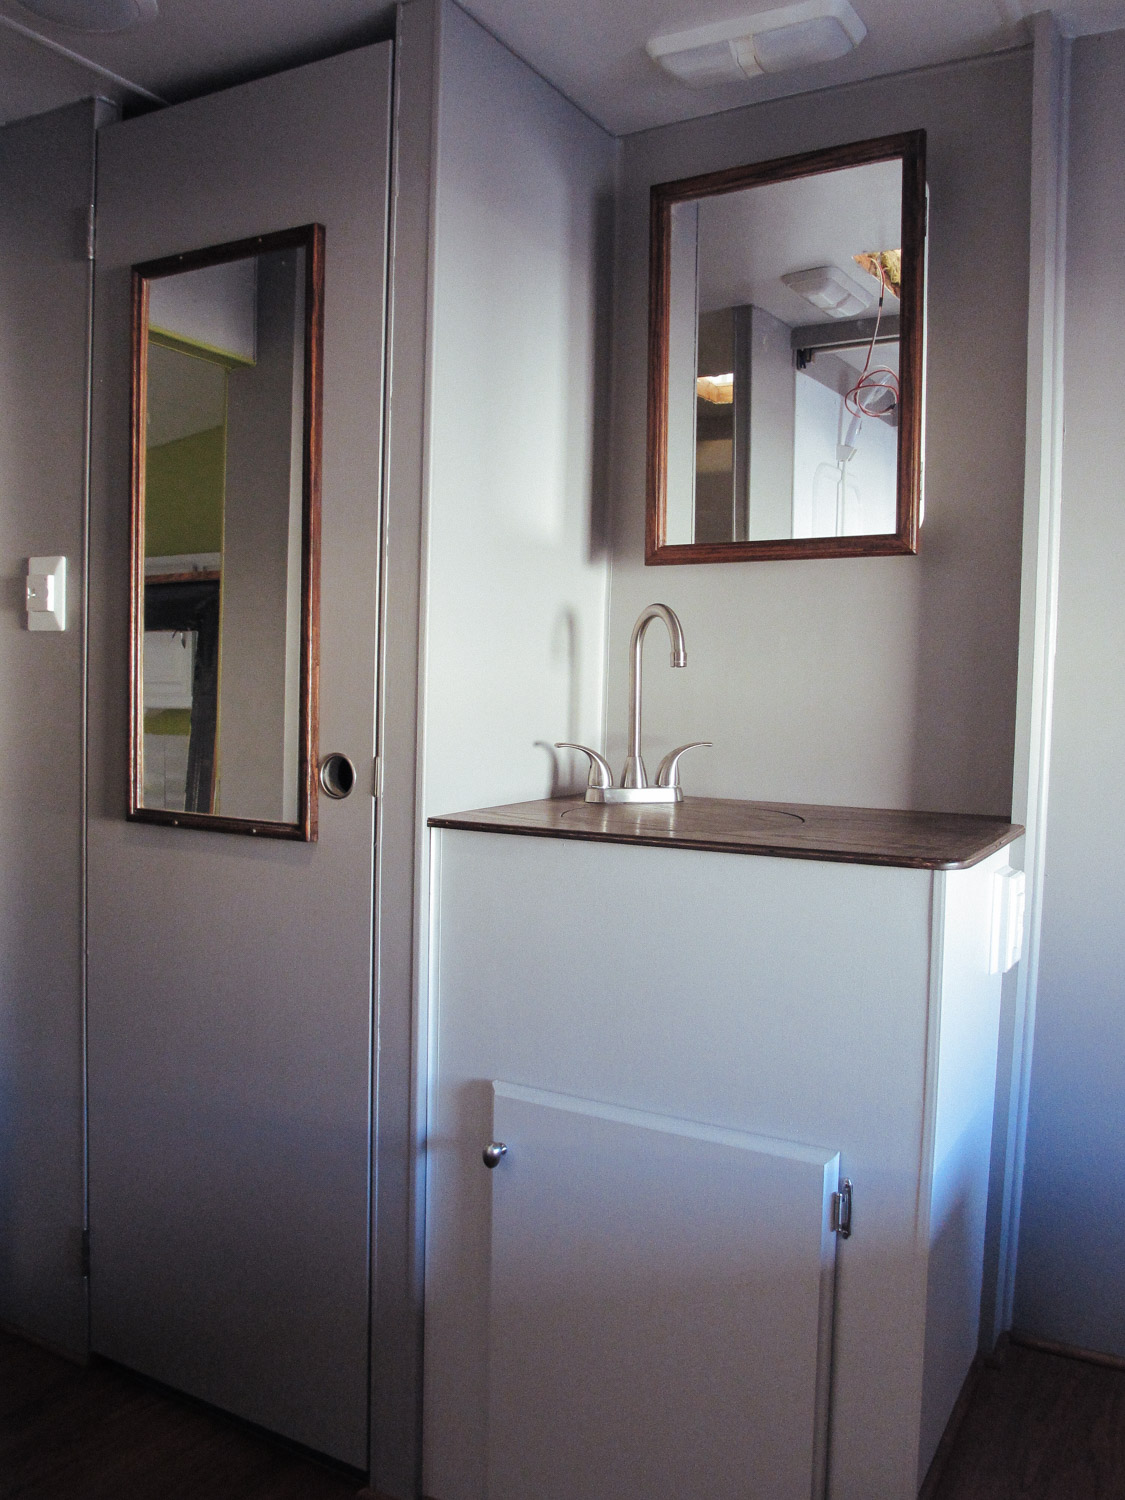
We decided to install the faucet in the corner to give us more countertop space.
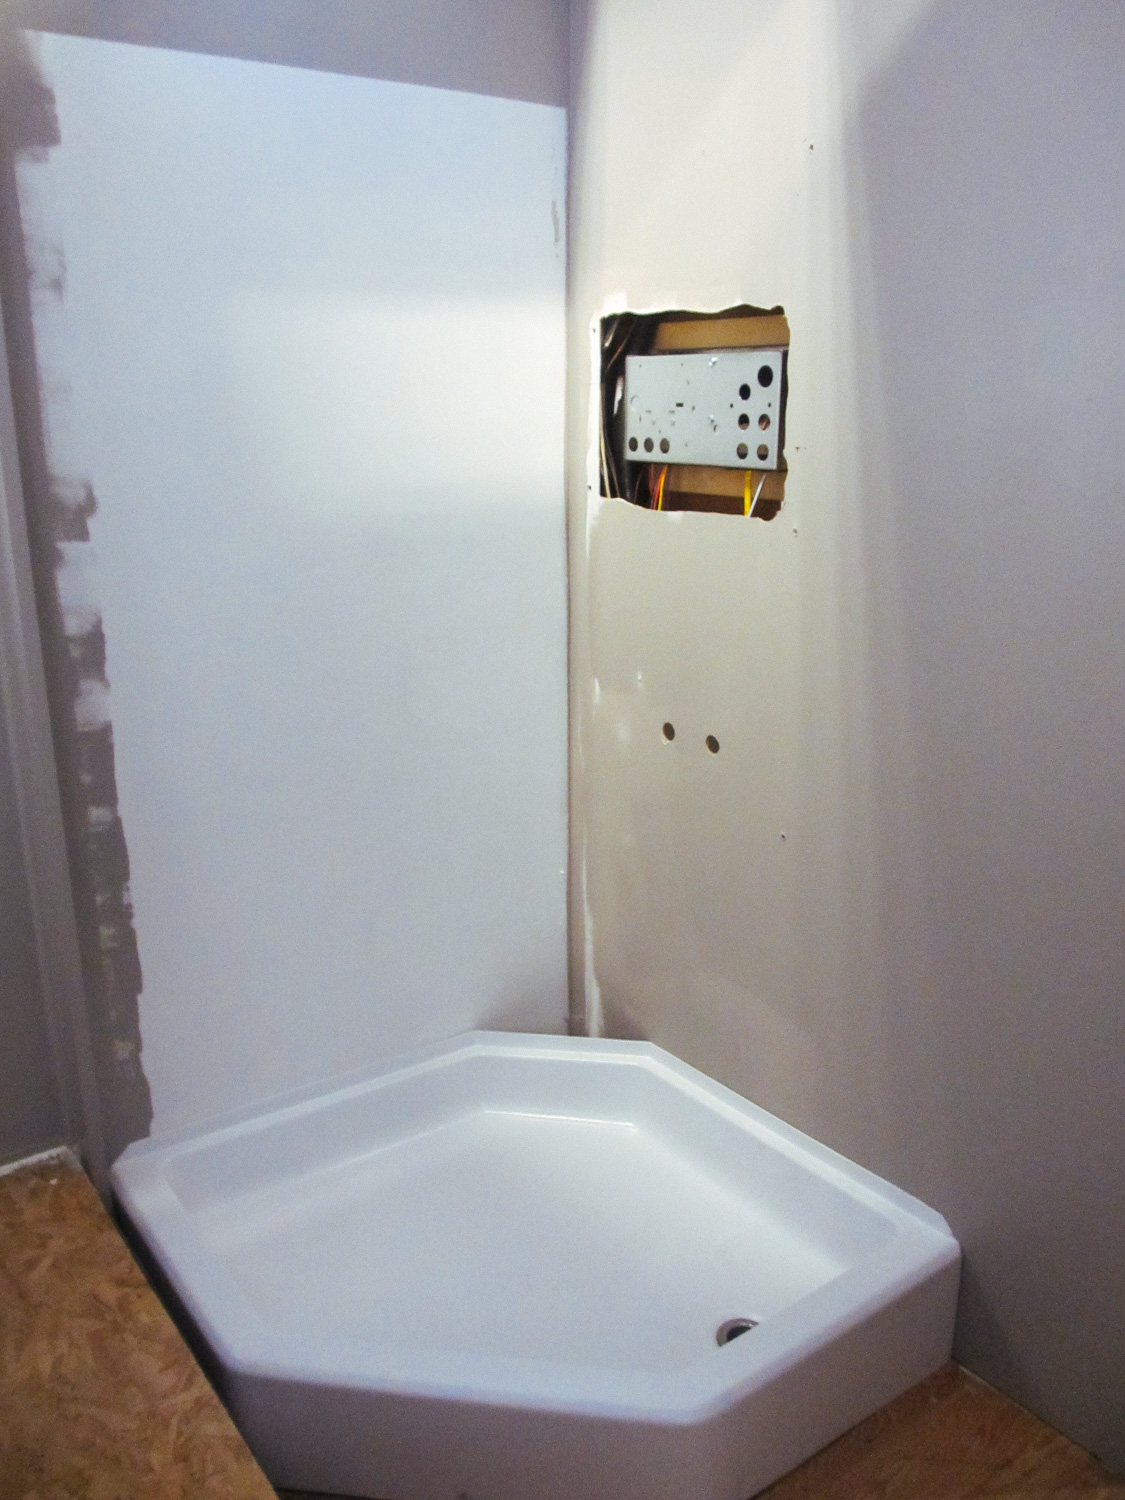
The rig originally had an alcove shower. We converted it to a neo-hex corner shower.
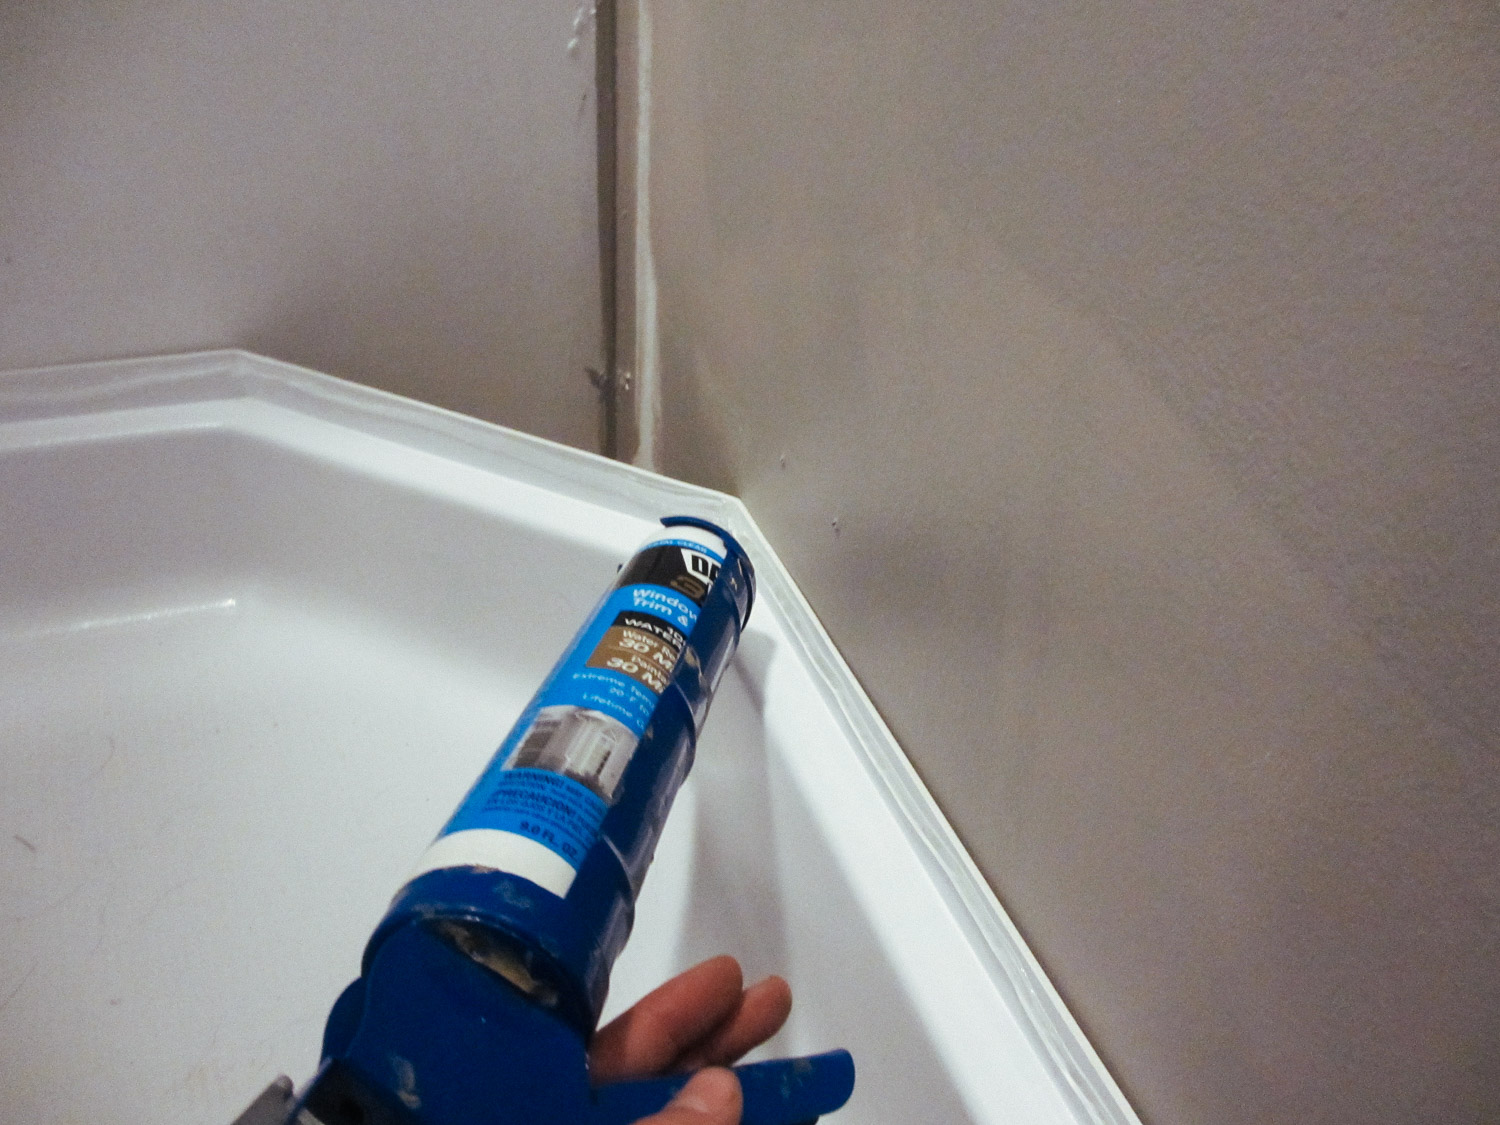
We caulked the top of the shower pan so it would adhere to the shower walls.
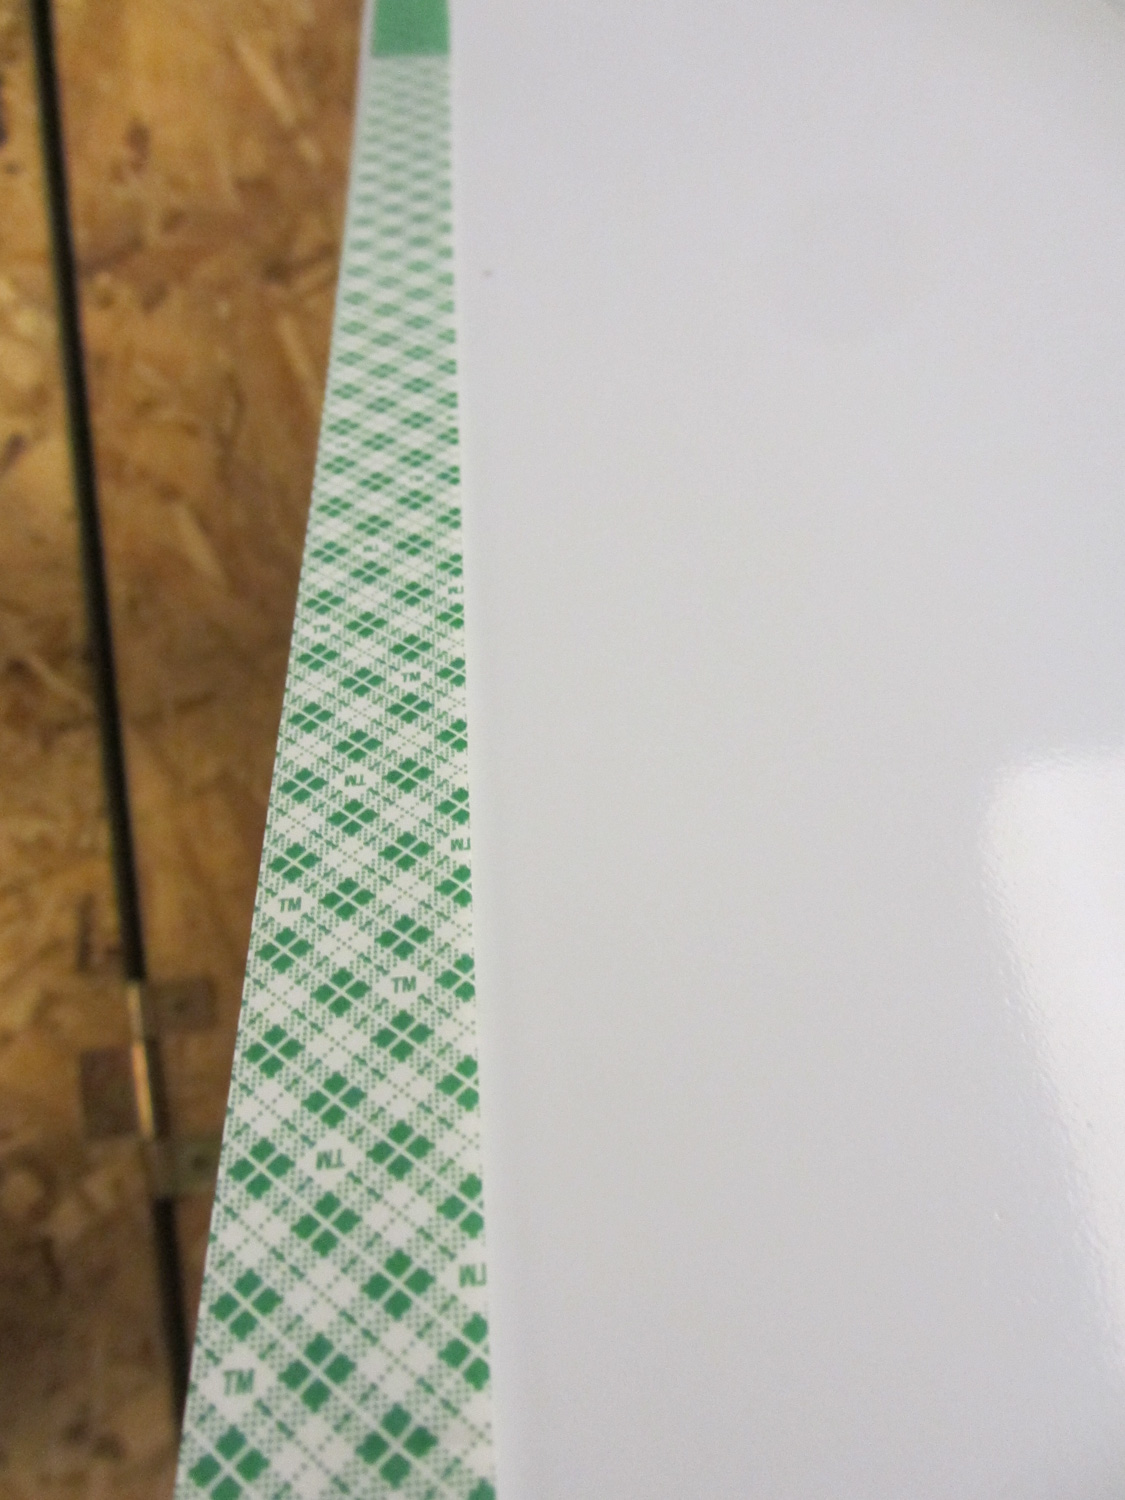
Mounting tape was used on the backside of the shower walls.
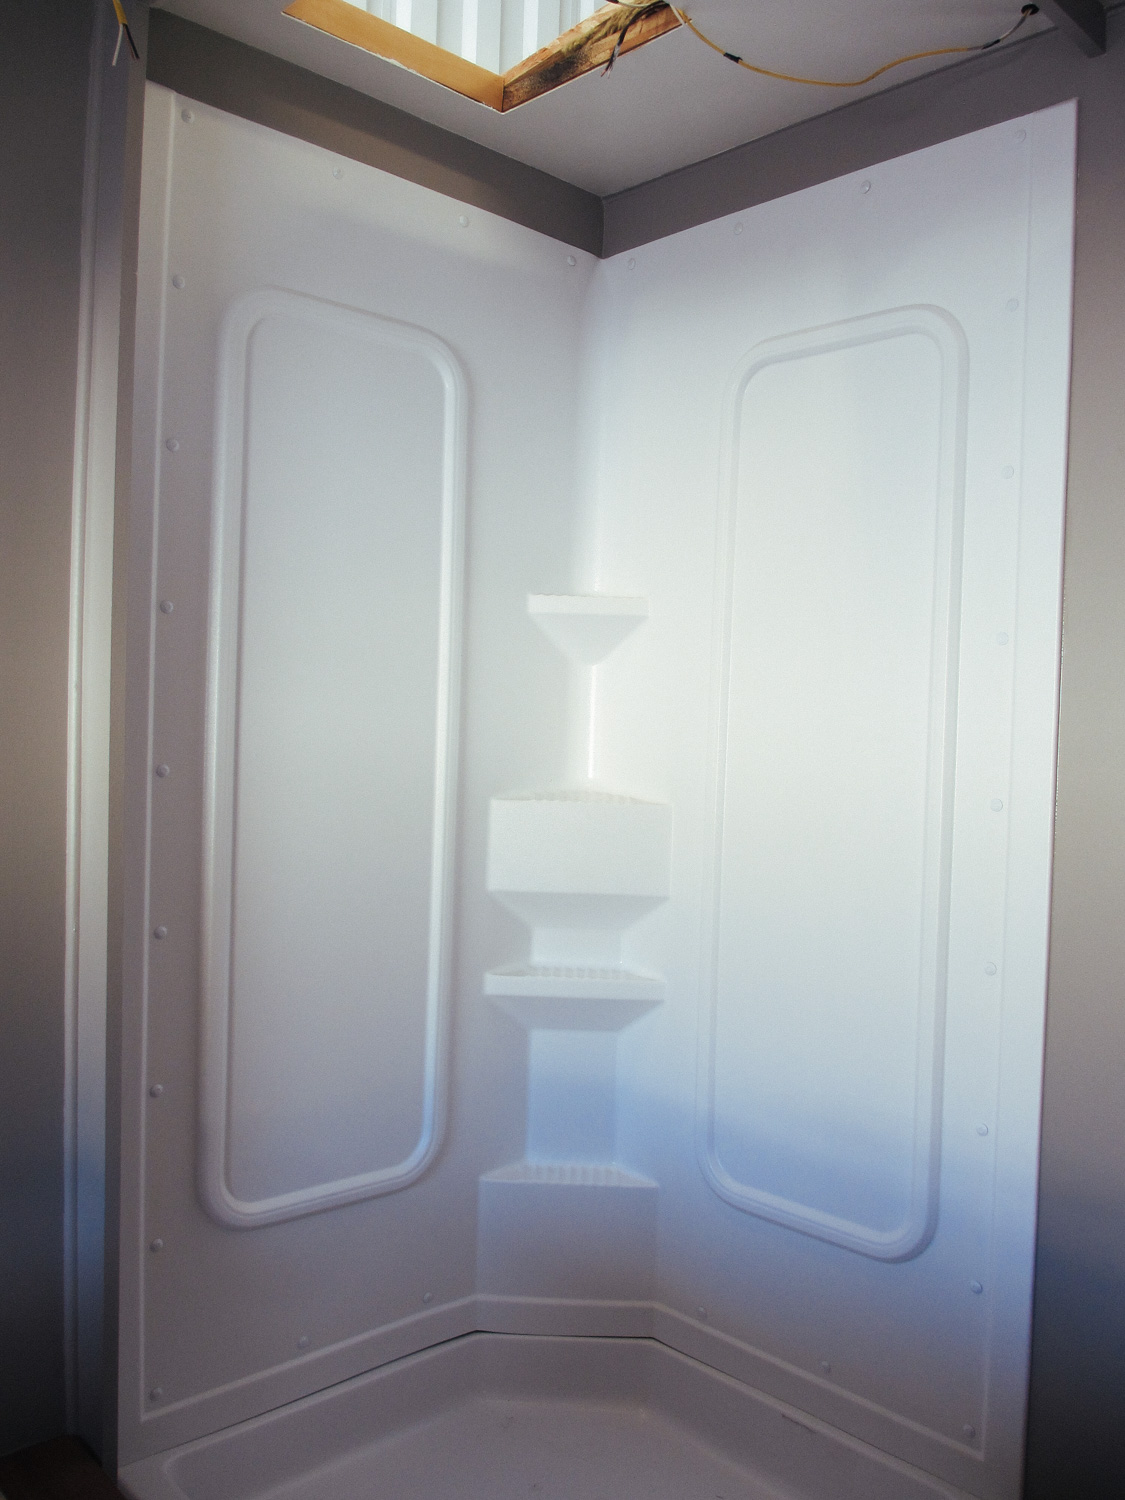
We have a lot more elbow space in our new corner shower compared to the original alcove shower. We added a vent in the shower to help with moisture issues.
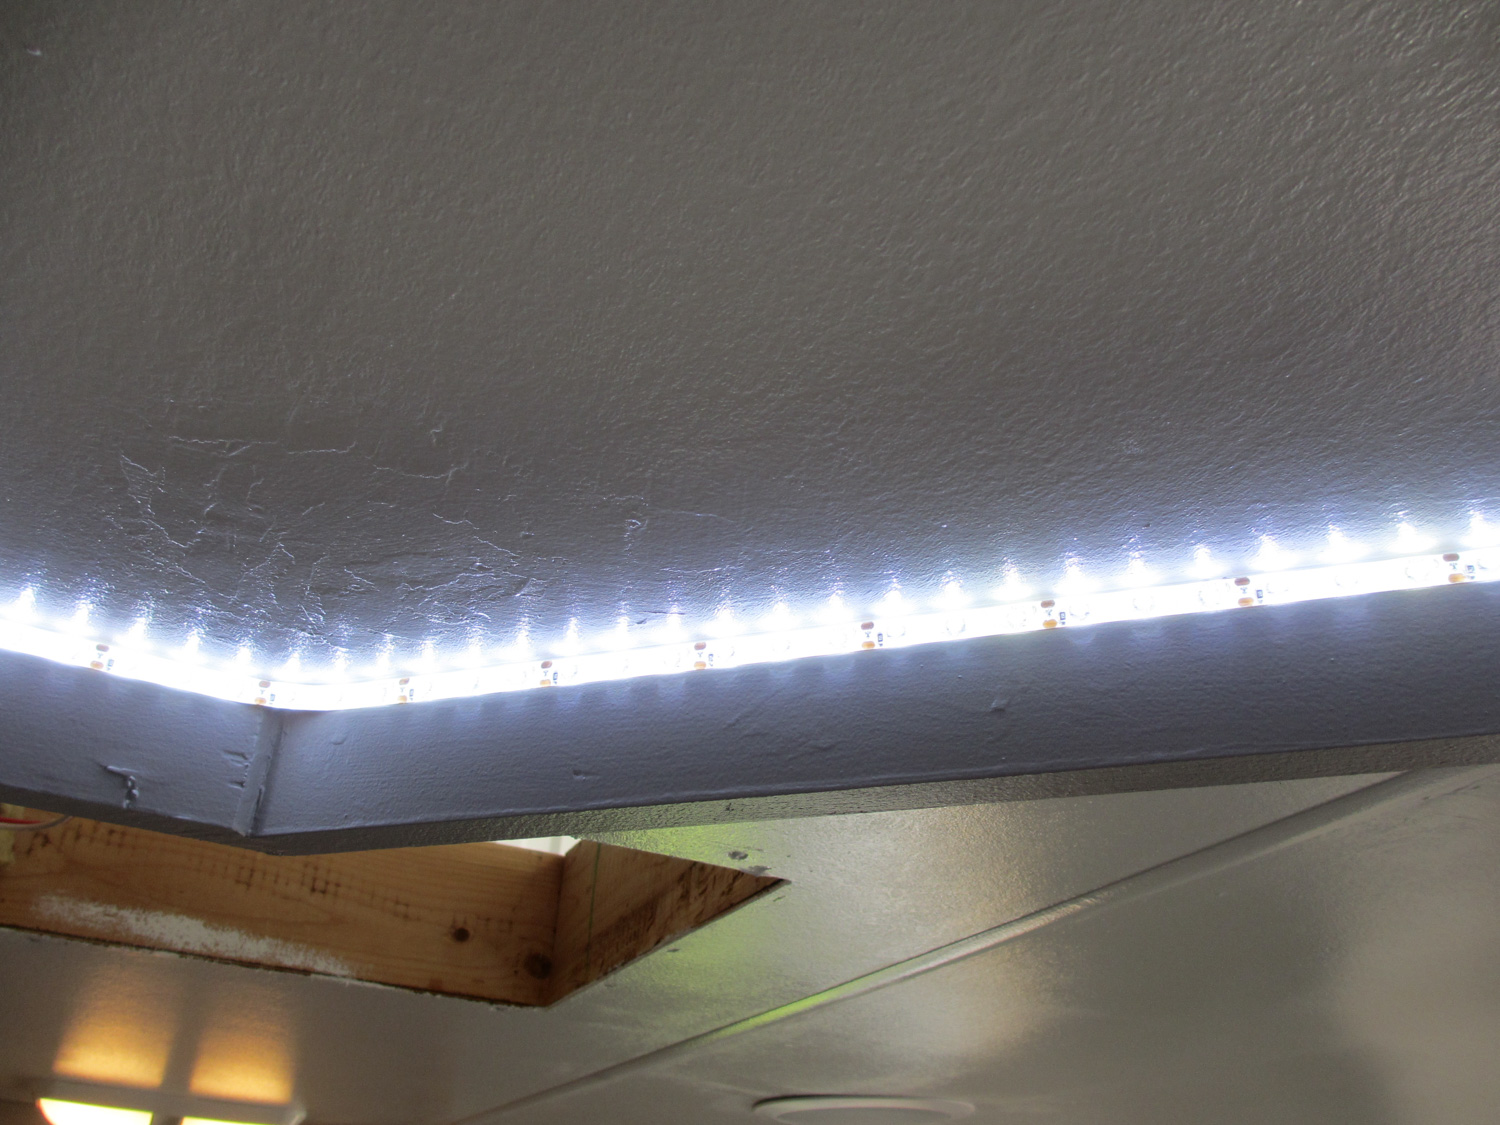
We also installed LED strip lights behind the valance so we wouldn't have to shower in the dark.

I had the brilliant idea to paint the bathroom yellow. It turned out terrible. The color so was blindingly bright it caused immediate headaches.
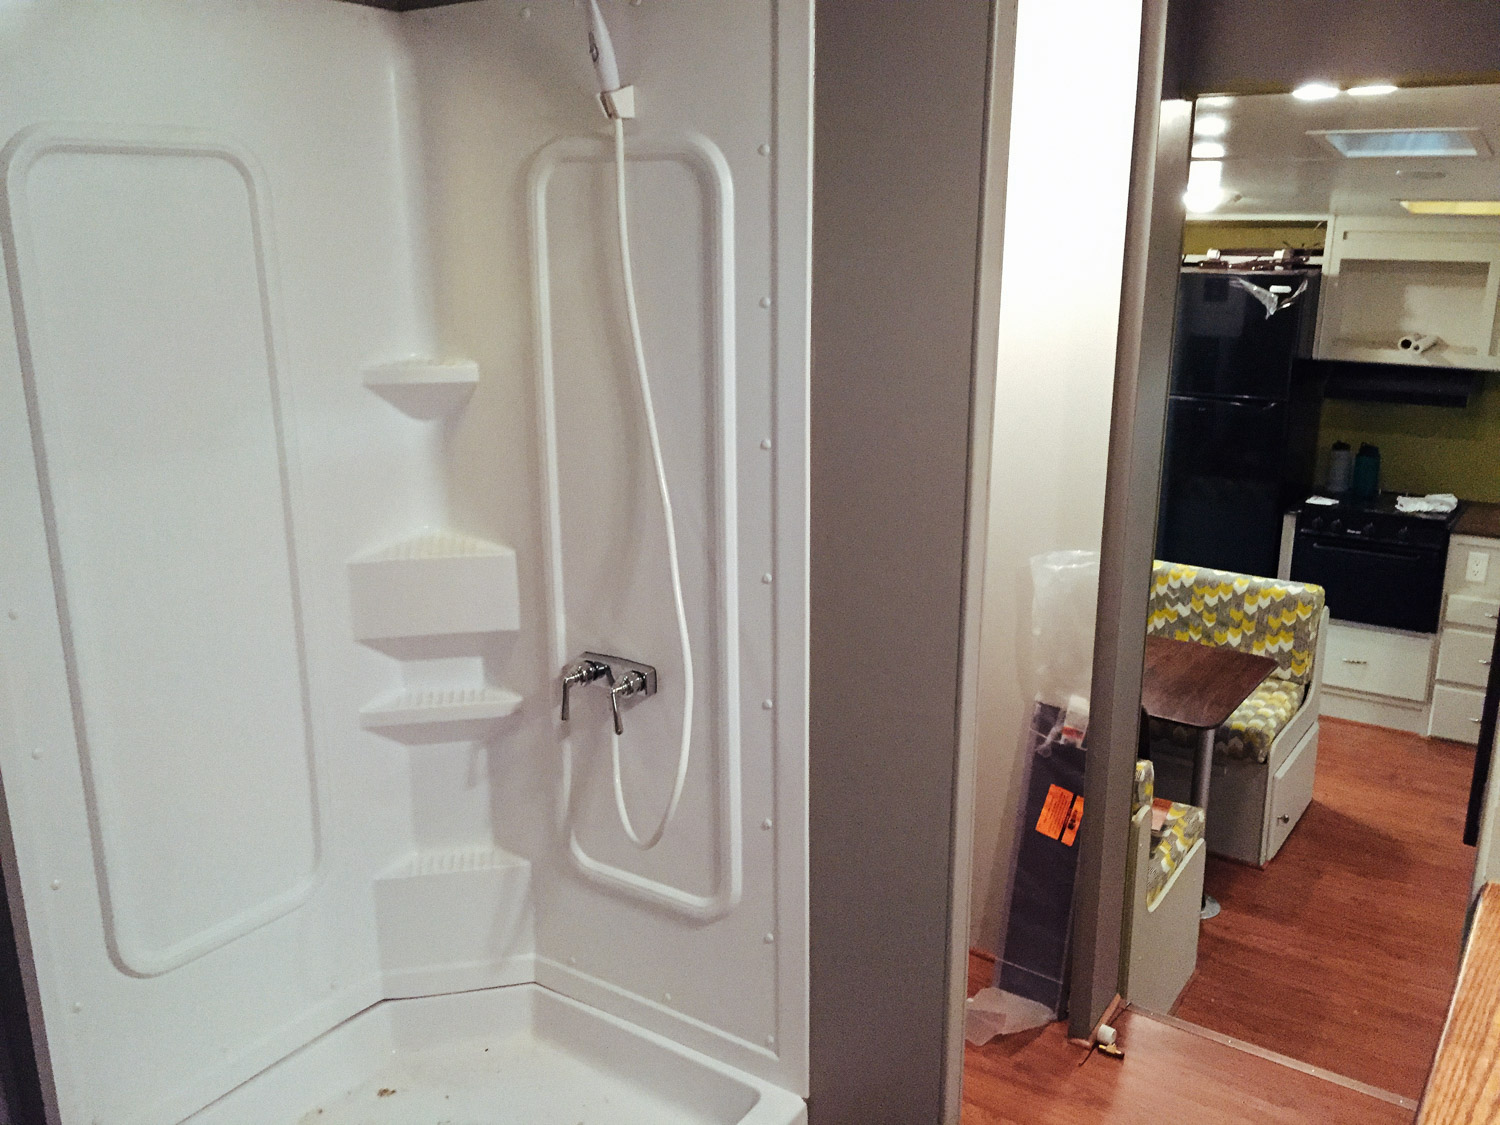
We didn't reinstall the bathroom door because of how narrow the hallway is. Instead we have a curtain for privacy.
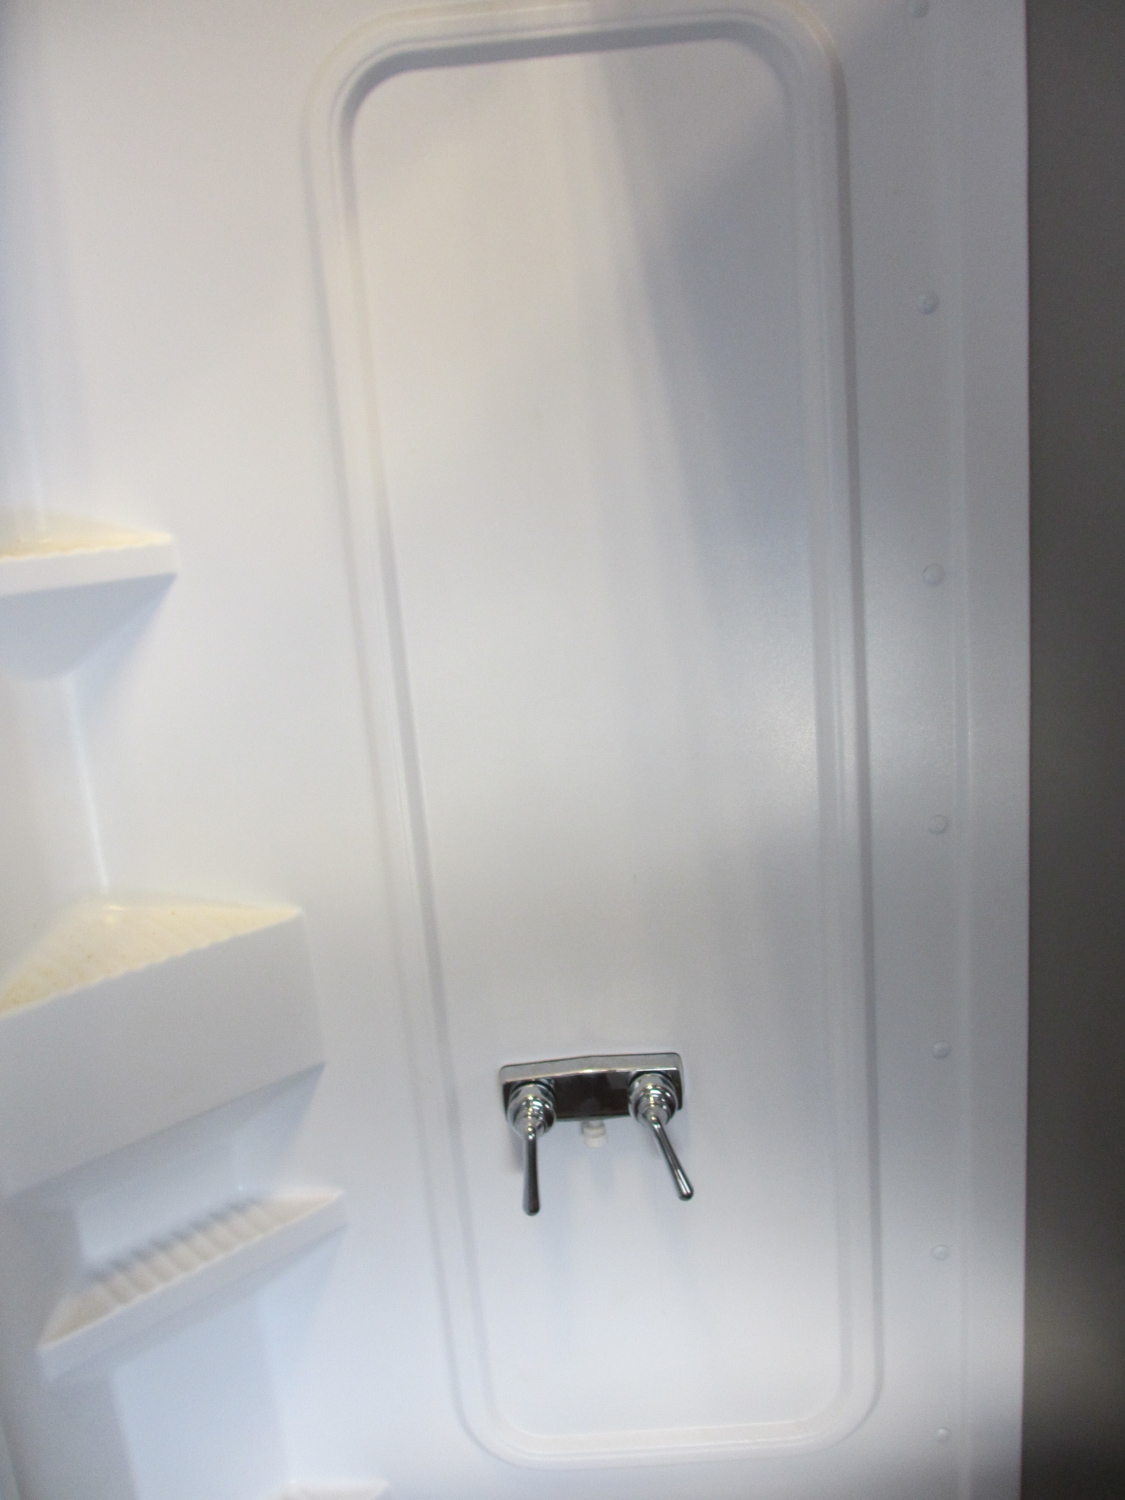
We weren't able to install the shower handles in the center of the wall because of the studs behind it.
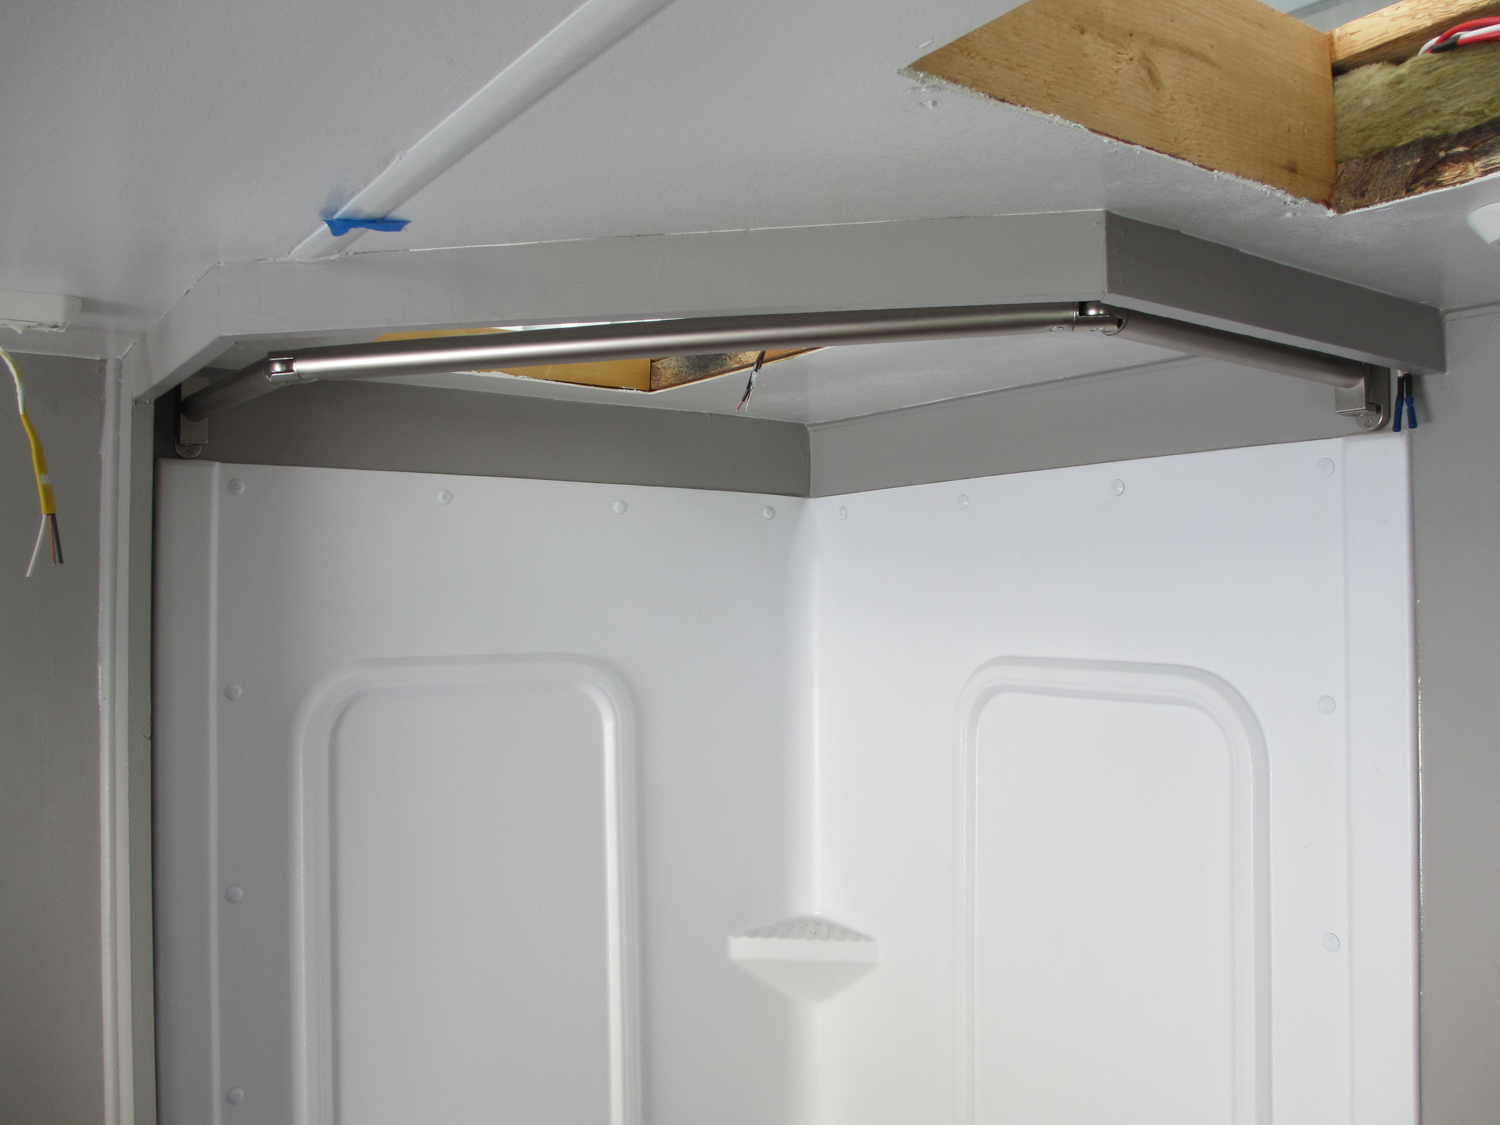
We installed a hinged curtain rod behind the shower "valance".
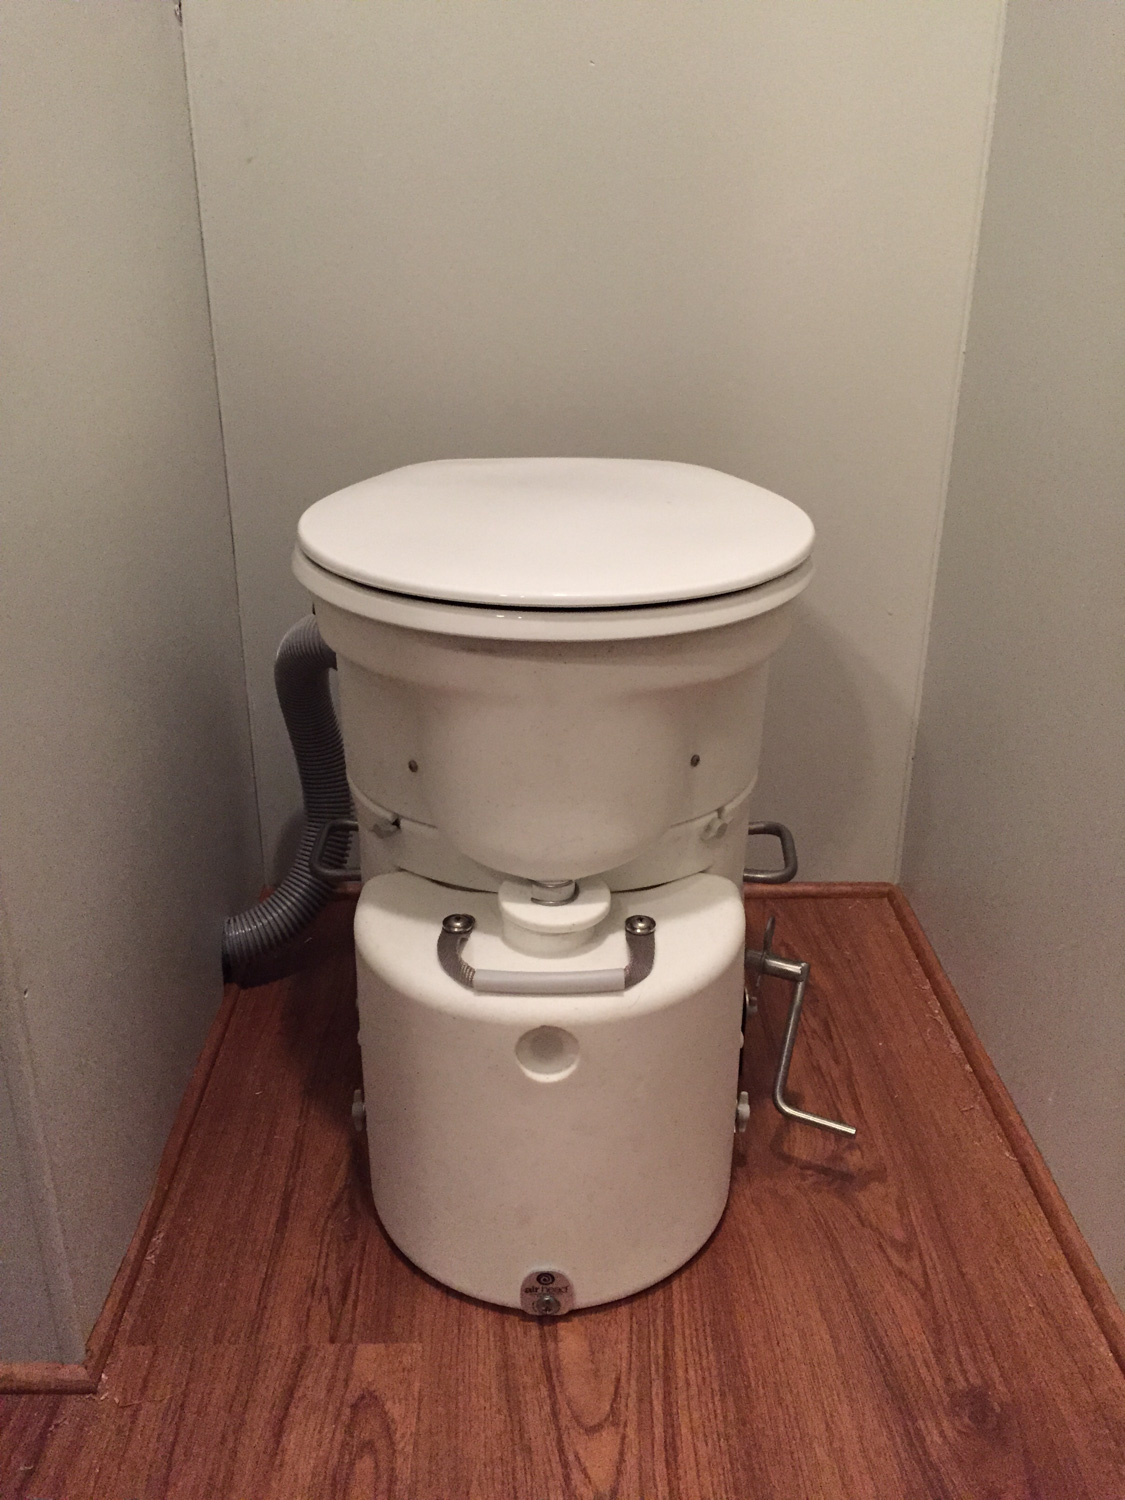
Instead of a traditional RV toilet, we installed an Air Head composting toilet.
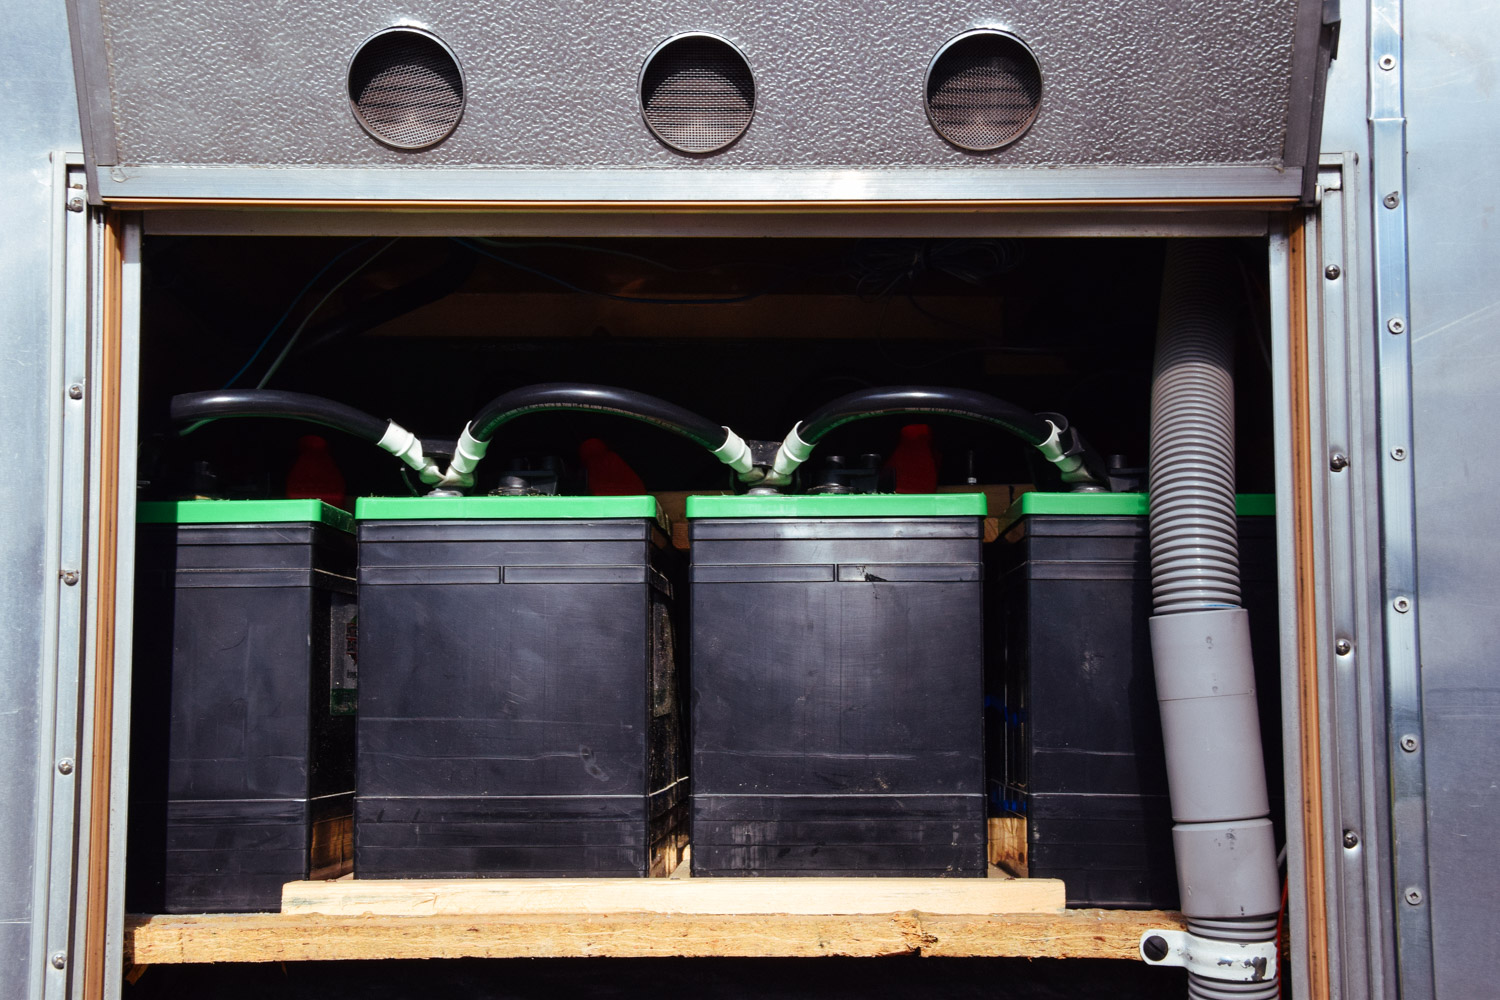
The composting toilet vent pipe exits the bathroom floor, through the battery compartment (gray pipe), and out the bottom of the rig.
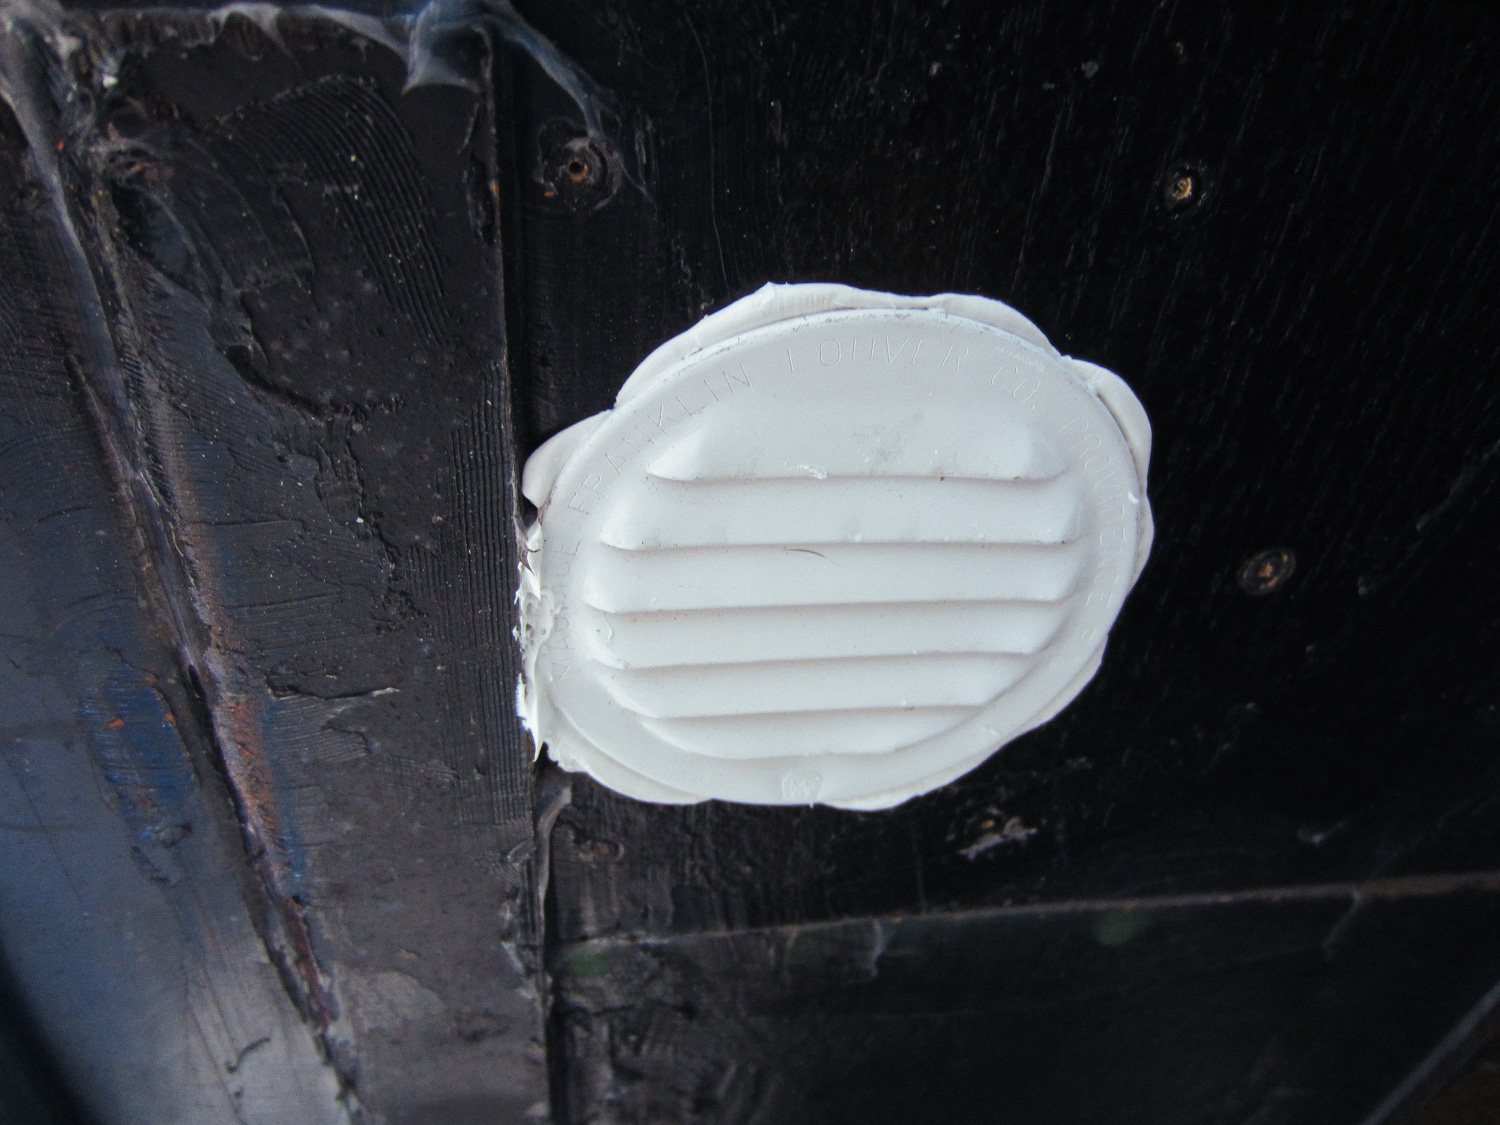
This is what the composting toilet vent cover looks like from underneath the RV. This has been recently (2018) changed and the toilet now vents out the roof.
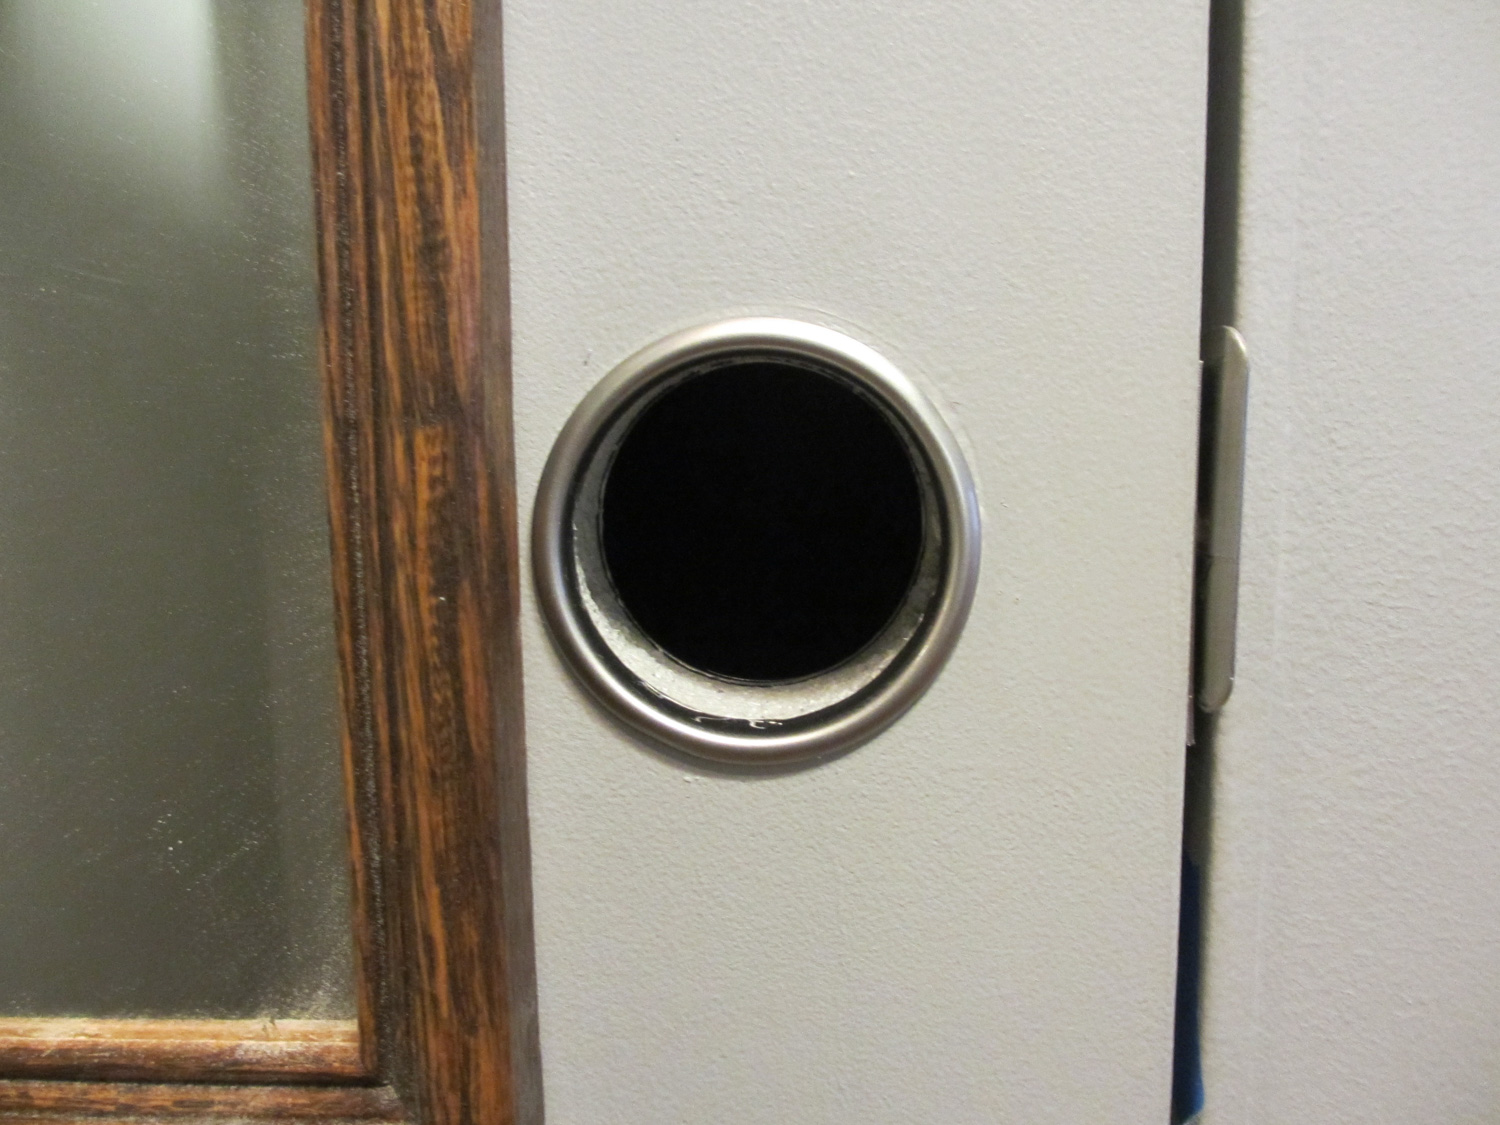
We decided to not install a standard doorknob on our closet door. Instead we have a "finger hole". This opens up the space in the hallway.
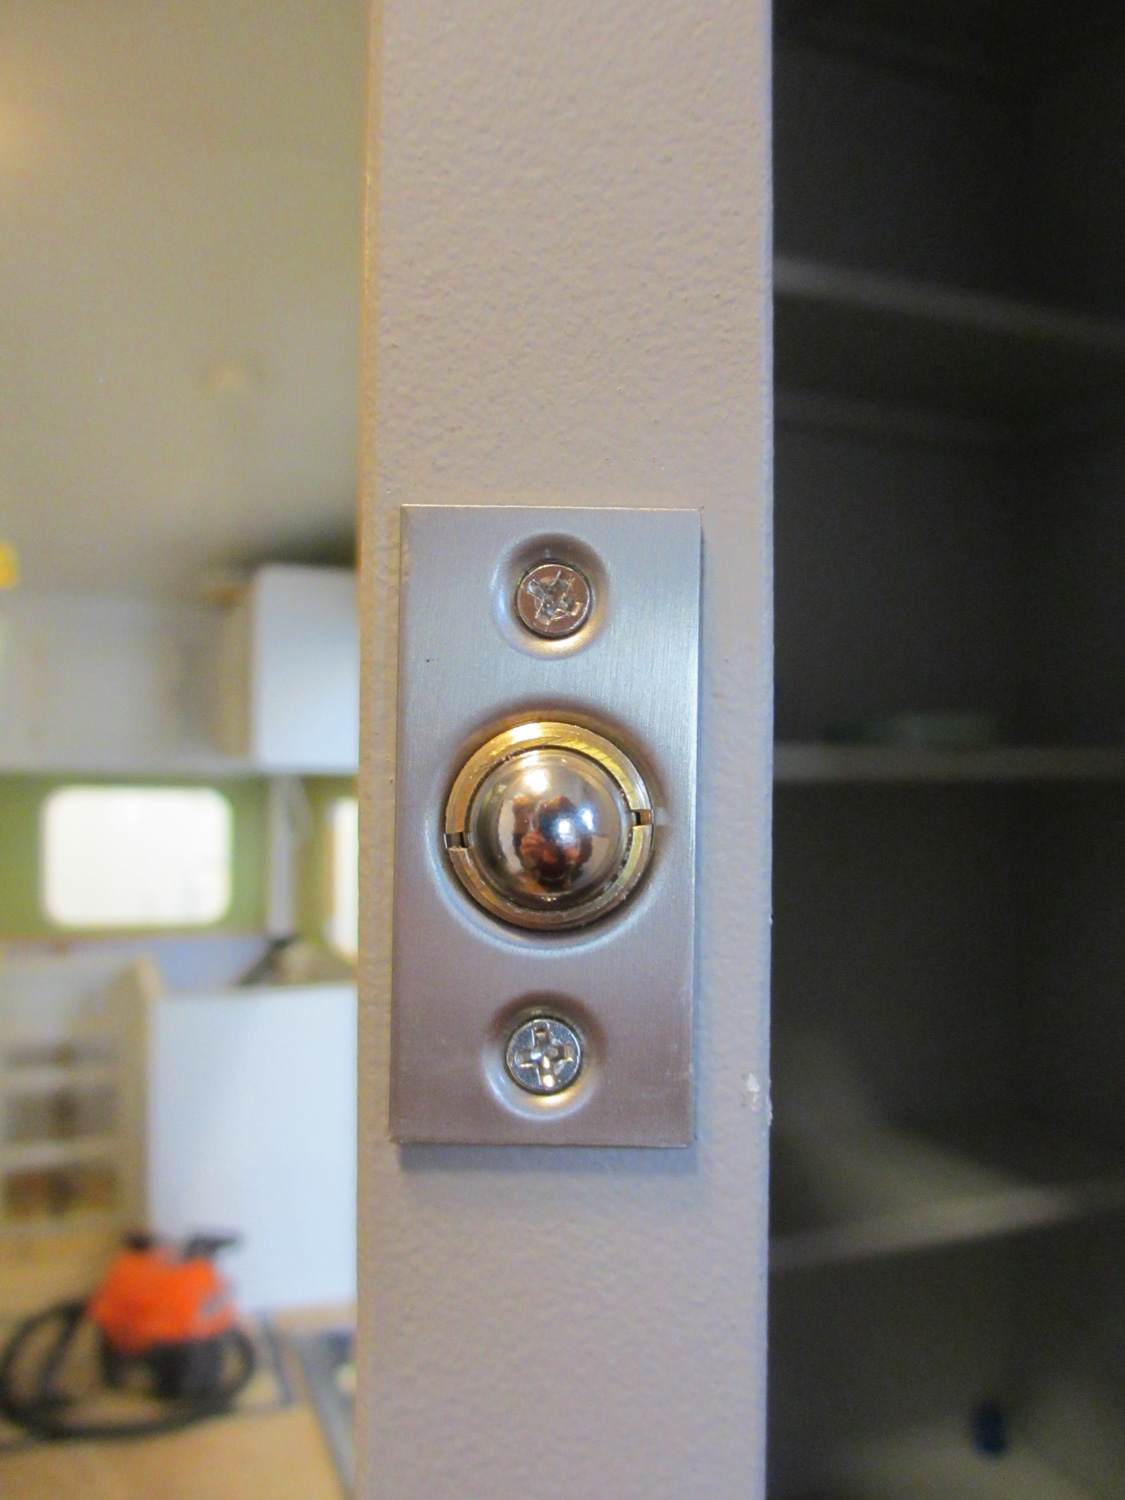
This "finger hole" uses a spring latch to keep the closet door shut.
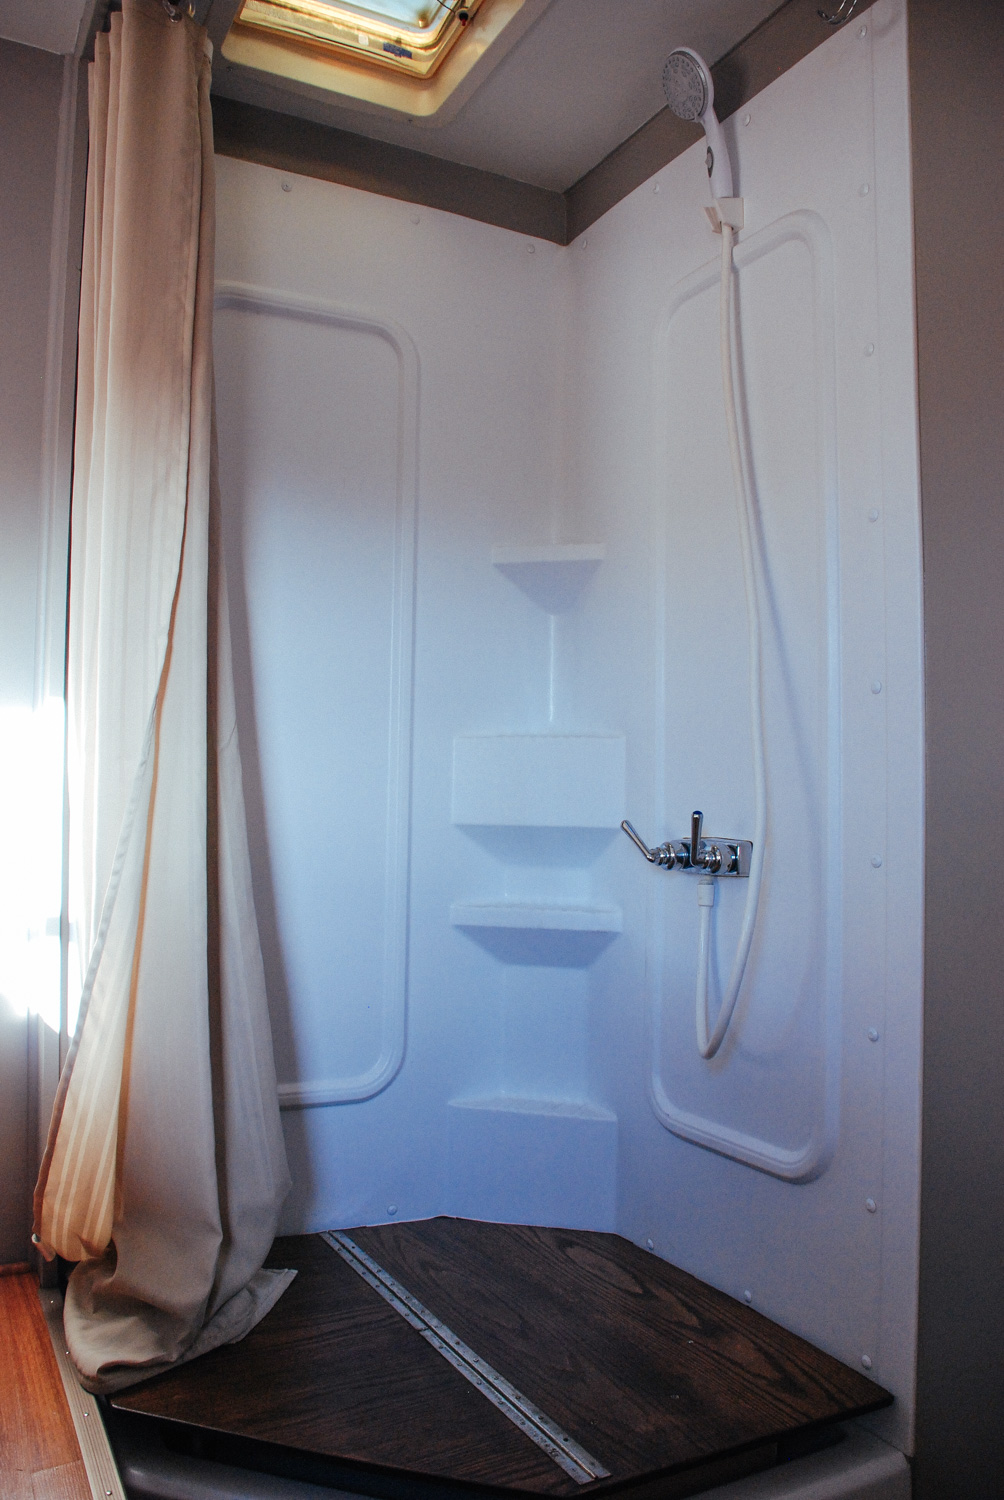
We made a platform to go on top of the shower pan. This is where Tyki's bed goes when the shower isn't in use.



Posts About The Bathroom
floors
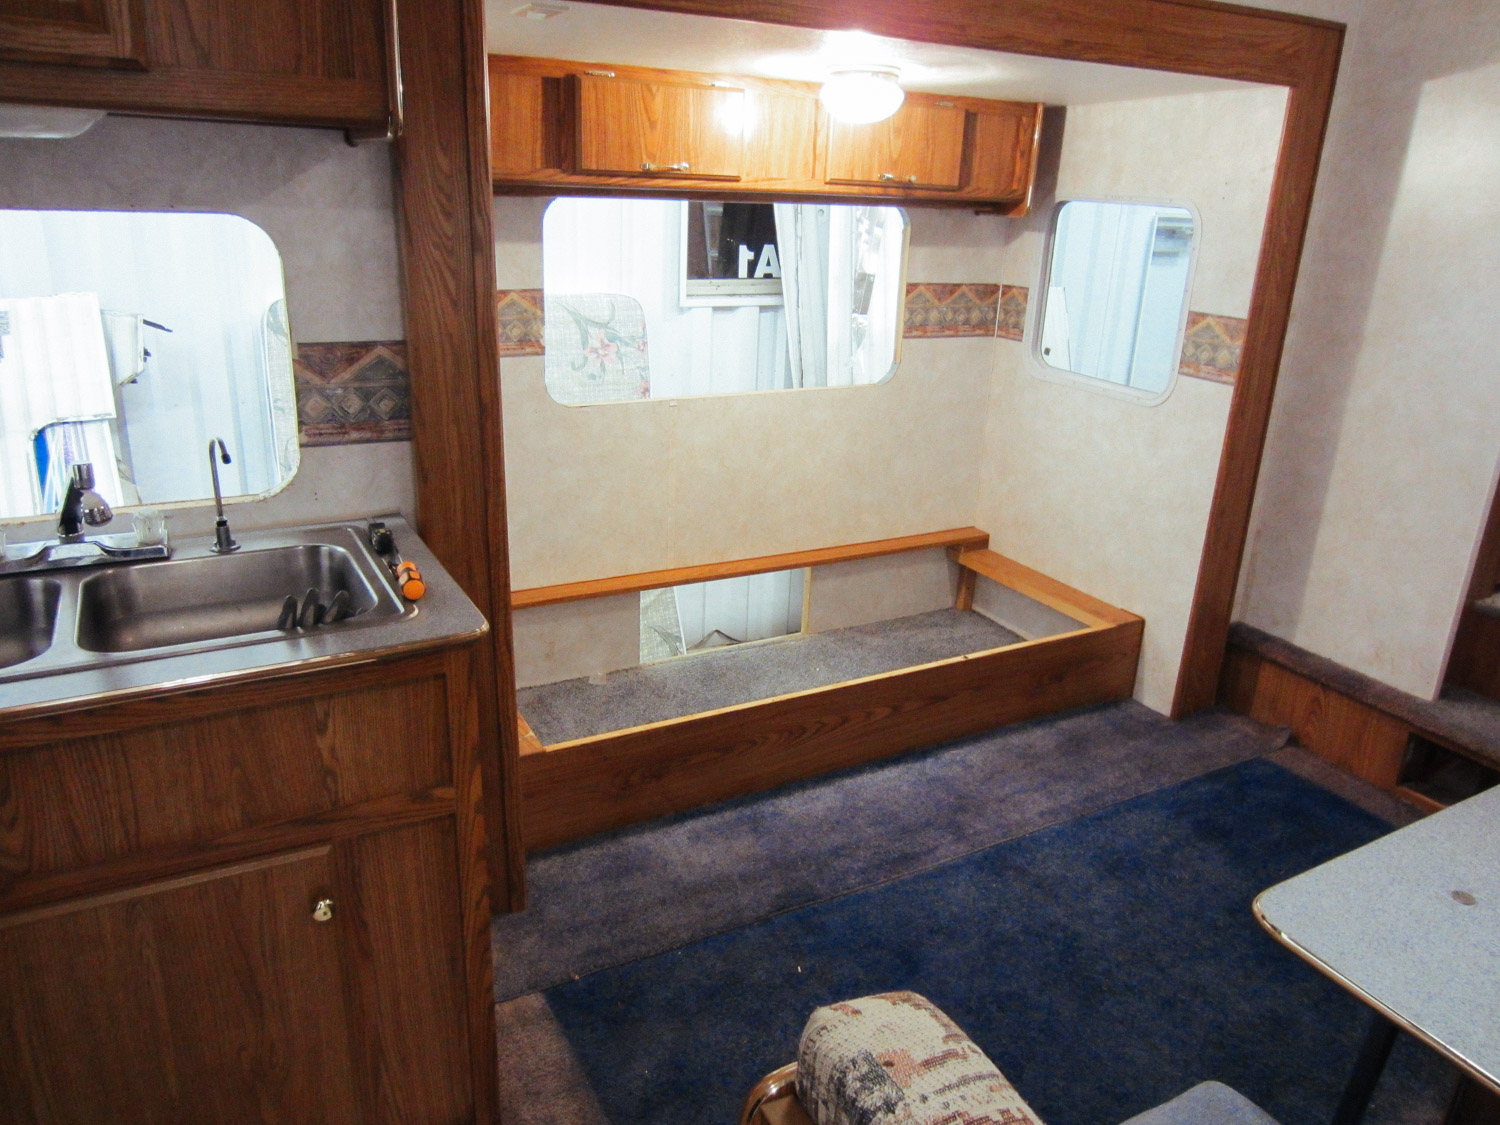
The floors were covered entirely by this hideous blue carpet.

Except for the bathroom, which had ugly vinyl flooring.
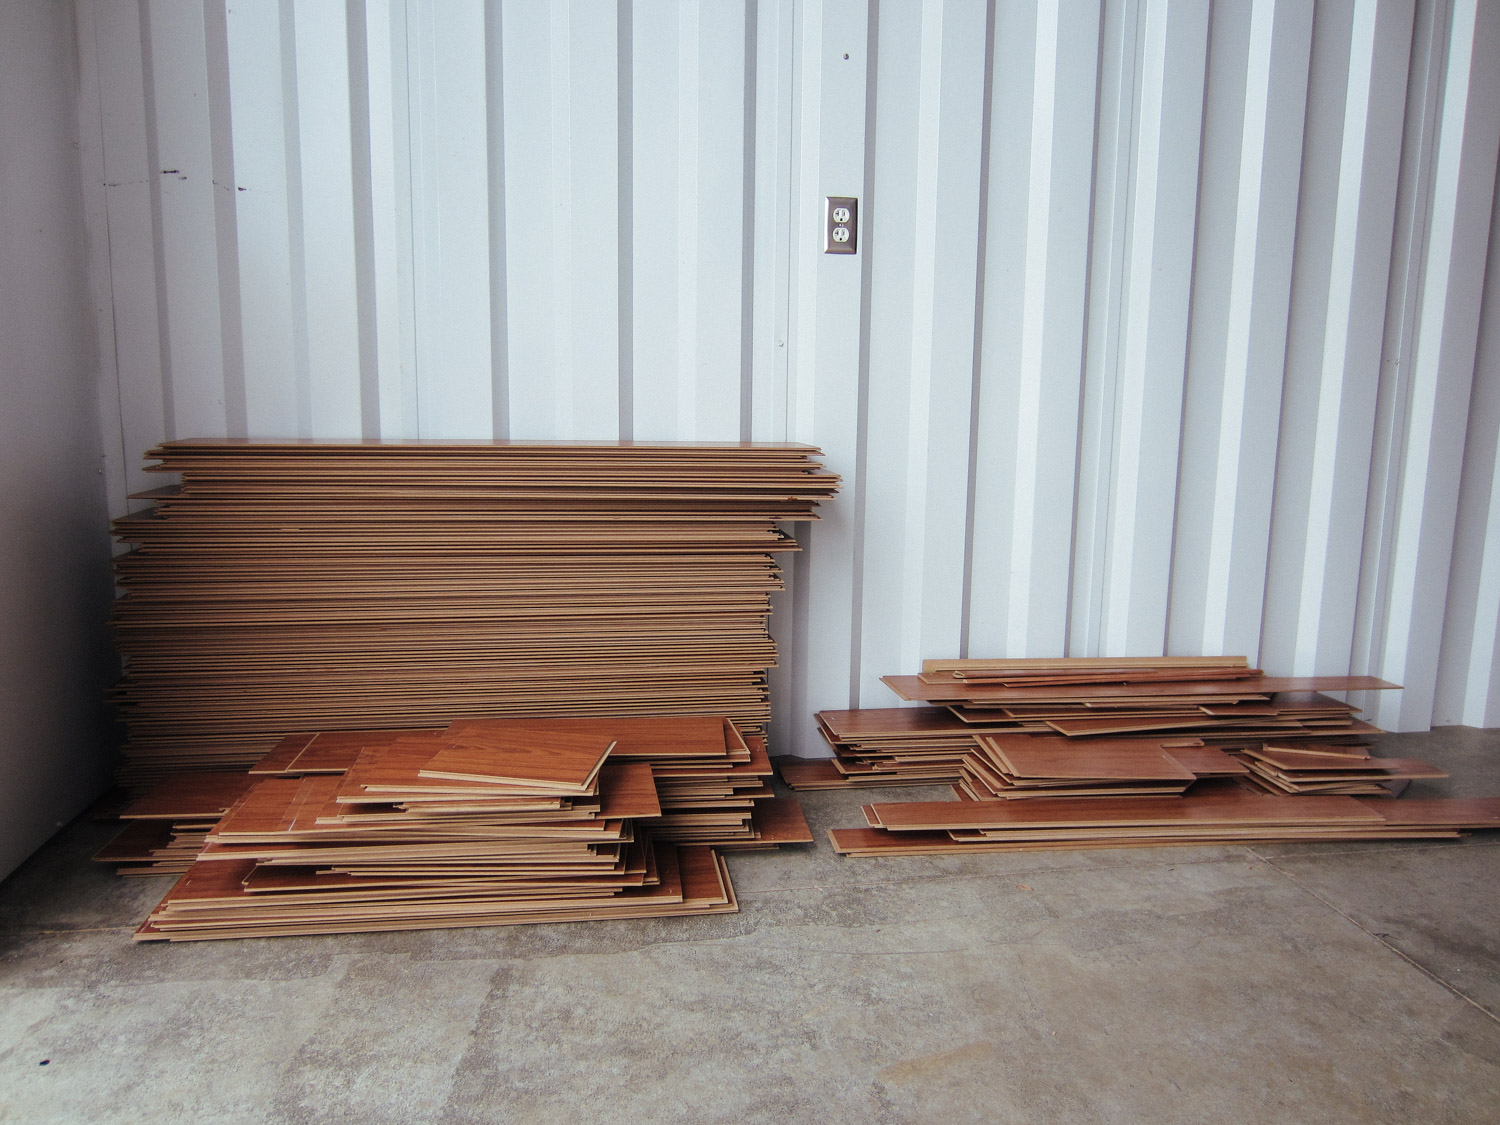
We lucked out and got free laminate flooring from a friend who was replacing her floors. Even though we don't love the color, it was free and we were able to keep it out of the landfill.

The kitchen sub-floor had to be ripped out due to water damage.
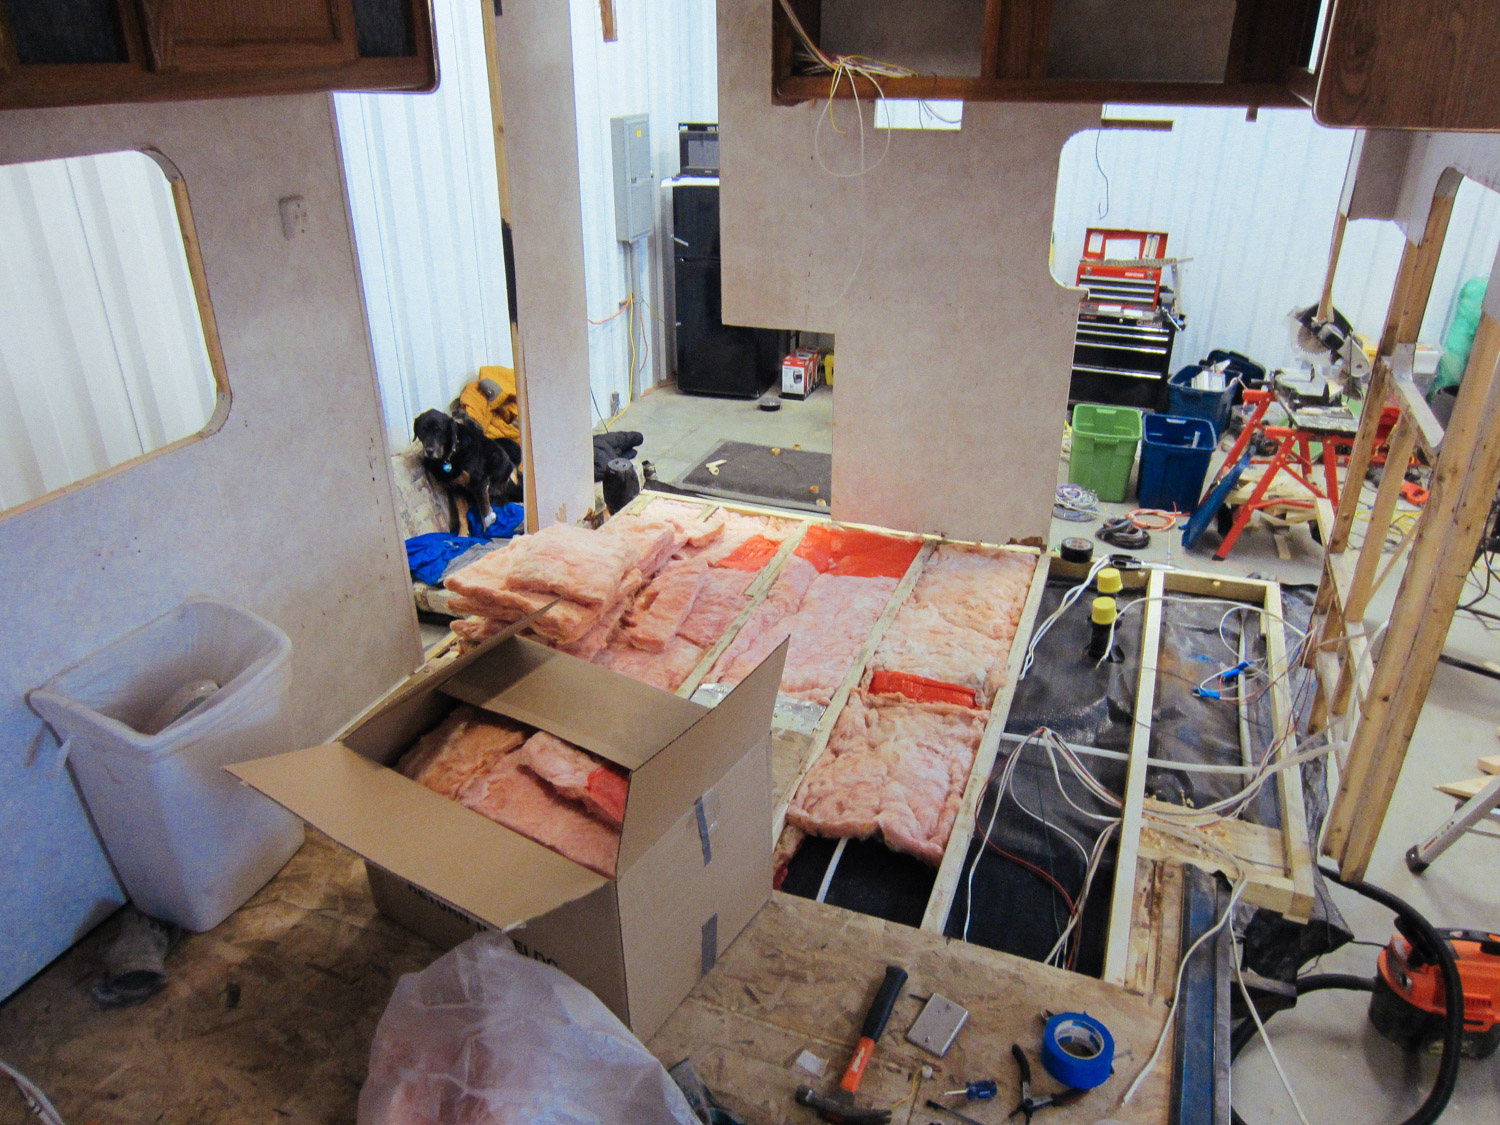
We put the original (dry and clean) insulation (that we pulled from the rest of the rig) and used it under the floors.
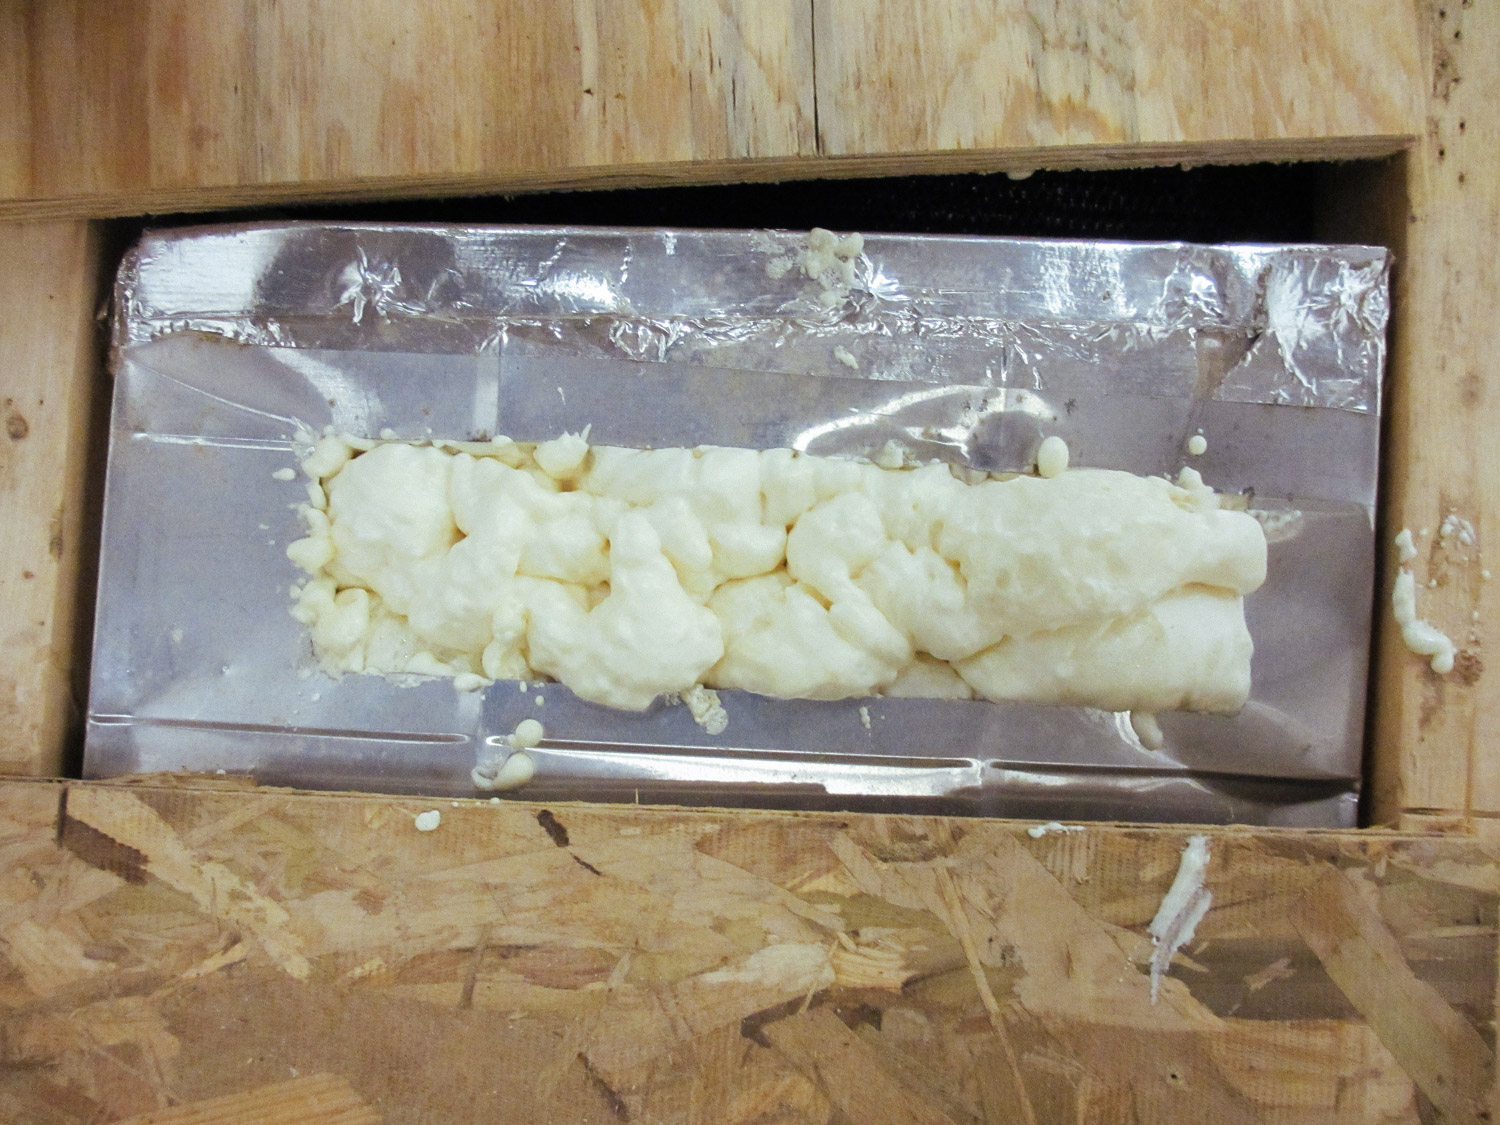
Since we weren't going to reinstall the A/C and furnace, we sprayed Great Stuff in all the floor vents.
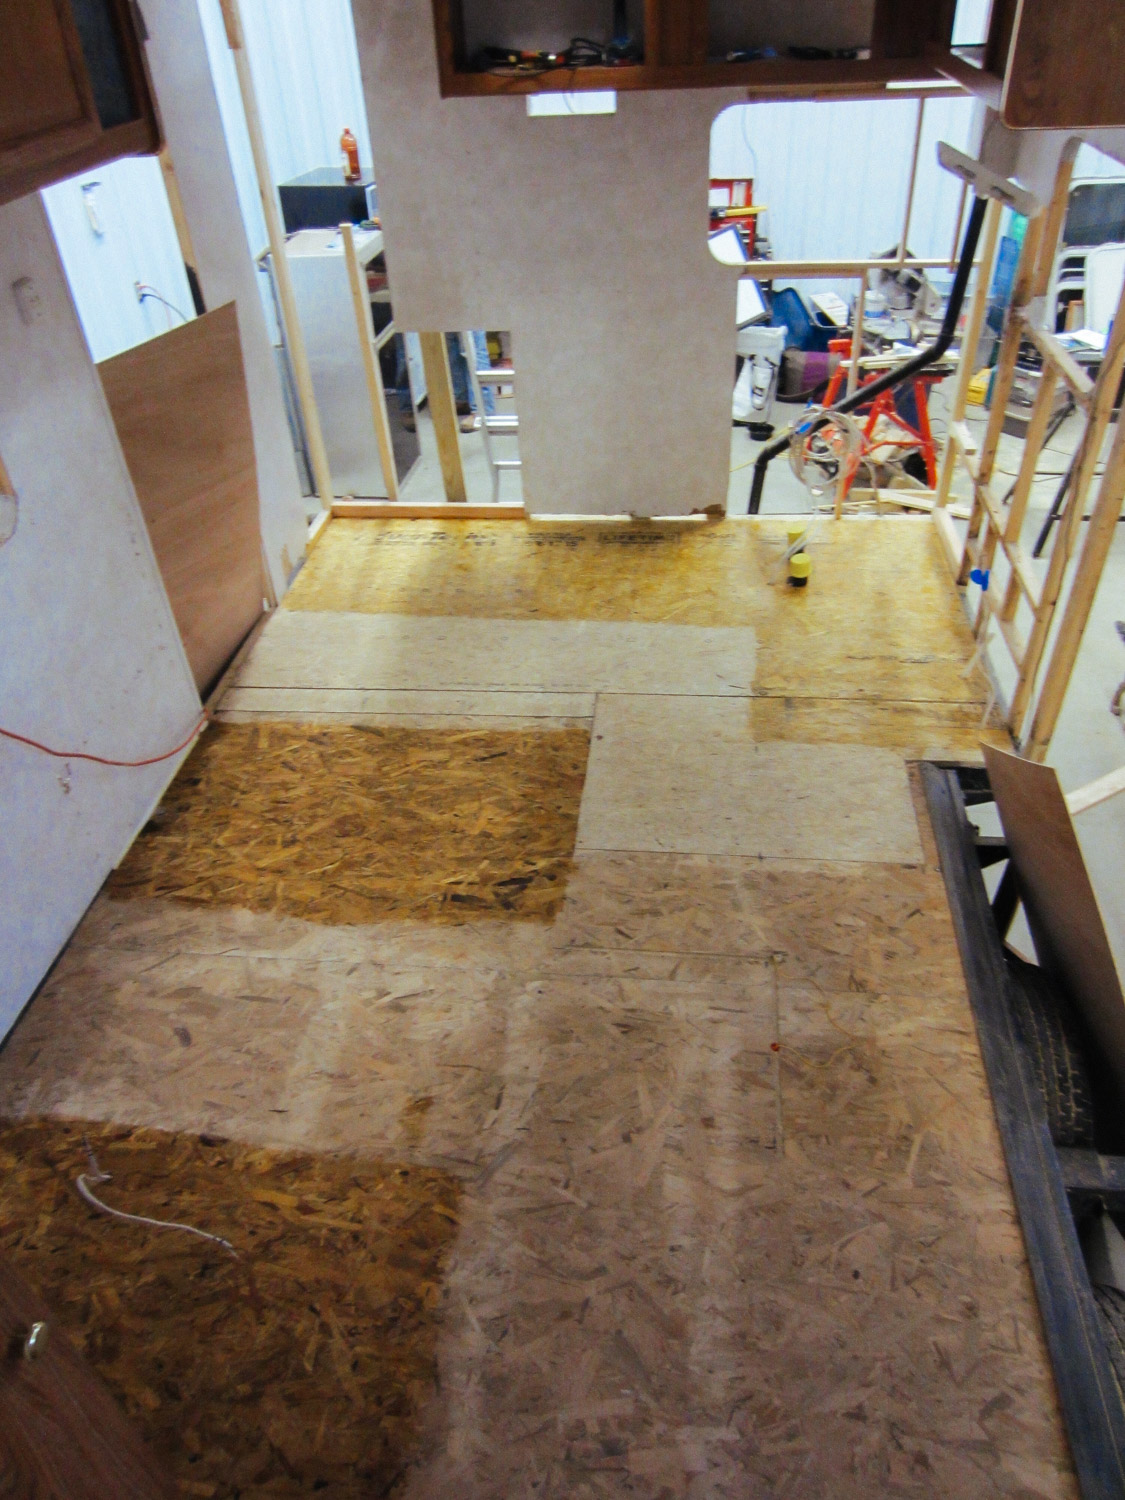
We applied polyurethane to the sections of the sub-floor that wouldn't have laminate floors installed over them. This is where the kitchen cabinet, dinette seats, and the couch are.

We stapled pieces of carpet in the storage areas.
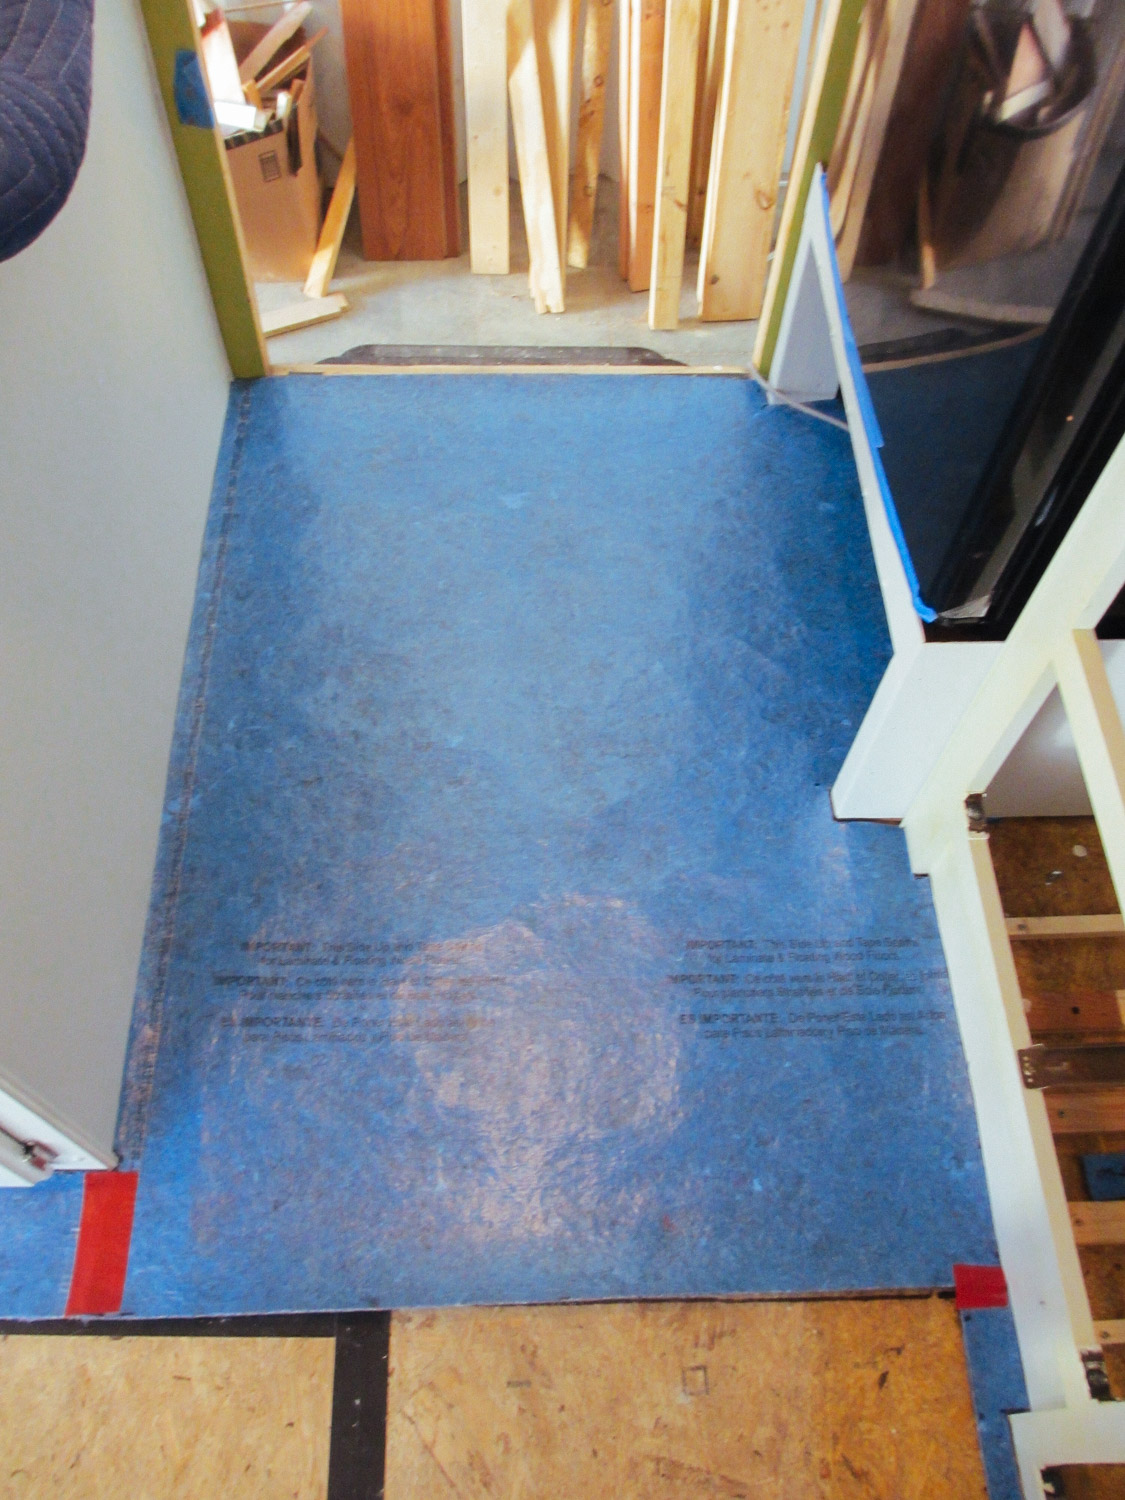
Underlayment was placed on top of the subfloor in preparation for the laminate floor.
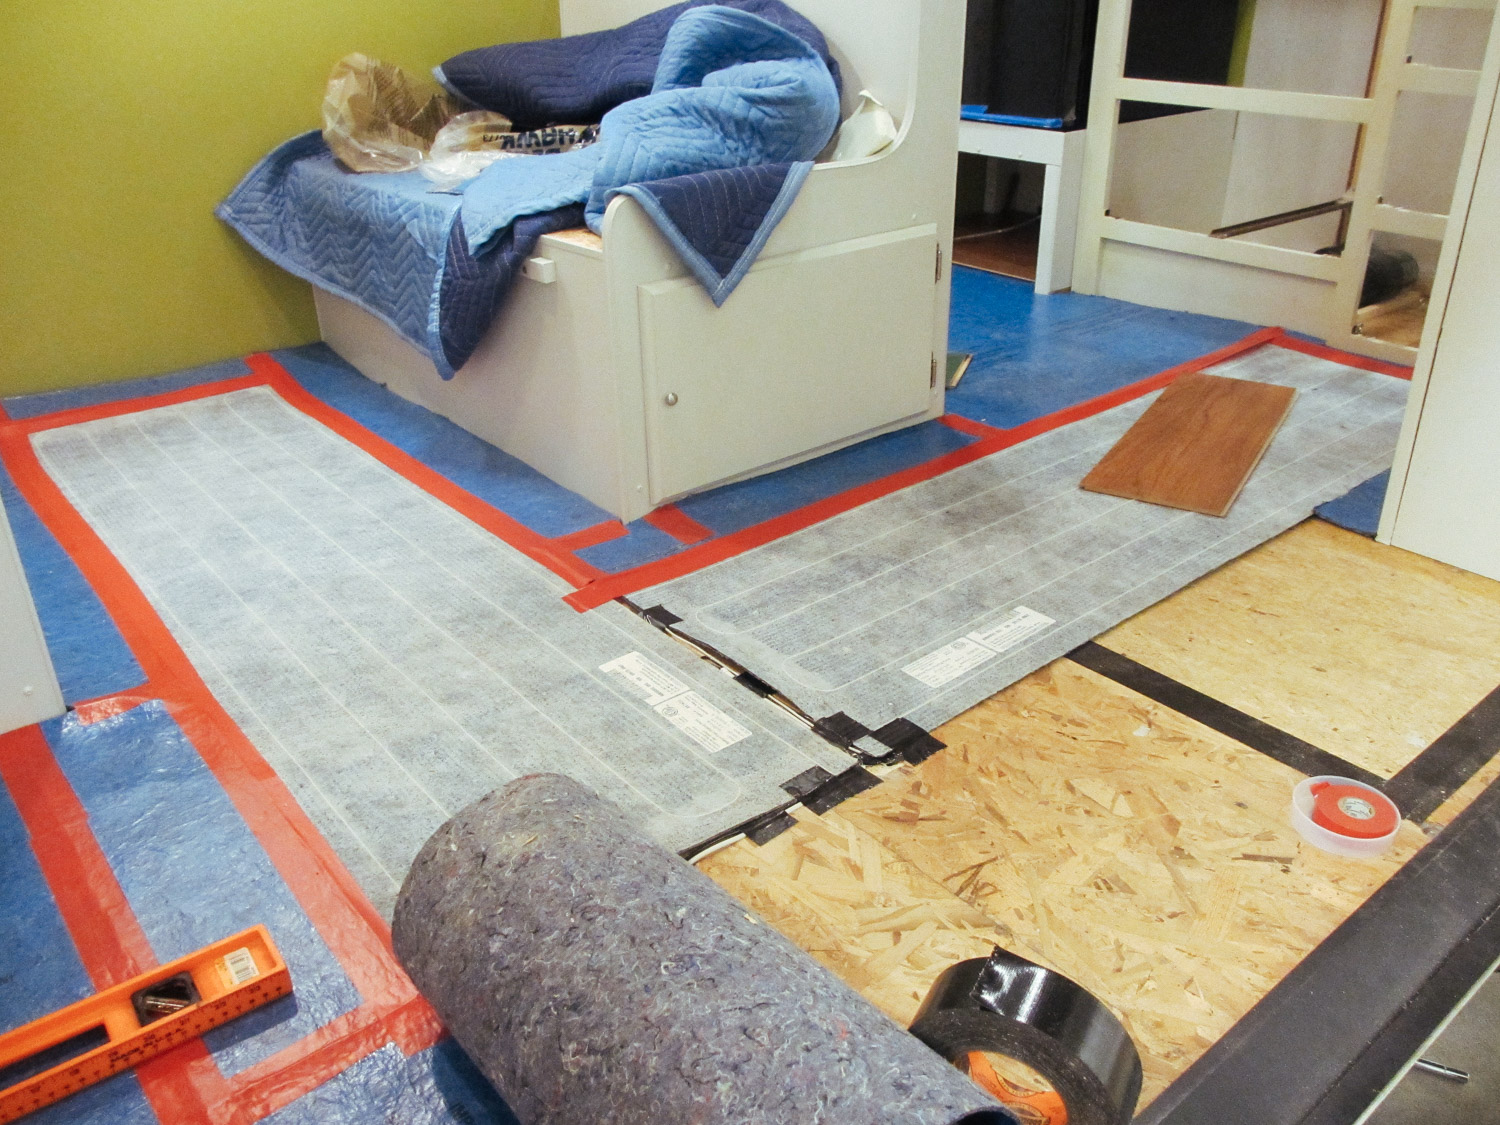
We placed floor heating pads between the dinette seats and in the kitchen area instead of underlayment.
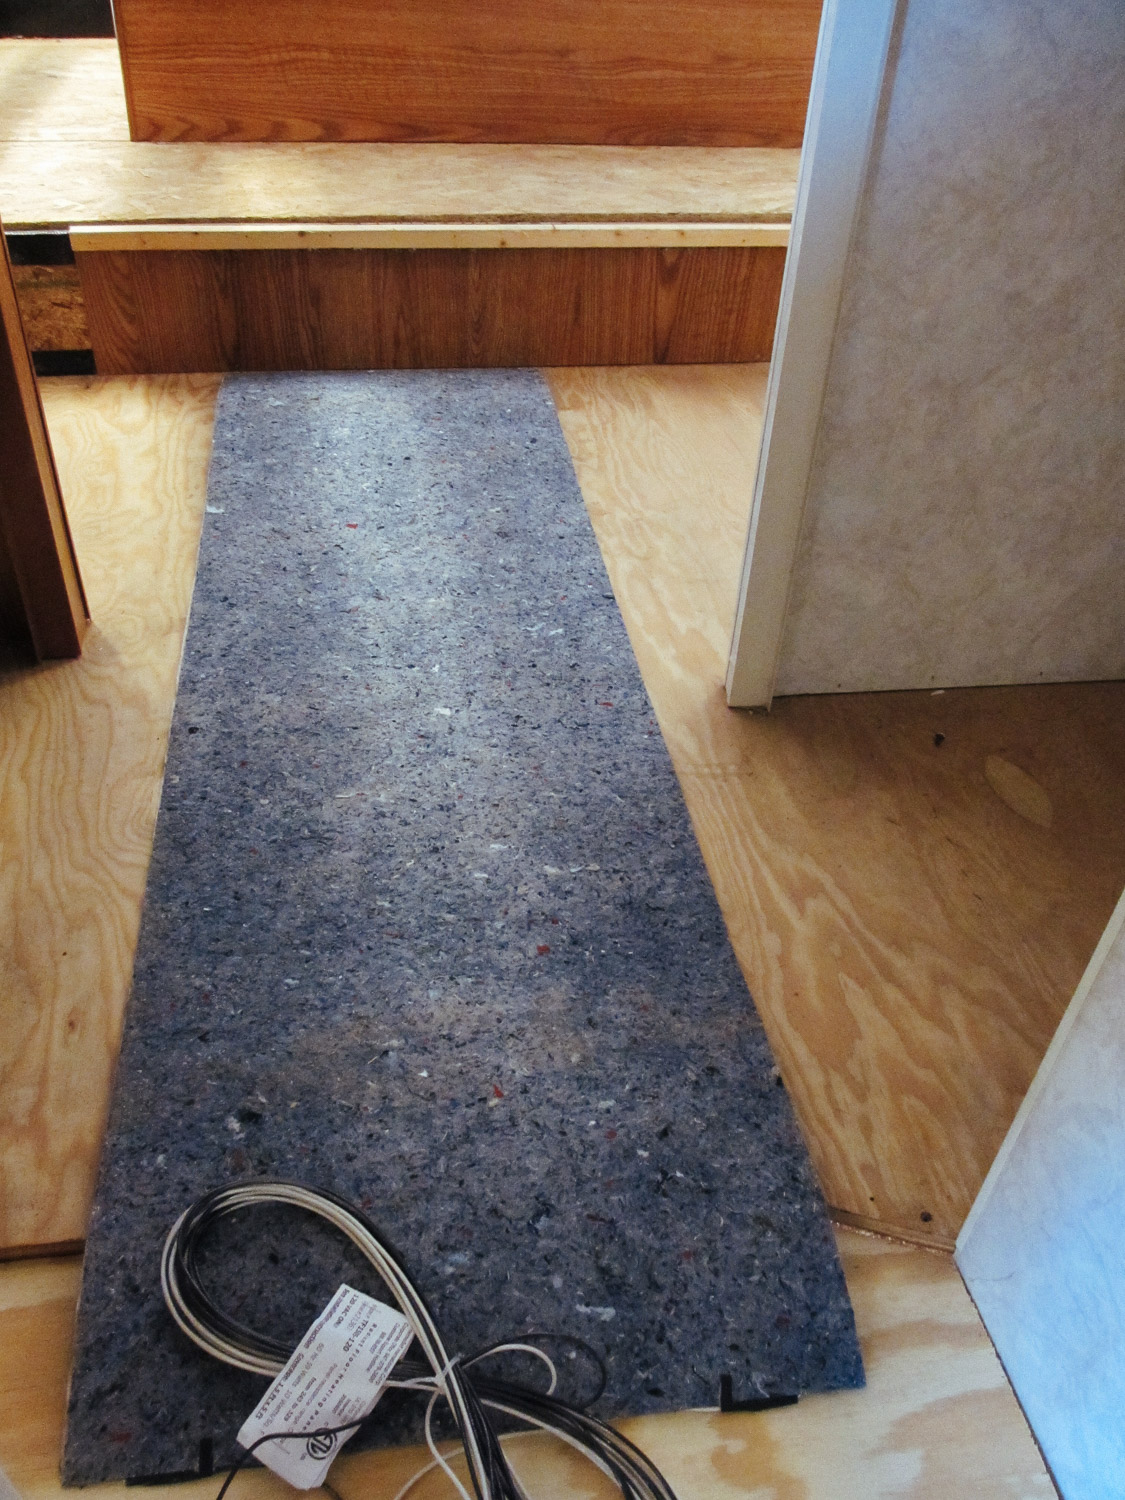
We had to extend the floor in the bedroom/bathroom hallway so it could fit a 5 ft. long piece of floor heating pad.
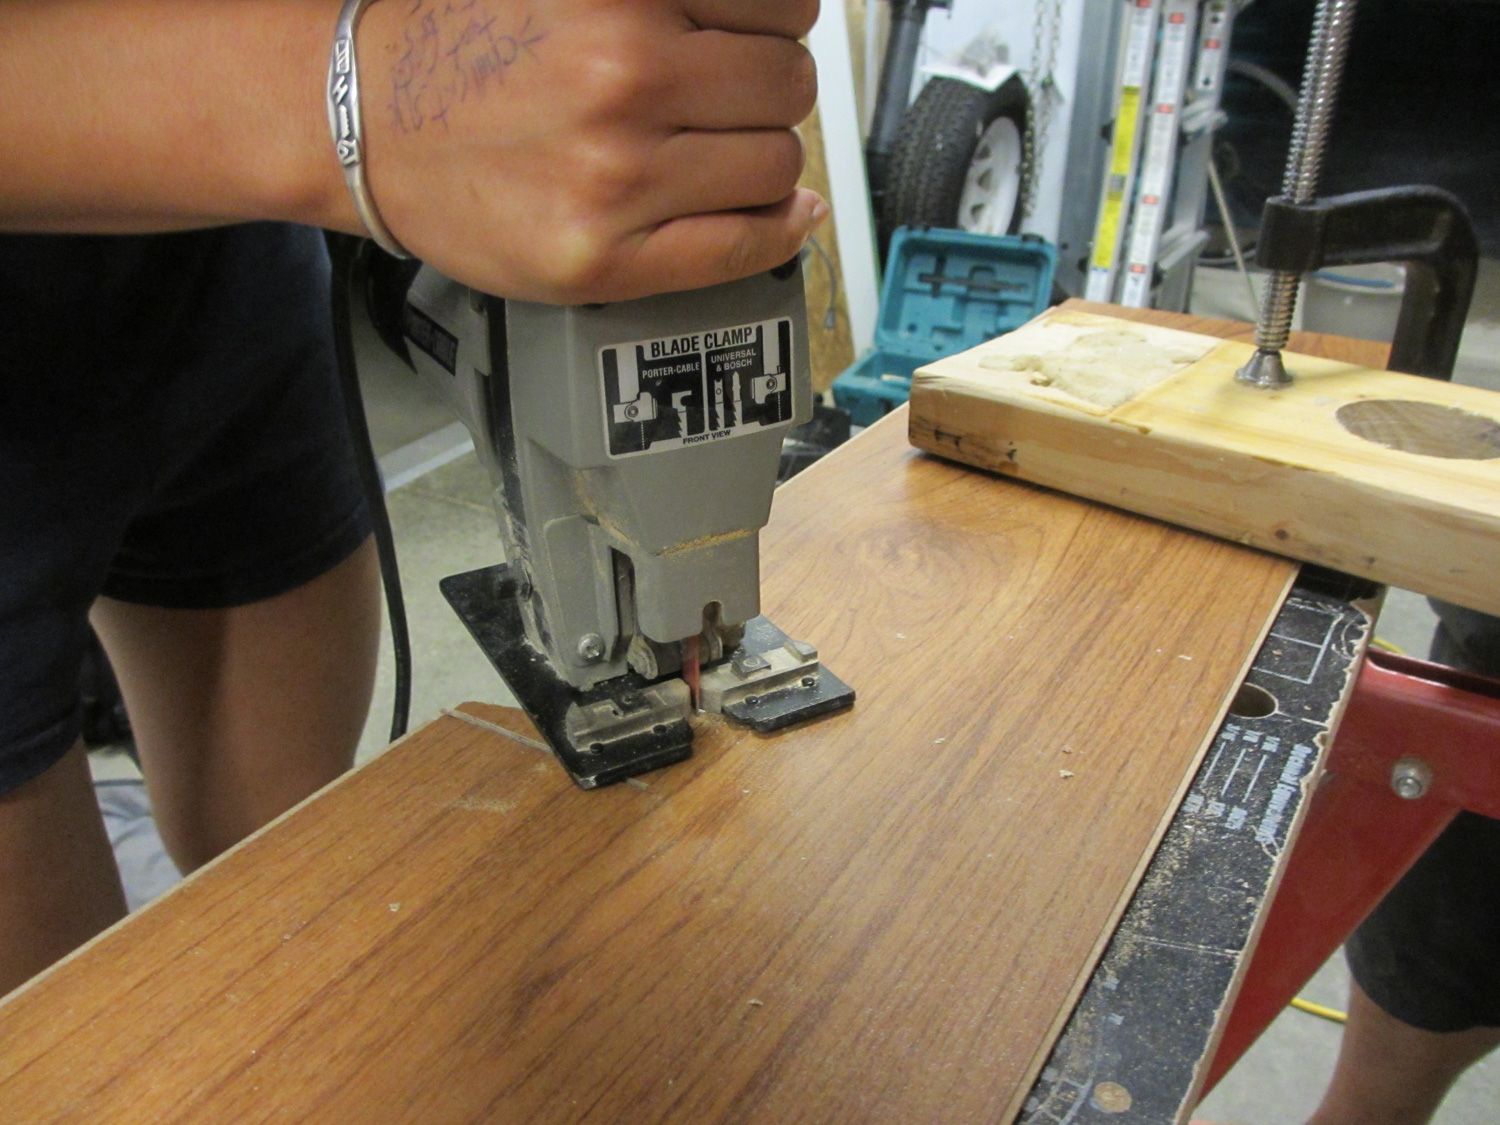
We used a jigsaw to cut out weird shapes and angles in the floor pieces.

The table saw was used to cut laminate floor pieces to length. Our table saw was extremely ghetto and we're so lucky to still have all of our fingers.
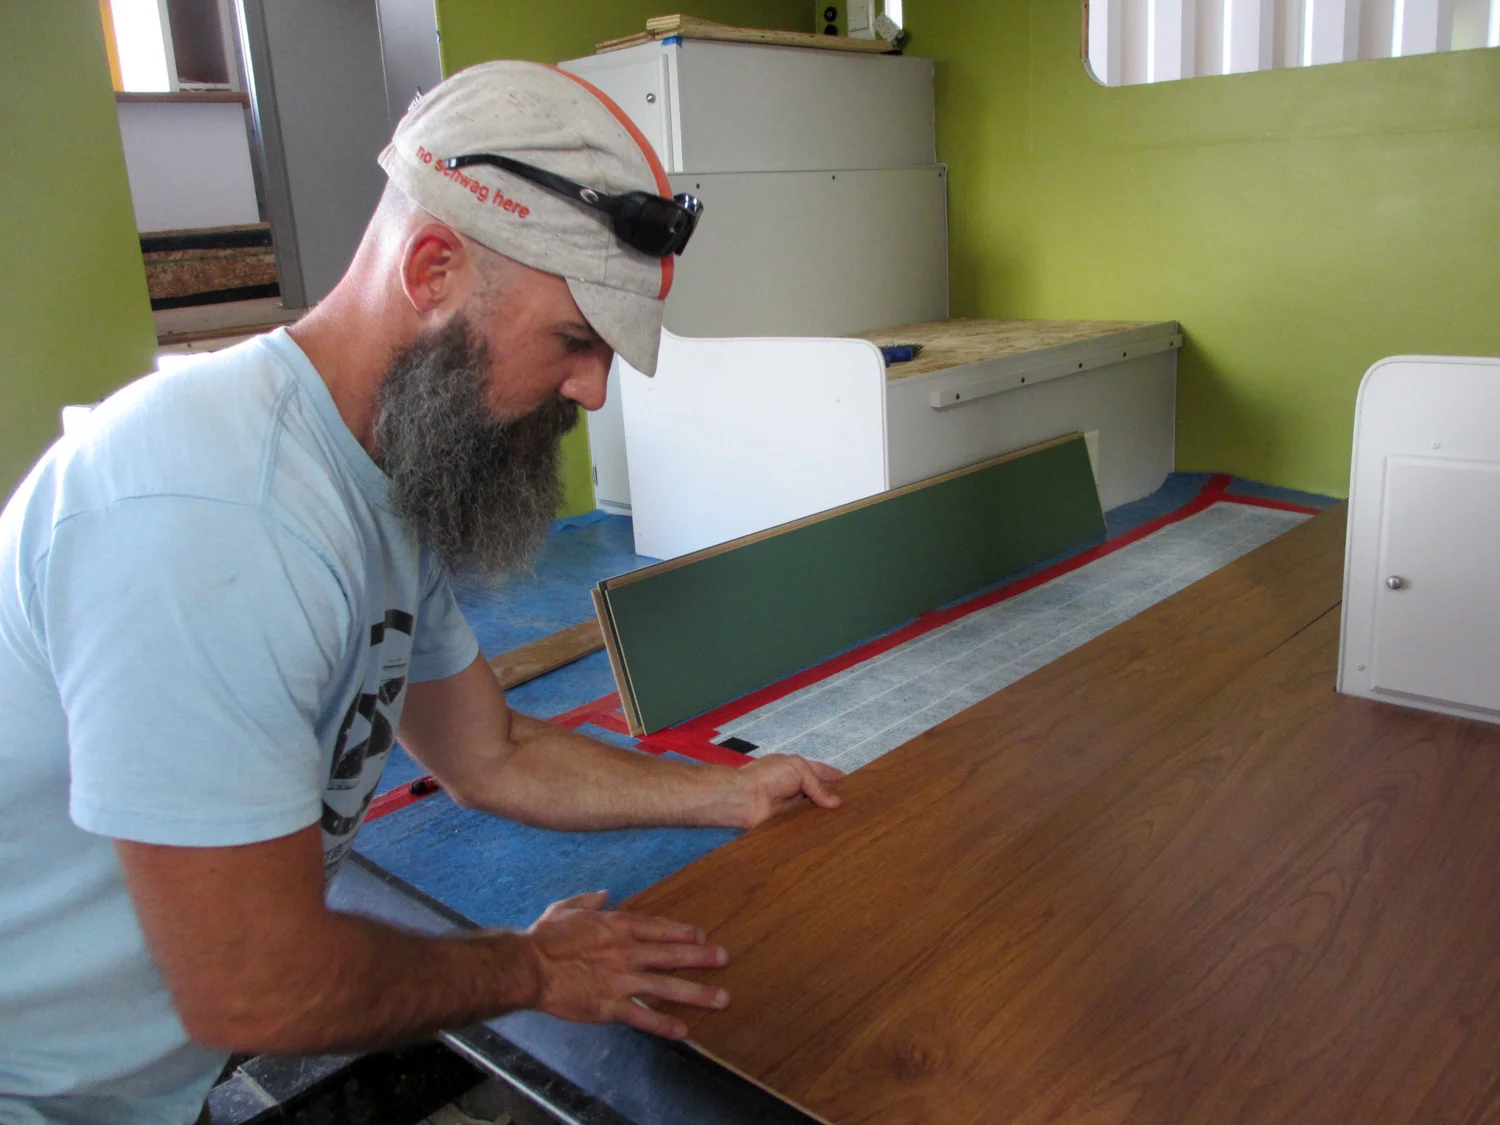
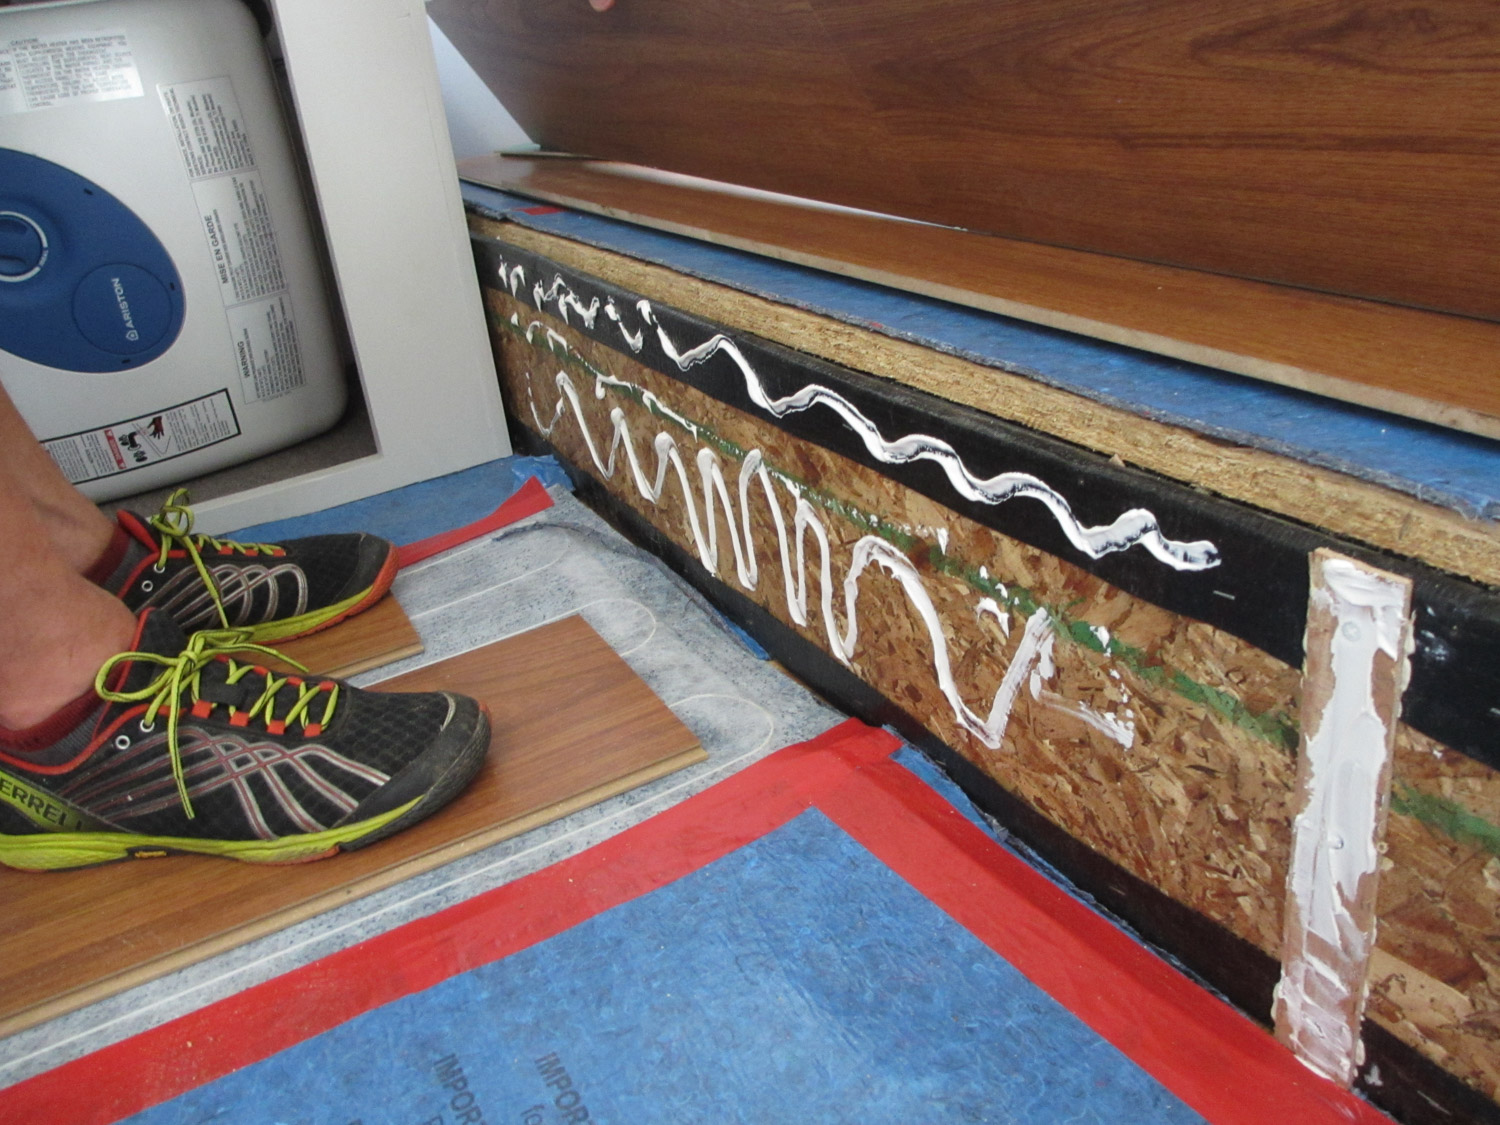
We had to glue a piece of laminate flooring to the face of the bedroom step because it's made of metal.
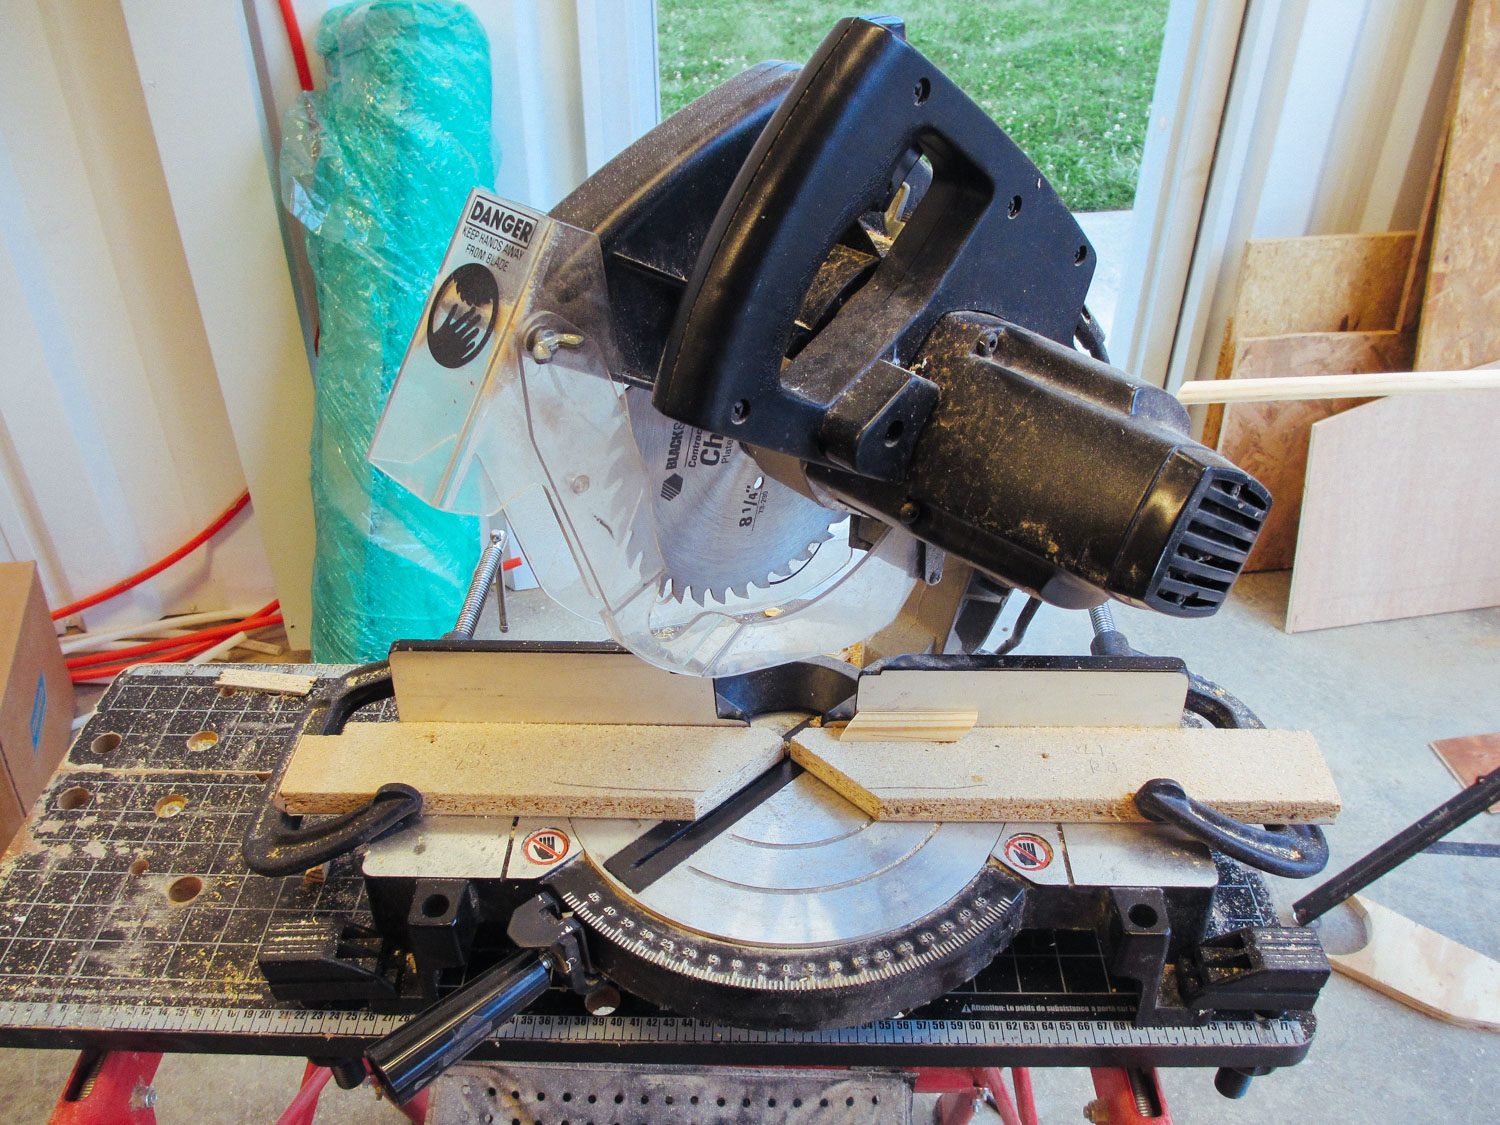
A bunch of floor trim pieces had to be cut to the right angle.
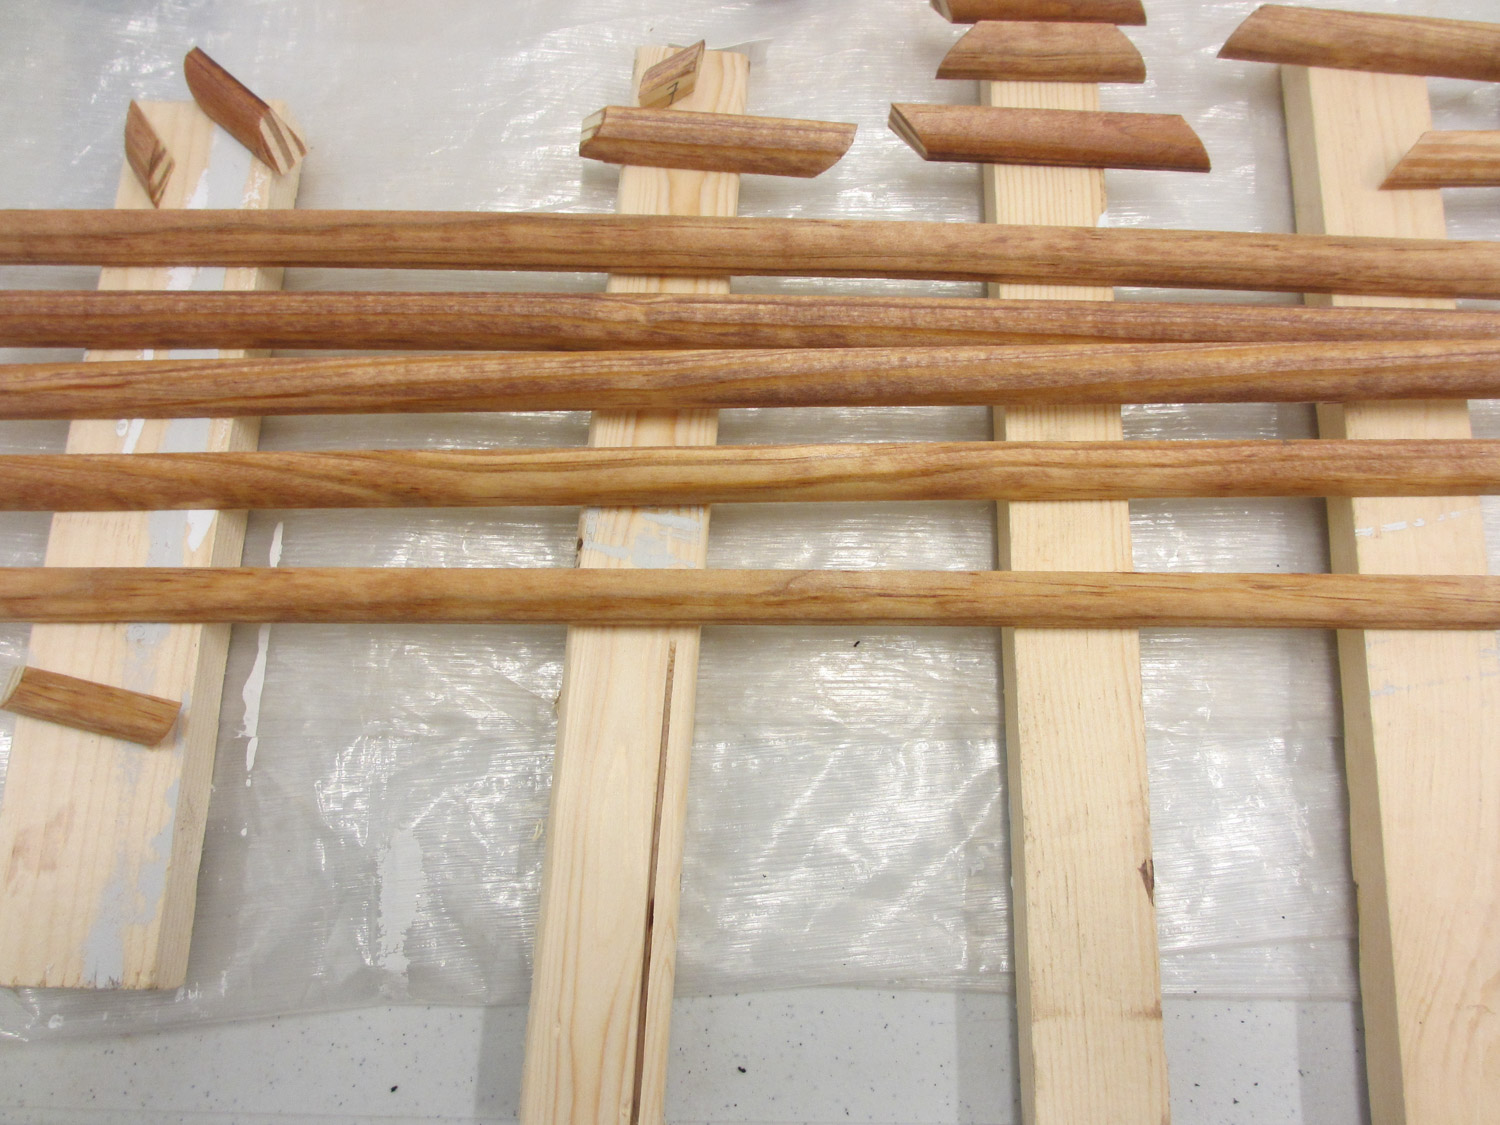
The floor trim pieces were then stained to match the floor.
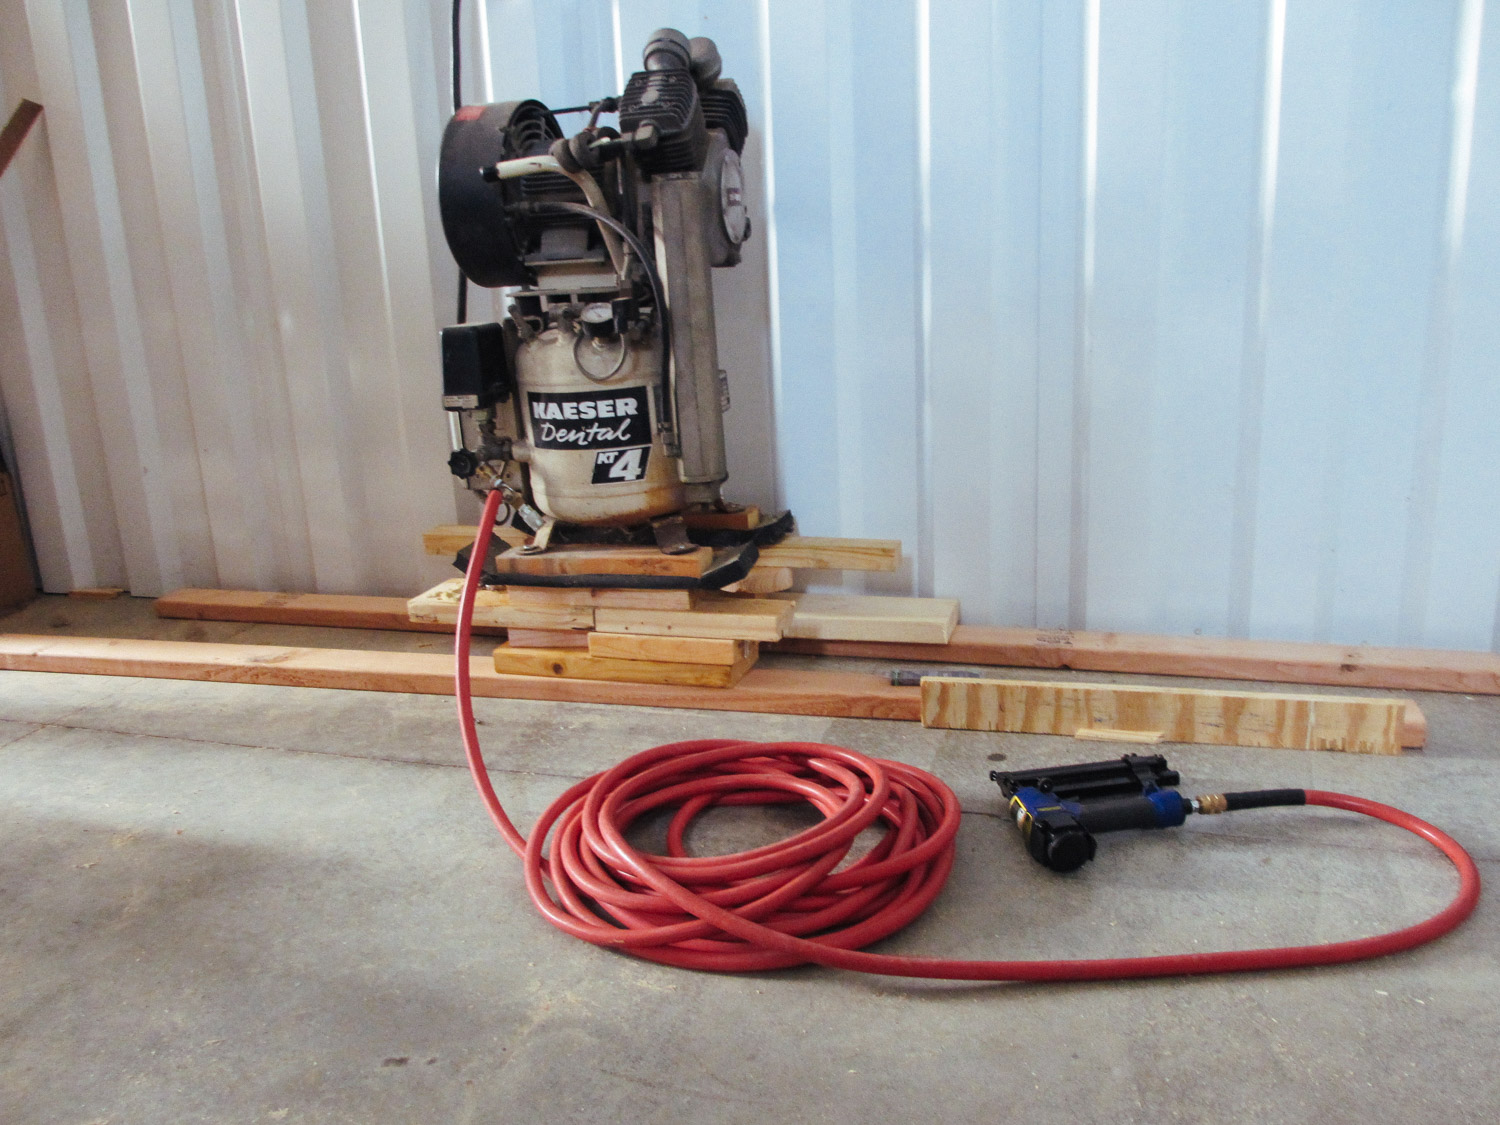
We borrowed an air compressor nail gun to nail the floor trim pieces.
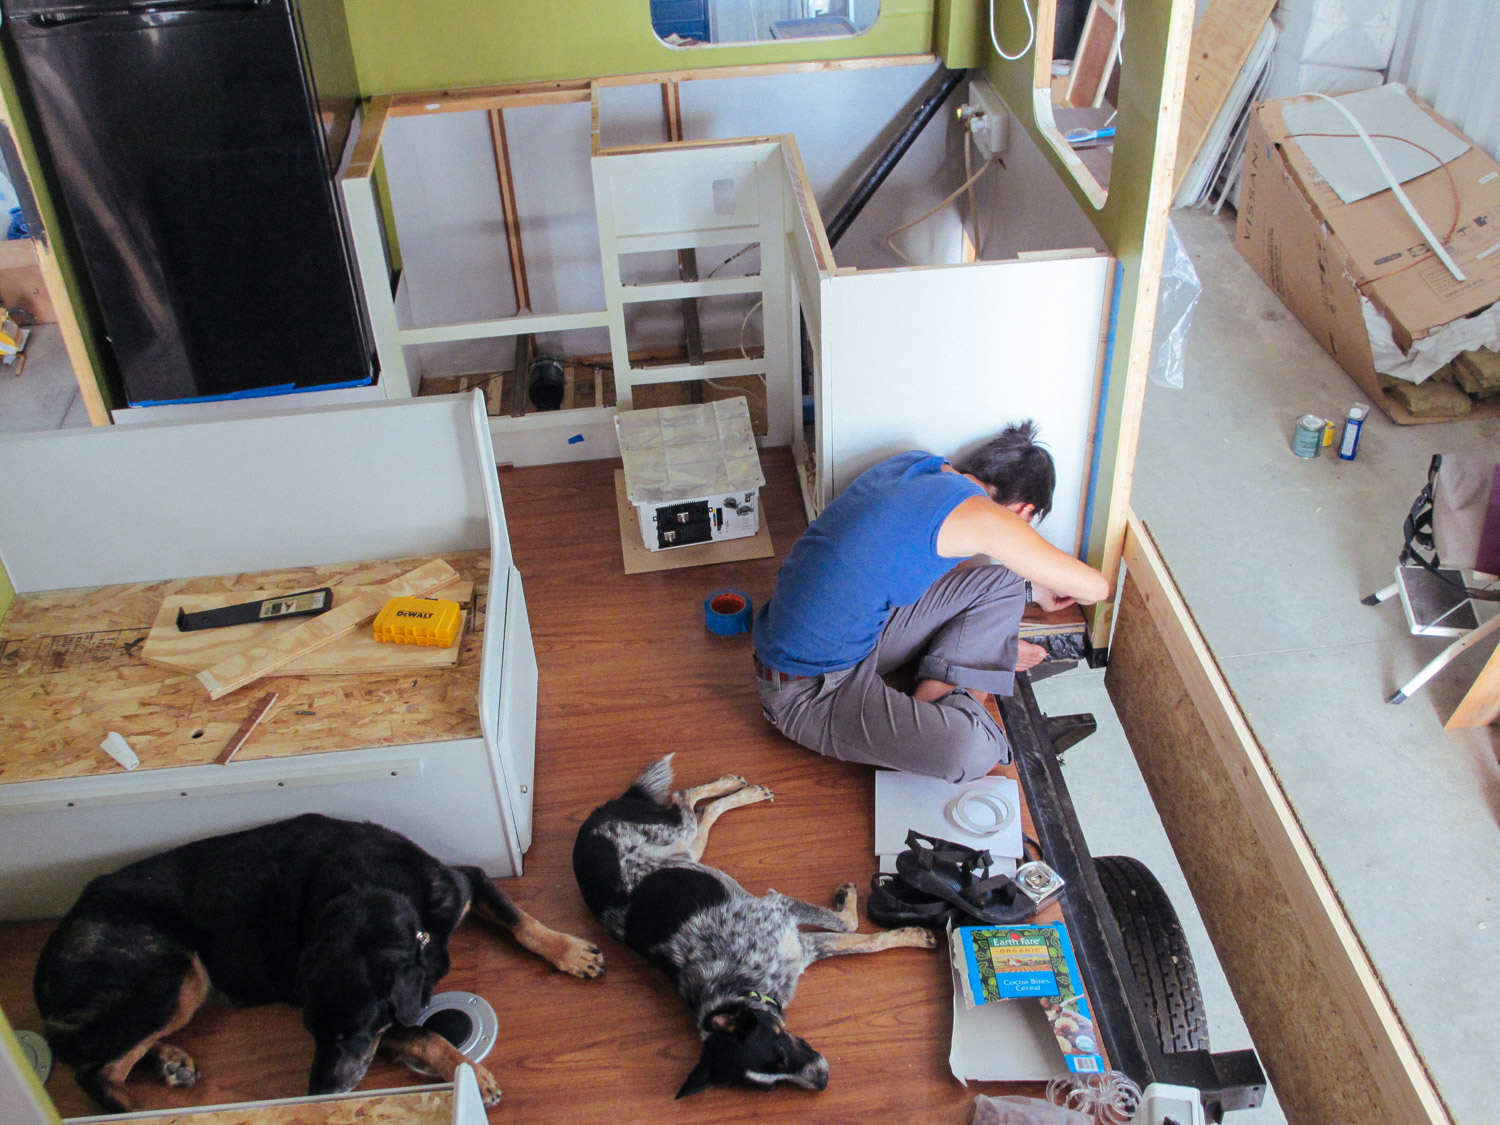
Once the floor trim pieces were nailed in, each nail hole had to be covered with wood putty.
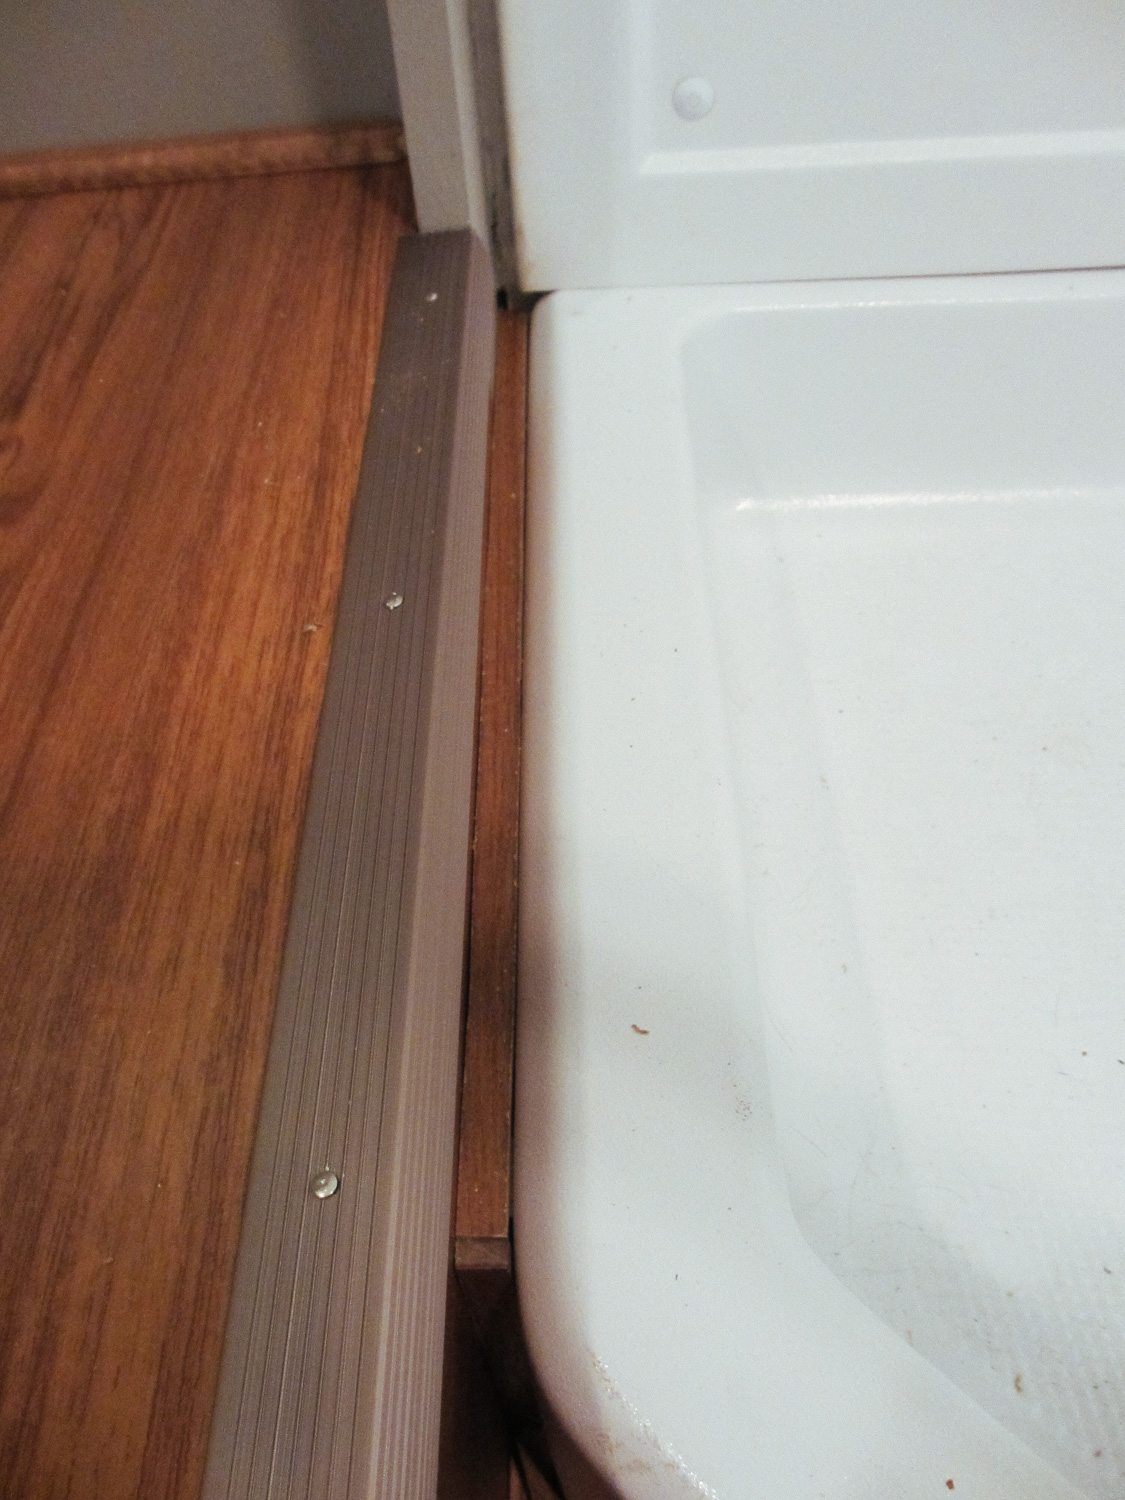
We placed a piece of stair nosing over the edge of the step. The gap between the step and shower was covered with a piece of laminate flooring and silicone caulk.
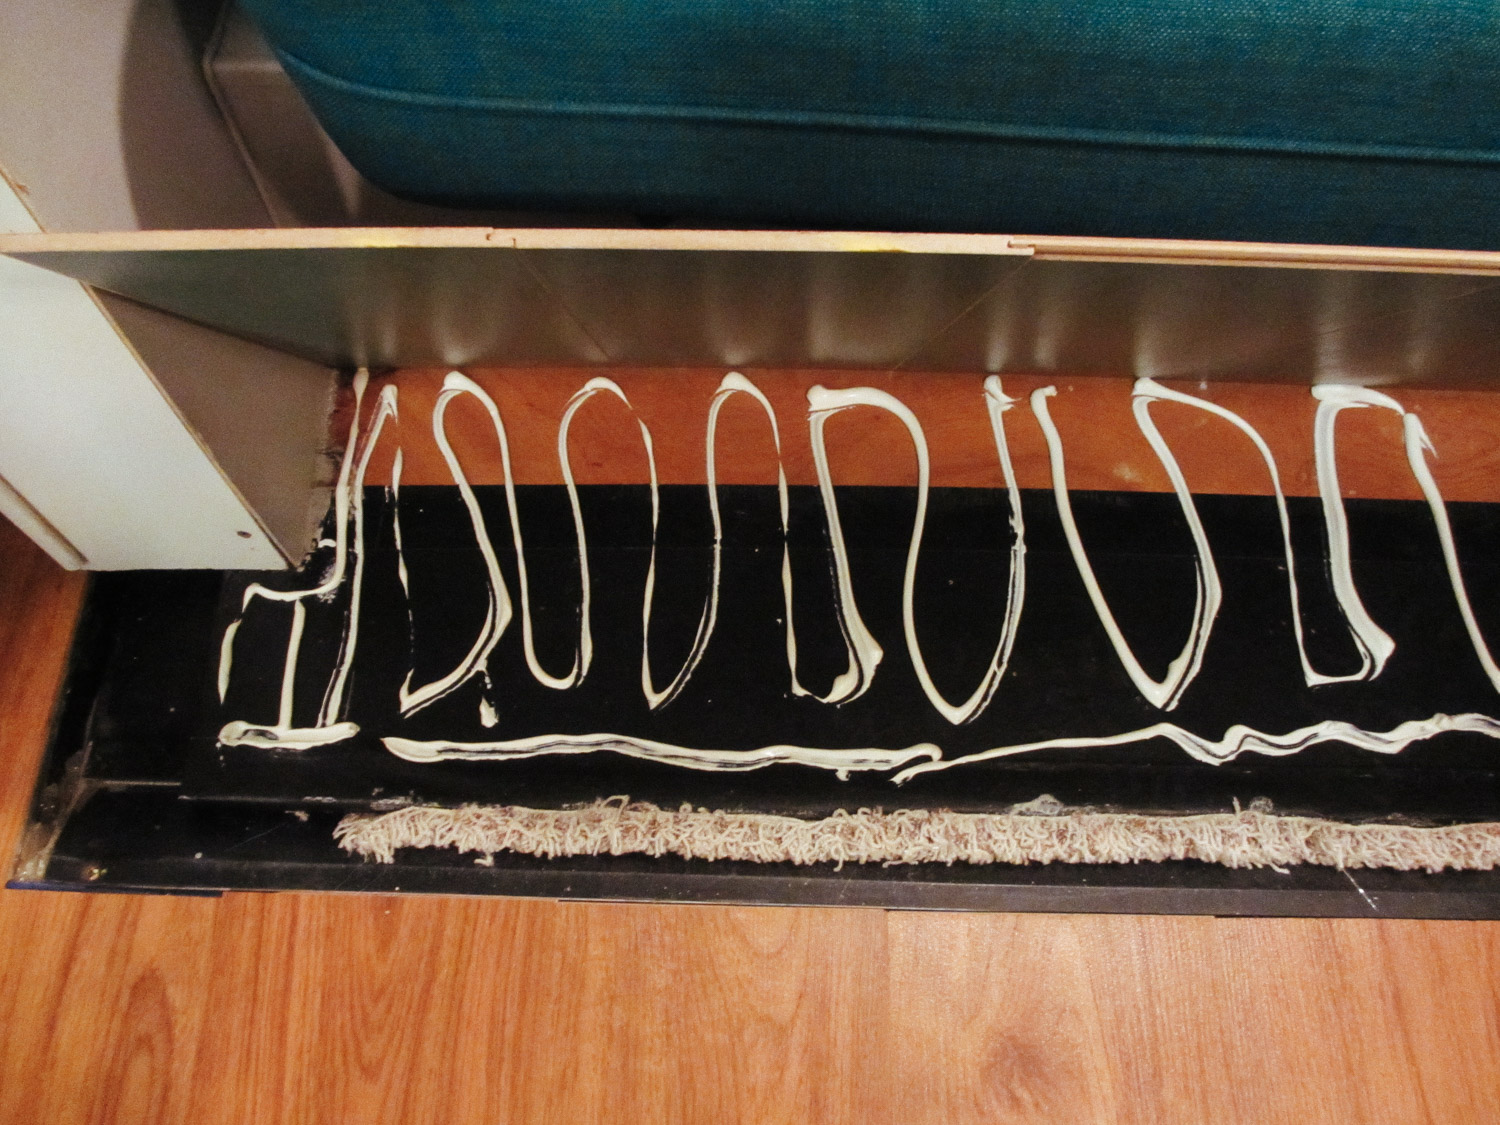
The slide floor had to be glued down to hold it in place.
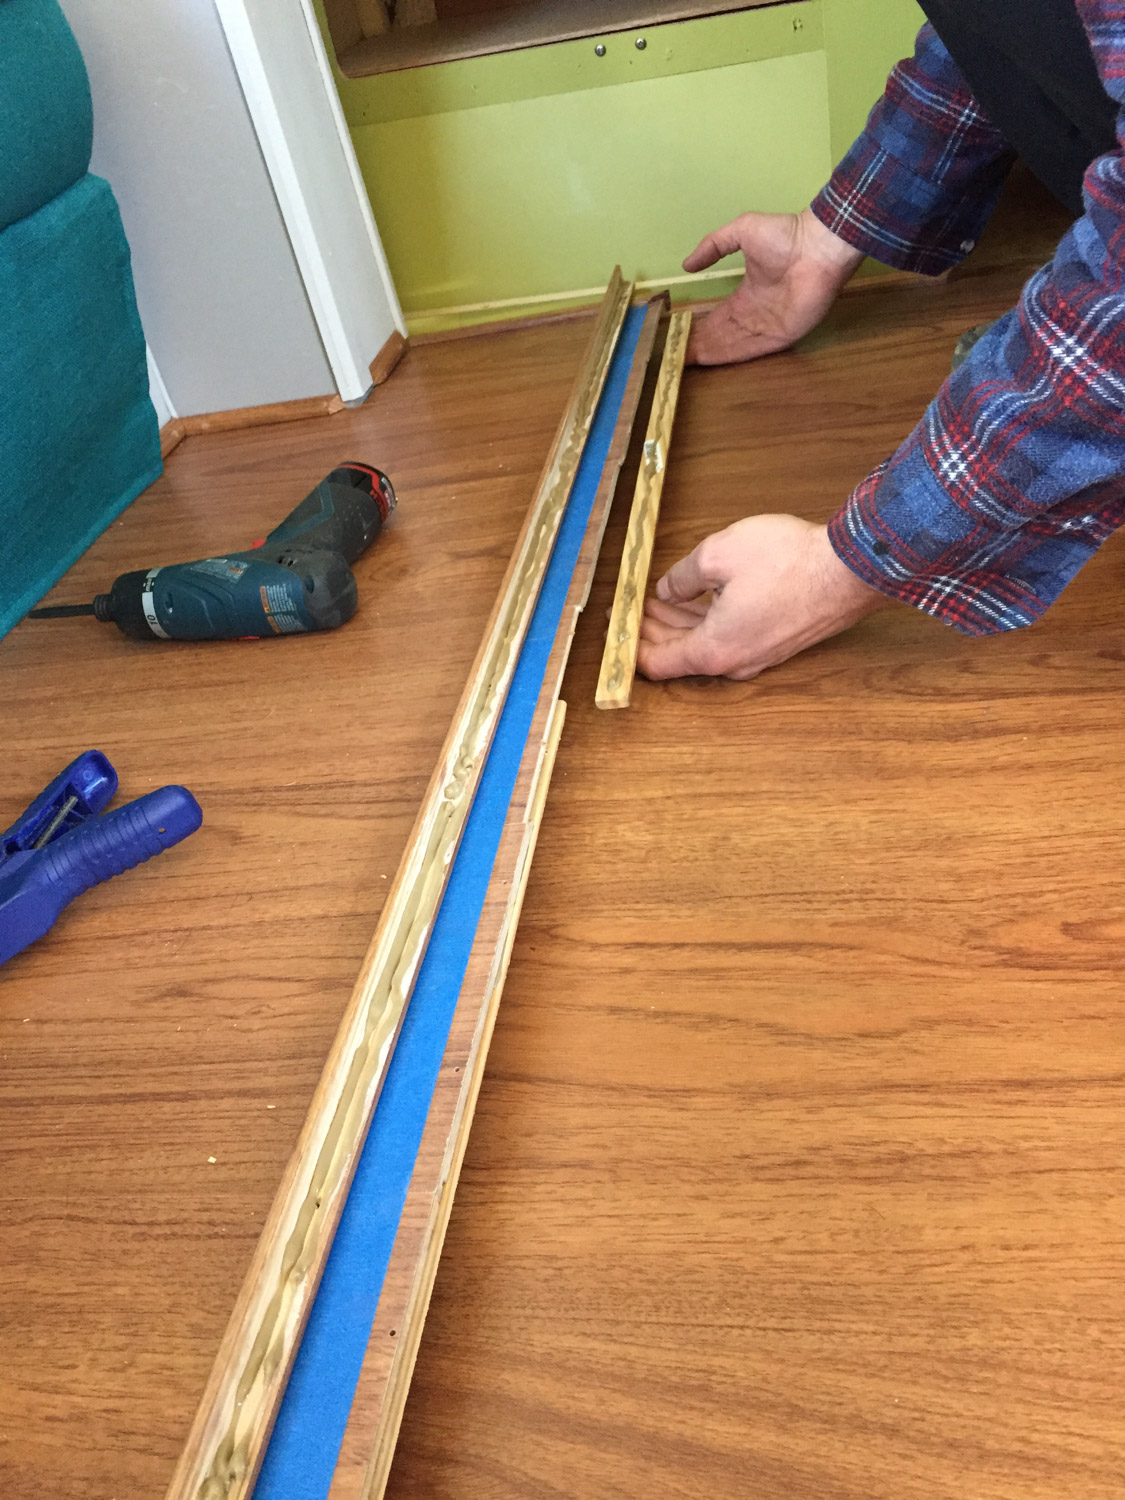
We had to add a piece of wood under the slide floor so the edge trim had more material to screw into.
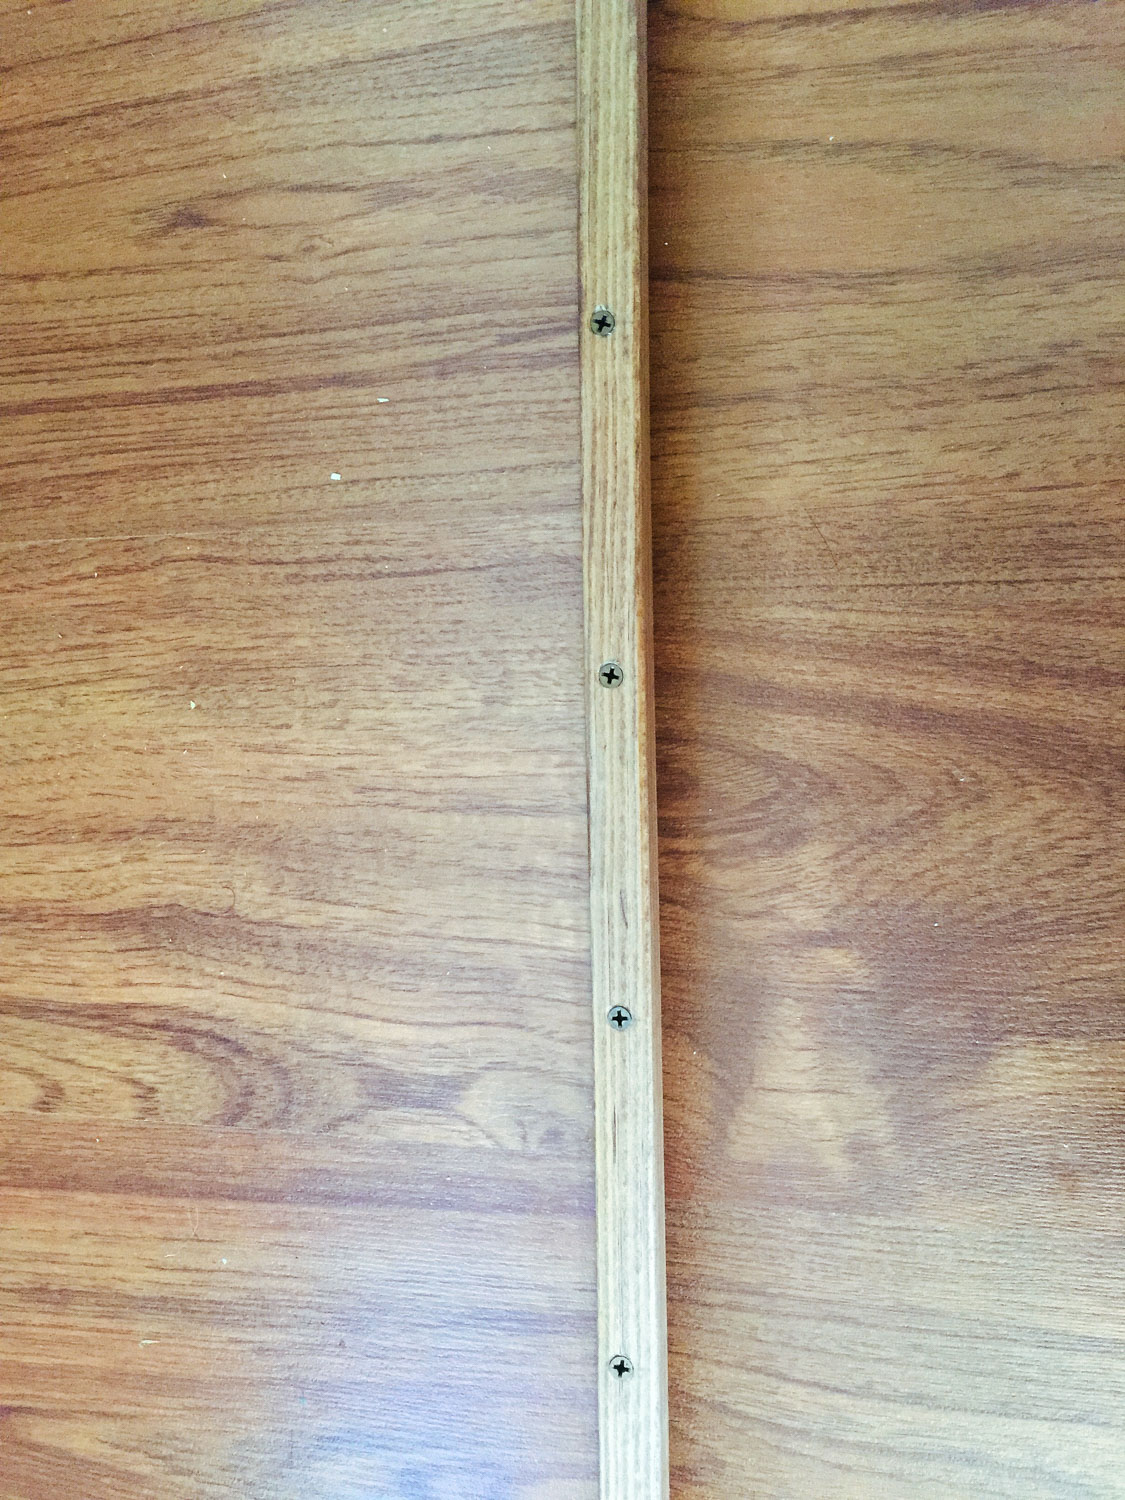
The slide floor trim was glued and then screwed in.


A Post About The Floor
Solar And Batteries
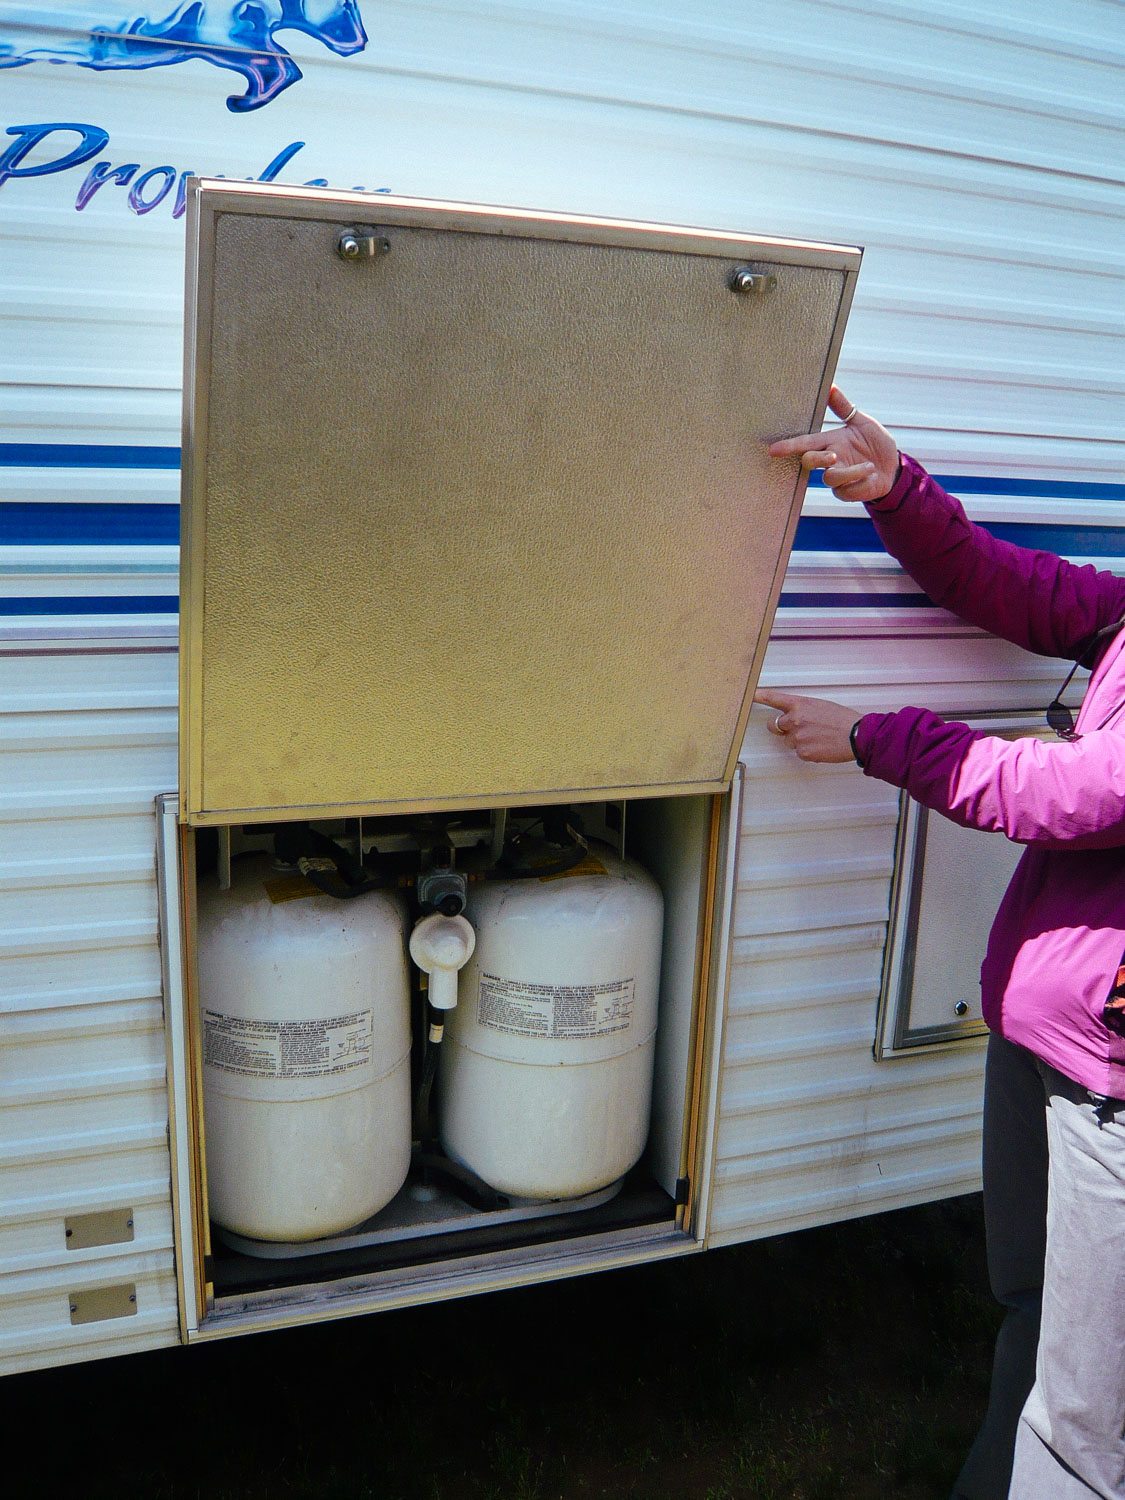
We don't have any need for propane tanks, so we sold the tanks and converted this compartment into our battery compartment.
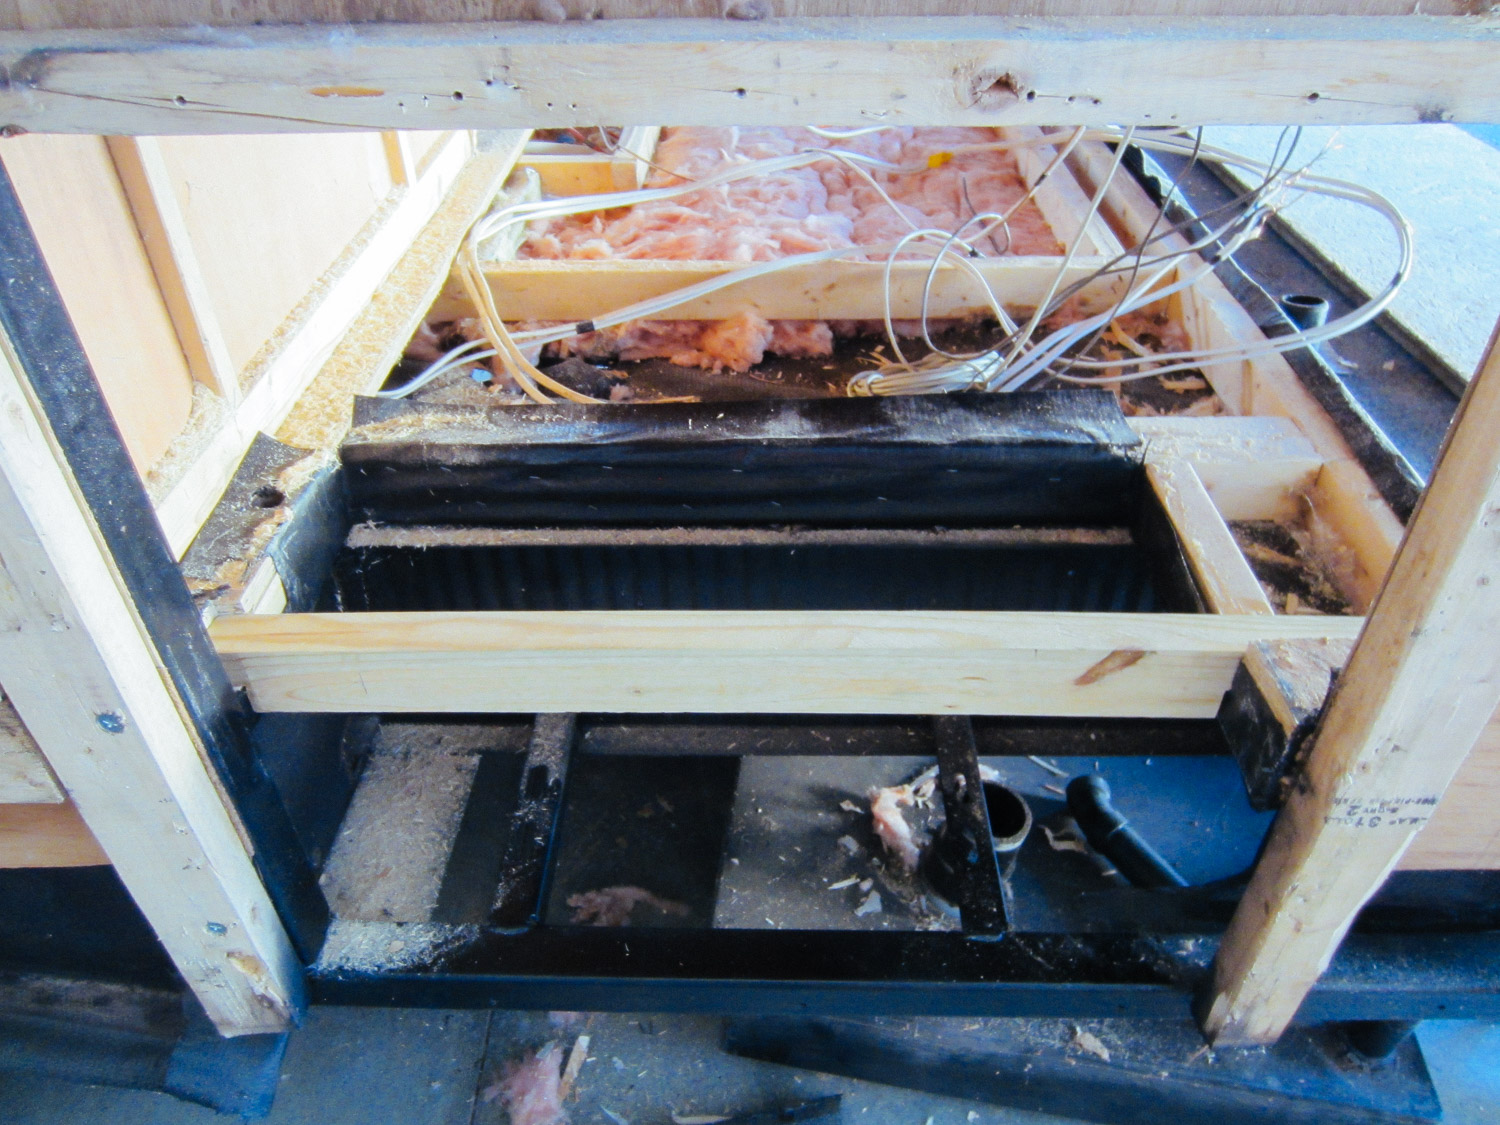
Renovating the propane compartment so it can hold all of our batteries.
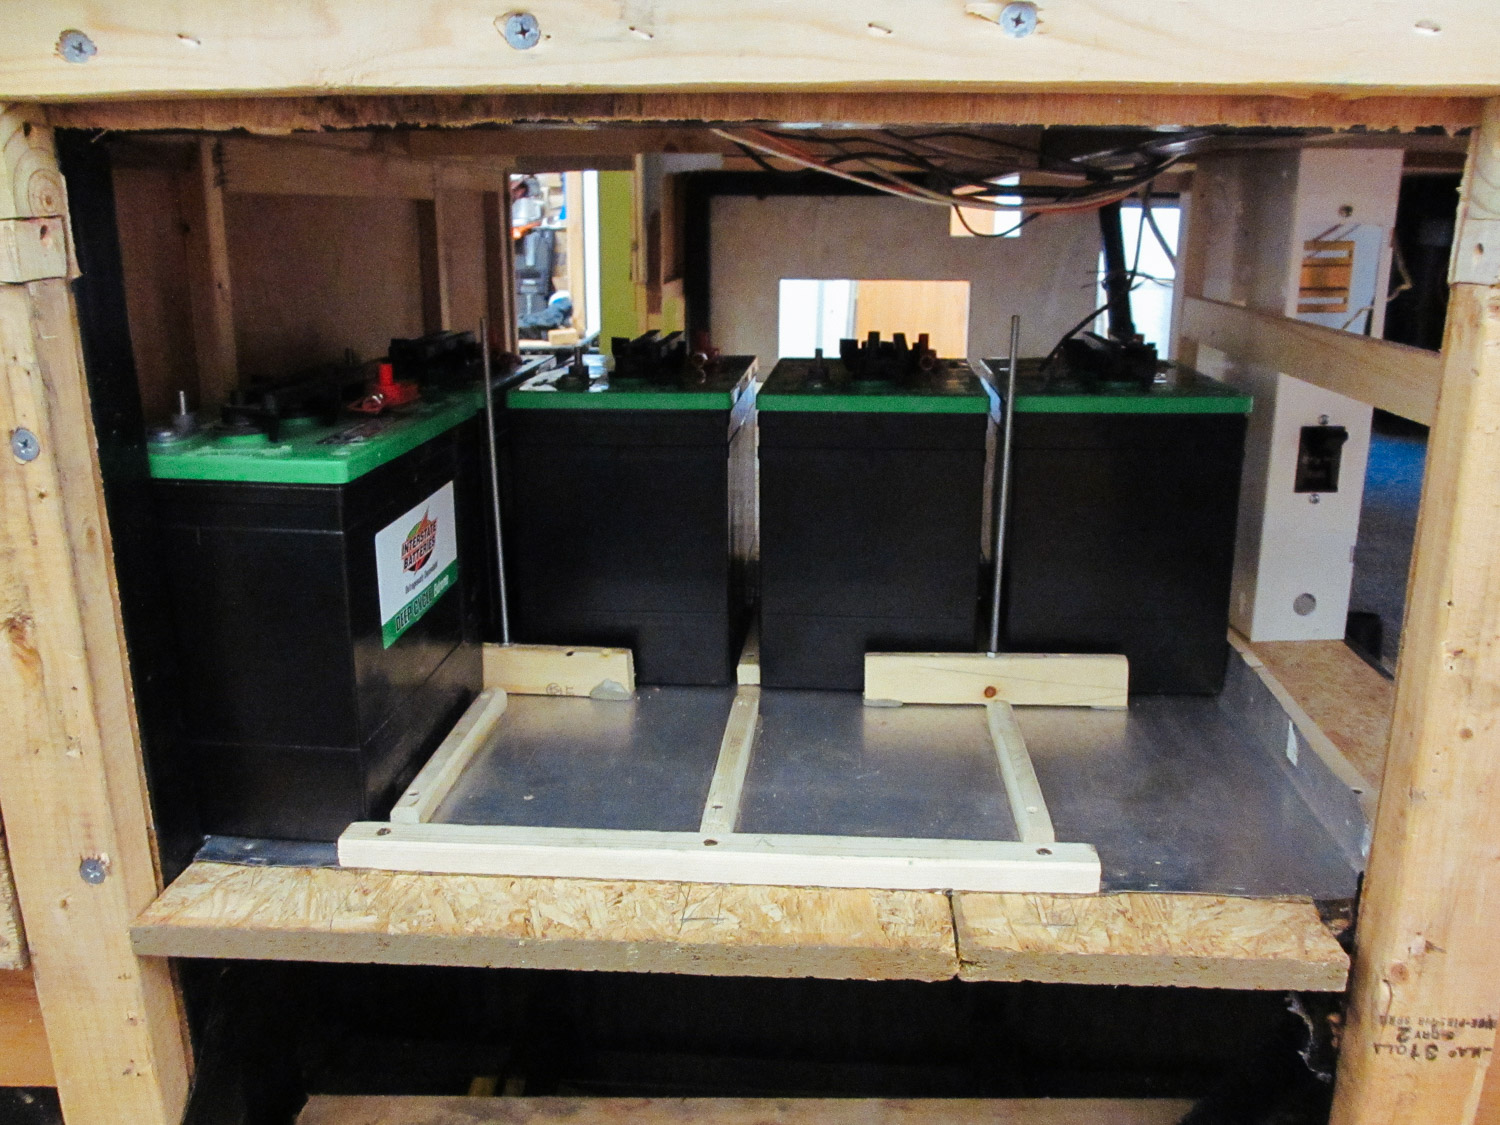
The compartment was designed to maintain spacing between the batteries and clamp them in position.
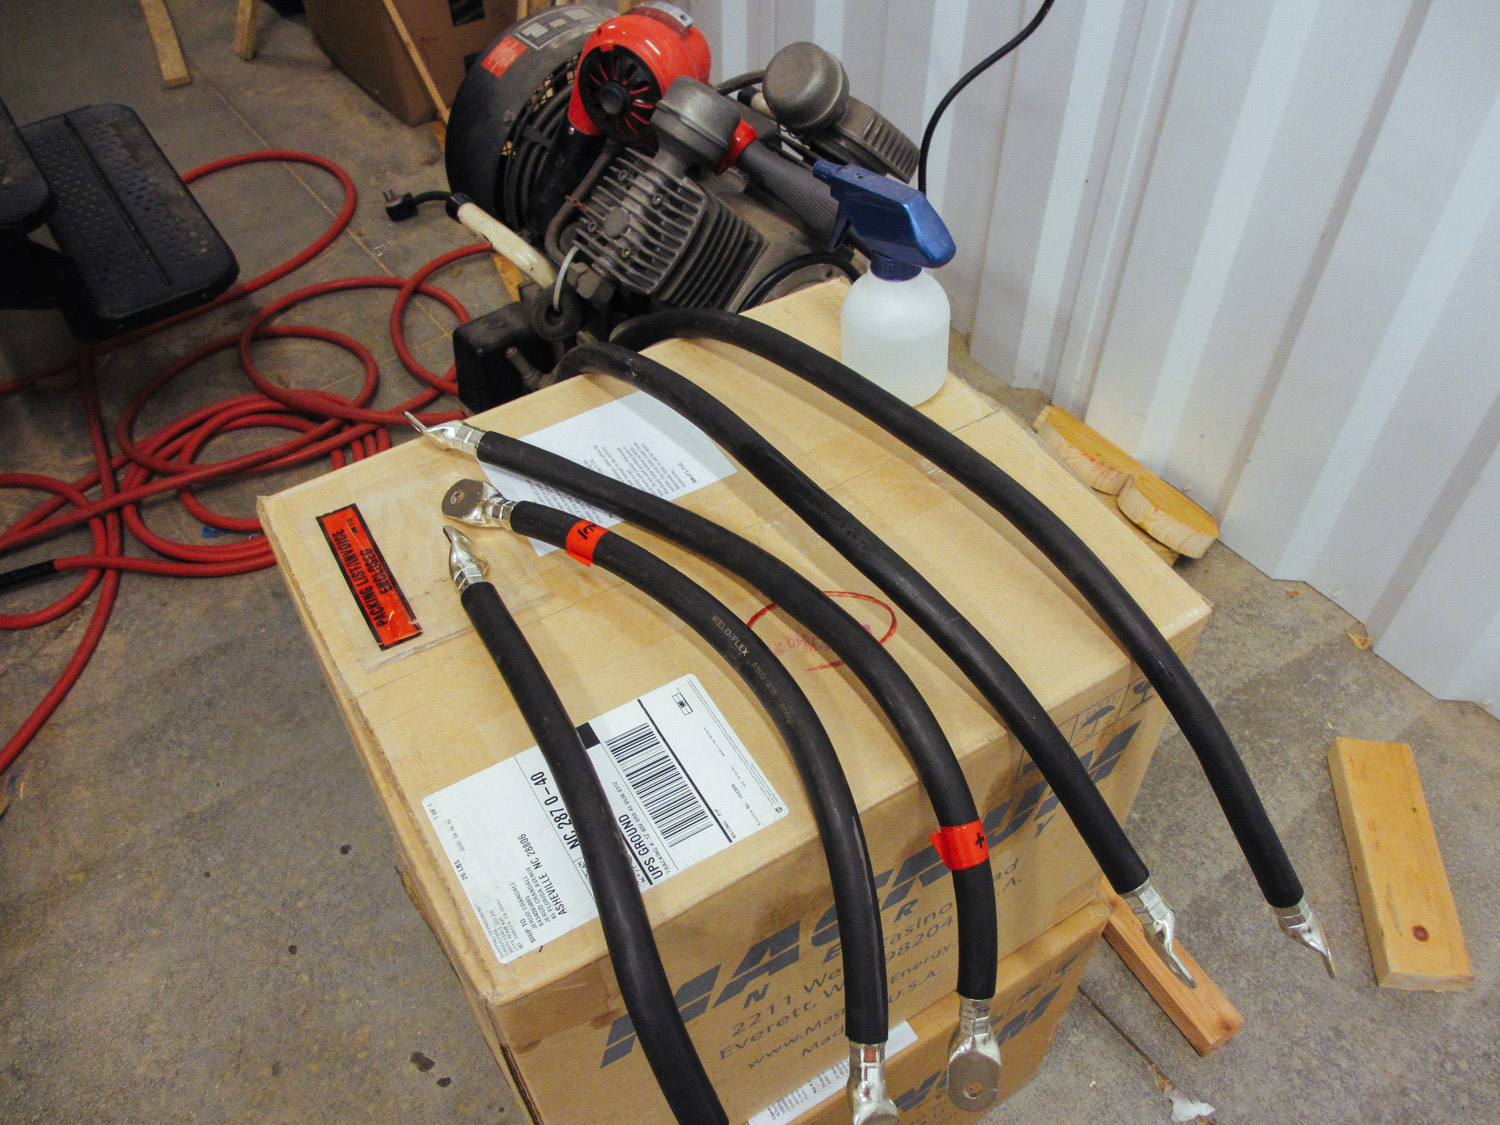
We made our own battery connection cables.
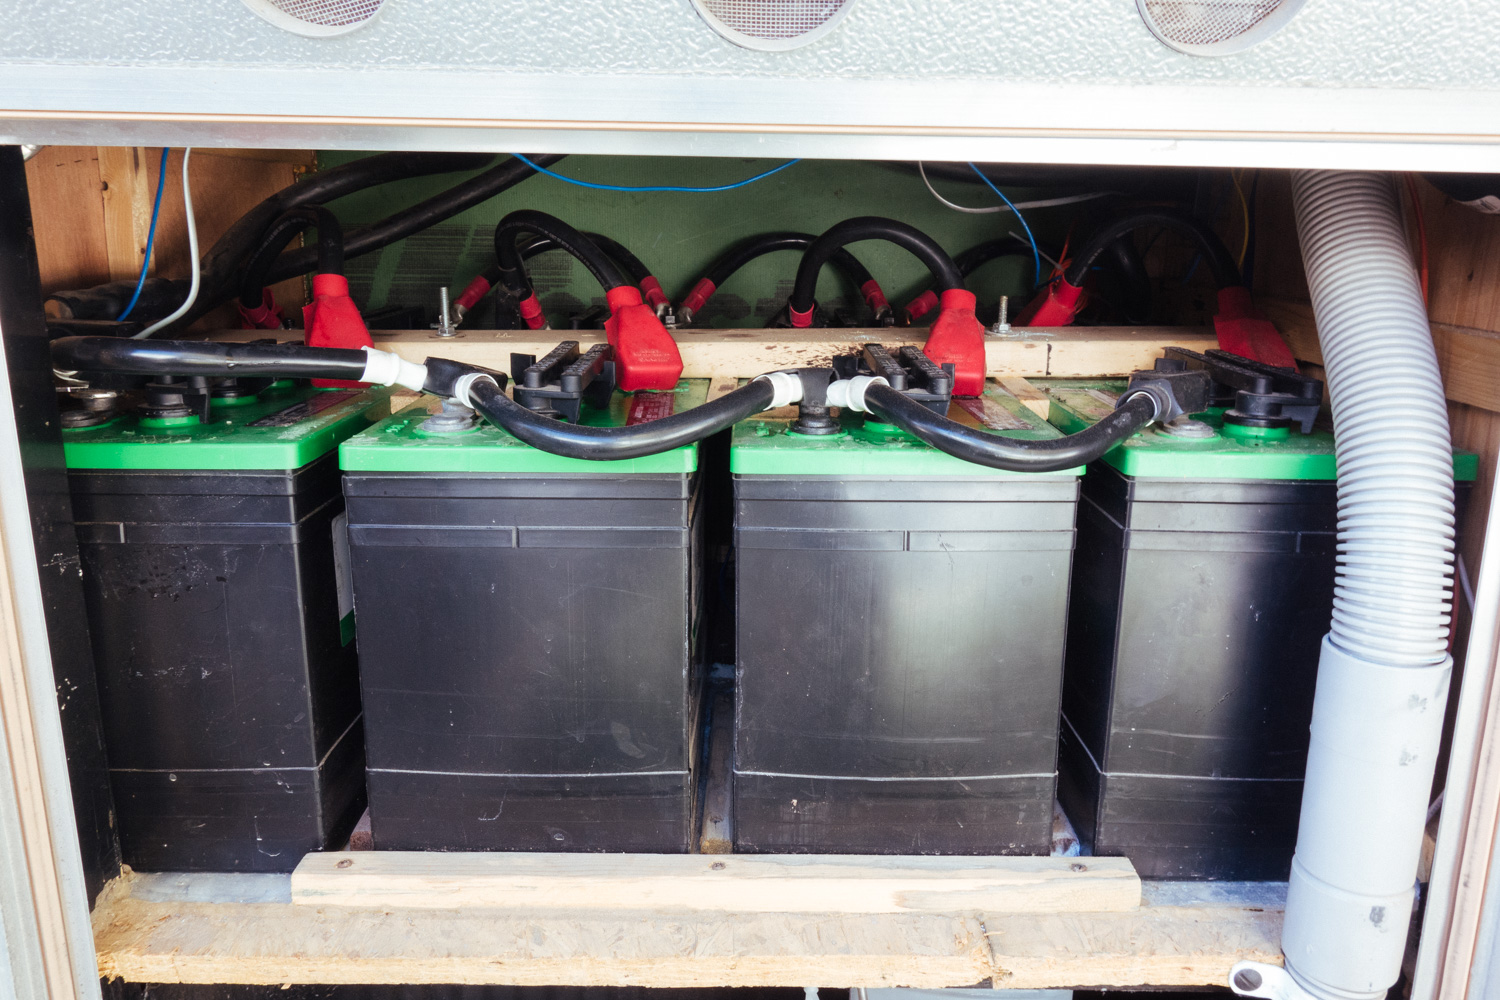
Batteries installed and cabled.
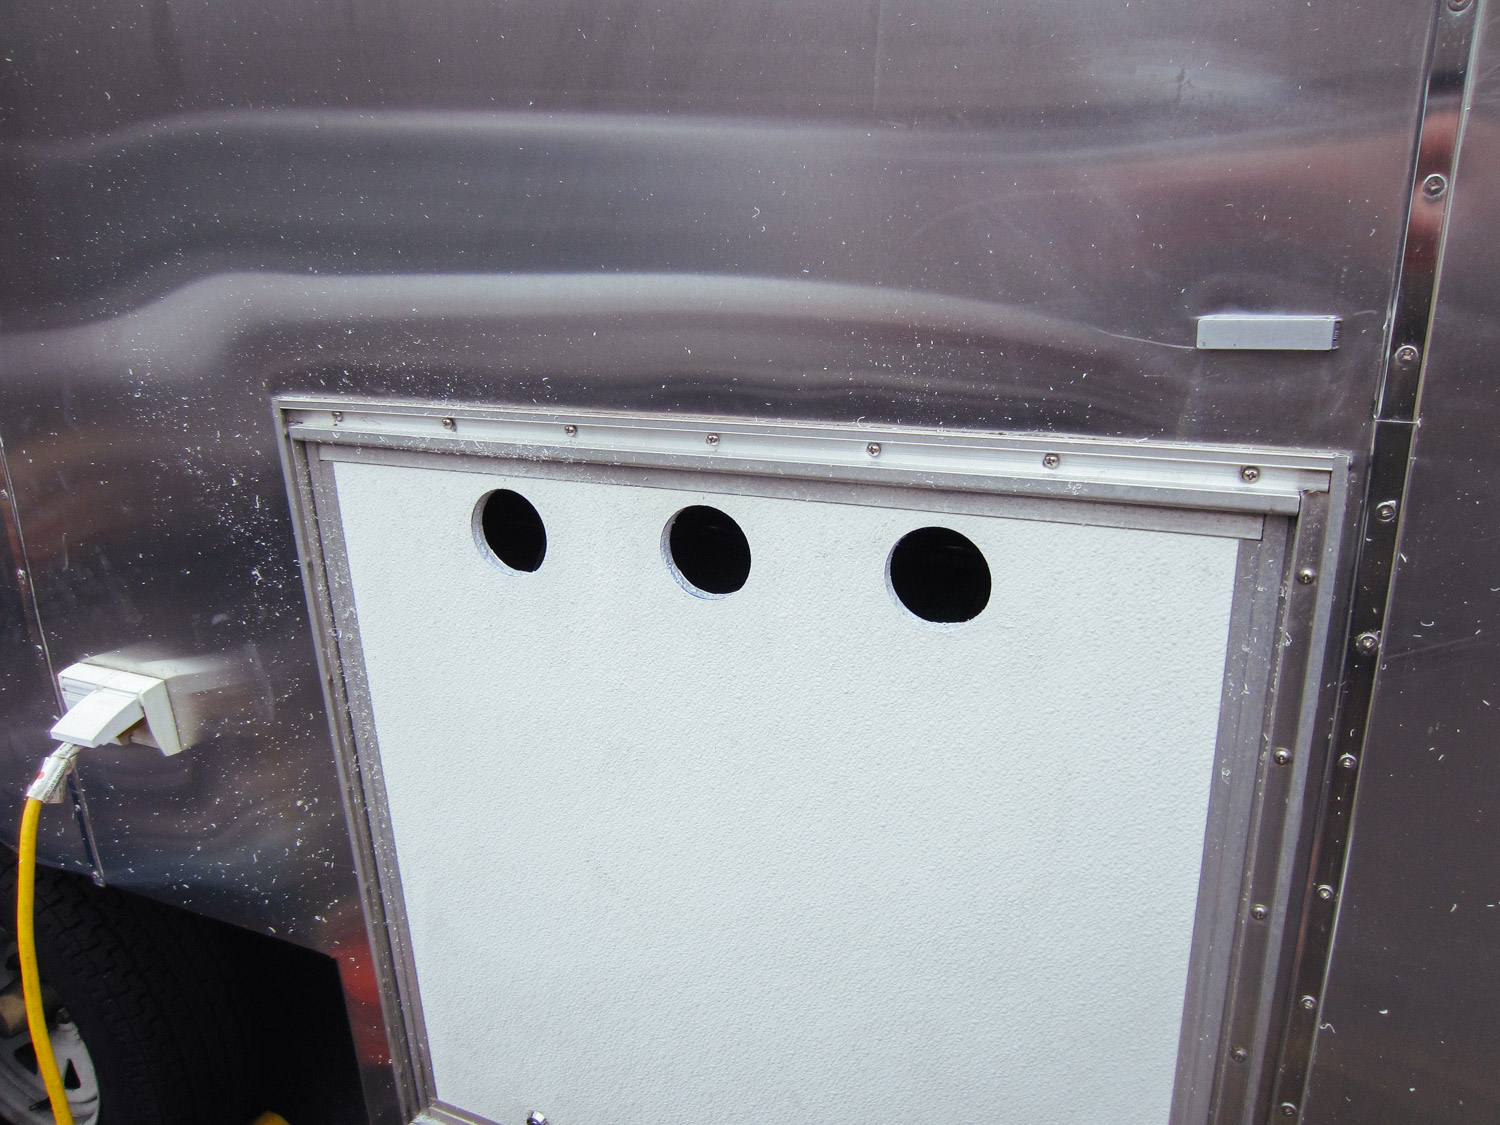
We drilled vent holes into the compartment door to keep the batteries cool and vent battery gases.
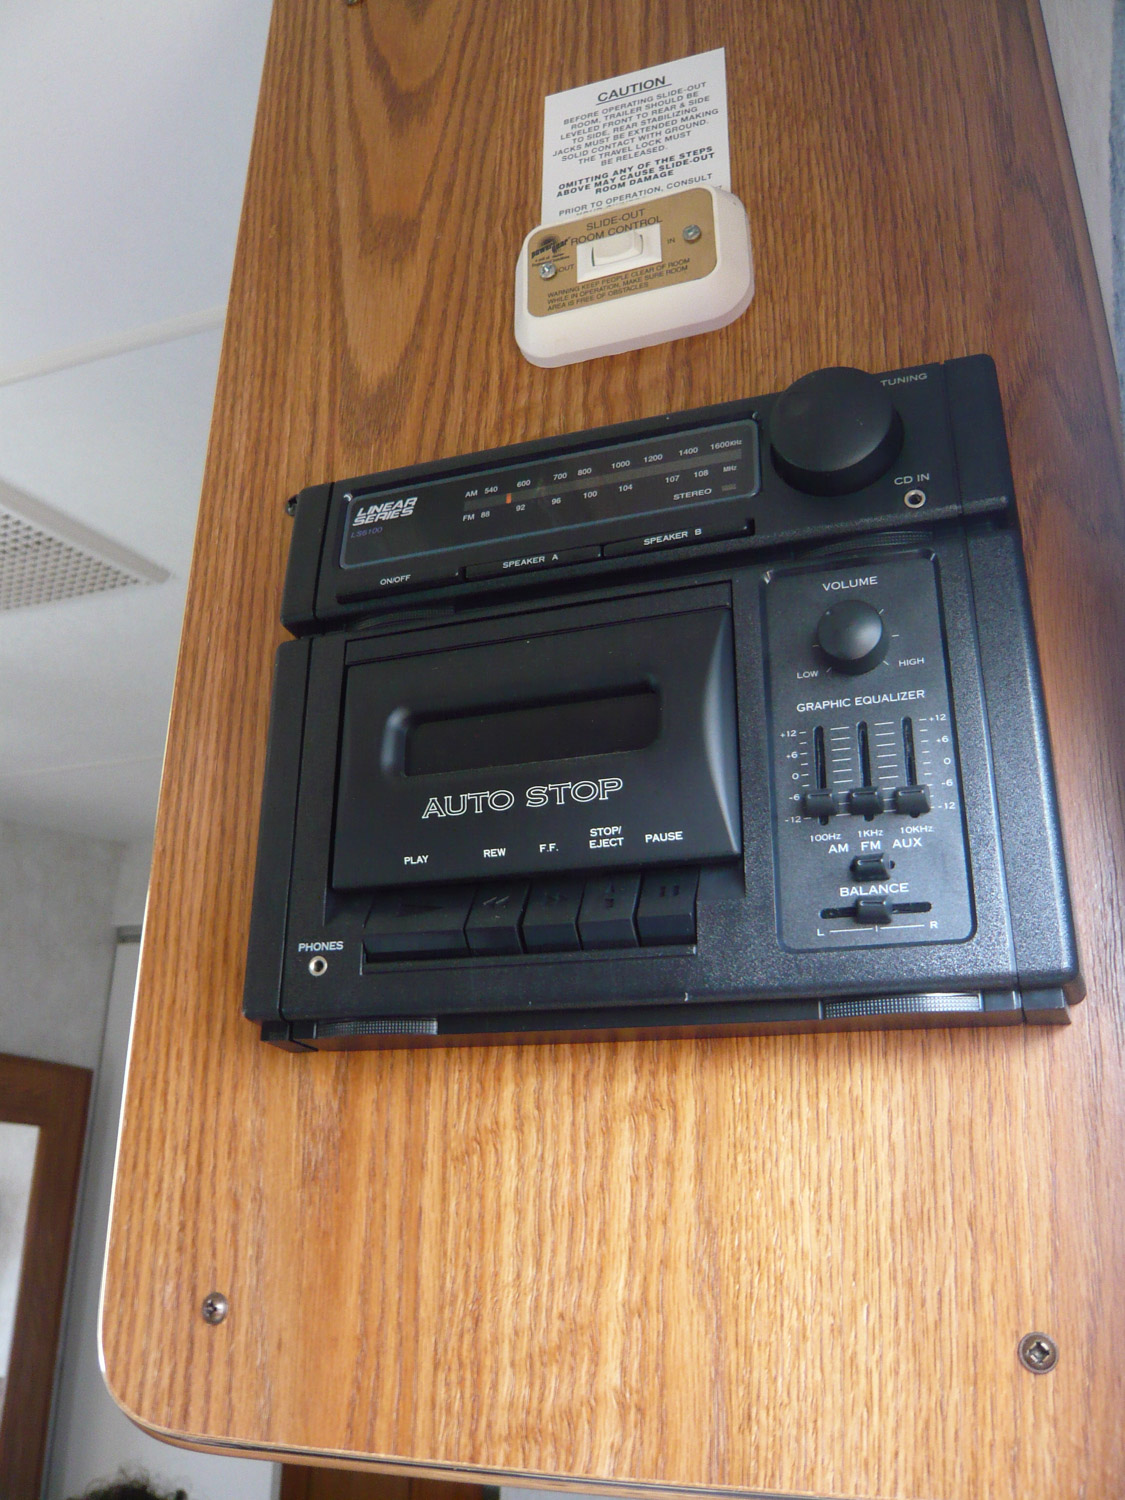
We used to have a sweet cassette deck!
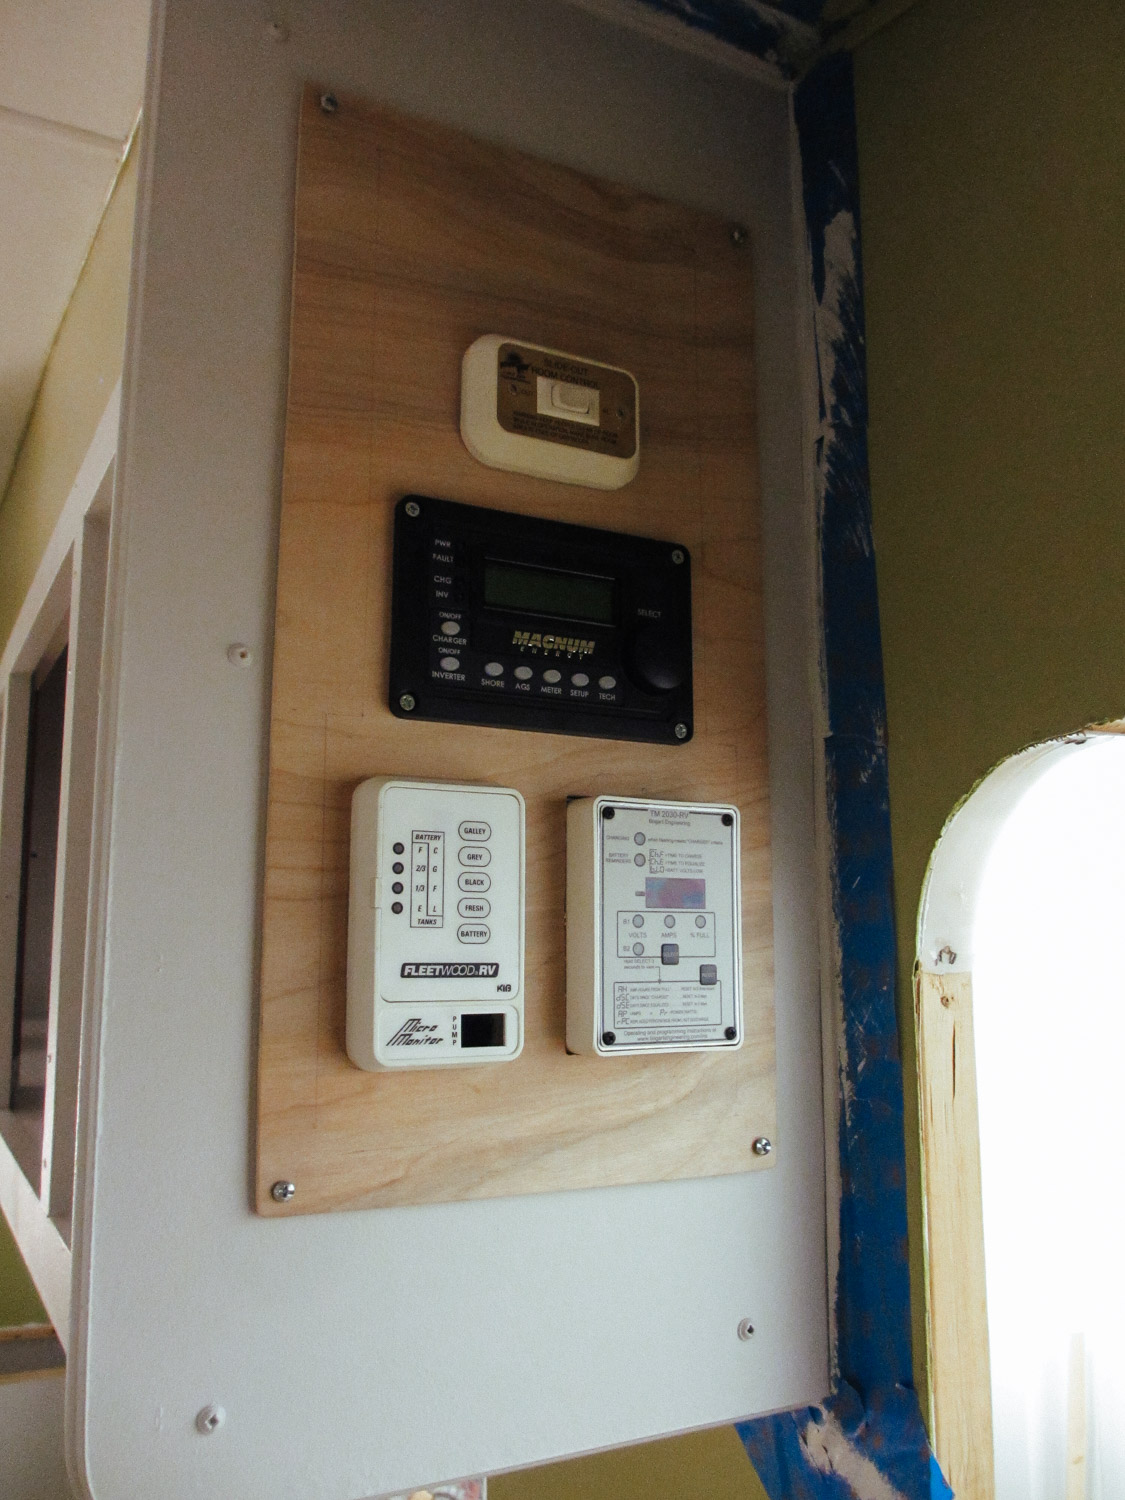
Our first version of our control panel included (top to bottom): slide control, inverter control, tank level sensors (left), and Trimetric battery monitor.
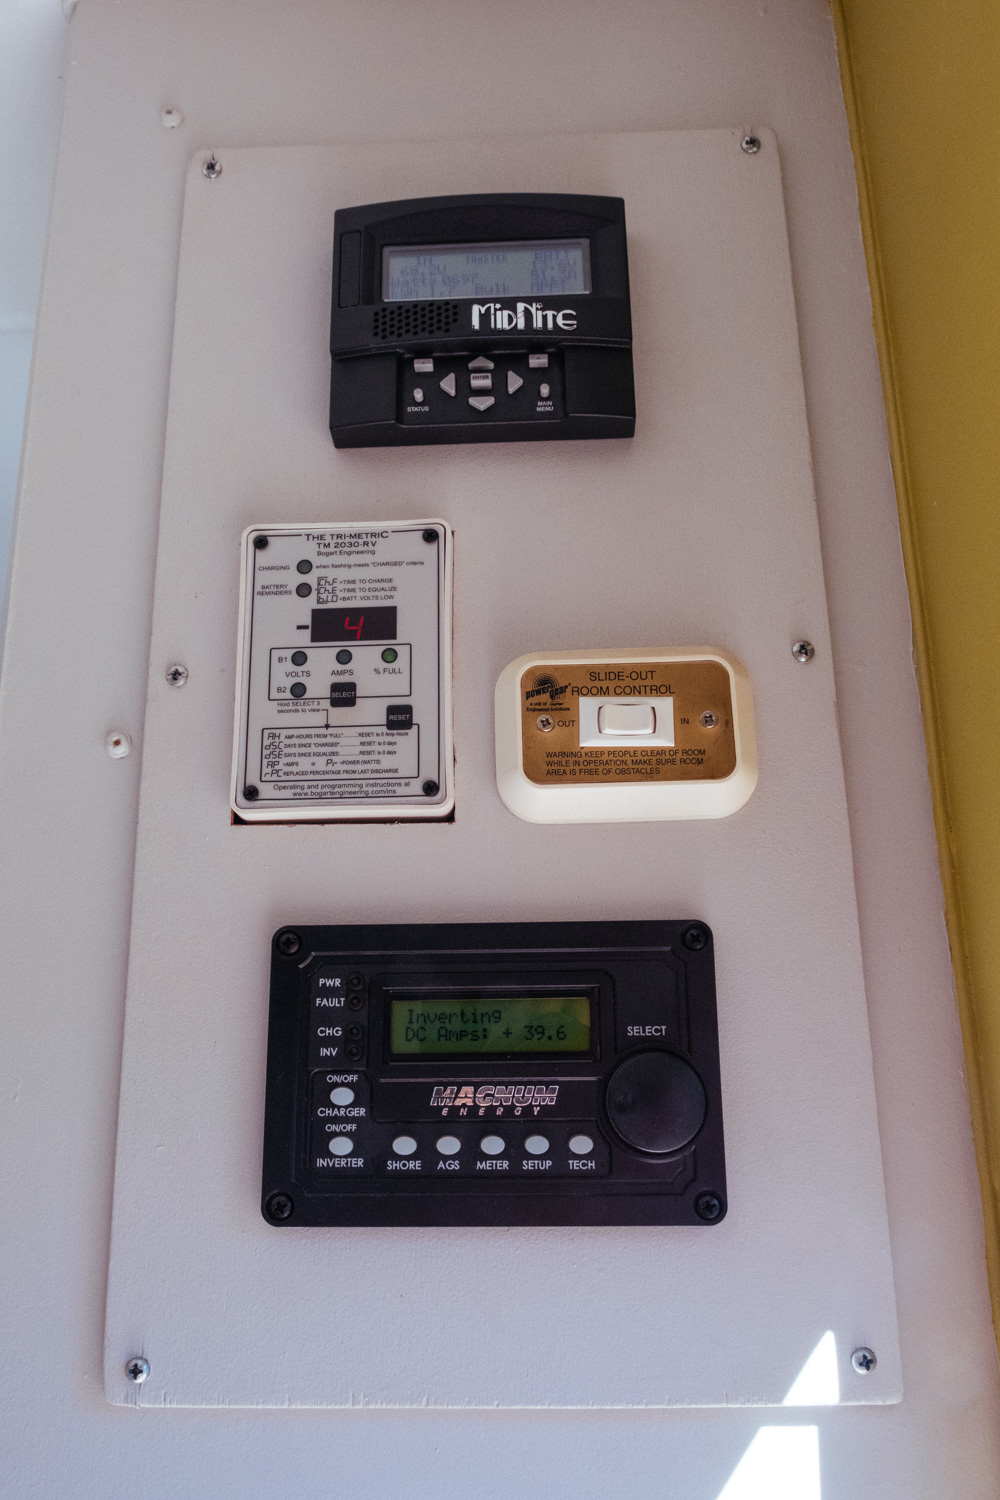
This is our current control panel layout (top to bottom): Midnight Solar remote display, Trimetric battery monitor, slide control, and Magnum inverter remote.
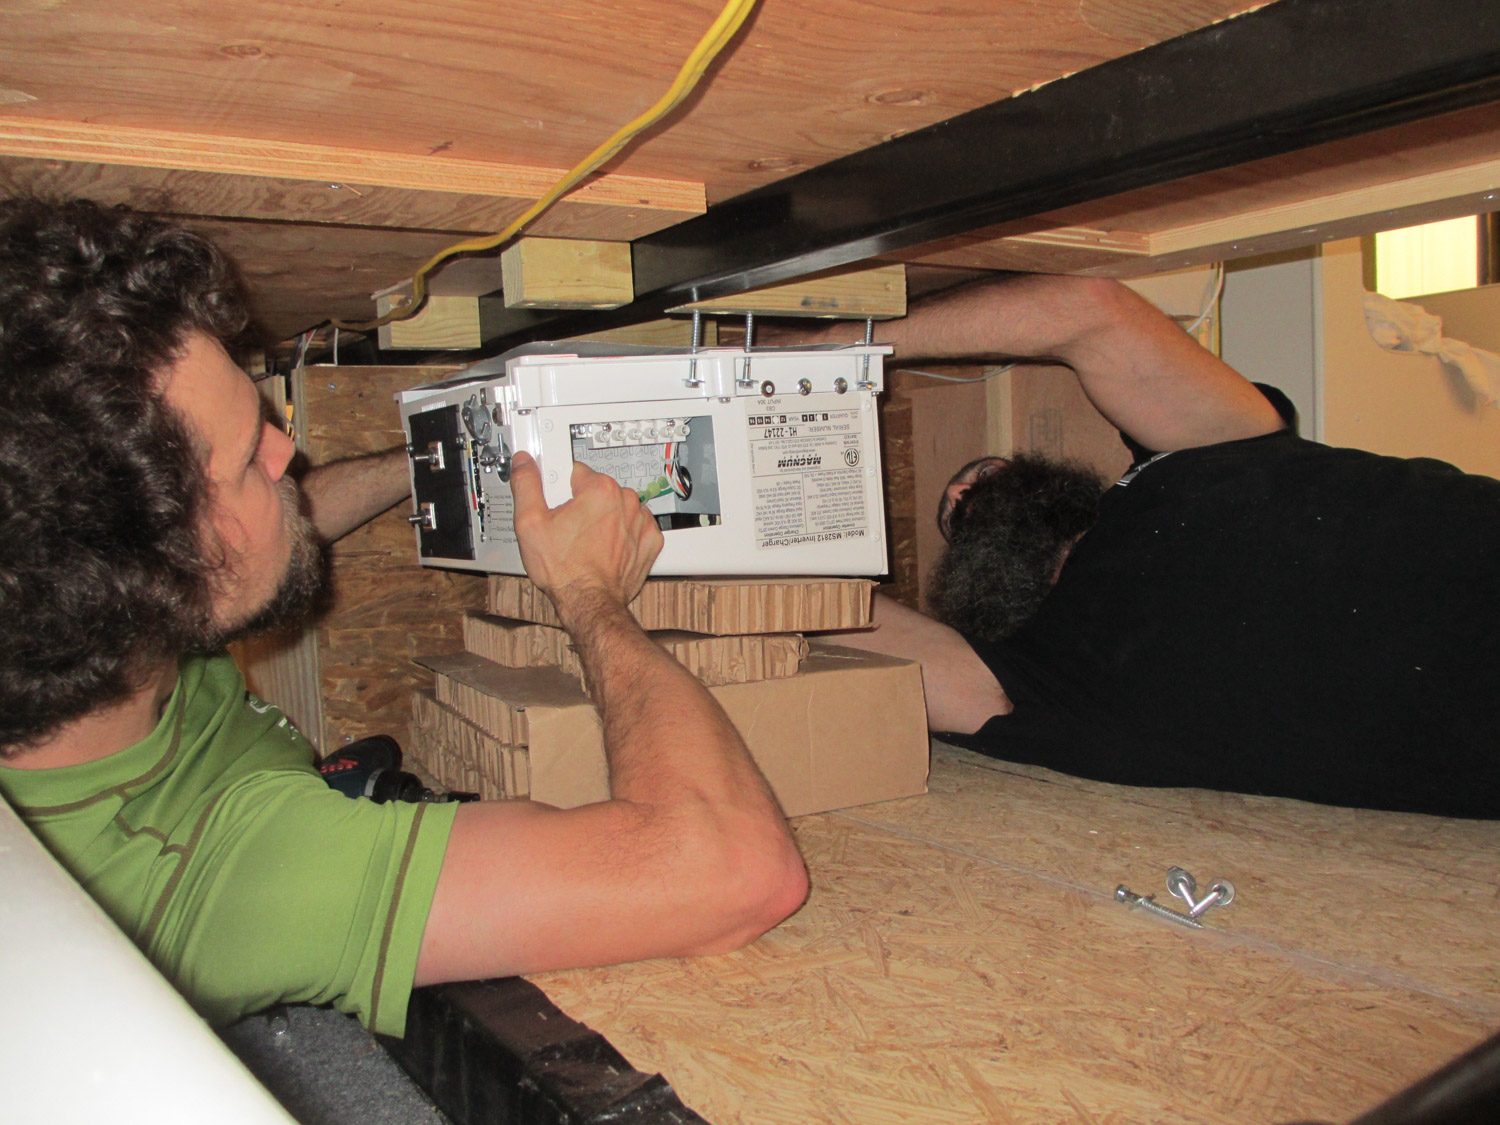
Installing the inverter in the basement was cramped and awkward.
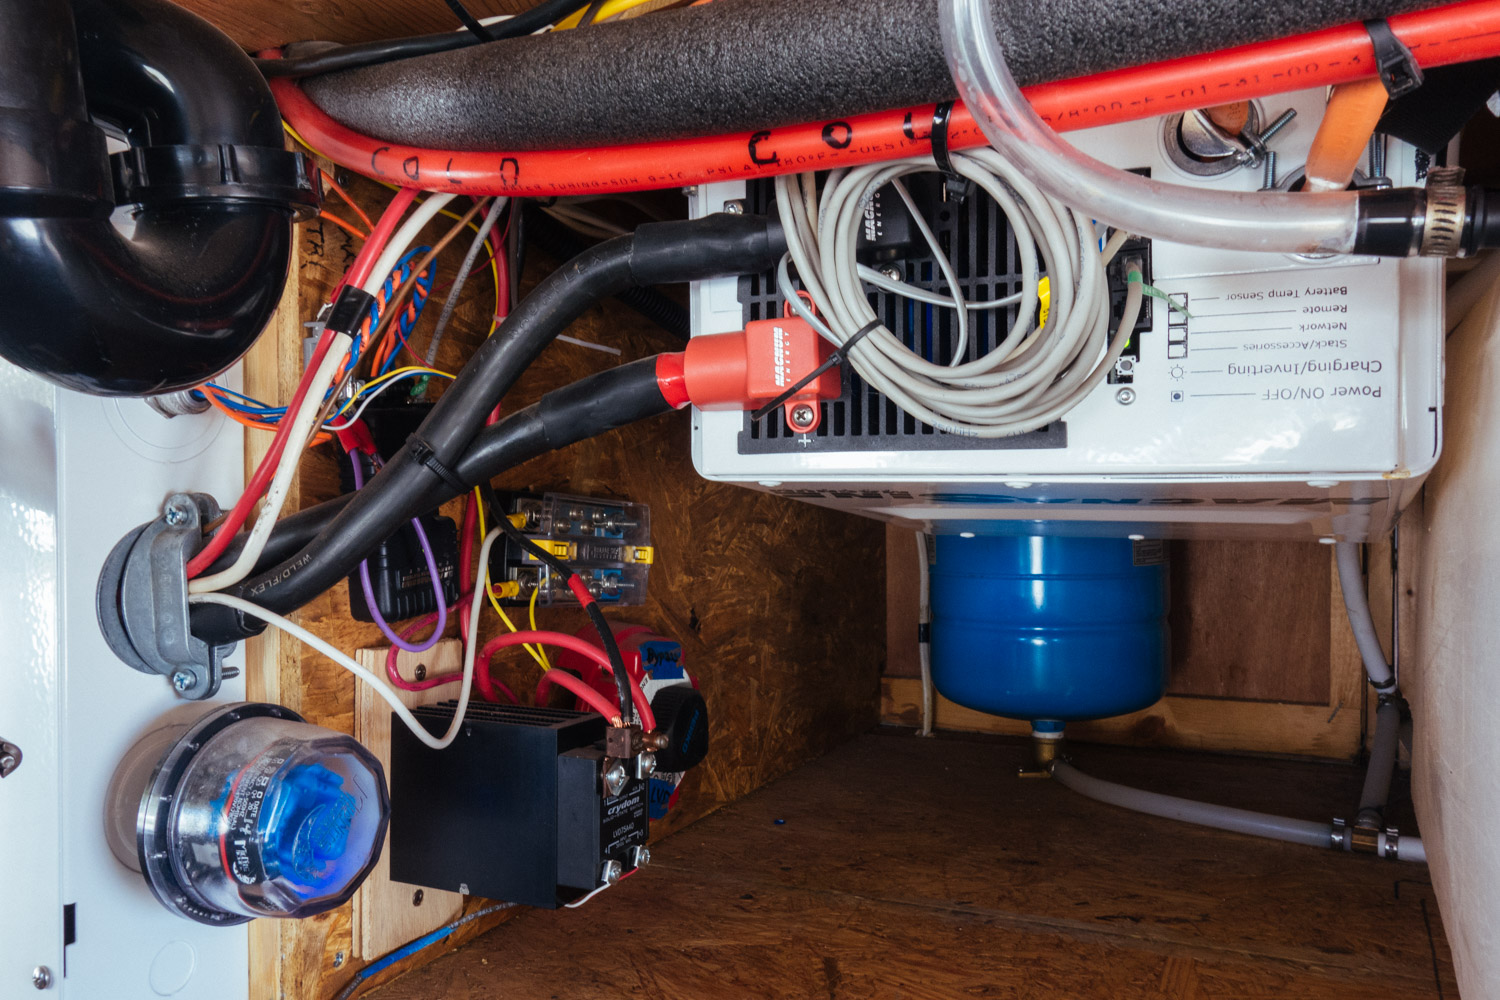
Inverter and breaker box cabling.
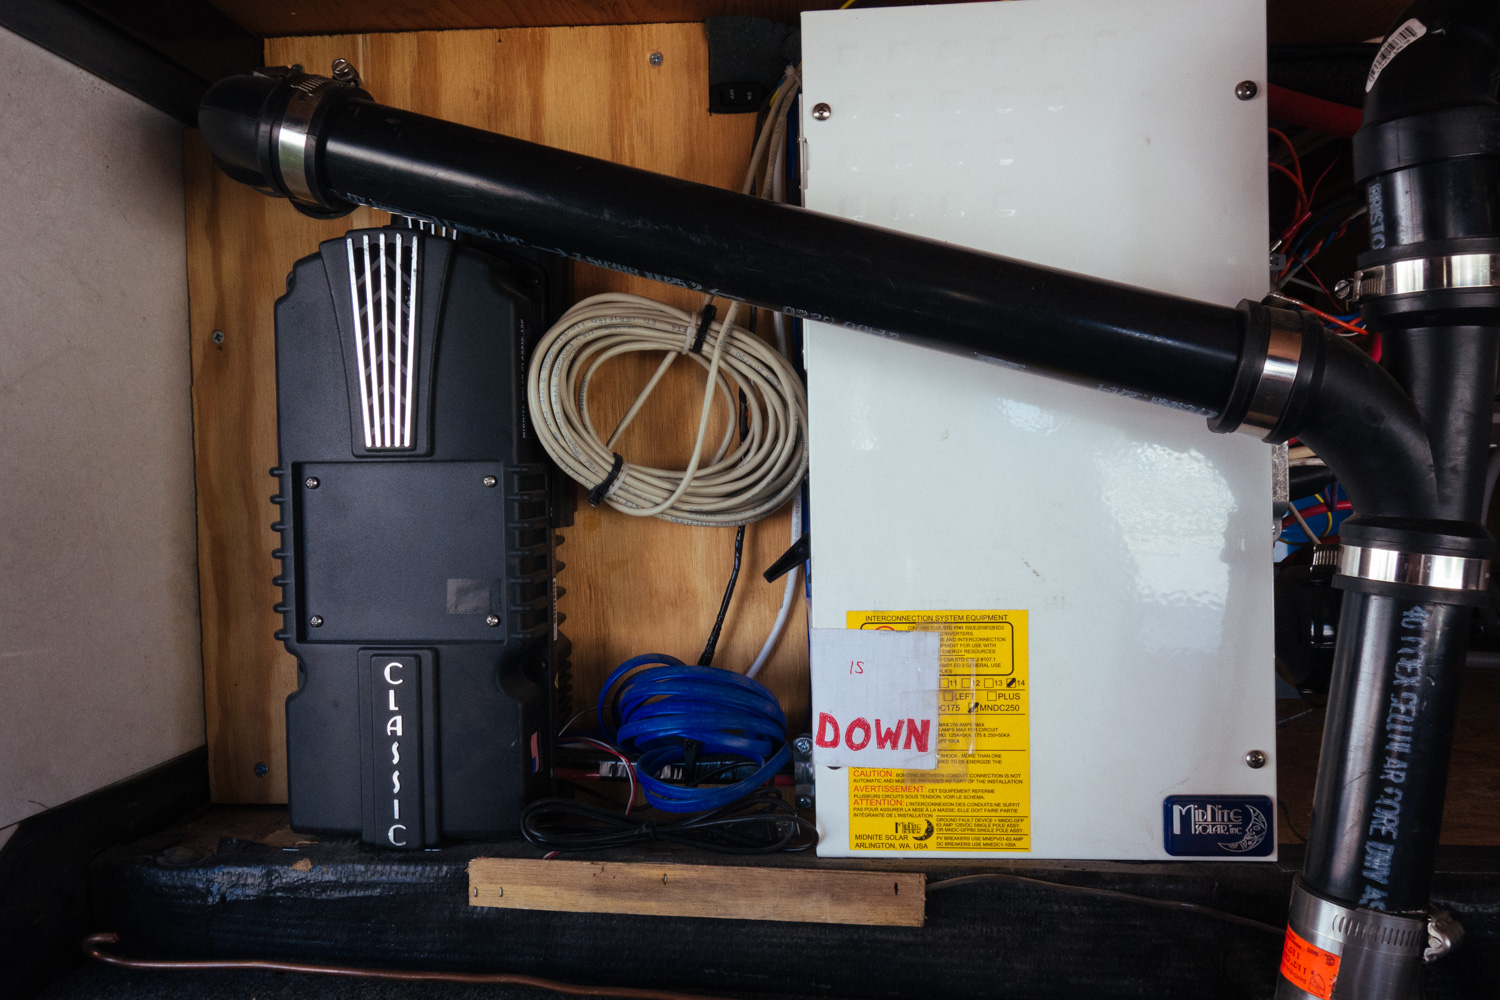
Charge controller and breaker box (after moving remote display to the control panel inside the rig in summer of 2015).
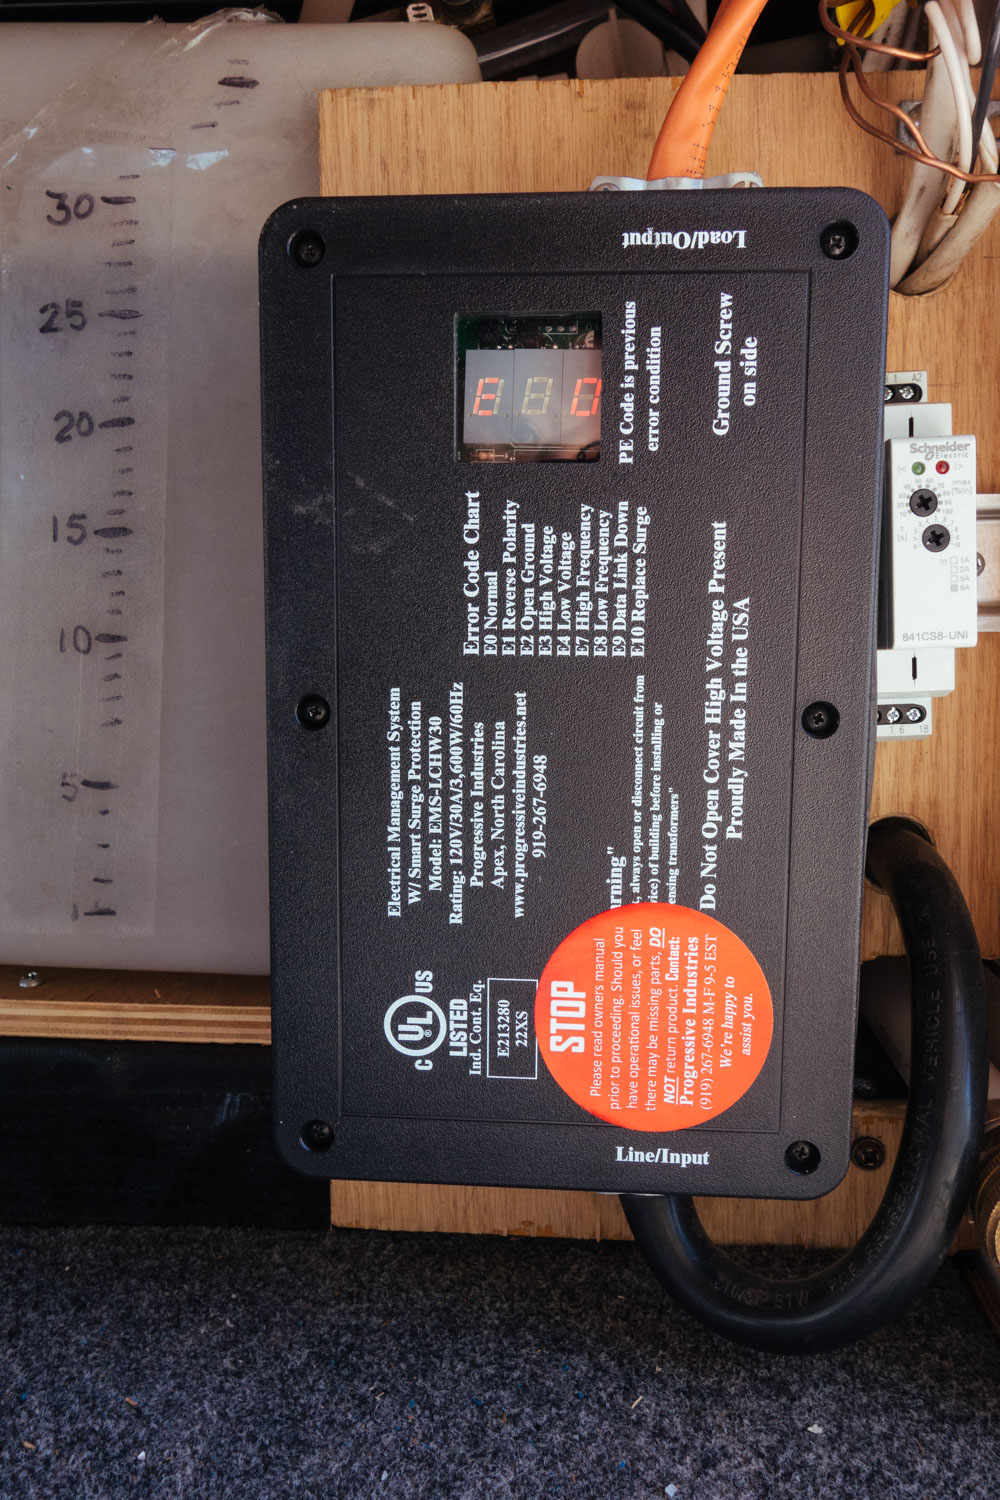
This is our shore power hardwired surge protector.
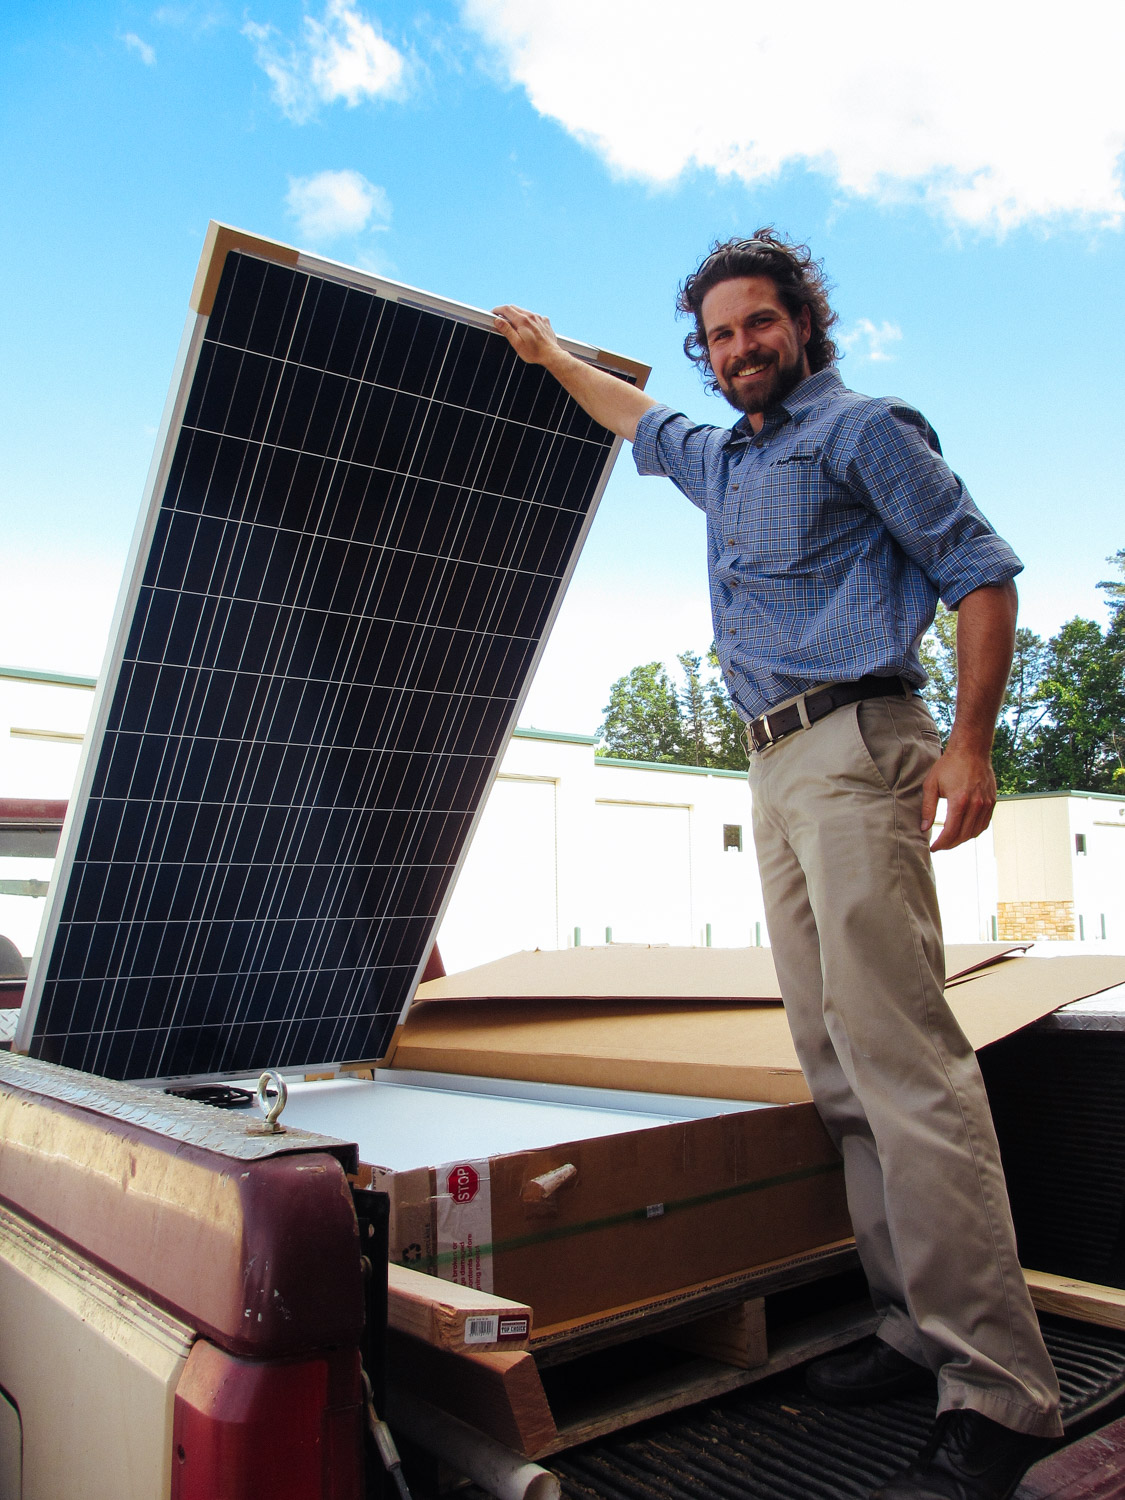
Taking delivery of our solar panels.
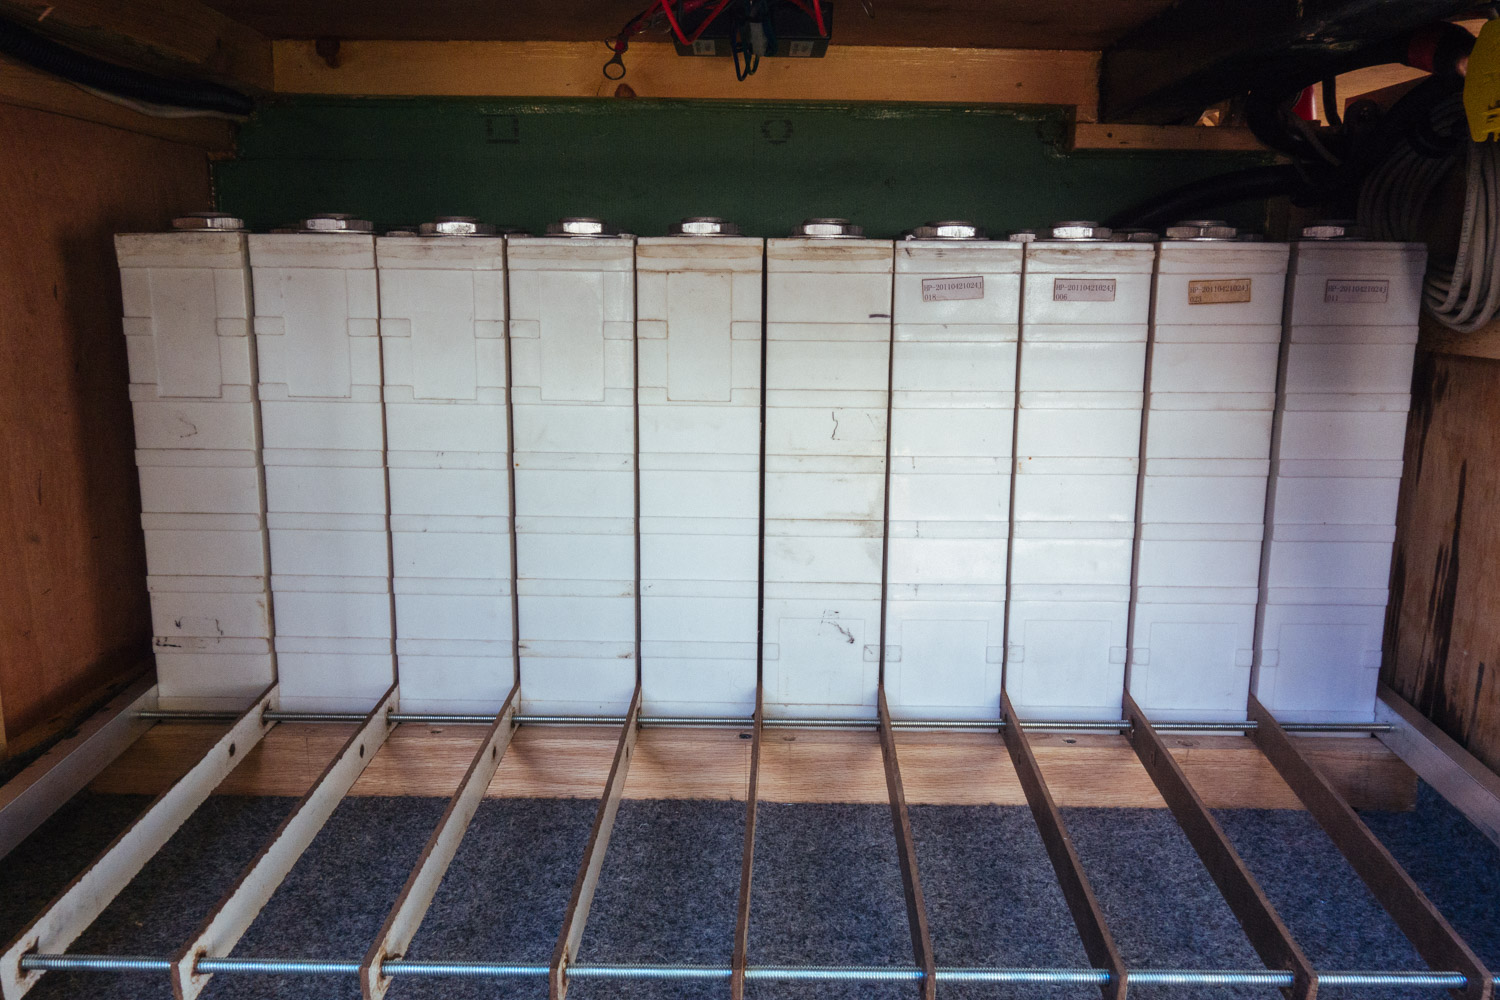
In April 2017 we upgraded our lead acid batteries to lithium. This shows the spacers between the cells and allthread clamps.
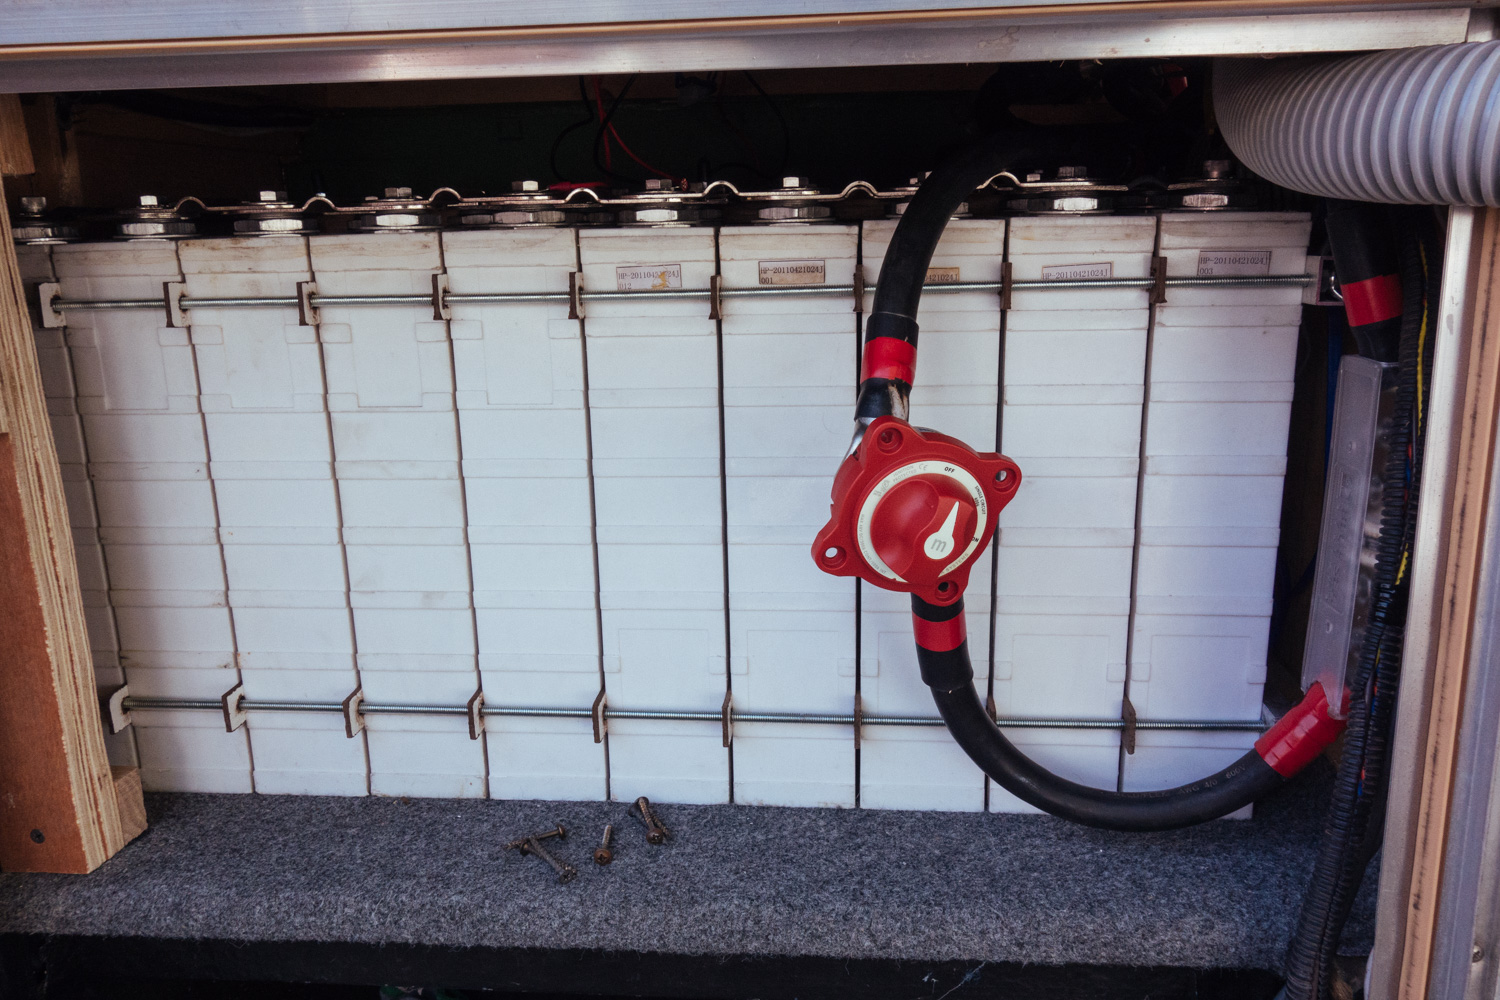
The assembled pack of 20 lithium cells.
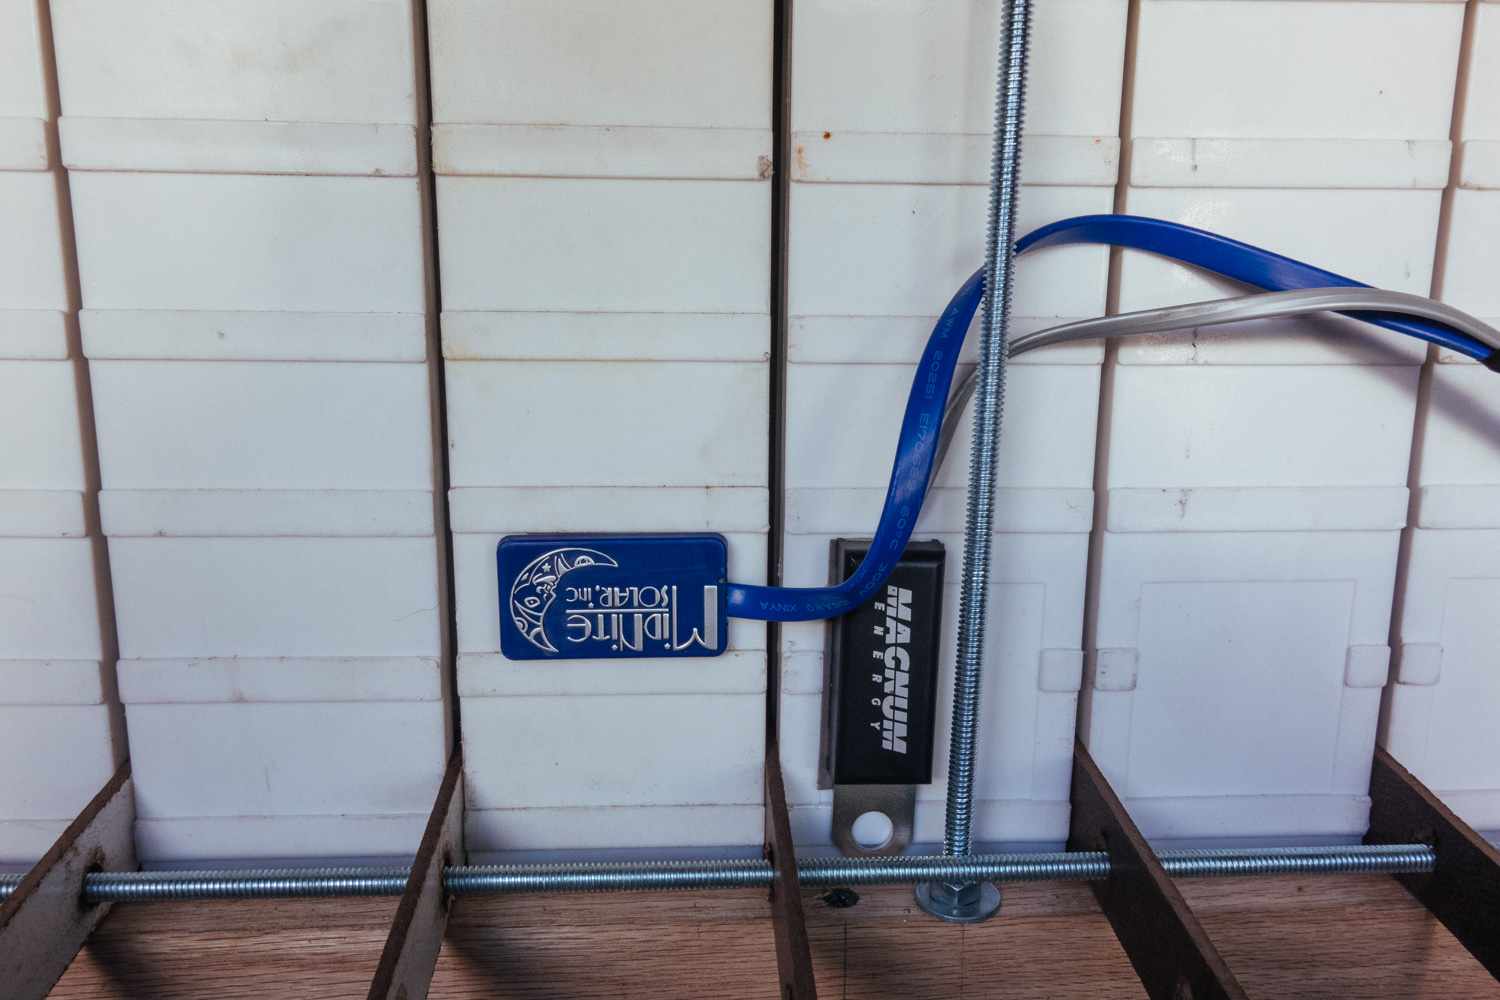
Battery temperature sensors.
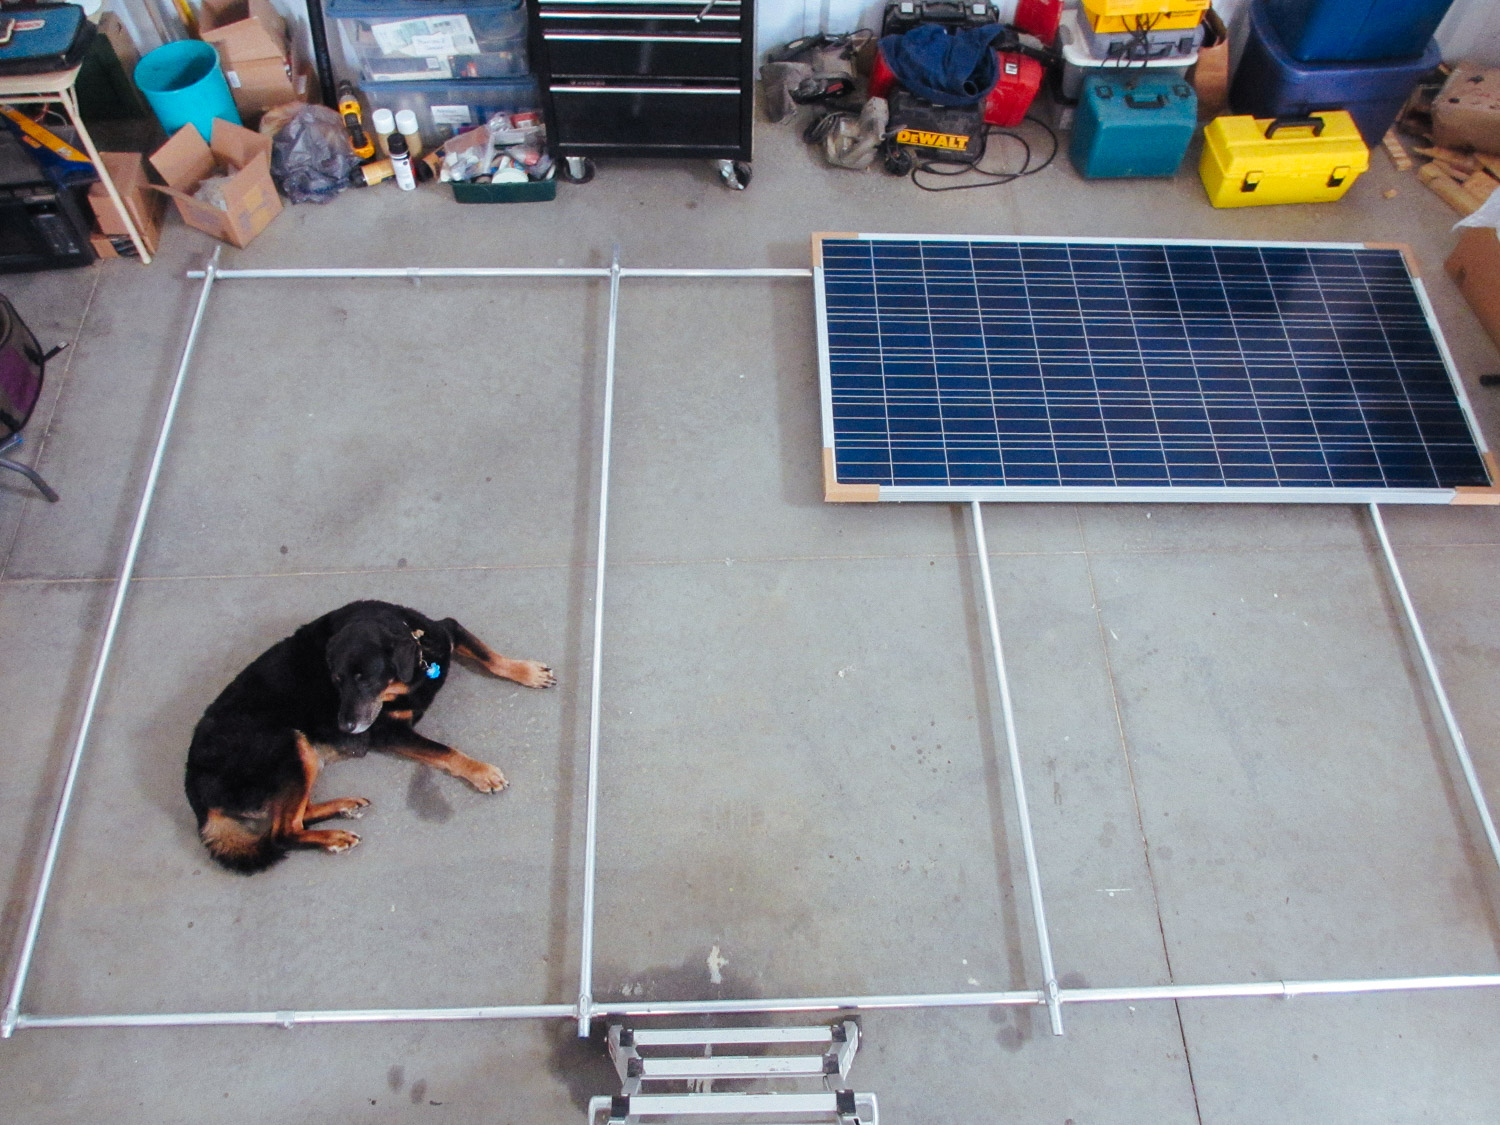
Laying out the solar panel rack.

This is the first edition of our "BMS panel" (battery management system), mounted on plywood from the battery shipping crate!
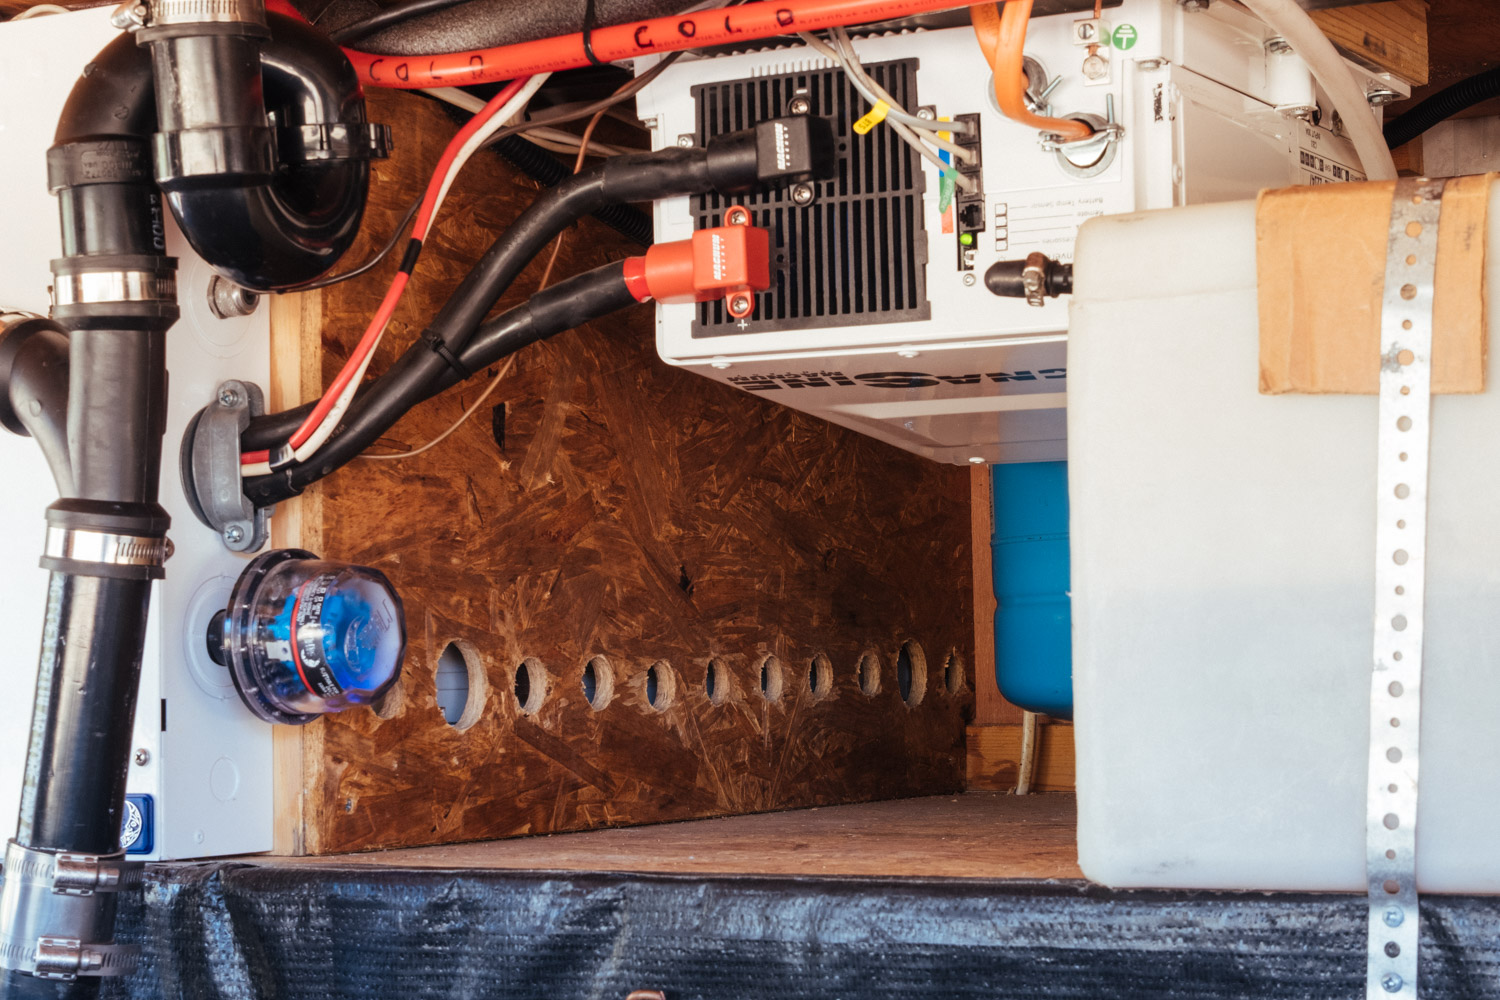
We added ventilation holes to the backside of the battery compartment (the view is through the basement).
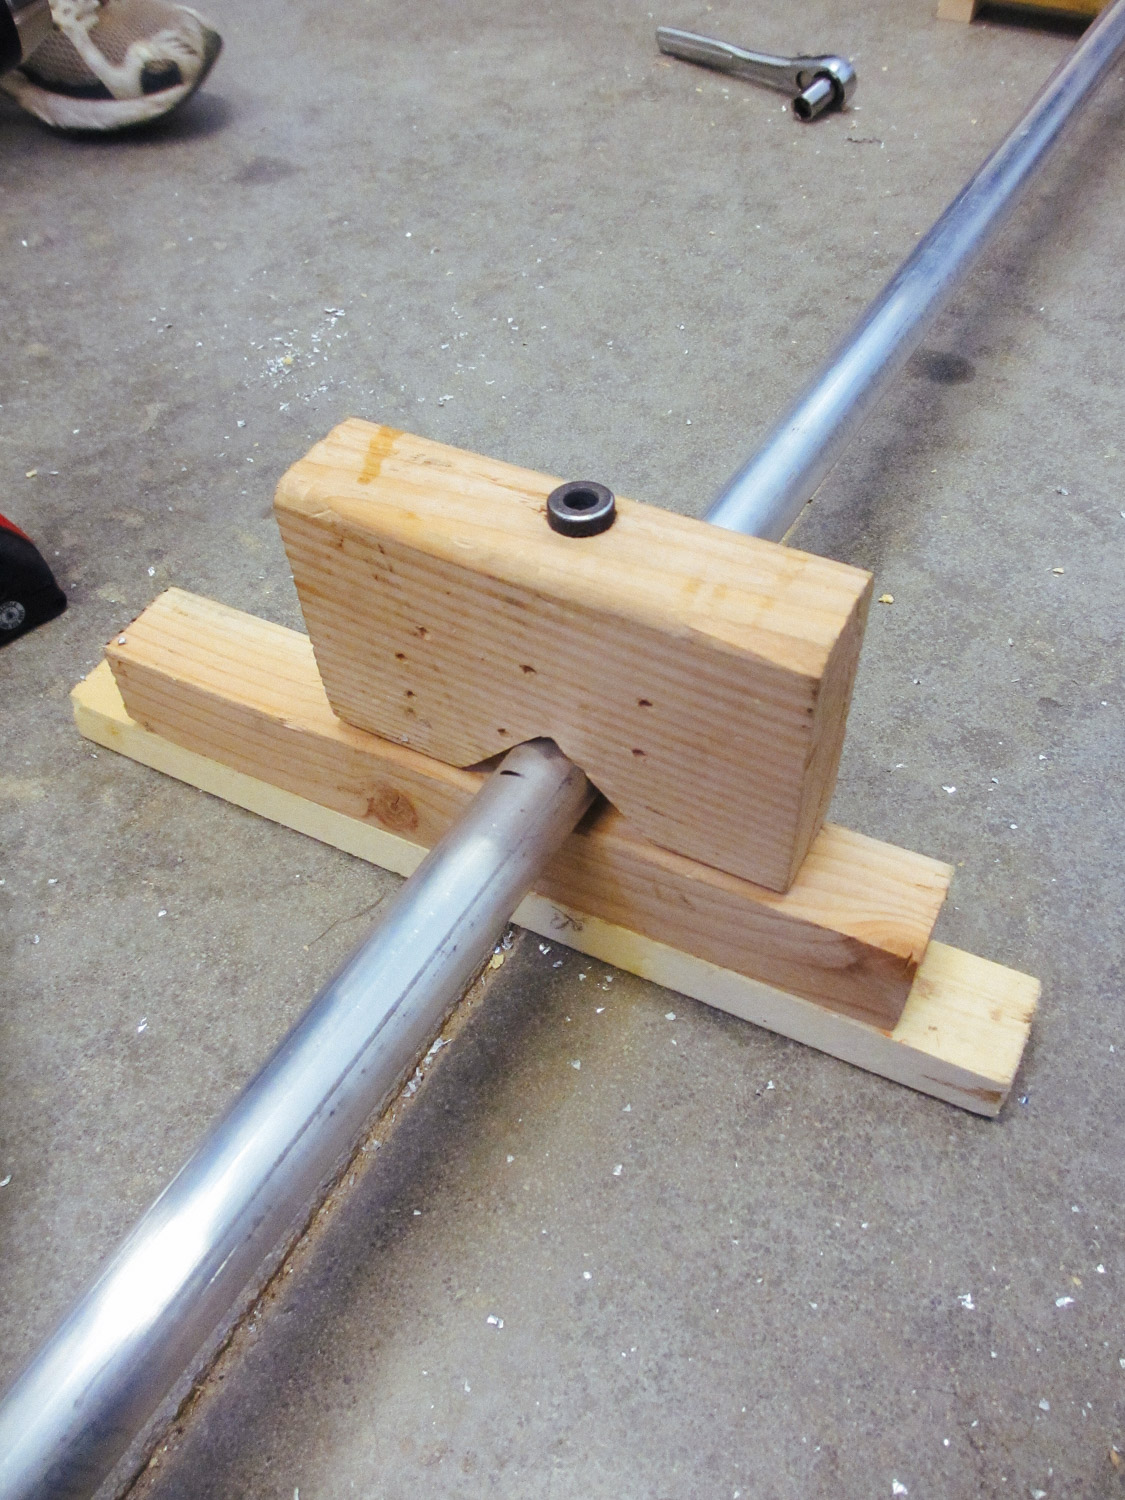
Using a jig to drill the round tubing straight.
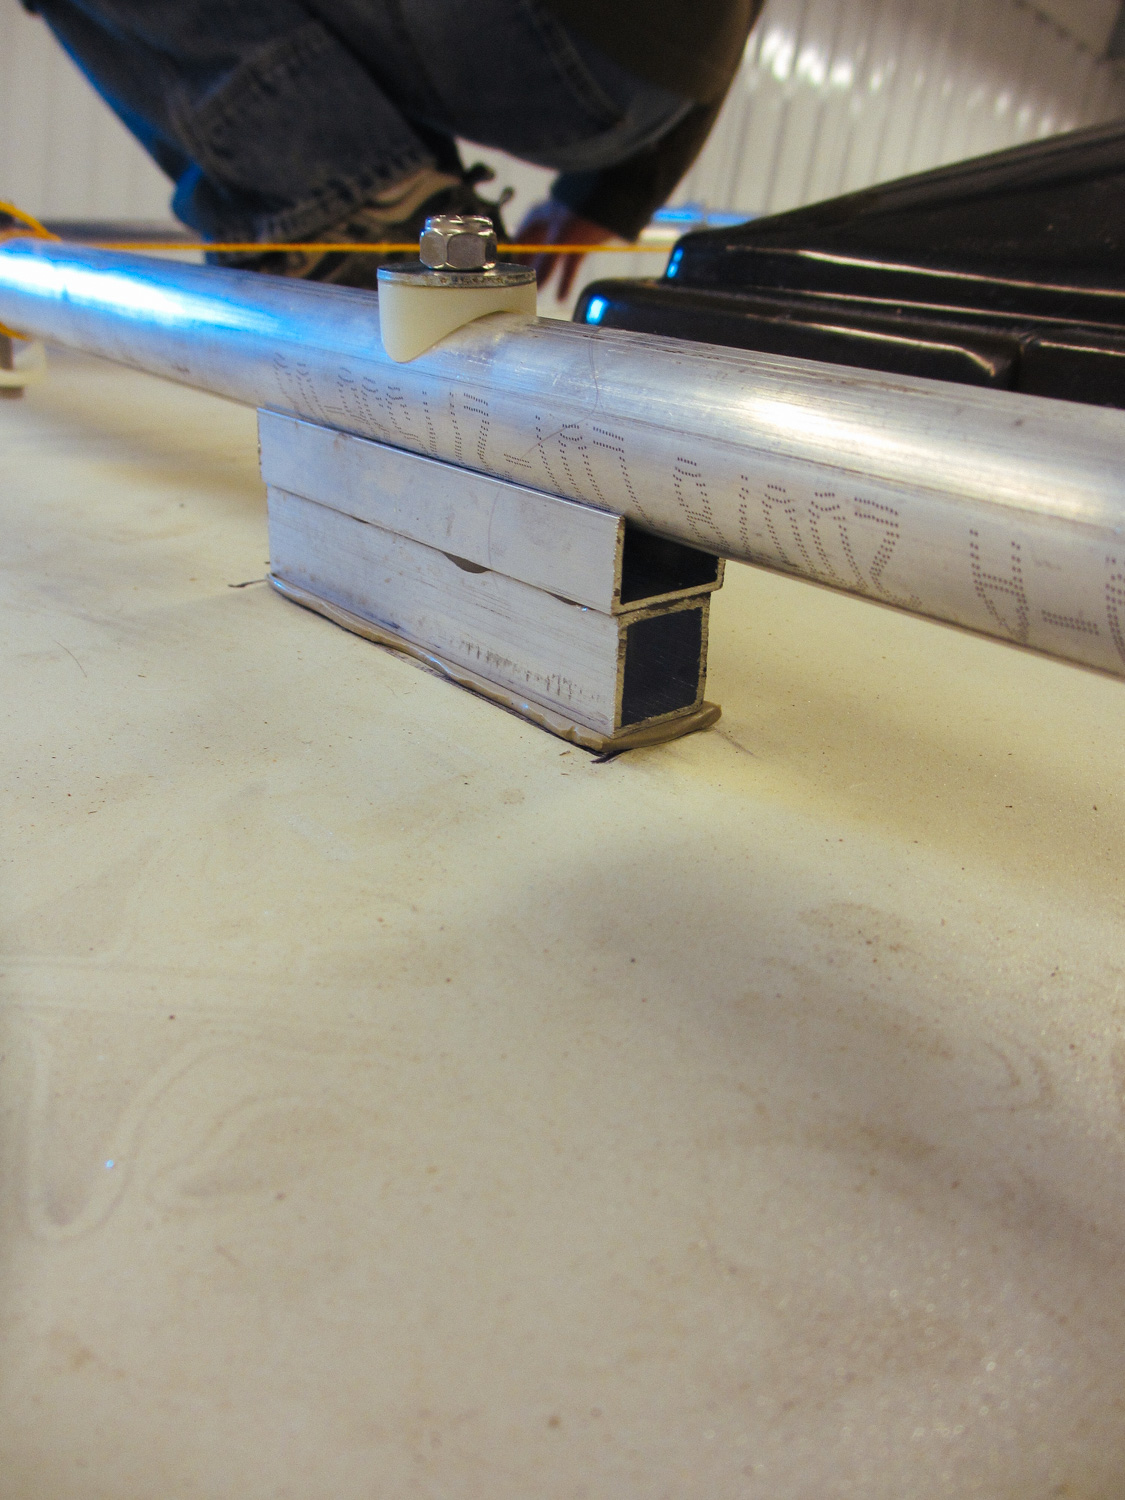
Center supports for the rack cross beams.
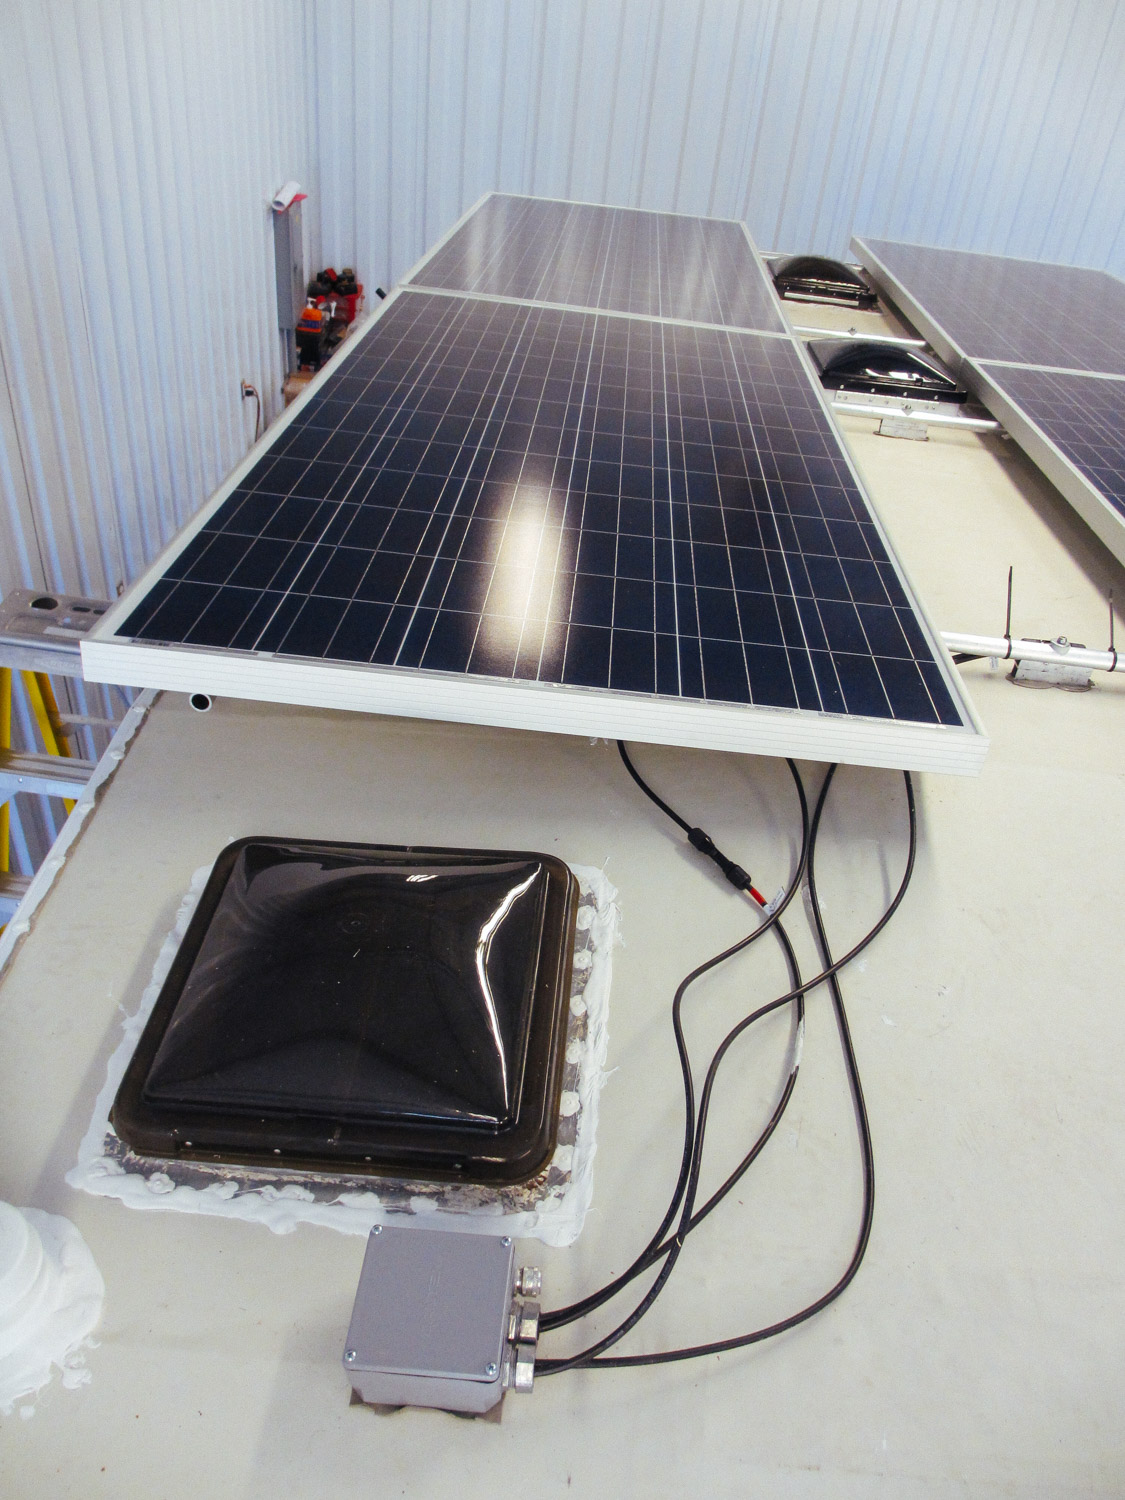
Solar panel leads going through the roof.

Our four 305-Watt solar panels installed.
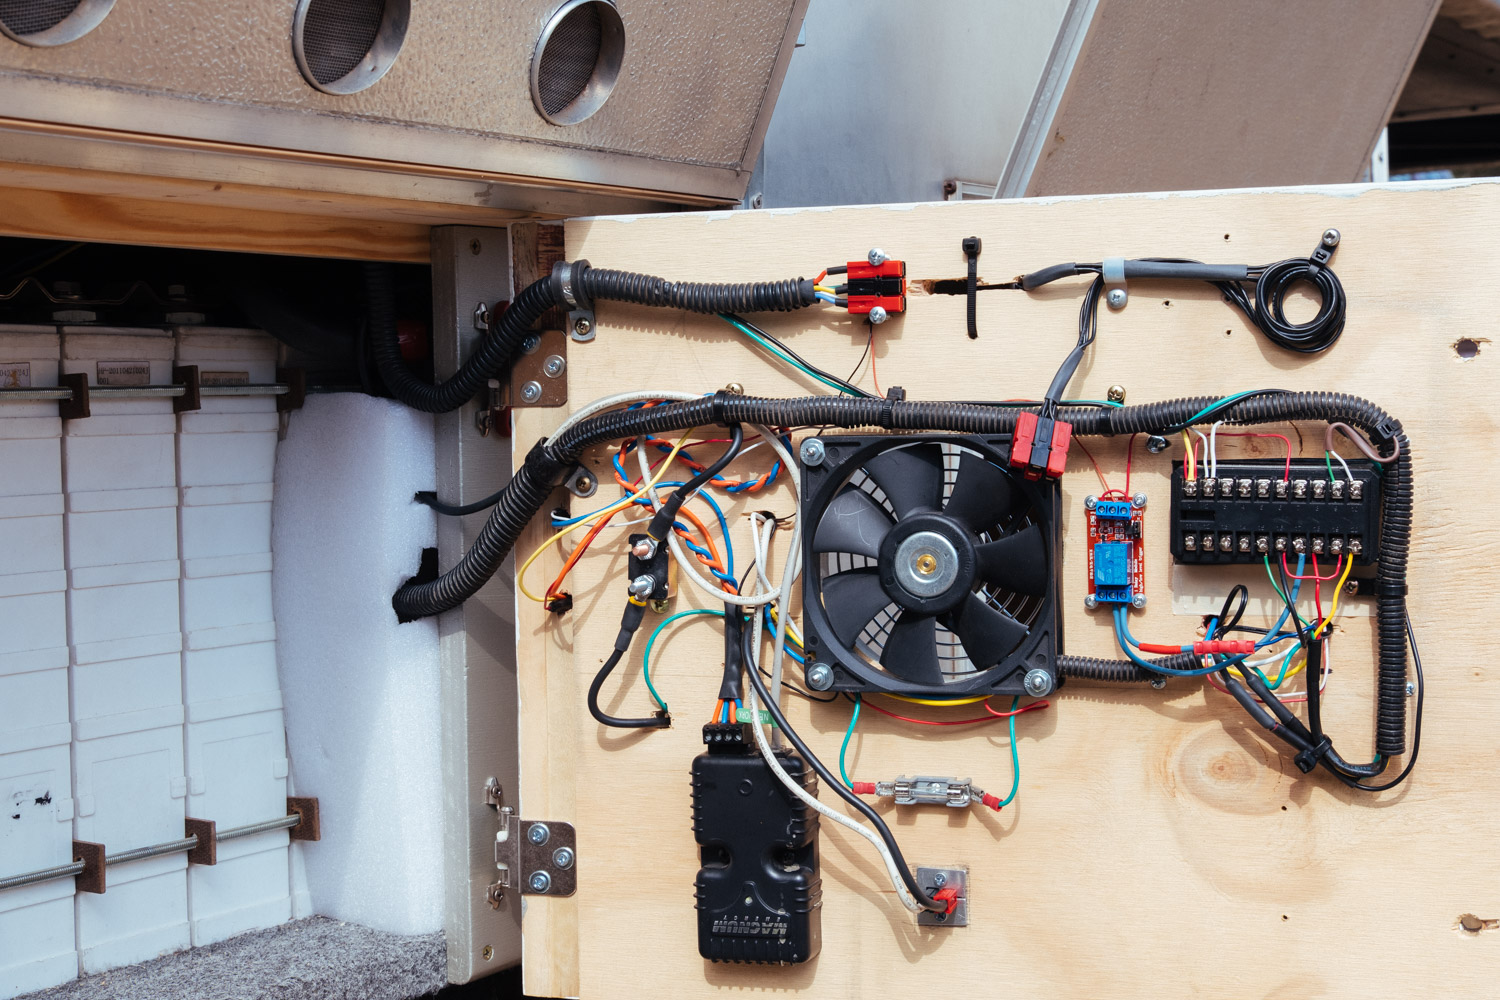
February 2018, first revision of the "BMS panel", showing the wiring.
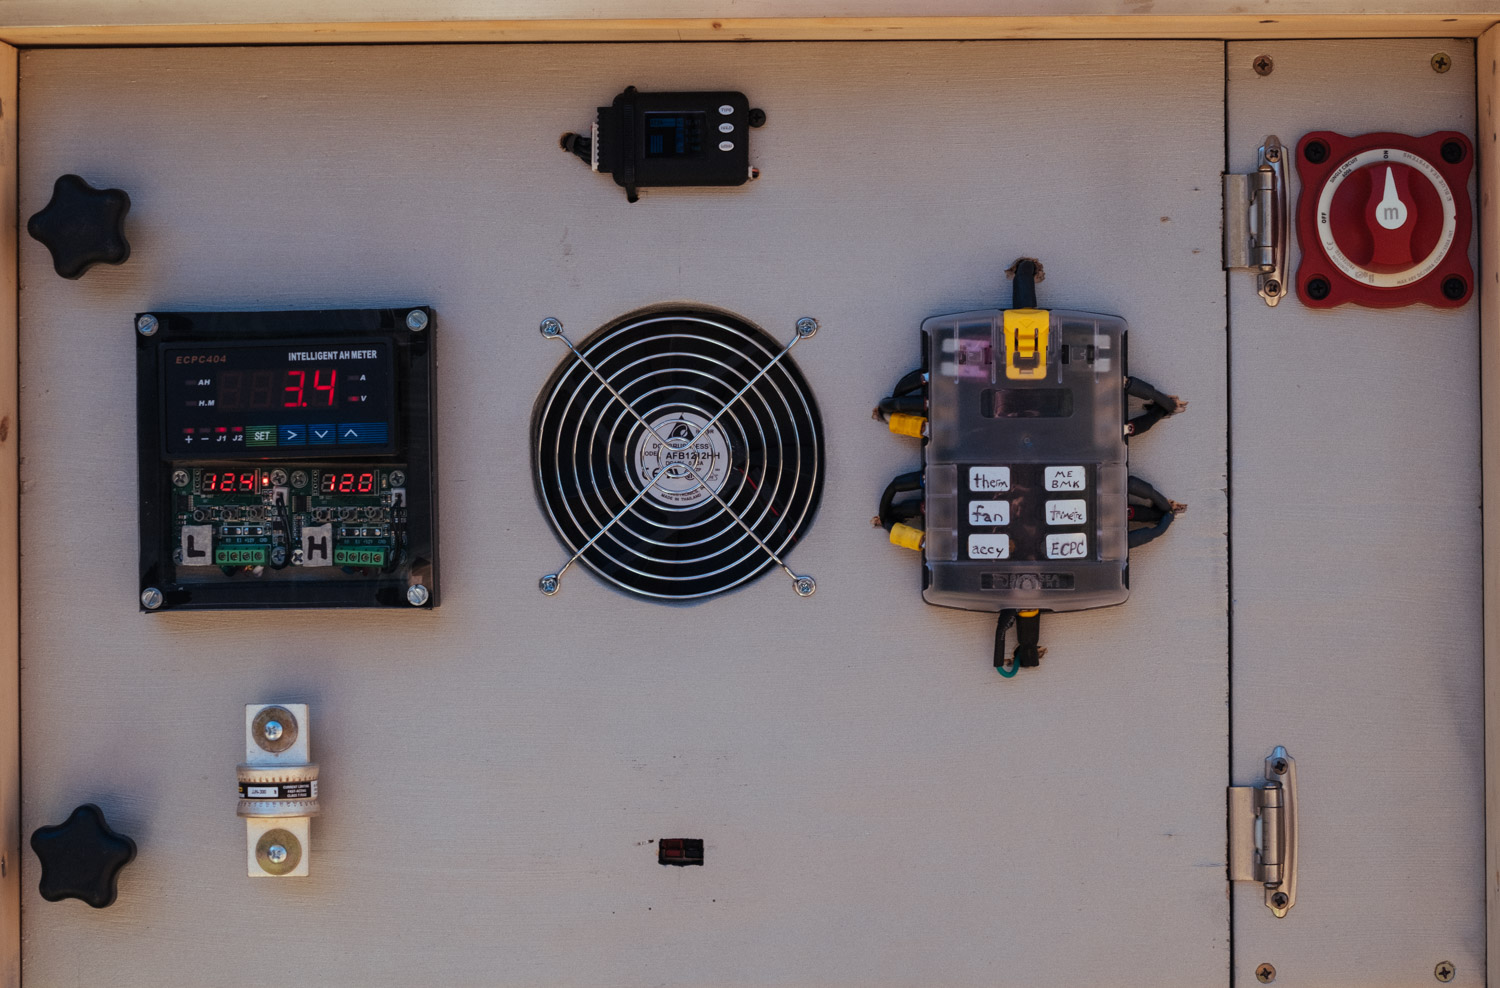
This is the front view of the updated "BMS panel" with (left to right): relay controller, thermostats, cell voltage monitor, cooling fan, fuse block, and battery disconnect switch. The spare fuse doubles as a handle.


