
RV Rebuild: Project Overview - All The Numbers!
We didn’t set out to rebuild a whole damn RV. The original plan was to buy a standard RV trailer, install solar equipment, and maybe hit the inside with some paint to cover up the original décor. But it turned into much, much more than that. It’s a good thing we didn’t know that at the beginning, or we’d never have started…and today we’re glad we did what we did. But yeah, it was a big project. Here’s a big-picture look at what we did, and what it took.
All the summary information we have for the project is in this post. If you aren’t in the mood to digest it all right now, you can skip down to the total numbers and look at the charts instead. But do come back and read the rest...as with so many things, the details are pretty important.
Our “rebuild” posts aren’t written as day-by-day “blog entries”. That’s because it was hard enough to do the work in the first place, much less blog about it as we went! My hat is off to those folks who are blogging live about their own big projects…that is so difficult!!! Luckily we still took photos as we went, but of course there are a thousand photos we missed. The nice thing about writing these posts retroactively, though, is that we can organize them for easier reading. In reality, we were working on dozens of different things at a time, with each task starting and stopping as we ran into questions, or out of materials. Reading each day as it unfolded would be confusing.
ORIGIN STORY
Our About page has a description of what our rig is, why we chose it, and most of the features we added with the rebuild. But it doesn't explain WHY we rebuilt it. When we bought the trailer, it looked like this:
Looks fine, right?
... I mean, aside from that decor. Blech.
We planned to just redecorate inside and add solar. After a while, we realized we needed a new roof, and in the process of starting that work, we discovered evidence of water leaks in all four corners. We kept tearing things off until we had exposed all of the water damage, and by then, this is what was left:


Yikes. At this point we both allowed reality to sink in and said, “Well, fuck us.” Thus fulfilling the new-couple-naively-getting-in-over-their-heads stereotype.
Pursuant to said stereotype, we proceeded to jump in with both feet. If we were going to be stuck rebuilding this wreck, we’d take the opportunity to really do it right. So we resolved to not only repair it, but fully customize and redecorate the interior, and fully commit to being 100% electric by removing every vestige of the original propane system and installing really robust solar equipment. This would essentially be a rolling off-grid cabin. Oh yeah, and we’d eventually put on that new roof!
In the end, we totally transformed our fifth-wheel RV from an average 25-foot Fleetwood Prowler into a full-timing, boondocking, 100% solar Toaster!
Wait for it.............How many changes can you spot in just this view? I see 11.
Check out our page of extensive Before and After photos, too!
If you’ve done a big project yourself, you know: It turns you inside out and wrings you dry. The day we finished, we barely even registered excitement through the fog of exhaustion. But we had exactly what we wanted, and we couldn’t have gotten it any other way. Certainly not for what it cost us. If you want it done right, do it yourself. And if you want to do something that nobody else has done before…then you have no choice.
TIMELINE
The Toaster was “in the shop” for 11 months, from December 6, 2013 until November 6, 2014. We worked on it nights, weekends, and holidays. Some things got finished up after November 2014 (even after we first hit the road), but the bulk of the work was done during that period. We moved in and hit the road March 21, 2015.
AND...THE TOTALS!
- 2,801 person-hours worked
- $31,102 total cost: From we-don't-own-a-trailer to fully-operational-battle-station (er, Toaster)
- $2,061 recovered by selling appliances (even the used toilet and black tank) or recycling scrap material
- 86 trips to Lowes
- 227 individual transactions
- 231 calendar days "in the shop" working
- 51 different vendors
Here's how that breaks down
(Mouse over or tap the individual chart elements to see the numeric values)
Hours of Work, by Category
Who Did the Work?
Wait, who the hell is Drew? That’s our good friend, who turned up quite a lot to work his ass off, ride bikes, and ensure that we consumed enough beer. You know that saying, “Friends help you move; real friends help you move bodies”? While the rebuild project wasn’t a felony…I think this counts.
Rebuild Cost by Category
Okay so it doesn't look like such a huge stack, but it's been smushed under the bed for 18 months so it's very compact right now...
MY COMMENTS ON THE NUMBERS
- These numbers are based upon my daily logs and records. They aren't perfect but they're pretty darn good. Yes, we have every receipt! And Excel spreadsheets…oh, the spreadsheets! I estimate +/- 5% accuracy on money and +/-15% on time (I did make some assumptions when logging hours).
- Time spent is measured in "person-hours": One person working for one hour is one person-hour. Two people working together for three hours is six person-hours.
- Times only include actual working time on the trailer. I did not log the time I spent on research, design, and sourcing materials (a bigger deal than I had expected). Add at least 400 hours for that.
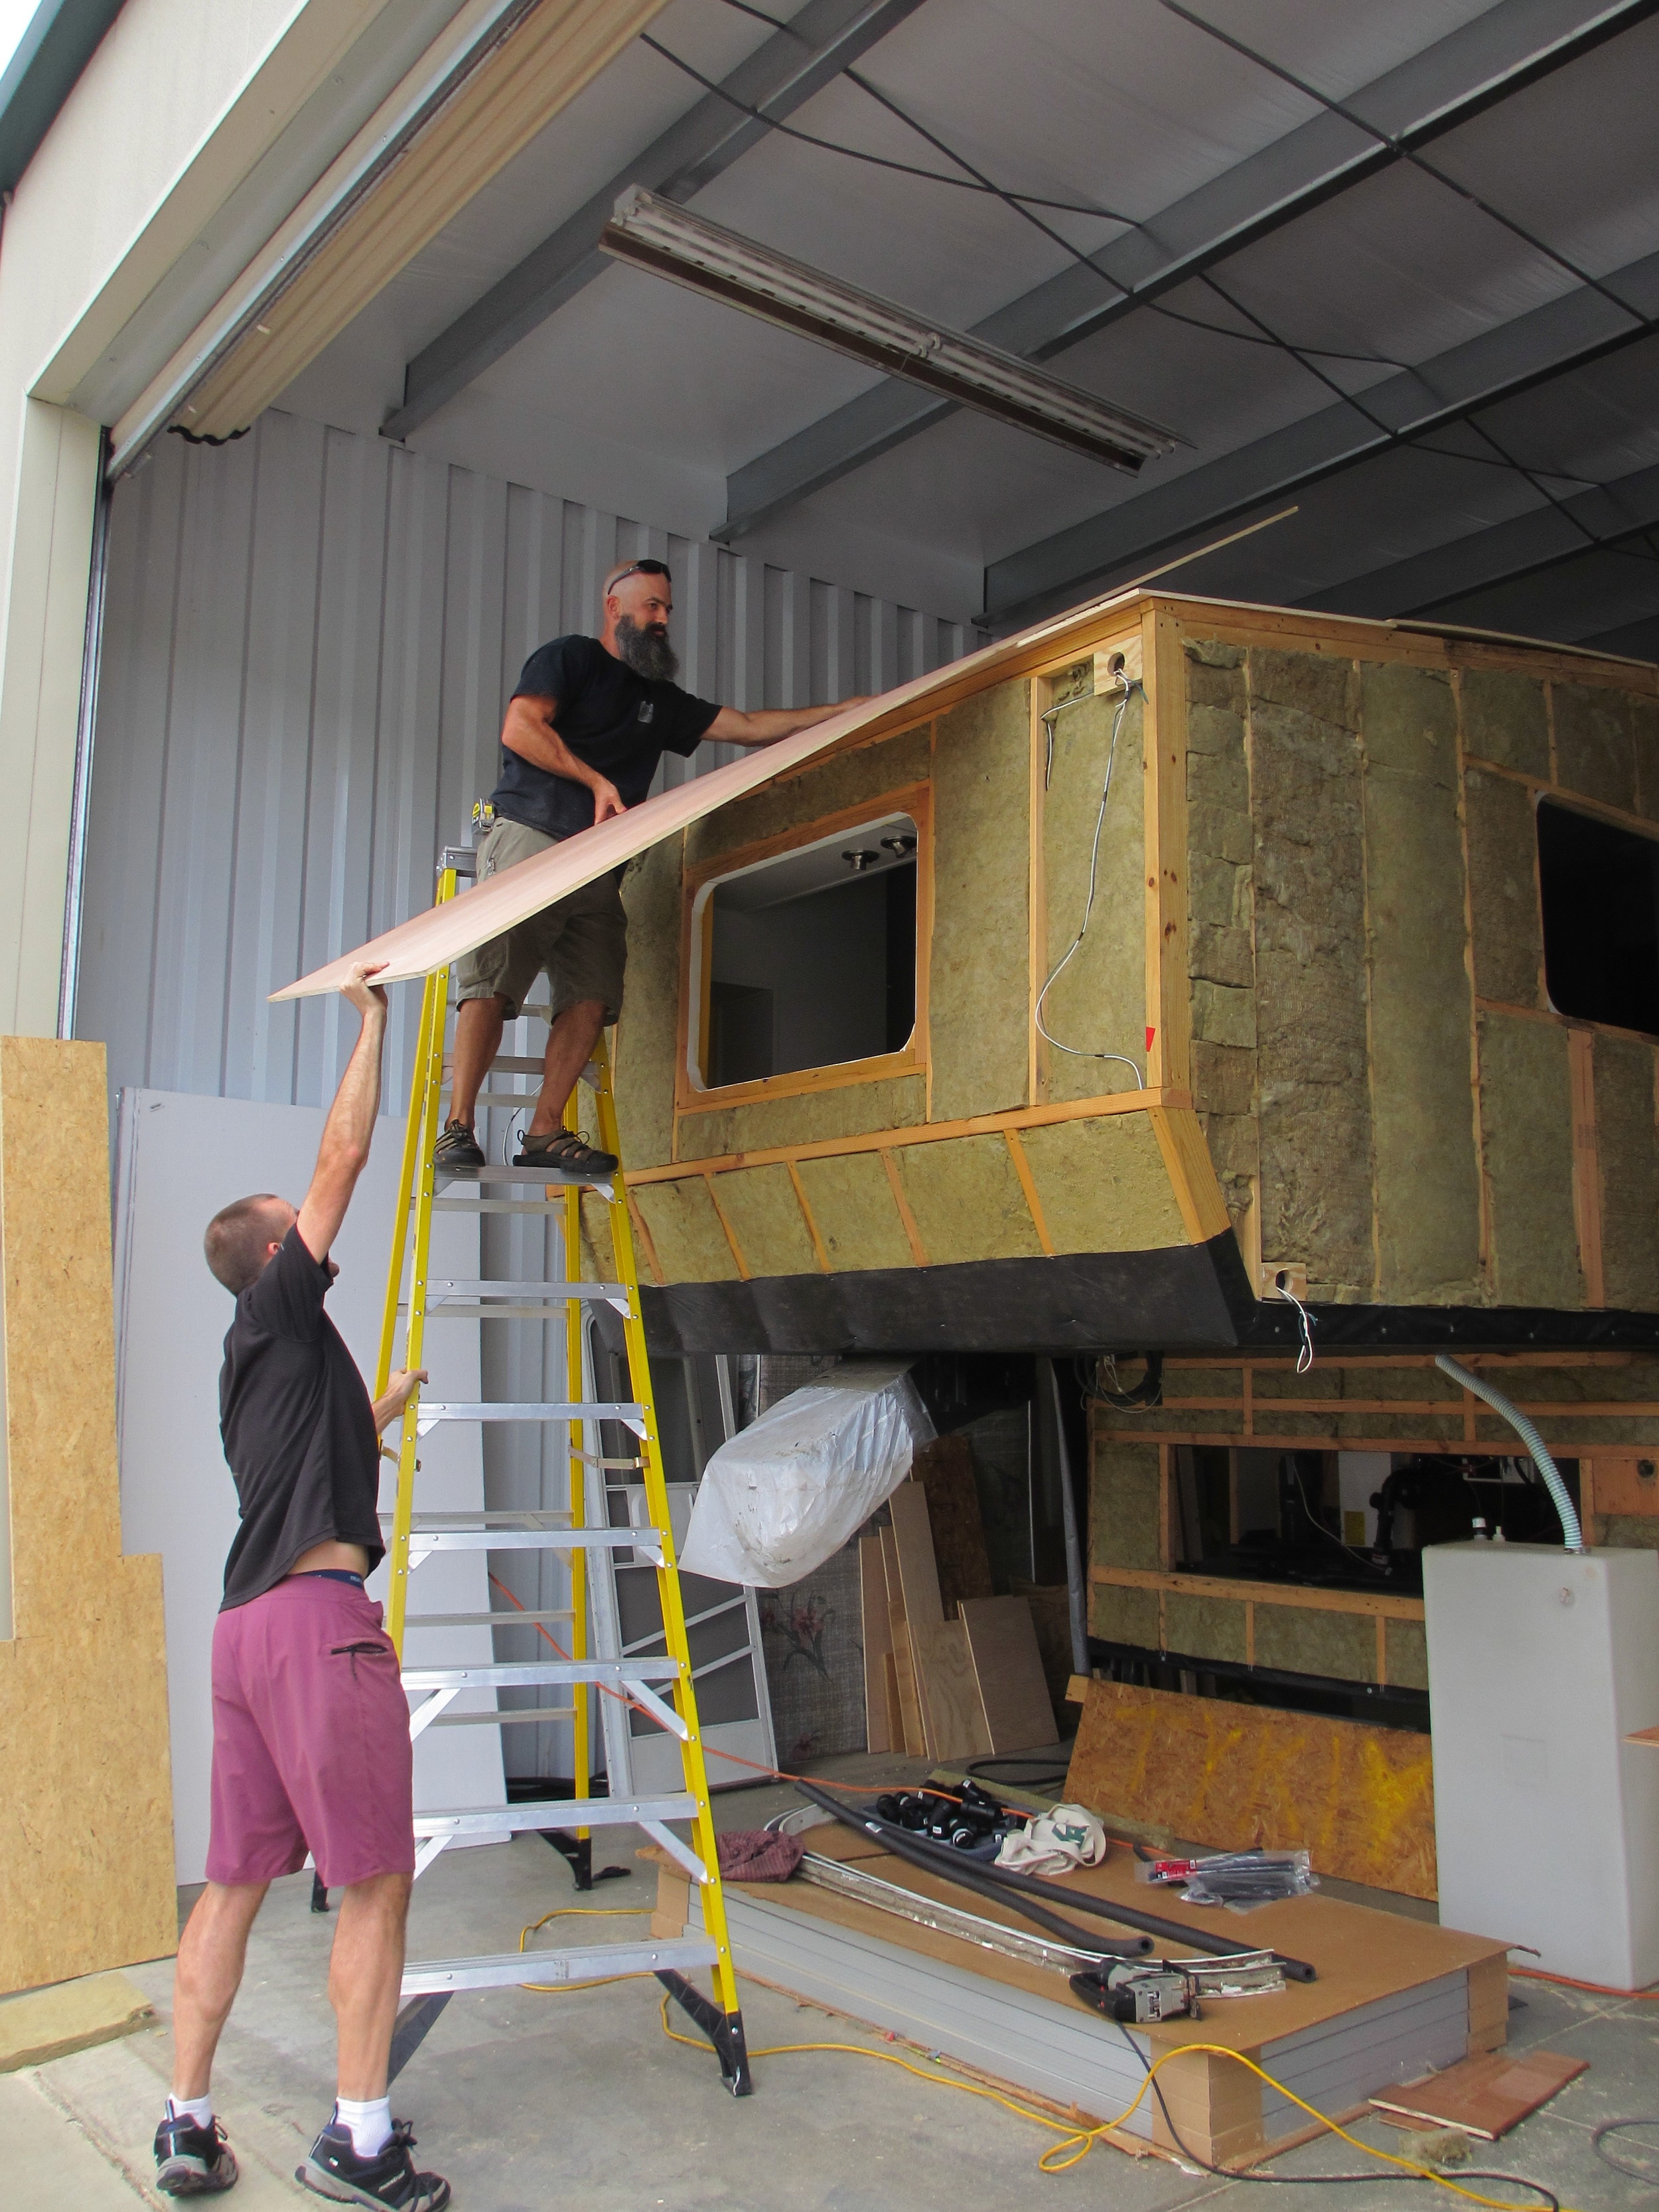
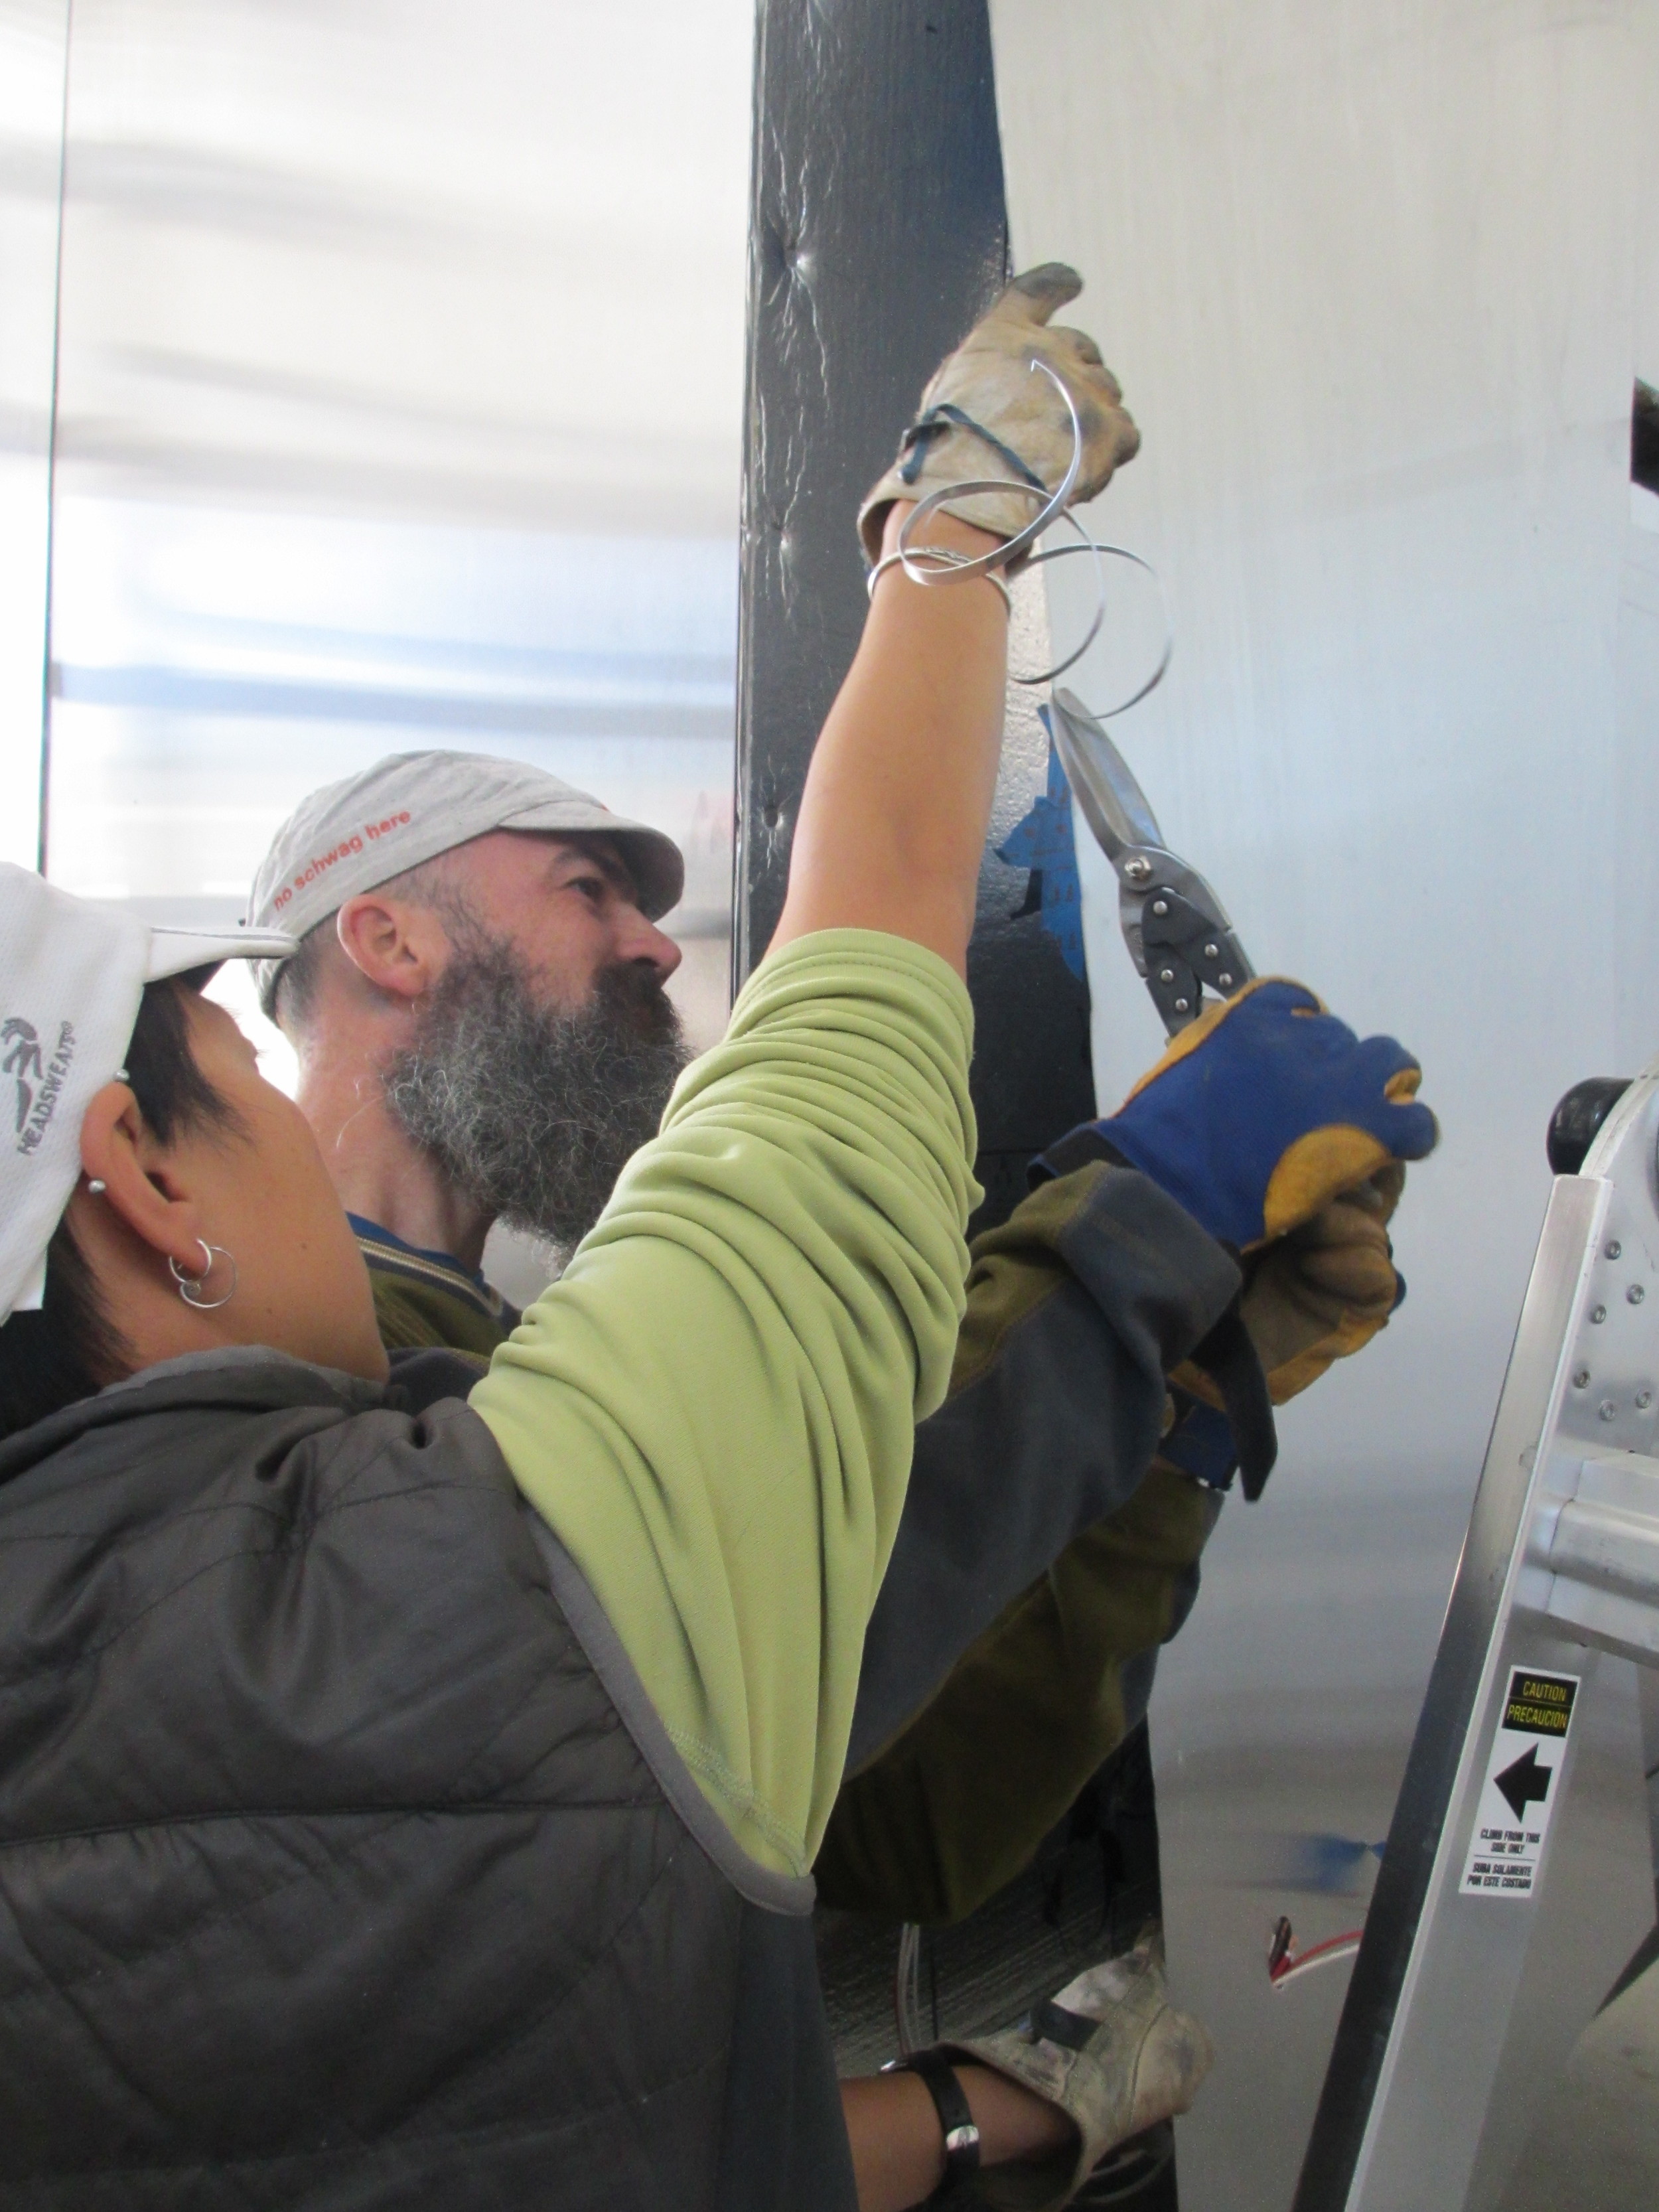
- All work was done by us personally, with friends turning up to help during the really hard parts. Their time is included. The only work we paid someone else to do was the upholstering (that’s just too damn hard).

2,801 person-hours, that's a lot. If the two of us had worked 12 hours per day without breaks, holidays, or material delivery delays, it would have taken 117 days to finish -- basically 4 months. Other things a person could do with 2,801 hours:
- Work a 40-hours-per-week job for 1.5 years (oh, yay)
- Build between 3 and 8 tiny-houses-on-wheels from scratch [reference]
- Get 1/3 of the way through an undergraduate degree (based on 120 credit hours, 16-week semesters, and 3 hours of study outside class for each 1 hour of lecture) [ref, ref]
The $31,102 includes everything we spent to rebuild the trailer: The initial purchase, all storage and utilities costs, tools, and materials. It does not include insurance or registration. We didn't even bother insuring it while it was being worked on (what good would that do?). With that amount of money we could have:
- Bought a new Subaru Outback
- Bought a new, "normal" 30’ travel trailer
- Bought a 10-year old, 25’ airstream (and hoped it didn't need a bunch of work)
- Made a down payment on a really shitty house in Asheville, NC (where we lived at the time).
We paid $7,780 for our trailer, including taxes and fees. If you examine the charts above, you'll see we spent almost as much to store the damn thing as we did to buy it! Of course, that’s because we (mostly) kept it in a workshop-type facility, not your typical outdoor RV storage lot. But it’s still worth remembering…an RV can be a real white elephant!
Important comment about the solar COST!!!

We spent $7,177 on our solar equipment (this was the cost of our initial lead-acid batteries set up). The cost of upgrading our solar system to lithium batteries cost an additional $2,467.58. No installation costs because we did it ourselves. If you’re considering adding solar to your RV, don't panic. This is NOT typical for an RV solar install! Remember that we do everything with solar power: No propane, no generator (no problem!). I have a lot more to say about this in future posts, but for now, consider that the Toaster's solar system is closer to an off-grid cabin than a "normal" RV. And it's AWESOME.

