
New Walls
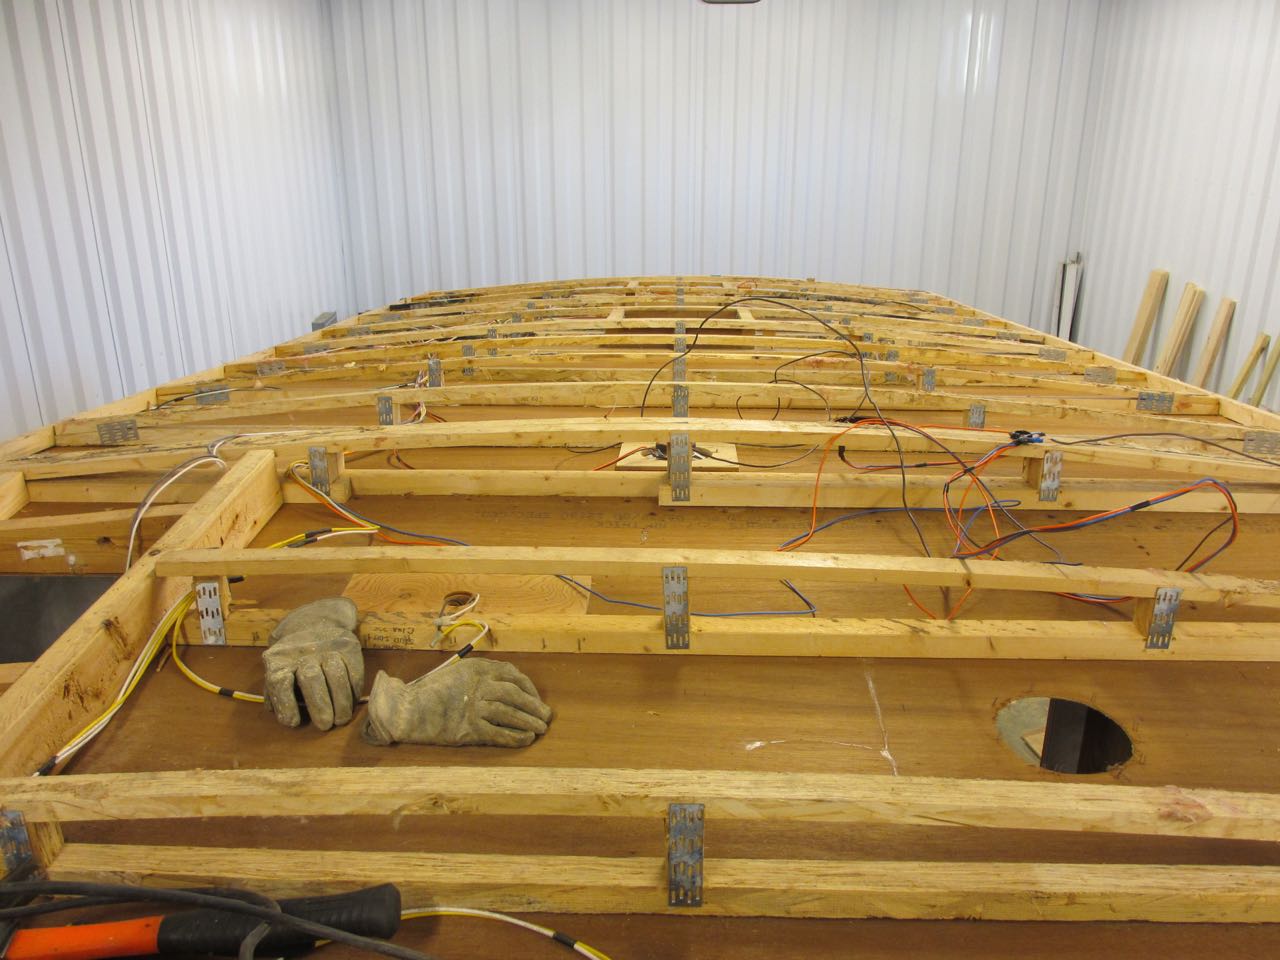
It took a couple of hours to clean up the beams on the roof.

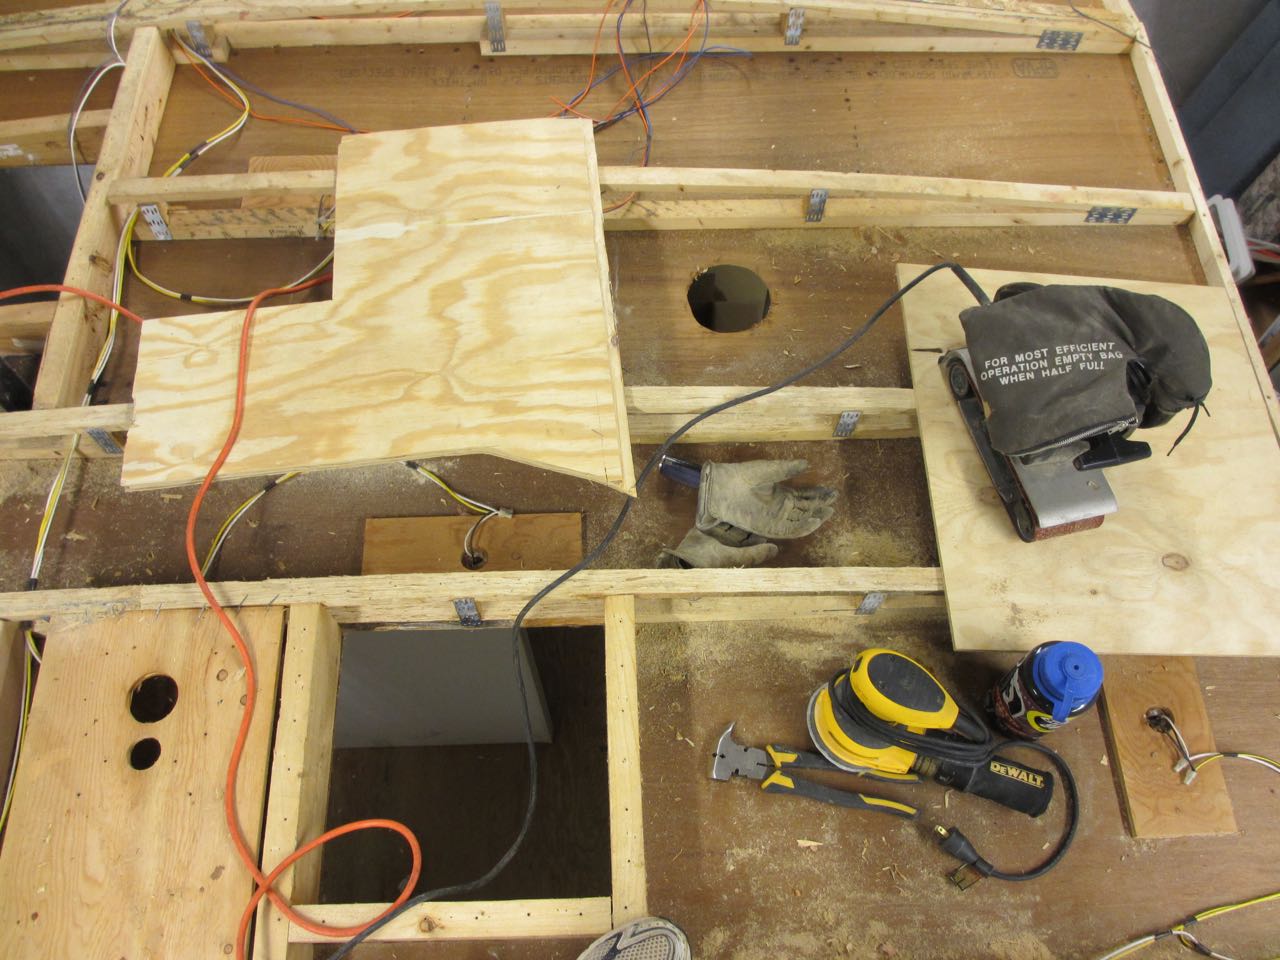
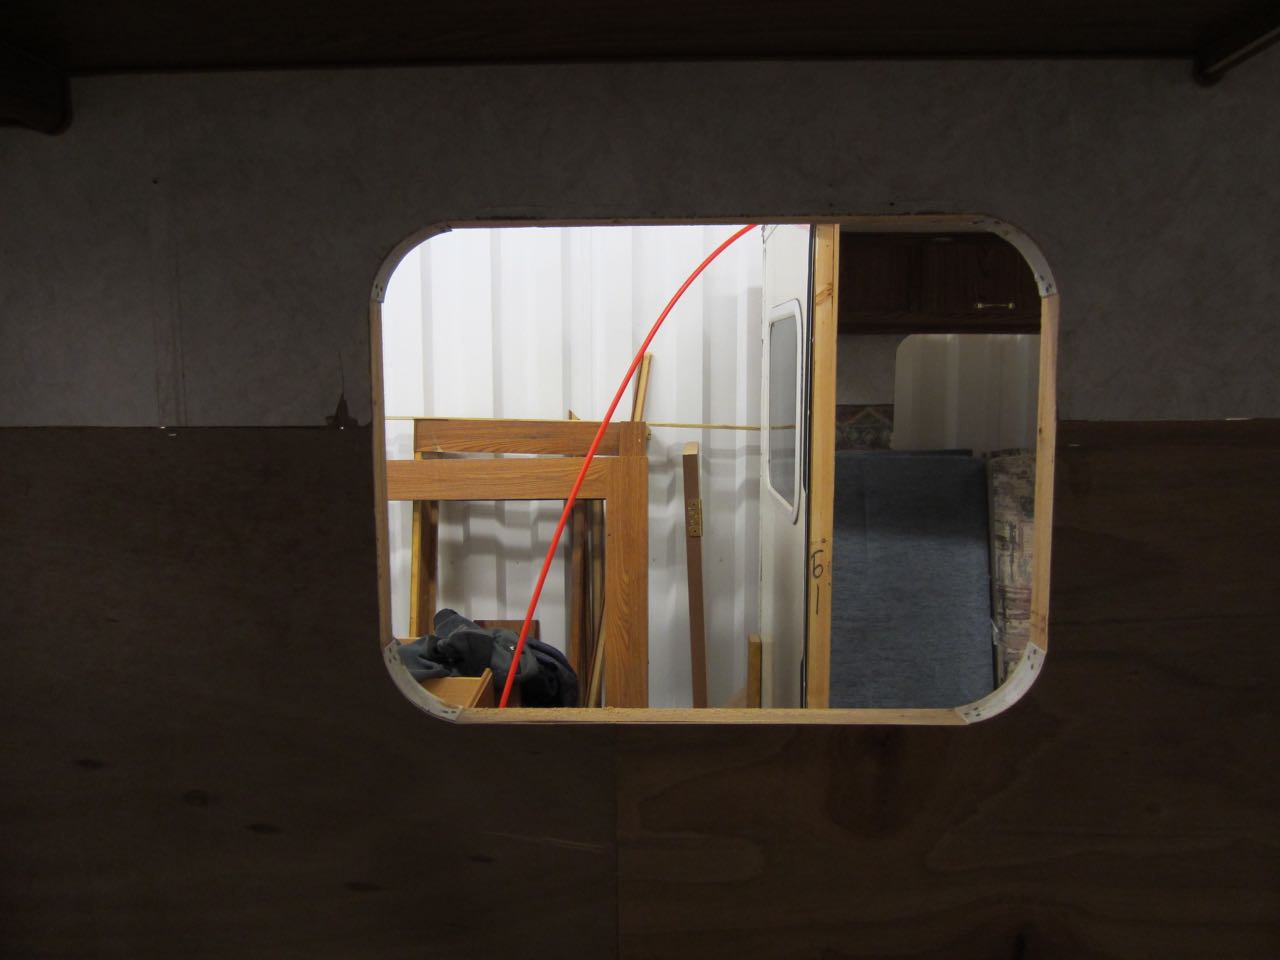
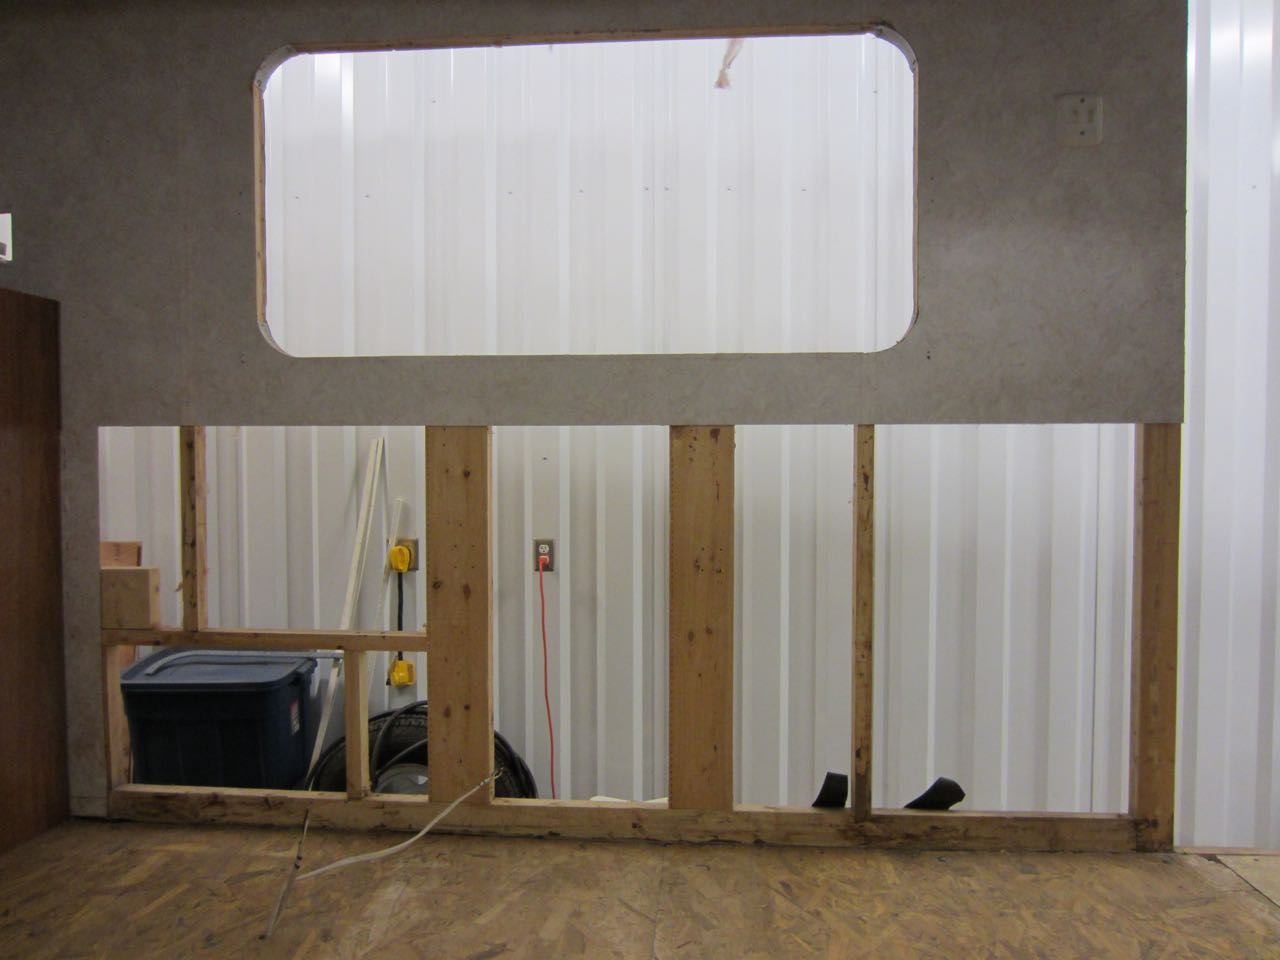
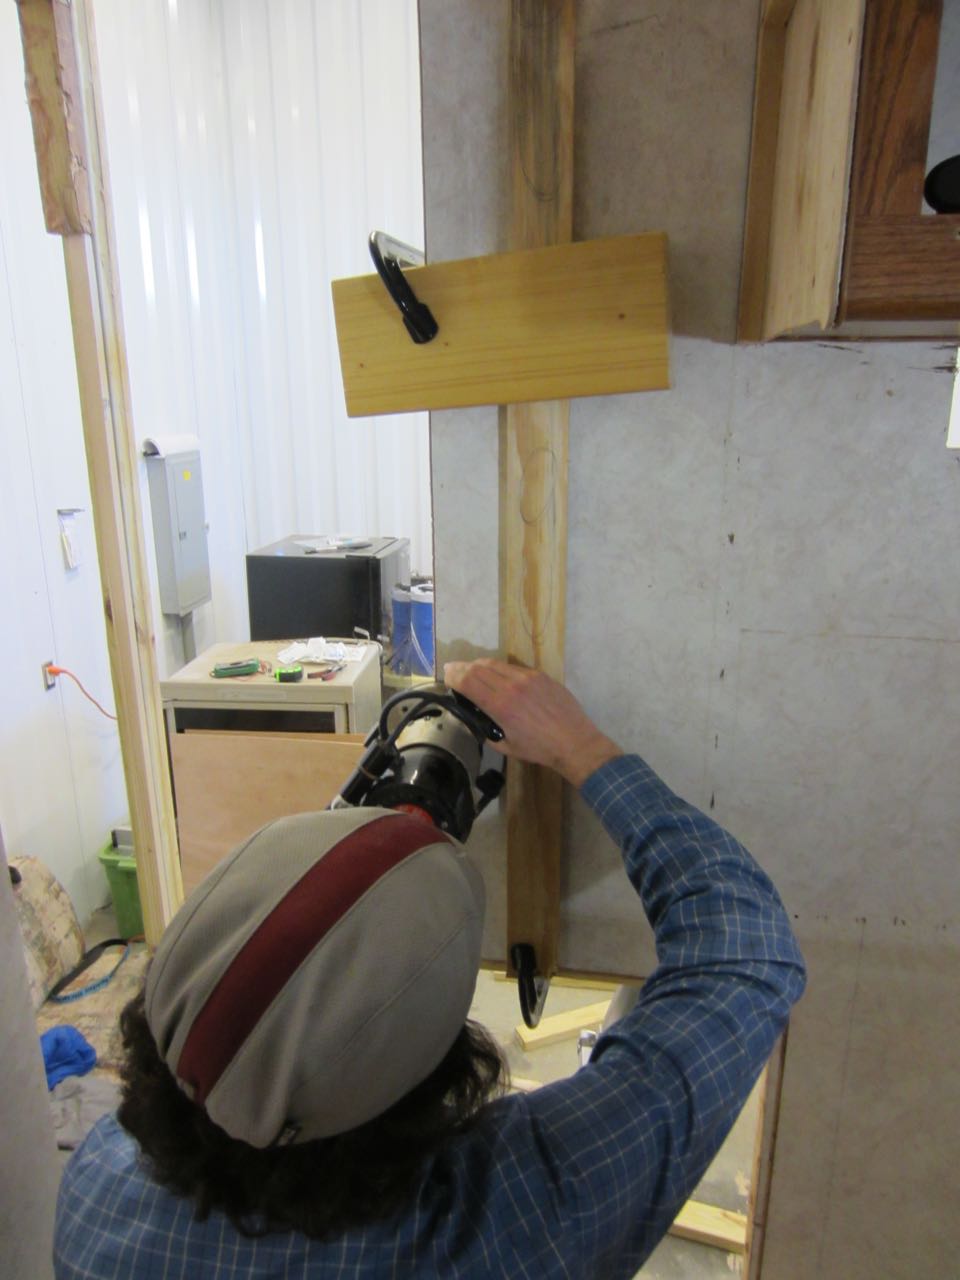
Then we focused on the kitchen walls. We had rebuilt the kitchen wall studs after tearing out the rotted original ones.


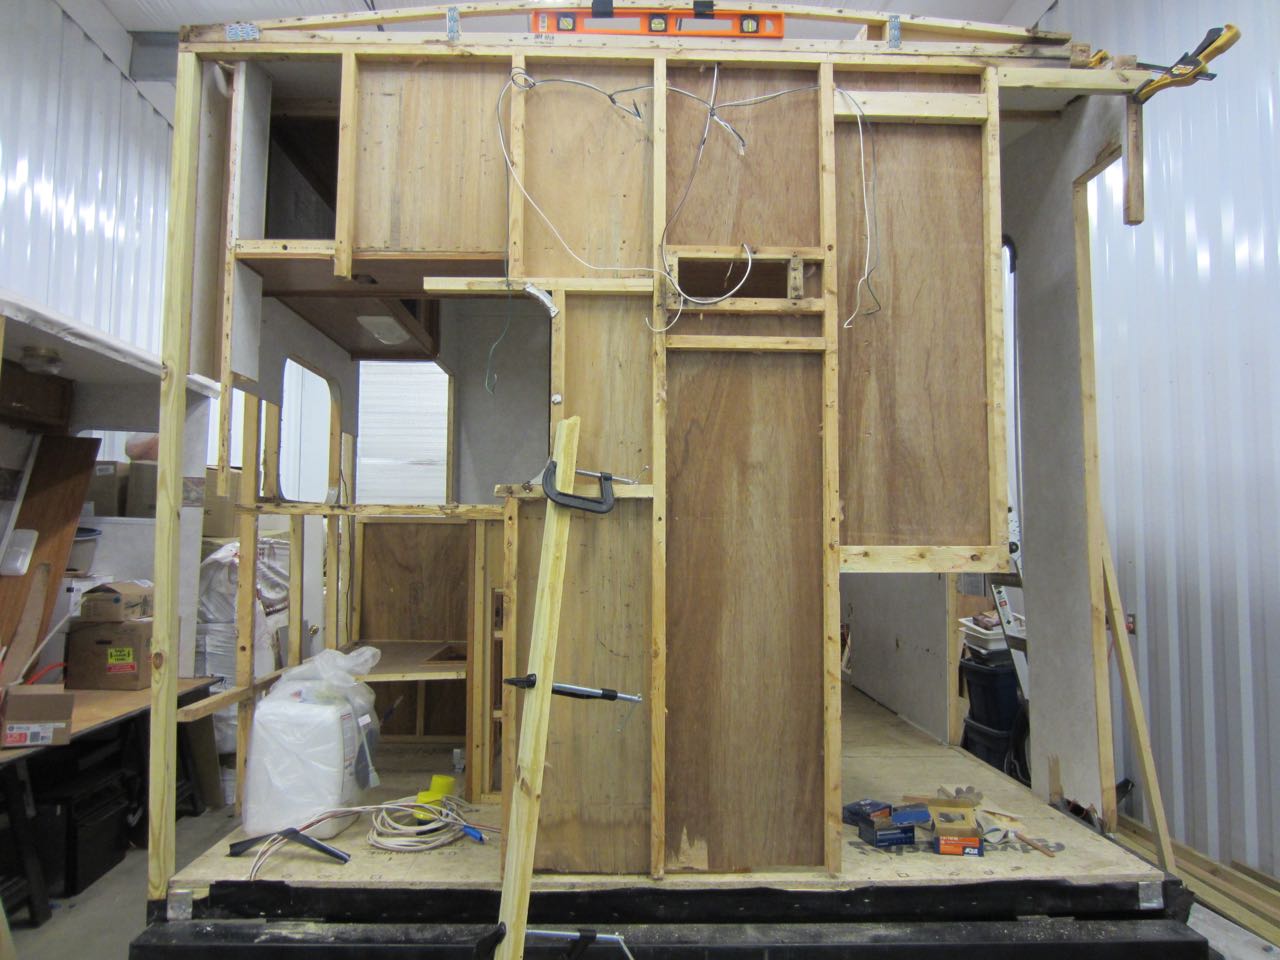
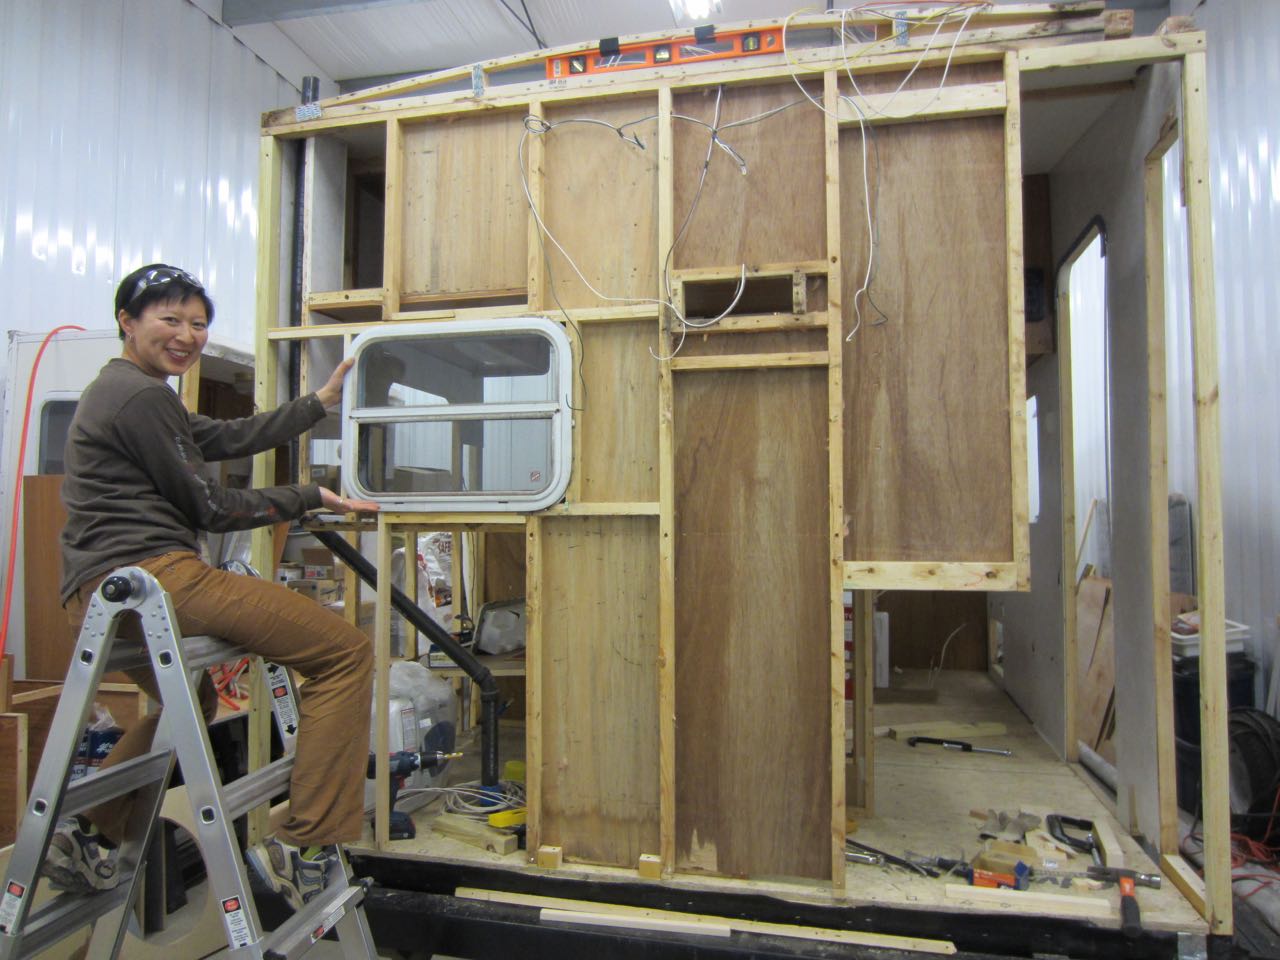
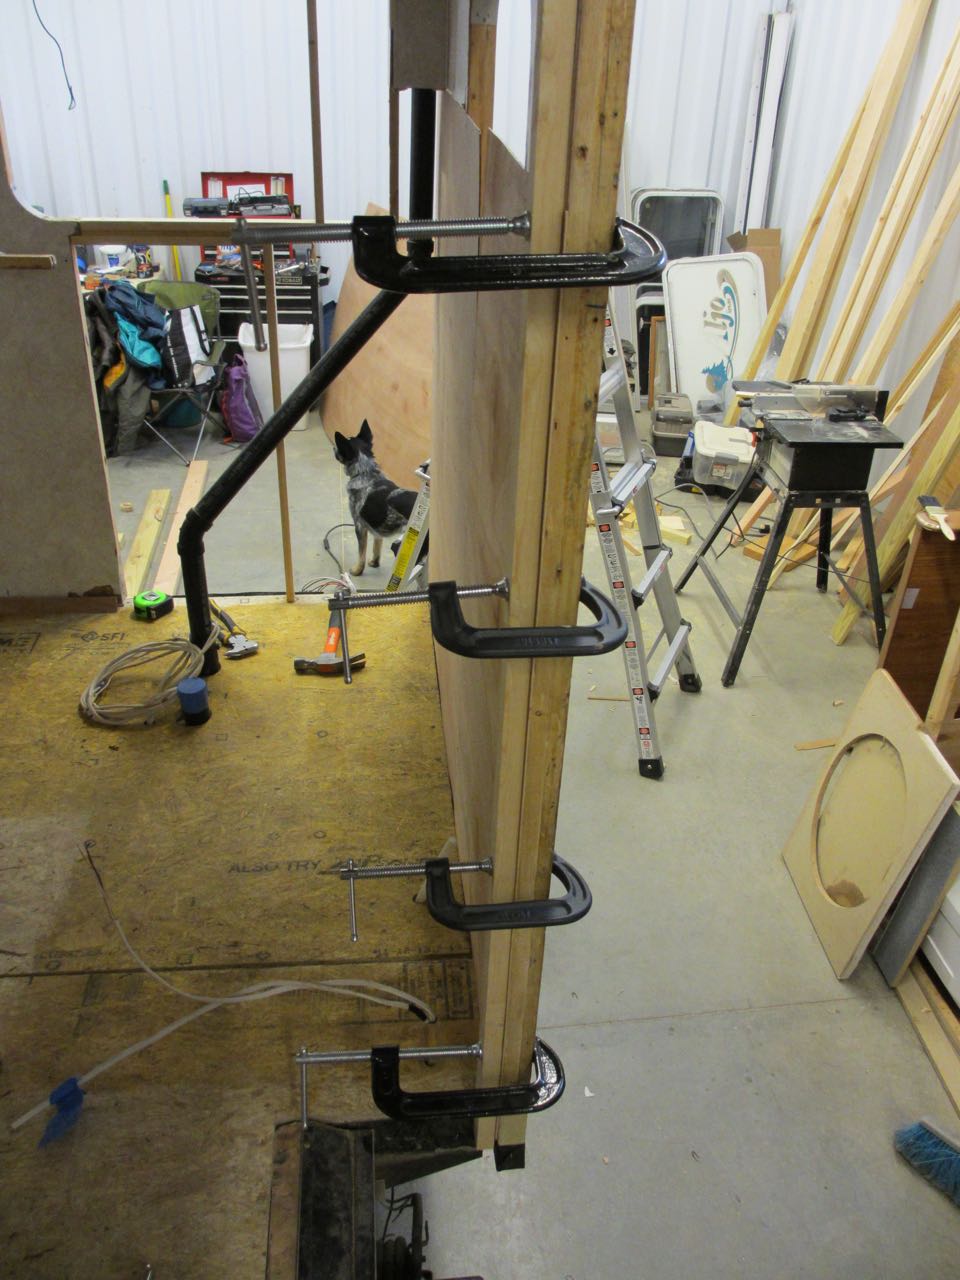
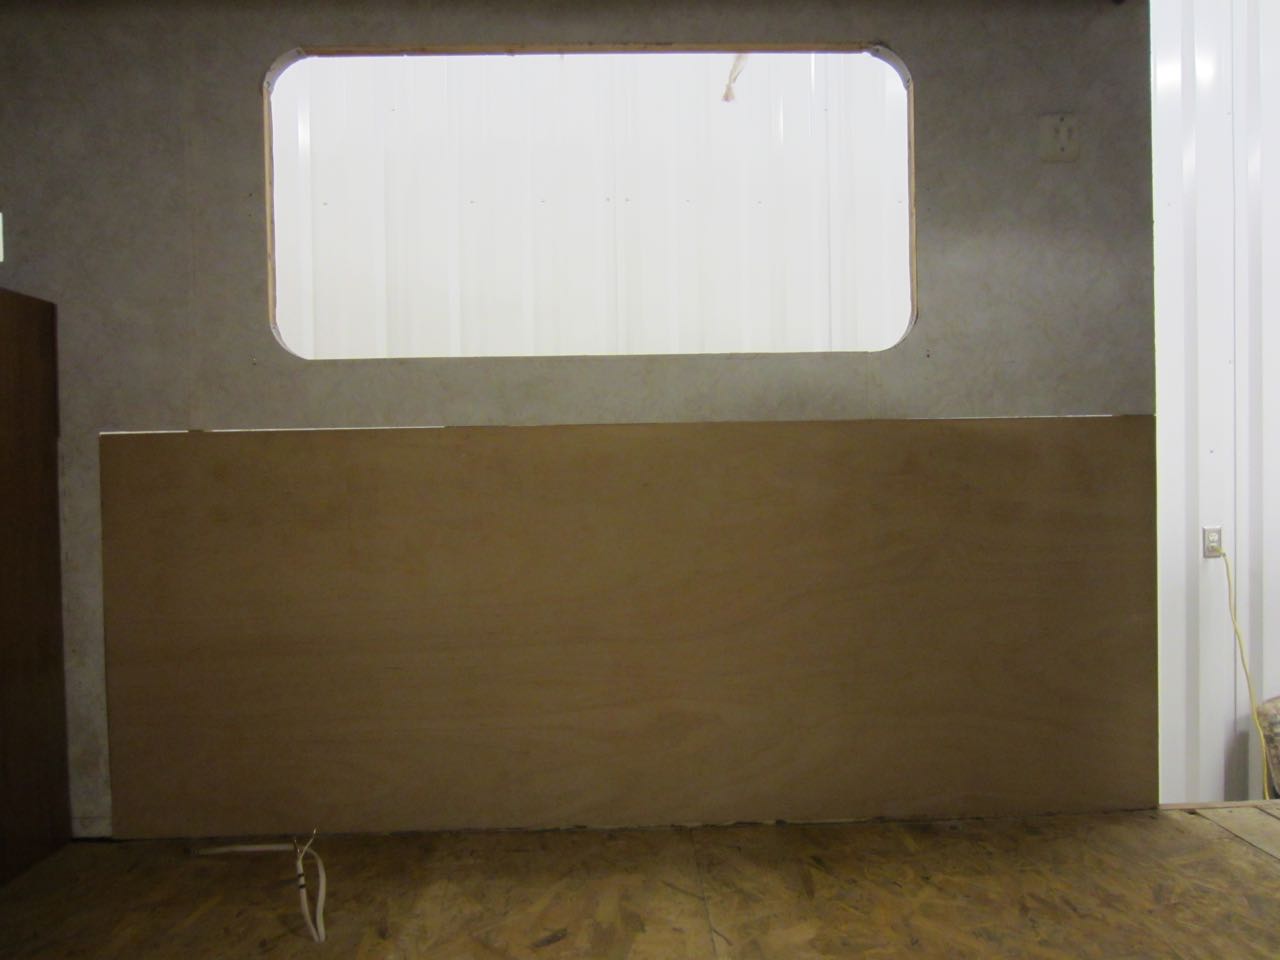
We started to install the actual kitchen walls after the studs were put in place.


The dinette wall also had to get replaced because when the dinette was removed it left a lot of staple holes in the wall.


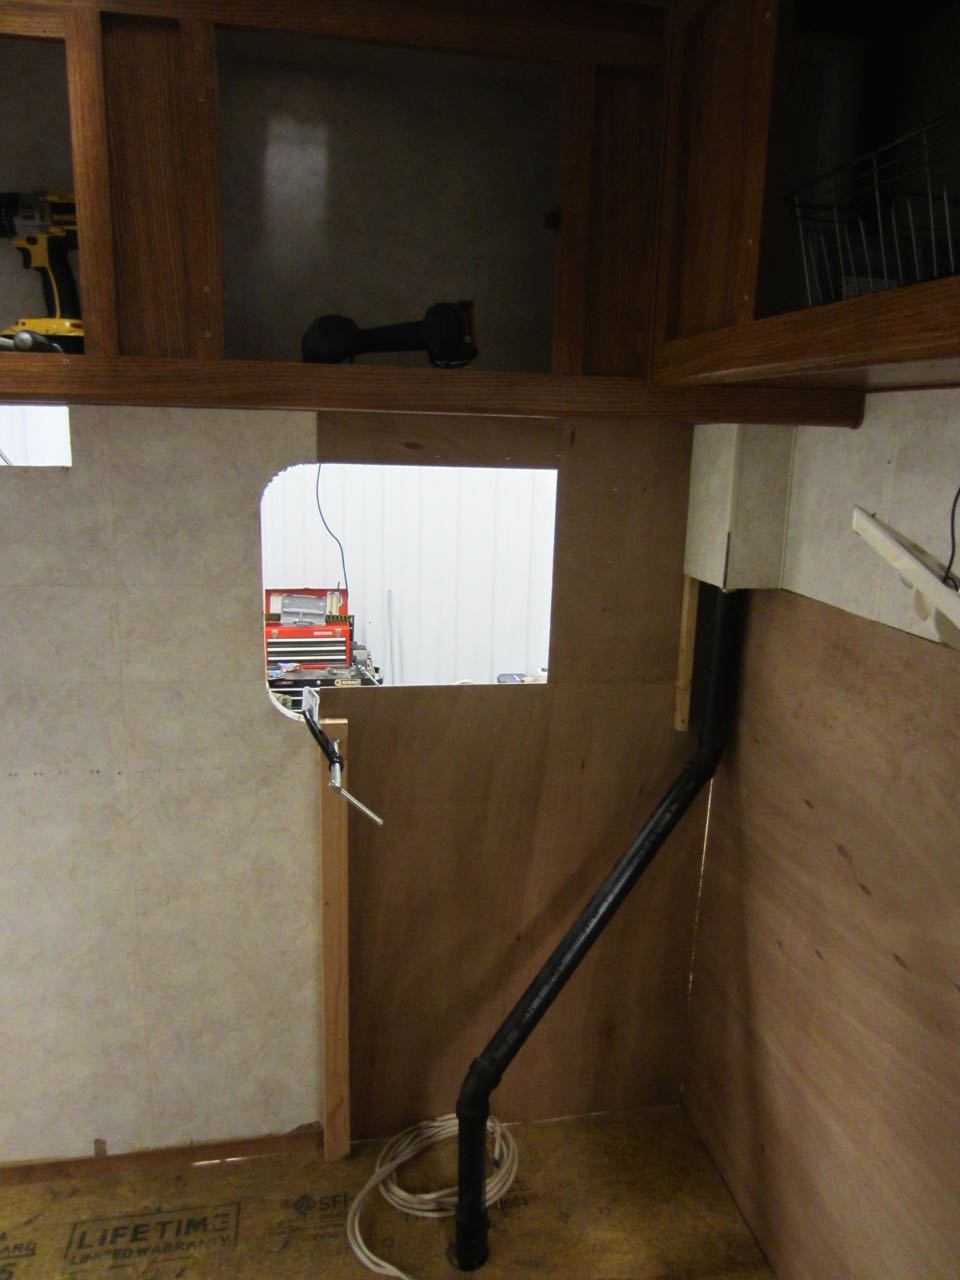
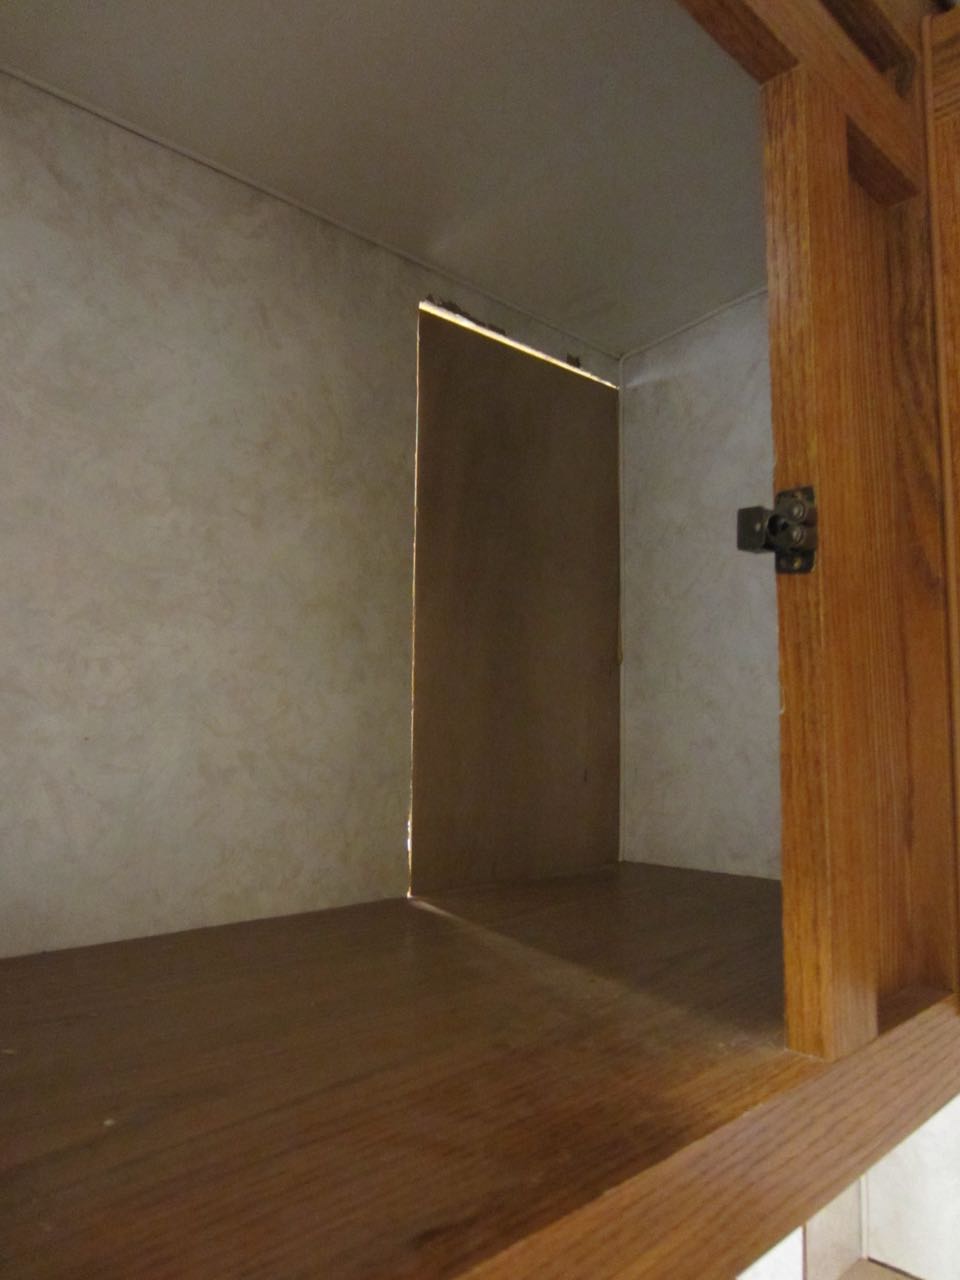
Last of the walls that had to be replaced was in the passenger side back corner of the kitchen - where the fridge sits.


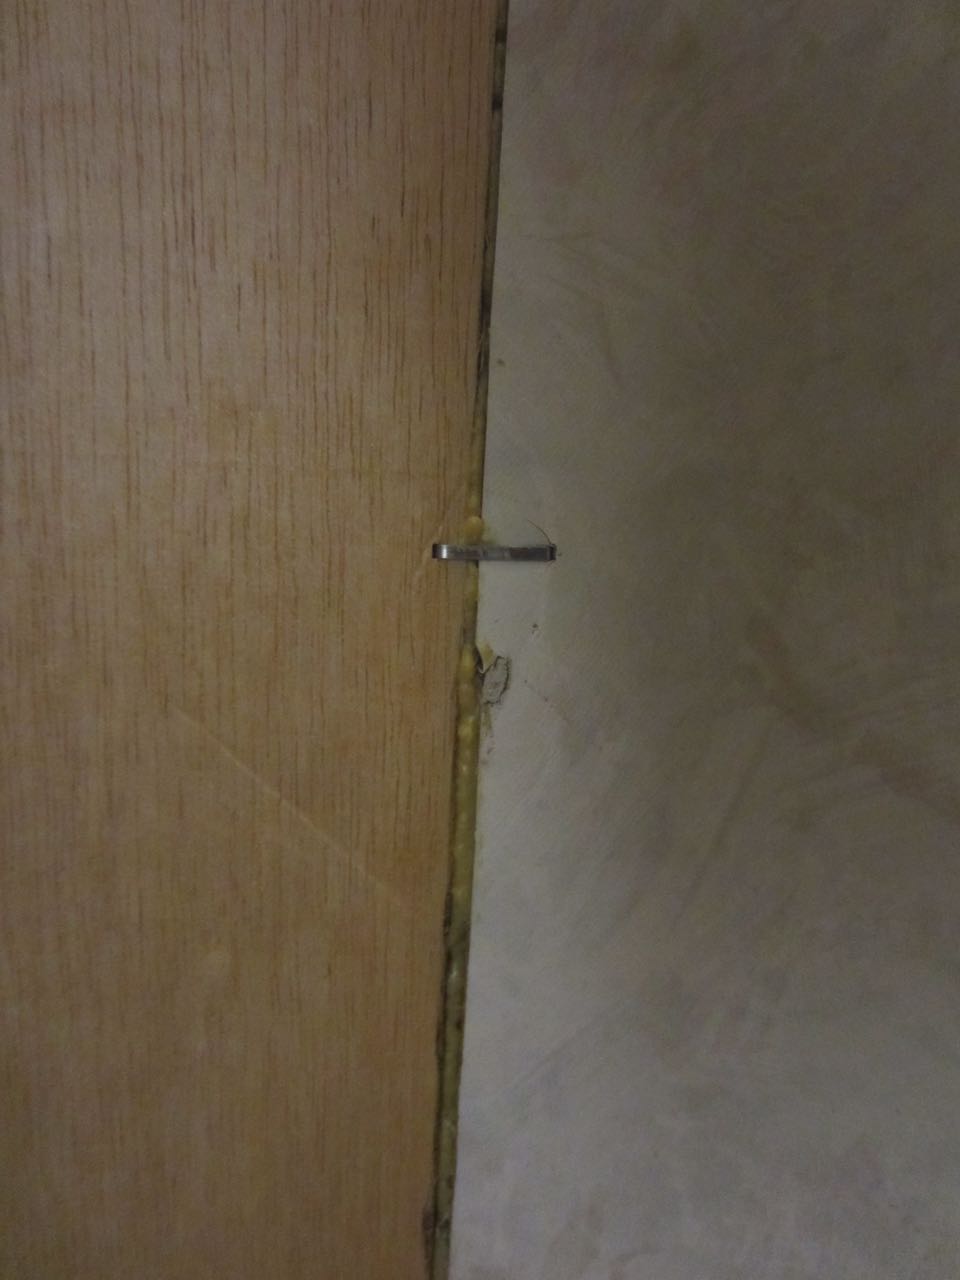

Now we have new walls on the back half of the trailer!