Bedroom Walls: Rebuilding The Bedroom
With the new front of bedroom studs cut from the other night, we worked on getting those studs ready to be installed and actually screwed to the RV.


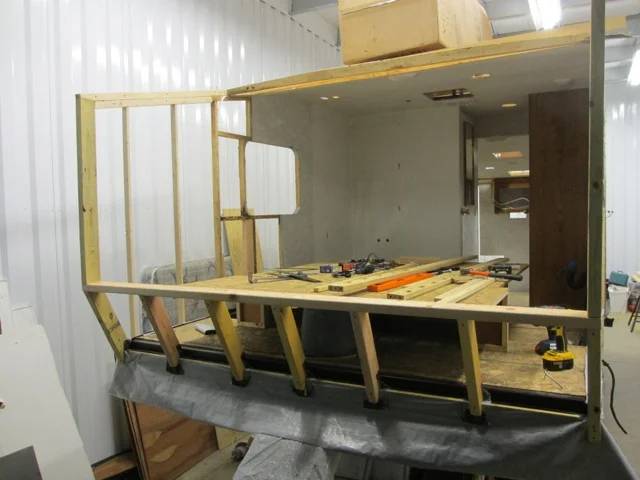
The photo above shows what the new front of the trailer looks like. To determine what angle the new studs will sit on the sill plate, we installed the base of the bed back into the bedroom and clamped boards of wood to show where 6 extra inches end (we decided to extend the bedroom by 6 inches length-wise so we could fit a full length queen size bed).
The next thing we tackled was re-enforcing the bedroom side walls that we didn't totally ripped out, but had to cut the bottom sections out due to rot. Windows will eventually be reinstalled in those two walls and one of the walls may occasionally have a window A/C unit in it. So it's important they have sturdy studs.
Side bedroom walls cut at the bottom because of rot.
New studs to re-enforce the windows.
After re-enforcing the window walls we went back to finishing the front bedroom wall.


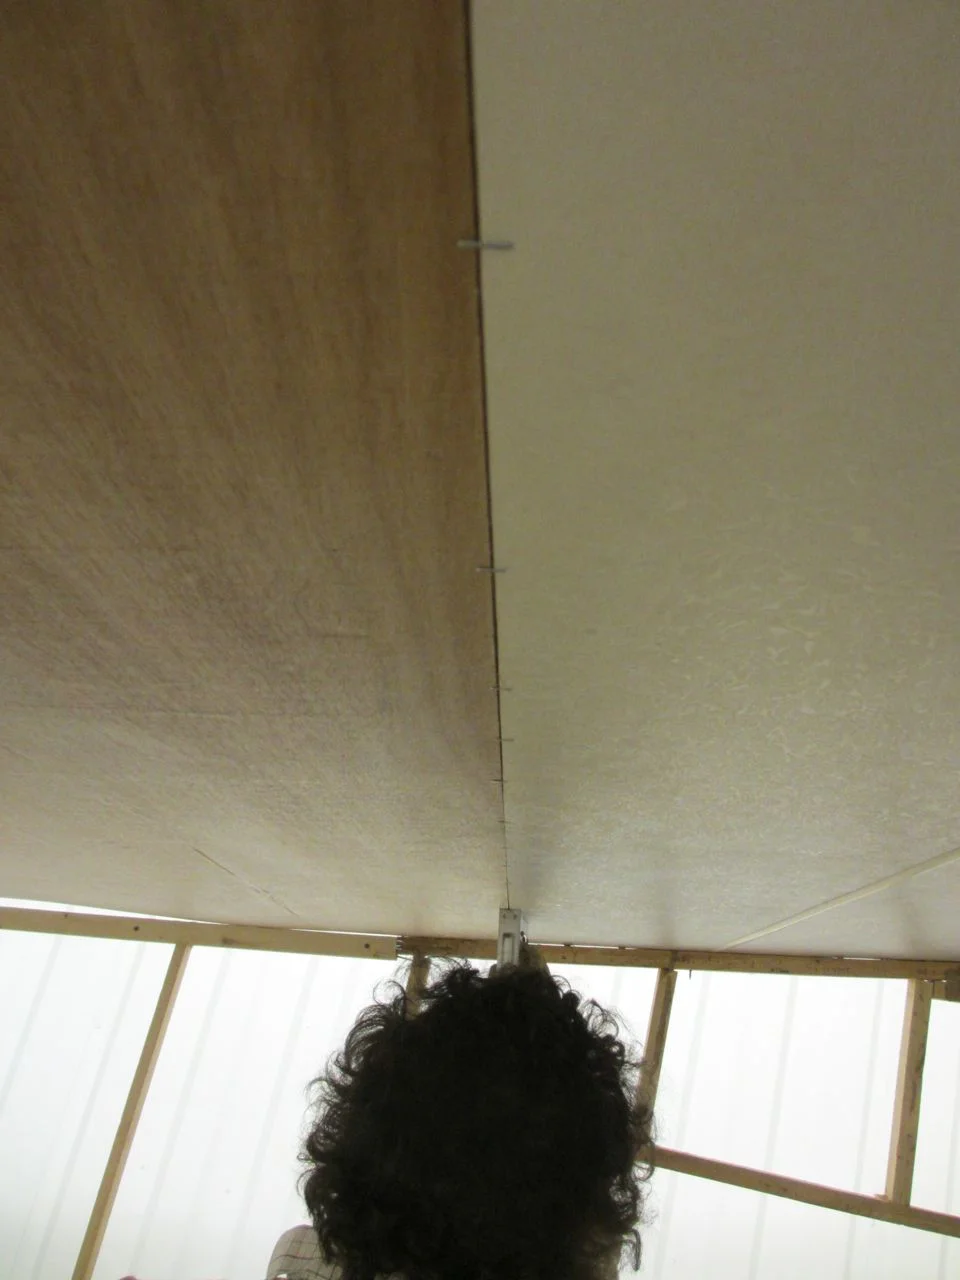
Once the new side wall studs were completed, we focused on installing the roof studs. We needed to replace the three studs we had cut off the roof due to rot.