The Pains Of Renovating Our RV Countertops
Disclosure: None of the companies mentioned below sponsored us. But this post contains Amazon affiliate links. As an Amazon Associate we earn a small commission at no additional cost to you. Please read our disclaimer.
Some people make remodeling work look easy, fun, and even glamourous. Not us. We’re always in such a hurry and working late into the night that there’s barely time for us to take well thought out photos. It’s a given that we have least one argument and feel frantic the whole time. That’s how it was when we were rebuilding the Toaster and this time wasn’t any different.
Our kitchen countertop has been the bane of our existence for the last 1.5 years. The wood veneer has been slowly cracking and peeling off since we moved in thanks to water splashes. It’s gotten substantially worse the last few months.

We’ve been putting the work off for a while because we weren’t sure of a solution that didn’t require ripping out the entire countertop (not an option). But it finally got to the point that we had to do something. We figured Asheville would be a good place for it: being stationary for a long time and having tools to borrow from friends if necessary. We decided to bite the bullet last week because our open house was last weekend (Saturday) and we wanted it done in time for that. So we started the work on Monday. We figured 5 days would be enough.
Except, the project turned out to be an absolute mess!
Renovation isn’t particularly our forte. We don’t have enough experience and renovating an RV gets complicated because not a lot off-the-shelf products are made for RVs. In ways that’s fun because we’re challenged to think outside the box, but it also gets frustrating when there’s a looming deadline. The Toaster is also the first thing that both Jerud and I have ever rebuilt and renovated. In many ways, it continues to be our experiment and where we make all of our mistakes.
After a lot of thought, we decided to go with self-leveling epoxy to fix our kitchen countertops. It was going to be the easiest solution…or so we thought.
What Is Self Leveling Epoxy?
You know the really shiny clear bars and tables at restaurants, where it almost looks like there’s a piece of glass on top but there isn’t? Those countertops are covered in self-leveling epoxy. The product is a mix of resin and hardener that comes in separate bottles but when combined it becomes an epoxy that cures to be scratch and water resistant. When the epoxy is poured on a surface, it flows to level itself out to be an 1/8 inch thick.
The YouTube videos we watched made the process seem straightforward. Prep the surface, mix the resin and hardener, pour the epoxy on, spread it a little, use a heat gun to pop any bubbles, and let it do its thing. But it didn’t turn out easy. We made mistakes that led us to second guessing ourselves.
Sunday
Our original plan was to sand the old wood veneer off our plywood kitchen countertops and replace it with new wood veneer. The old wood veneer looked like crap and it would be stupid to encase all those defects in clear epoxy.

More water damaged hidden under the towel.
But Lowes didn’t have wood veneer on hand, and it wouldn’t have arrived in time if we special ordered it.
Monday
The backup plan was to sand off the old wood veneer and paint the plywood. I grabbed a huge stack of various shades of gray and brought them back to the Toaster to decide. We managed to narrow the gray we wanted down to a three before deciding on Sable Evening by Valspar.

This was the second cut from over 20 additional paint chips.
Wanting to do the least amount of work, my plan was to just paint the kitchen countertop and the flip-up counter while leaving the dinette and our pantry table/countertops its current stained wood finish. I was worried that the combination of colors wouldn’t look good in the small space. Even though the two areas are kind of separated, in reality, the couch, dinette and kitchen are in one big room.
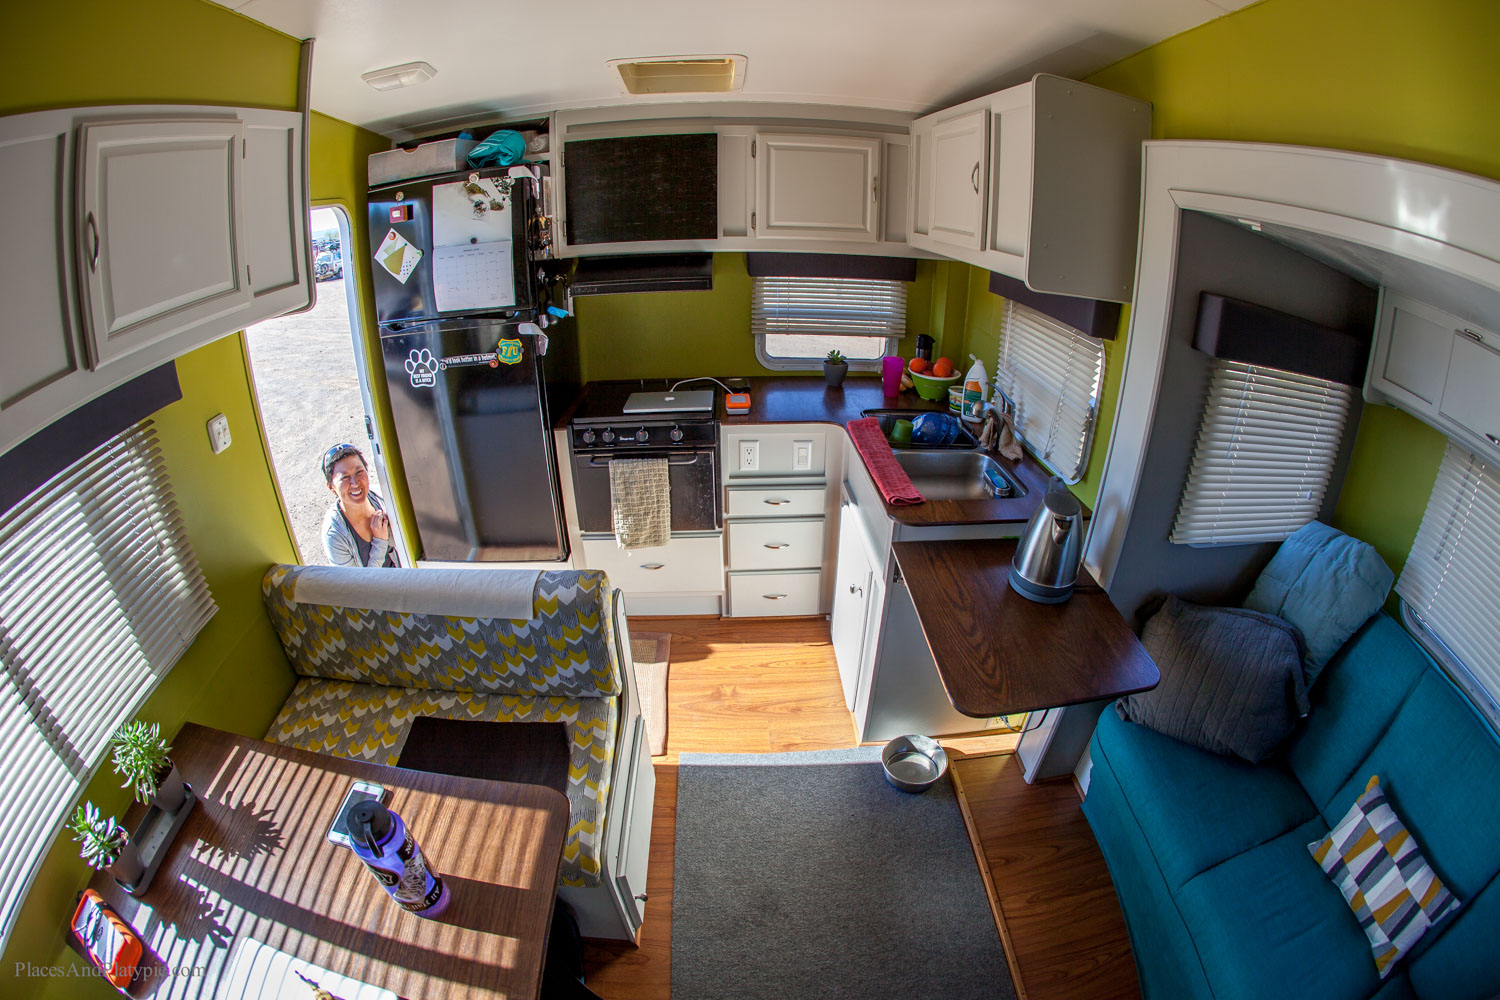
This is what our previous countertops looked like, along with our RV stove/oven which we now don't have.
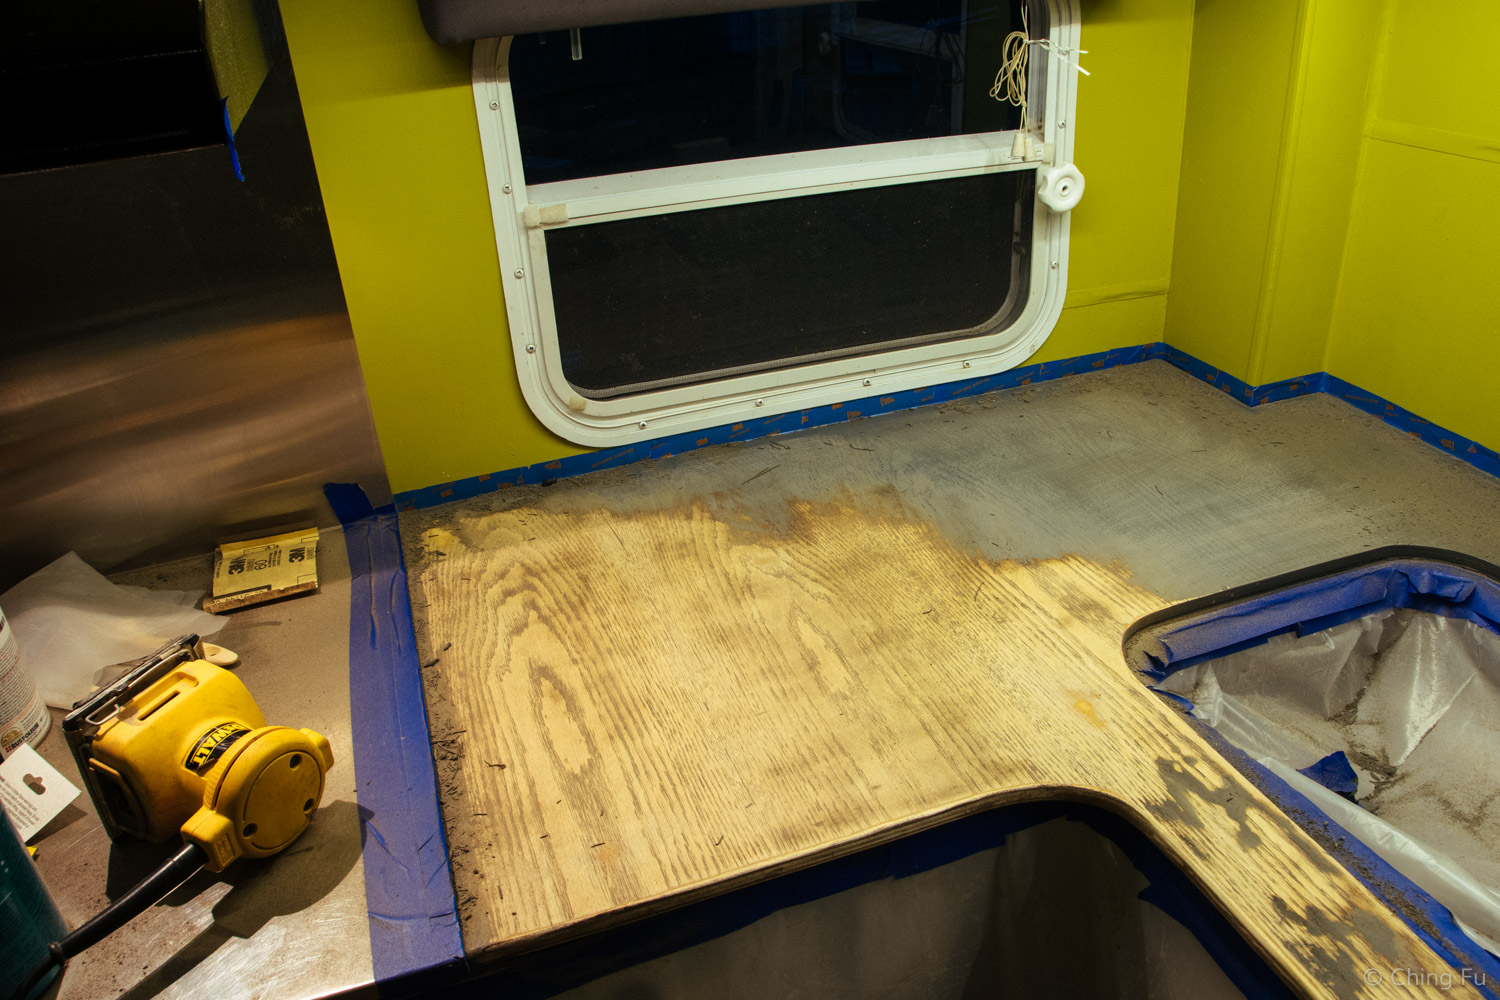
We went ahead and sanded and painted the countertop and flip up.

My indecision about the color scheme with the other stained wood countertops increased as the paint dried. Eventually I decided everything had to be painted gray (except for the bathroom countertop because that’s actually in a separate room – and because the bedroom walls are already gray).

Jerud sanding the dinette table and the pantry countertop at 7 PM.
Tuesday
We were ready to pour the self-leveling epoxy in the morning and that’s when all the issues started.

This is the self-leveling epoxy we used, made by Pro Marine Supplies.
There wasn’t anywhere on the farm (where we’re staying) that we could do the work. So it all had to be done inside the Toaster, making it unlivable (we camped out next to the rig).

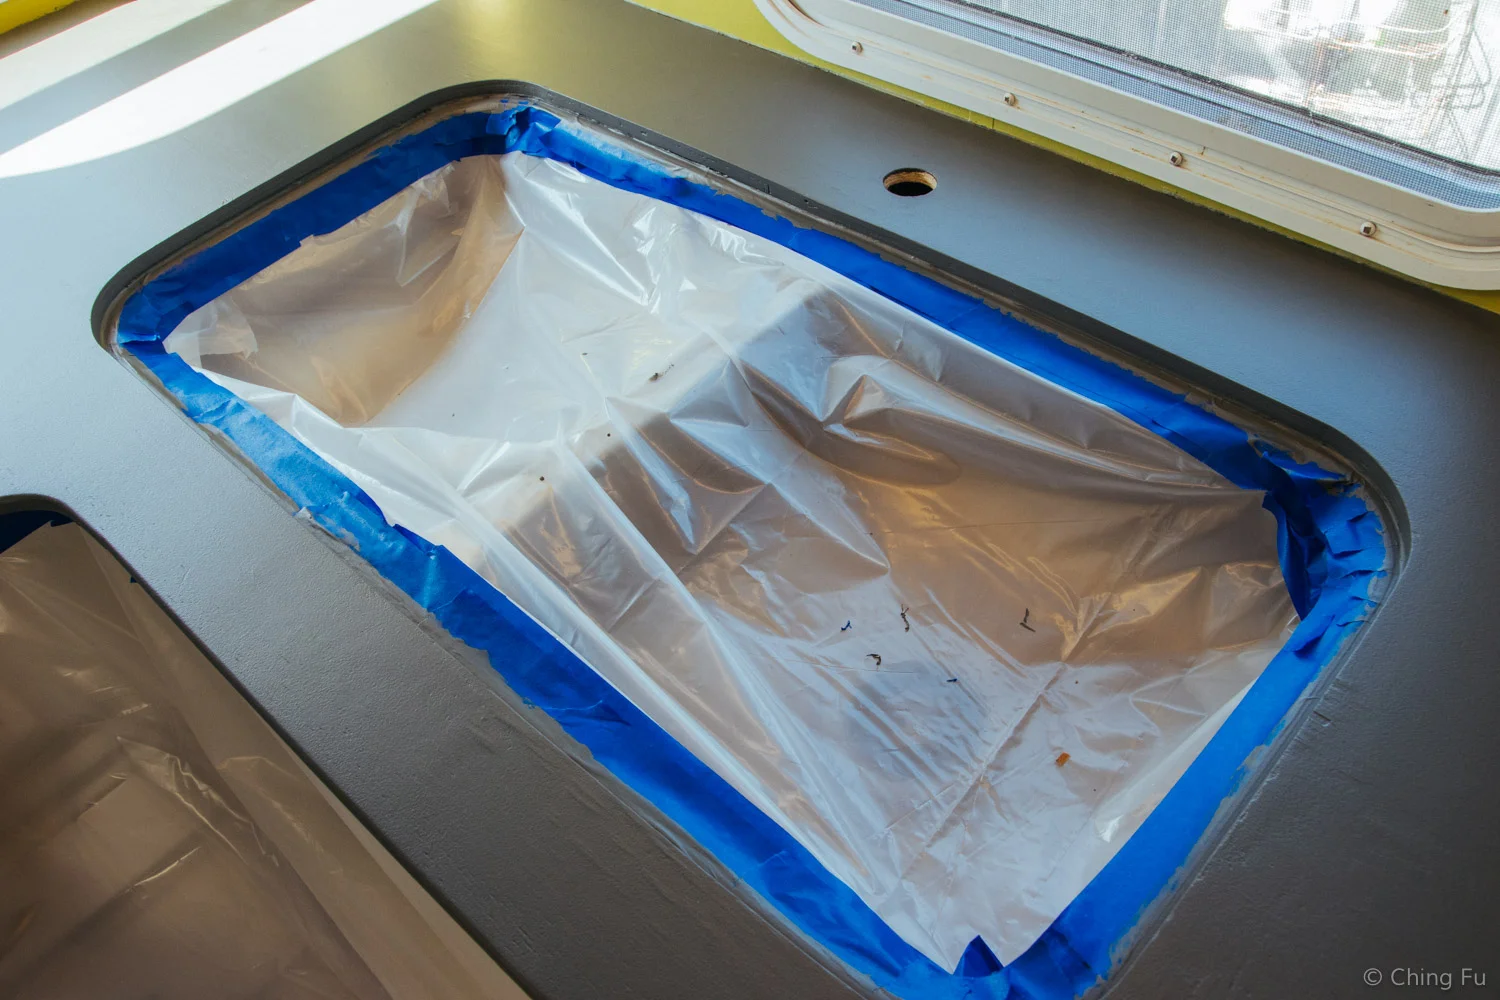
The floor, couch, the kitchen sink, and as much of the walls were covered in plastic sheets to protect it from the paint and epoxy.

Self-leveling epoxy drips a lot (result of it self-leveling). With all the countertops in place, we went ahead and combined two quarts worth of resin and hardener. We knew the mixture would quickly start to cure as soon as it was combined. What we didn’t know was how quickly it cures (in about 8 minutes, faster if there’s more mixture). By the time we poured epoxy on the flip up and was done scraping it into a thin first layer (the seal coat), the remaining epoxy (most of 2 quarts) had already hardened to a solid block inside our bucket. Seeing that we had just the right amount of epoxy to cover all the surfaces we needed to, this mistake meant we now didn’t have enough. The other issue was the epoxy was purchased on online because we couldn’t find it locally. If we had ordered it within the hour after our mess up, the soonest it would’ve arrived was Thursday. We only had 3.5 days until the open house and the epoxy needs 3 days to properly cure!

Two quarts of cured epoxy wasted.
After searching online and making phone calls to find a local place that sells this epoxy, I came across a YouTube video where the guy said he purchased his epoxy from Lowes. The strange thing is when we typed “epoxy” in the search box on Lowes’ website it didn’t show up, neither did any of their employees tell us this product available when we called specifically asking about epoxy.
With less epoxy left, we were trying to find out if a seal coat was necessary. Since it’s $60+ for a 1-gallon kit of self-leveling epoxy, it would’ve been great if we didn’t have to spend additional money. What’s interesting is that none of the YouTube videos we watched poured a seal coat. The purpose of a seal coat is to decrease the amount of bubbles that appear otherwise. All the product instructions said it’s necessary, but I wasn’t convinced (I question whether manufacturers have alternative motives). But after finding a forum started by a guy who didn’t put a seal coat on and had so many bubbles appear under the epoxy that his wood product was essentially ruined, we decided it wasn’t worth skipping the seal coat because there was no way we had time to remake any of our countertops.
During this time, I had also emailed and left a voicemail with Pro Marine Supplies (the company's epoxy we already poured) and Famowood (the epoxy we were getting from Lowes). I was desperate and had to talk to the source.
Then two things happened that made us question whether we wanted to use the self-leveling epoxy in the kitchen and bathroom. After pouring the seal coat, we realized the way we taped off our sink wasn’t going to work. The epoxy flows off the edges of whatever it’s poured on. We have an under-mounted sink and we taped the edges with painter’s tape, with the basin covered in plastic. What we realized is that the epoxy would flow off the edge of the kitchen counter, into the sink, and on top of the painter’s tape making it impossible to remove the tape. Our sink is glued into the countertop so it’s not removable without ruining the counter.
Secondly, the seal coat on the flip-up was drying unevenly and we had no idea if that would affect the final look of the epoxy. If it did make the final layer of epoxy to look terrible, we could make new dinette, pantry and flip up countertops because those all remove easily. But that wasn’t the case with the kitchen and bathroom counters.

So, after all the trouble to find a solution for the kitchen counters and all the work we had done, we decided not to even use the self-leveling epoxy in the kitchen! This created a lot of friction and finger pointing between us.
Then it turned out we didn’t even have enough epoxy to complete the flip up, dinette, and pantry. We chose to skip finishing the flip up even though it already had a seal coat.
This left us back at square one with the kitchen.
Wednesday
The spar-varnish coats we had originally put on the kitchen countertops weren’t durable enough to withstand the use and water splashes. So we were pretty sure polyurethane wasn't going to work again. But after the self-leveling epoxy fail, Jerud and I couldn’t find any other solid solutions that didn’t consist of ripping out the current kitchen and bathroom countertops. Begrudgingly and dejectedly, we decided to cover the kitchen and bathroom counters with polyurethane. Little did we know, most polyurethane can’t be applied over water-based paint like what we had used. MinWax’s polycrylic is the only product available at Lowes that can be applied on top of latex paint.

The polycrylic requires light sanding between coats after waiting 2 hours between each coat. While sanding it for coat #4, the paint ripped off with the 220 grit sandpaper. At this point we learned that we probably hadn’t given the paint enough time to dry. Due to the high humidity in Asheville, the dry times were longer than it said on the bottle and the not-fully-cured paint had simply separated from the wood beneath it. All the poly in the world wouldn’t have held it down. The other thing we did wrong was we didn’t sand the kitchen countertop down enough for the paint to adhere properly.
Back to square one and the internet again!
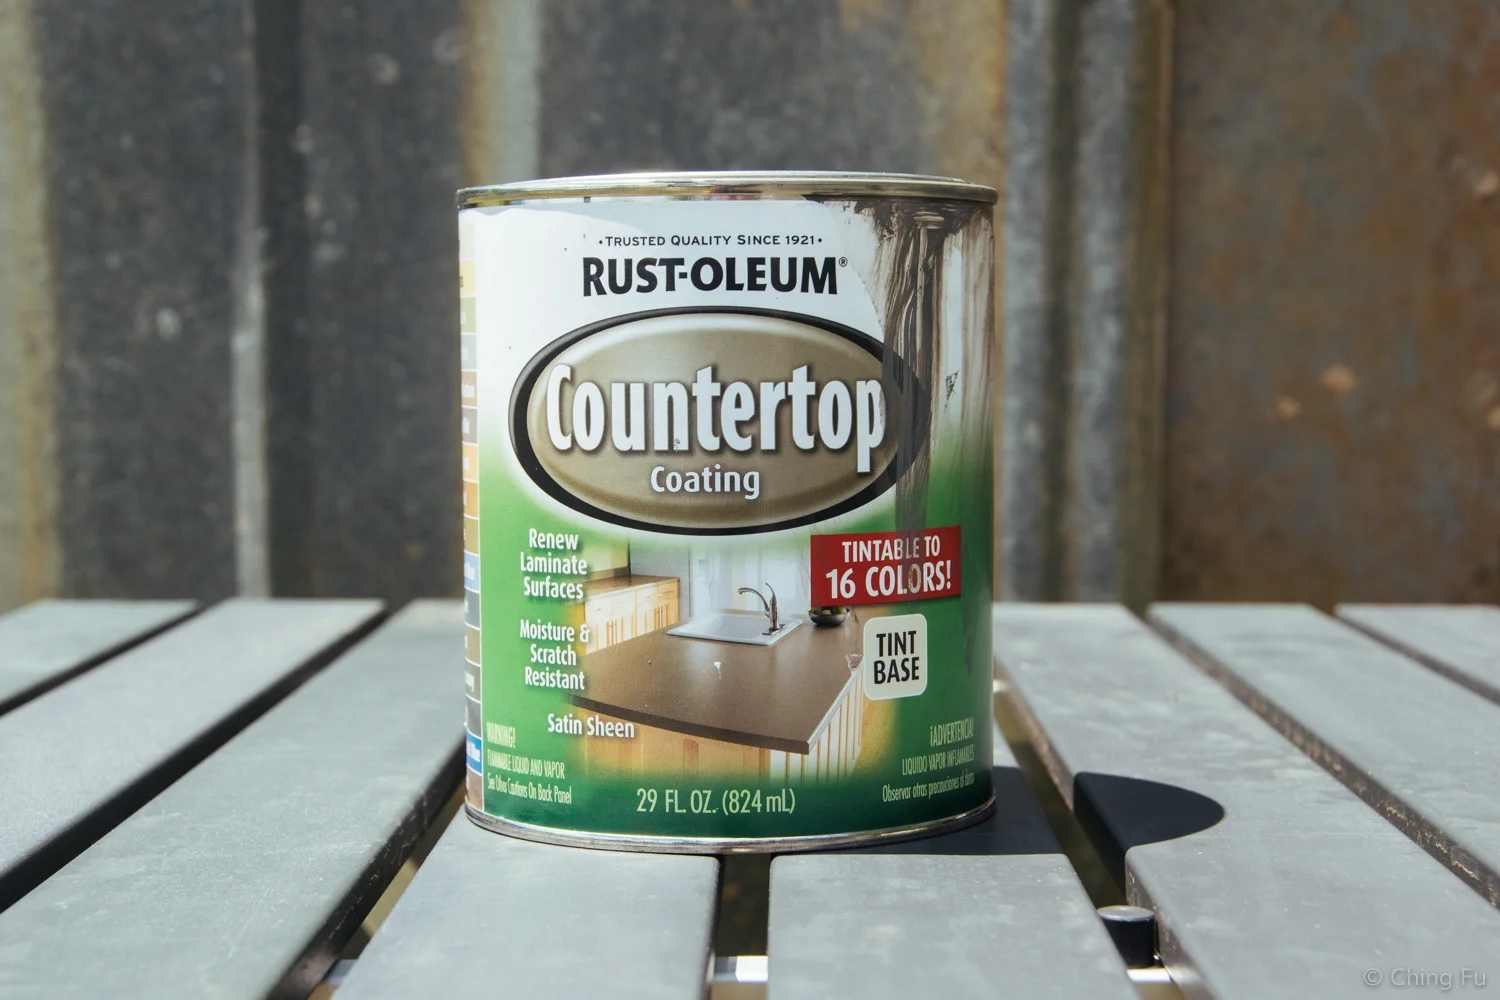
This time, thanks to a friend’s suggestion, Jerud searched using the word “enamel”. That’s when he came across Rust-Oleum’s Countertop Coating. We called the company and asked tech support a whole bunch of questions. We didn’t want any surprises and couldn’t afford to lose any more time.
This Countertop Coating is an enamel paint made to go over laminate countertops. But tech support said it would work over wood, just not wood that has been painted and coated with polyurethane. The wood would have to be primed first.
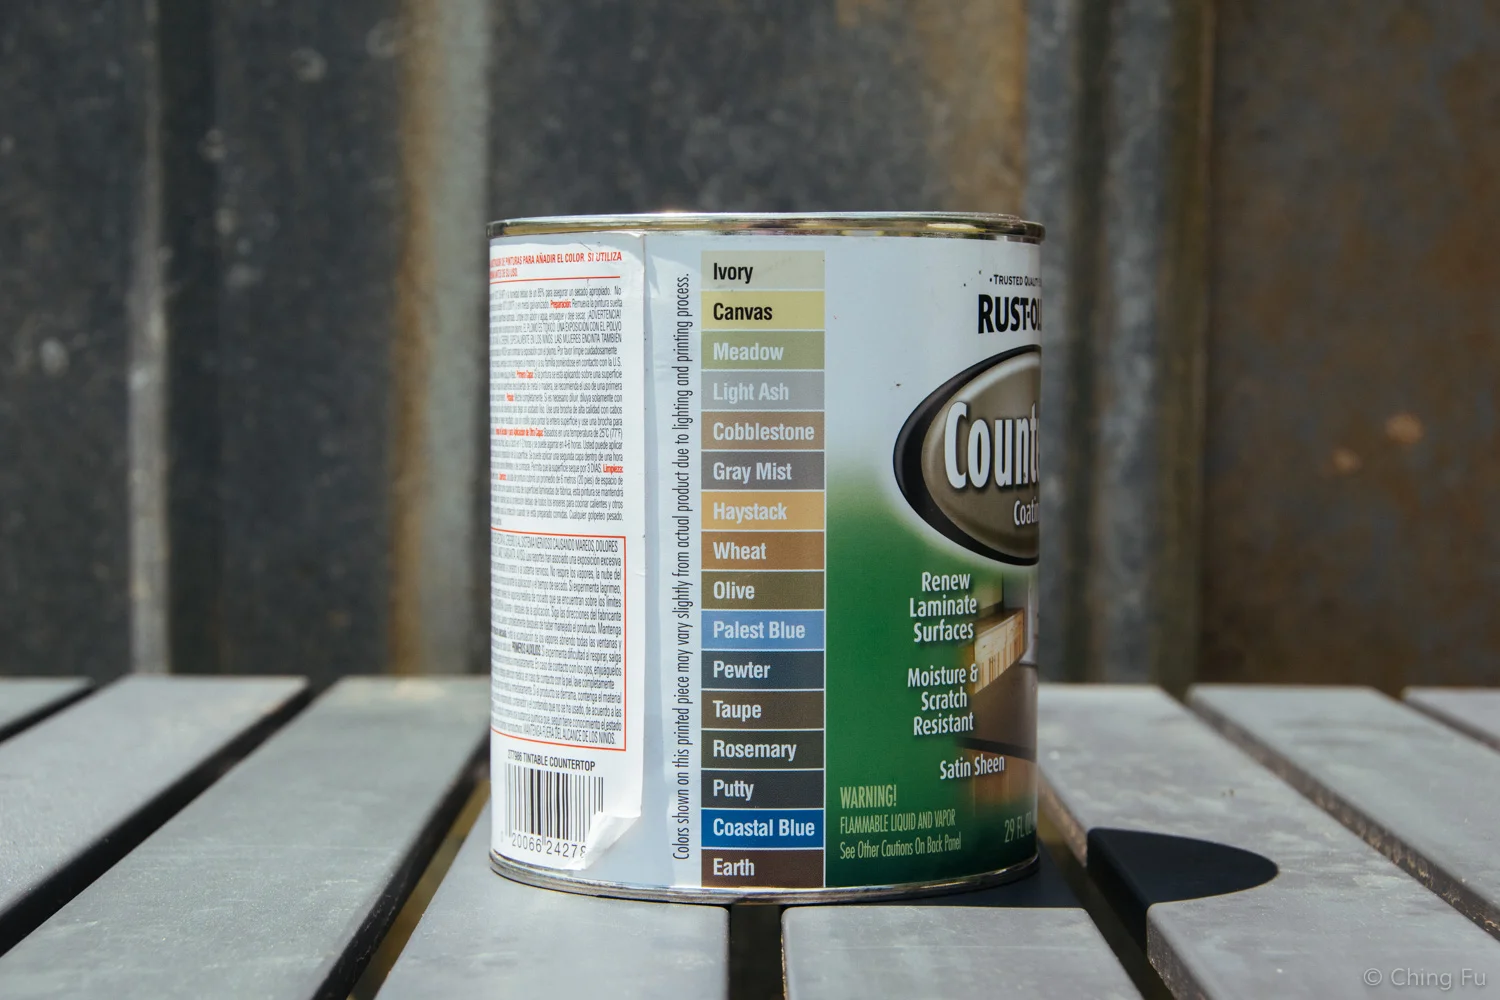
8:30 PM Wednesday night we find ourselves at Lowes, again. The Countertop Coating is tintable to 12 colors – the choices are pictured on the side of the container. We were hoping to match our already painted dinette table and pantry countertop. Without paint cards available, we guessed that the color Putty was closest to our Sable Evening. It turned out too light. But Thomas in the Lowes paint section fixed the color to be a better match. It wasn’t until we painted the kitchen countertops that we realized what a great job he did!
That same evening we got back and immediately started sanding the kitchen countertop and flip up (yes, the one that has a thin coat of epoxy). Stupidly enough we had forgotten how much of a mess sanding makes. The orbital sander we were using doesn’t have a dust catcher so there was dust everywhere in the rig. We had to manually use sandpaper to remove the paint and polyurethane off the edges along the backsplash and inside around the sink.
It took about 2 hours to complete. We went to bed after midnight (again) and woke up at 6am to get back to work (again).
Thursday
The kitchen countertop and flip up were re-taped and primed by 9 AM. The second and final Countertop Coat was on by 12 PM. Now all we had to do was wait at least 3 days for the paint to fully cure and be usable. Unfortunately, our open house was in 2 days, so we’d just have to ask people to be mindful of the countertop and cross our fingers that it’d survive any touching.
Now
With all the stress and work behind us, what do we think about the new look? The gray color and the glossy finish changes the look of the interior. Jerud really likes it and I like it, but still trying to get used to it.

Although the Countertop Coating instructions say it can be used after 3 days of drying, that’s not currently the case. It seems like marks are being left on the counter when we set object on there. We’re being extra careful and giving it a few extra days to fully dry – after all, it’s super humid here in the southeast in mid-June!
But, the best thing about the new finish is we now don’t have to be as careful and paranoid about water being on the kitchen counter. We’re curious to see how durable the enamel paint really is and how the self-leveling epoxy holds up in RV life.