Welcome: Take A Tour Of Our Home (Updated)
Originally posted April 17, 2015
The inside of the Toaster has had some changes since this updated post. We're overdue for another tour...until then, you can see a couple of the updates in this post and this post.
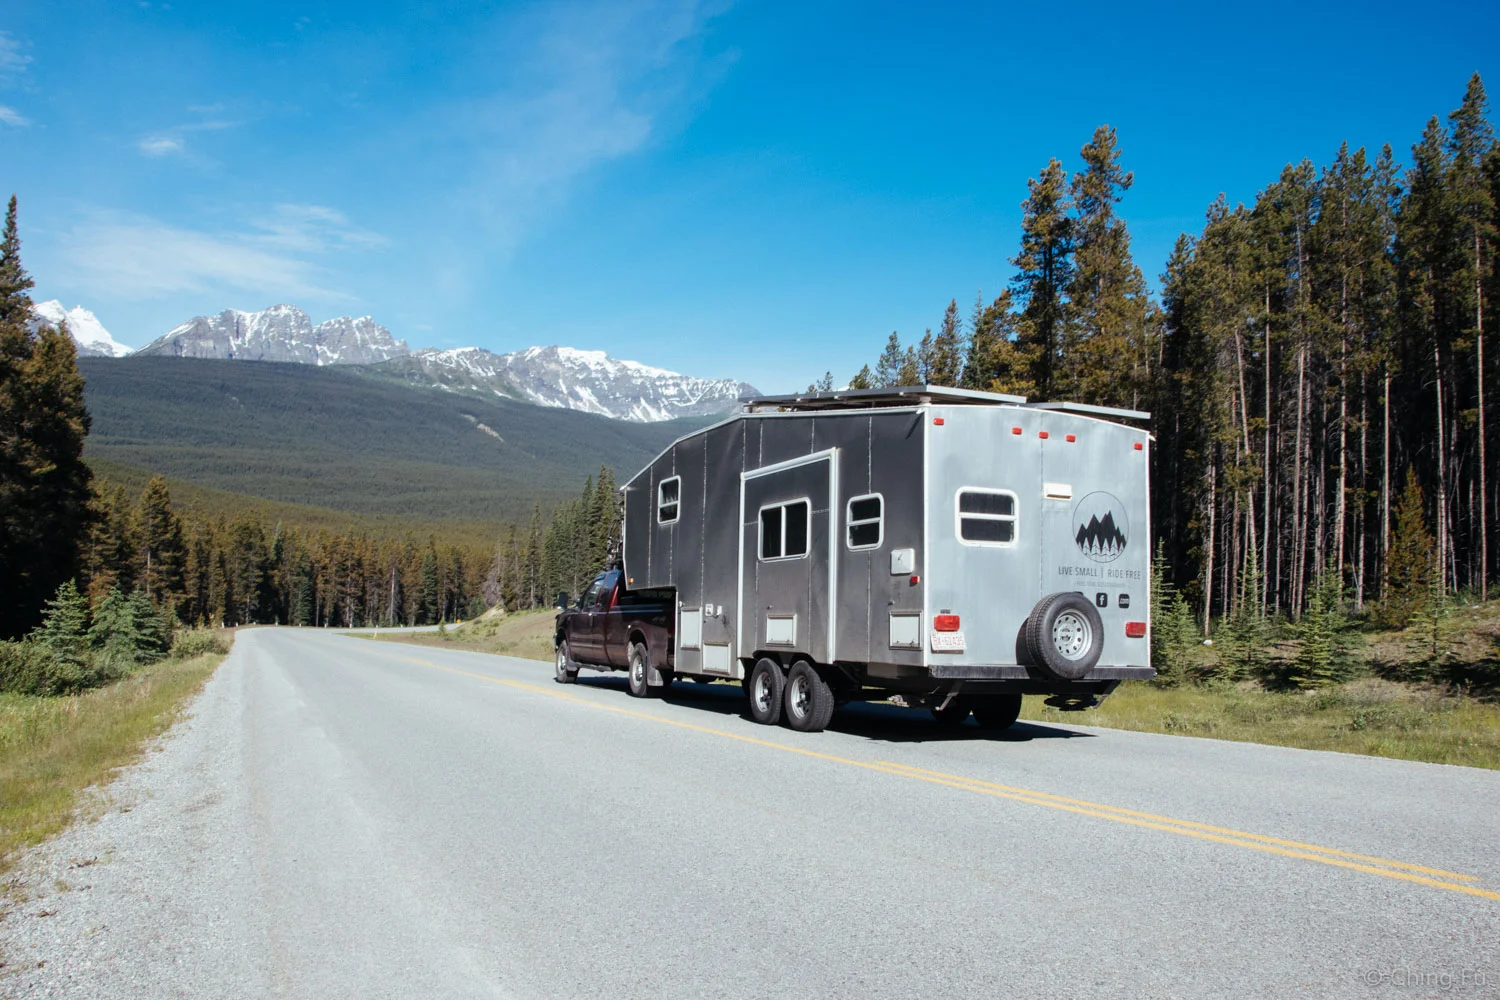
The Toaster has been our home since March 21, 2015. It’s a 25 ft. long fifth-wheel that took us a year to rebuild. Here’s a tour of our home.
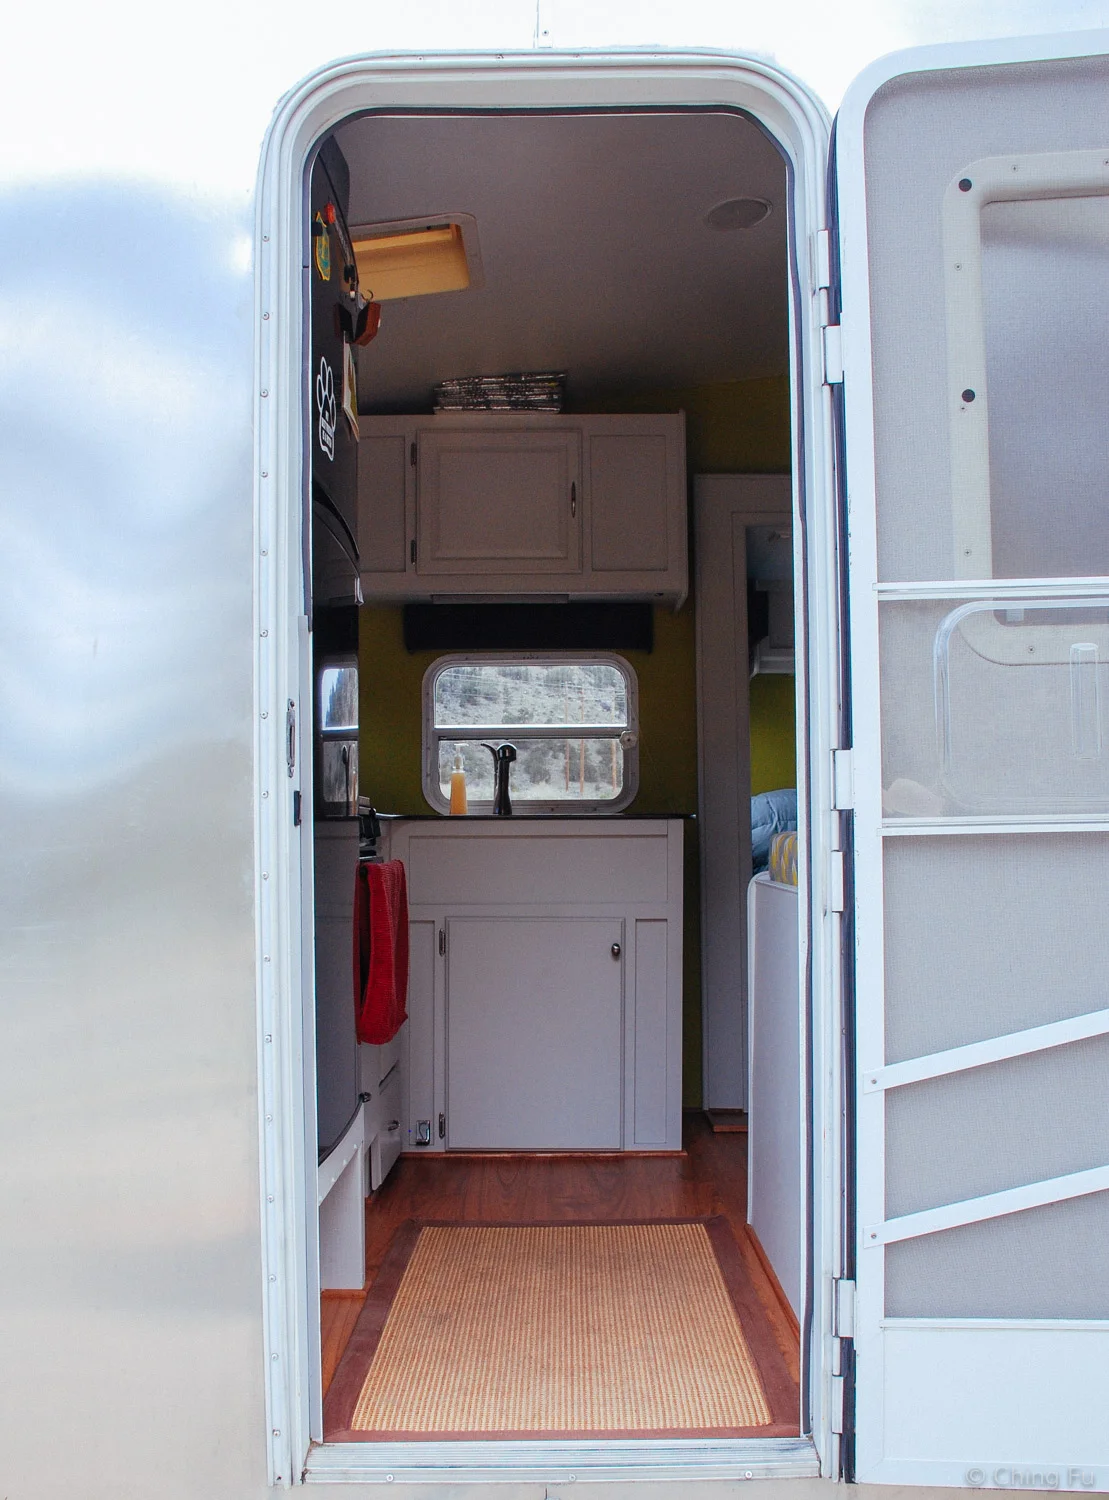
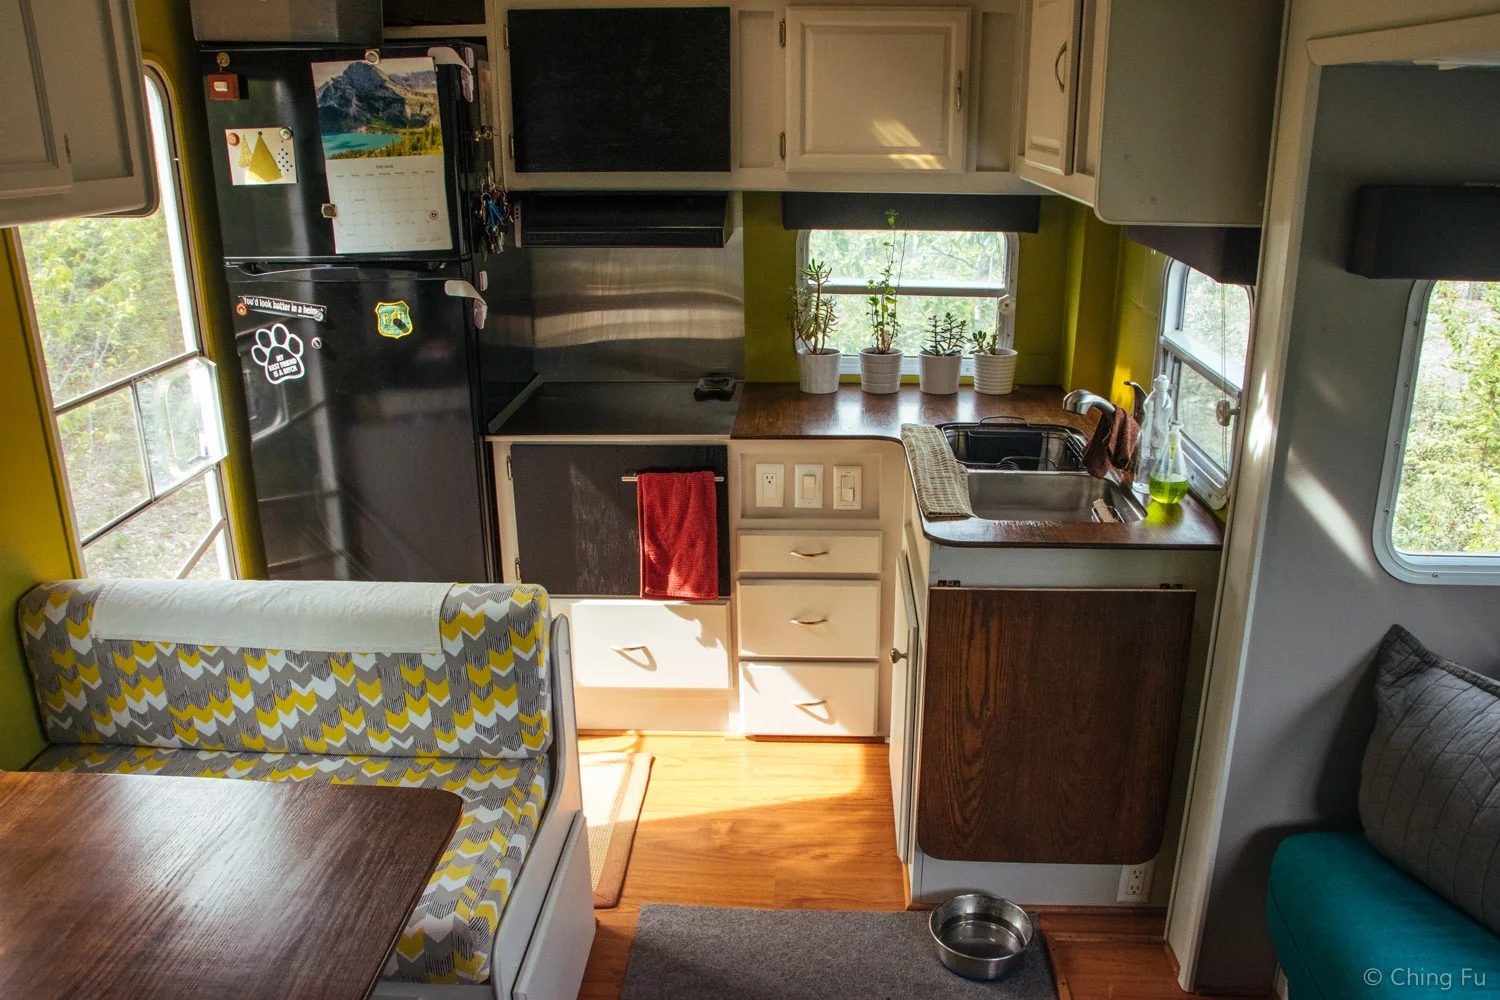
As you walk into the RV, you are instantly greeted by our kitchen. It's small and cozy. Like all RVs, spaces are utilized for multiple purposes.
We replaced our RV fridge with a standard apartment size residential fridge. A larger fridge was important for us because we both like to eat! We also wanted to make sure we would be able to have enough food on hand if we are staying out in the woods for a long period of time.
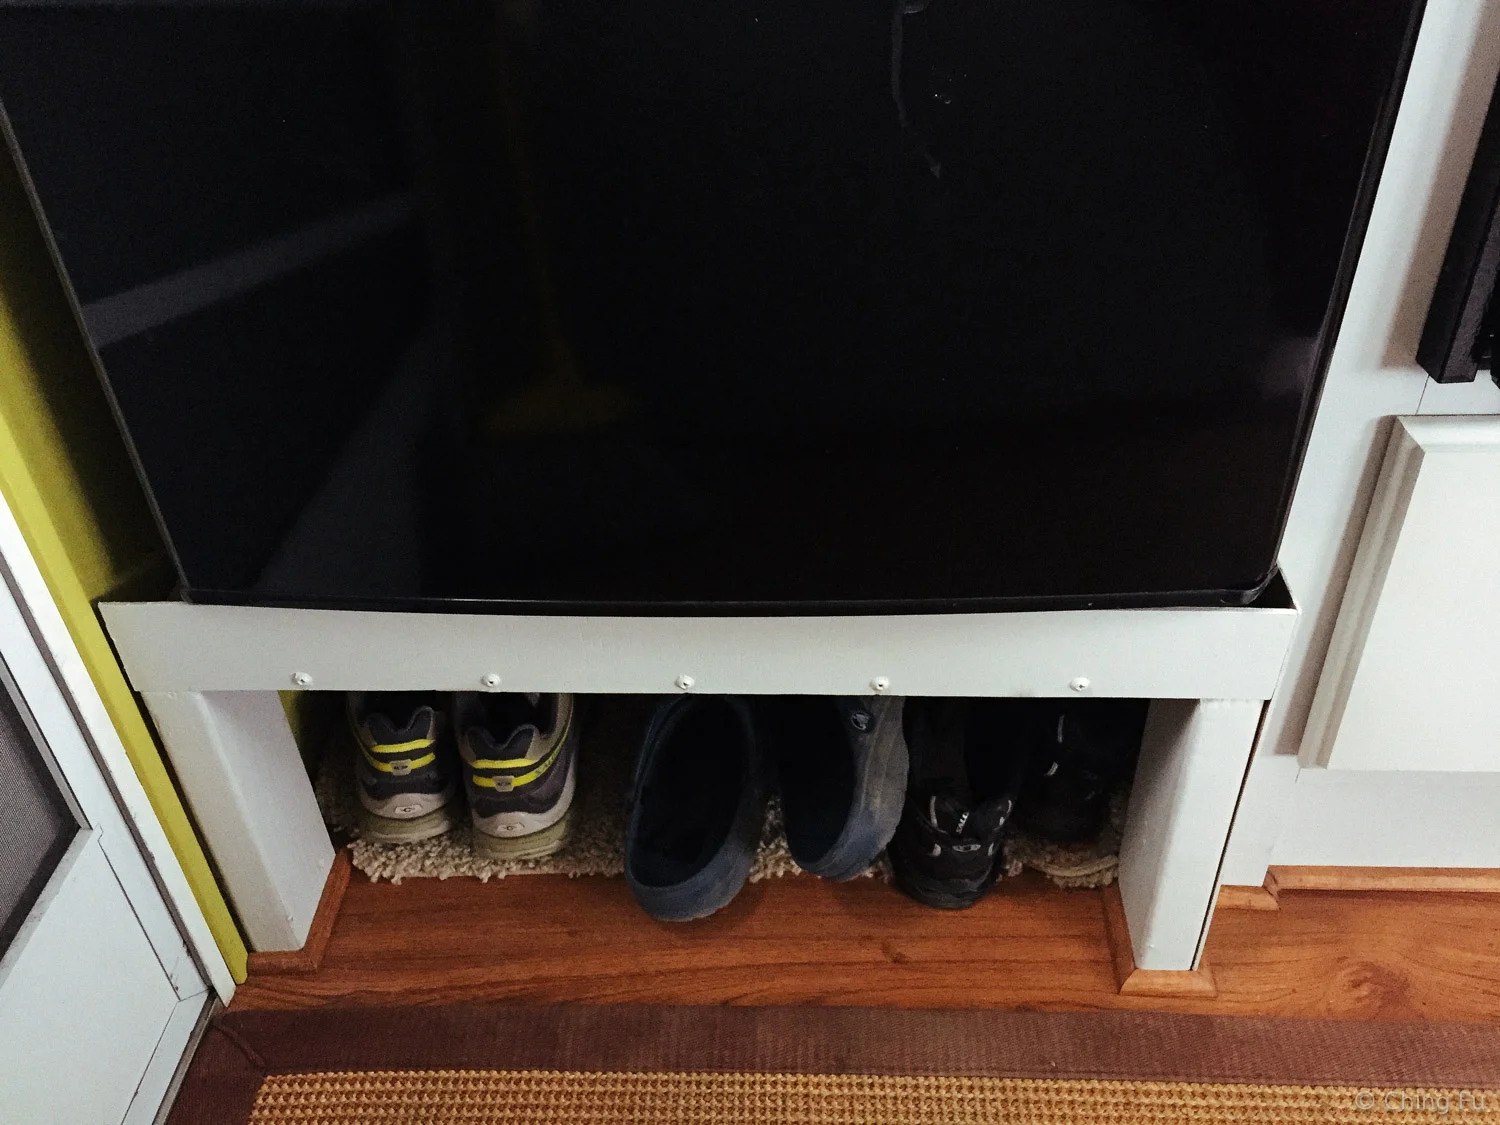
We built a stand for our fridge so that we wouldn't have to bend over in a tight space. It worked out nicely because the space underneath the fridge is a great spot for some of our shoes.
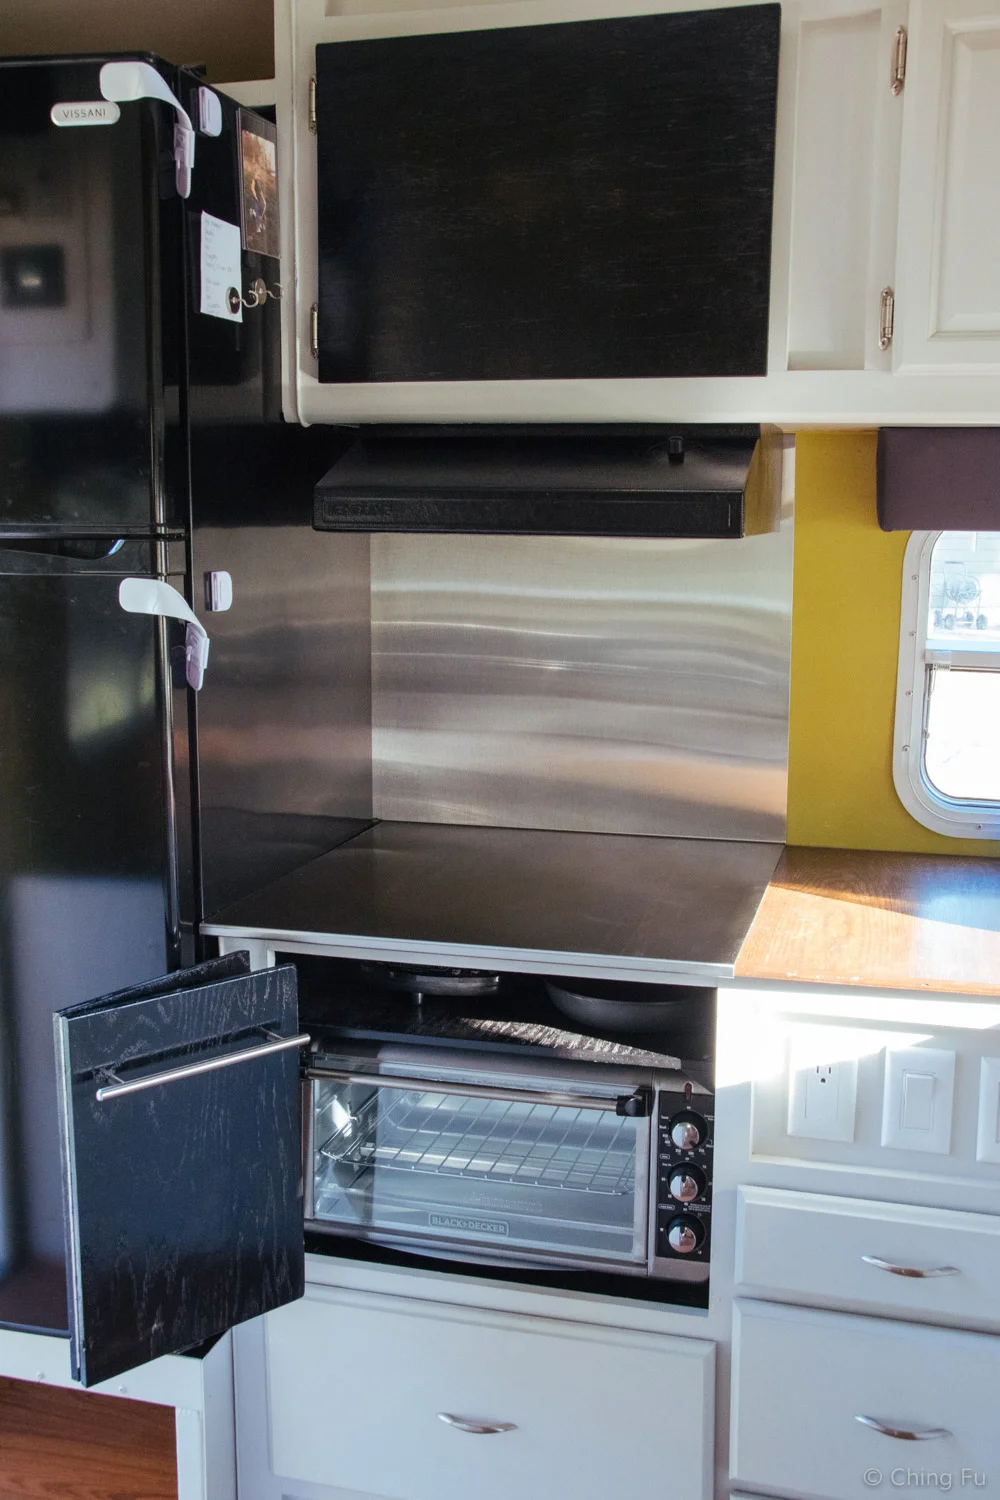
We kept the original stove/oven that came with the RV when we first left Asheville. But about a month or two later we realized that our solar panels were generating enough electricity that we could actually cook with an electric two-burner countertop stove. This led us closer to being fossil fuel free, but not 100%.
Finally in May 2016 we were at our friend's place where we could do some remodeling. We removed our RV stove/oven - our only propane appliance left in the Toaster. This means the Toaster is now 100% fossil fuel free! You can read more about our new kitchen setup here.
You may notice from the Before and After photos that we made a new countertop for the kitchen. We reused the same sink except we reinstalled it as an under-mount opposed to the previous top-mount. With the new countertop we also made two sink covers that creates extra counter space when the sink is not being used. A cool feature of the sink cover is that a corner is cut out of each one, acting like a handle.
This little foot pedal controls our kitchen faucet. When our hands are soapy and dirty we can just let go of the foot pedal to stop the water or step on it for more water. Hands-free! It also helps us use less water.
Right above the kitchen sink is this cabinet that we've converted into our dish drying rack. We cut a hole at the bottom of the cabinet so that water can drip out from the drying rack and into the sink.
One thing not shown in any of the kitchen photos is that we have LED strip lights installed around the entire underside of the kitchen cabinets.
Underneath our kitchen sink and bathroom sink are two water heaters. The kitchen Ariston point-of-use electric water heater holds 2.5 gallons of hot water and the bathroom water heater holds ~6 gallons of hot water. We can turn the heaters off when not in use.
In the kitchen we also have switches for the fridge, hot water heater, and water pump. This allows us to easily turn off the fridge when we're driving. We only turn the hot water heater on when we need it and wiring it up to a switch is a lot easier than using the knob on the actual heater (which isn't made for daily turning). Our water pump switch was by the front door, which doesn't make a whole lot of sense. So we moved it to be right next to the sink for easy access.
Here's a wider view of the kitchen.
Next to the kitchen is our living room/dining room area. The living room is set inside the slide (a section of the trailer which can be retracted for travel and extended to expand the living room space when parked). The RV is 8 feet wide and the slide adds an additional ~4 ft. width to the living room/dining room area. This 4 ft. makes a big difference! Our couch folds out to be a guest bed and the underside of the couch is storage space that can be accessed from the outside.
Directly across from the living room is our dinette. There's storage under both dinette seats in addition to the cabinets above it and behind it. The table lowers and converts the entire dinette into another guest bed. We got rid of the old table and built the one we have now.
Our old couch and dinette cushions were super ugly! Our friend Lee Ann reupholstered both of them for us.
Behind the living room and dining room is the doorway to the bedroom and bathroom area. I have to admit, there's a lot going on around this doorway.
We rebuilt the step that leads up into the bedroom; the step pushes in flush with the wall when it's not in use or when the slide is in. The top of the step also opens like a lid so we can use the inside space as storage. To the left of the step, where the black door is, we added an extra compartment space.
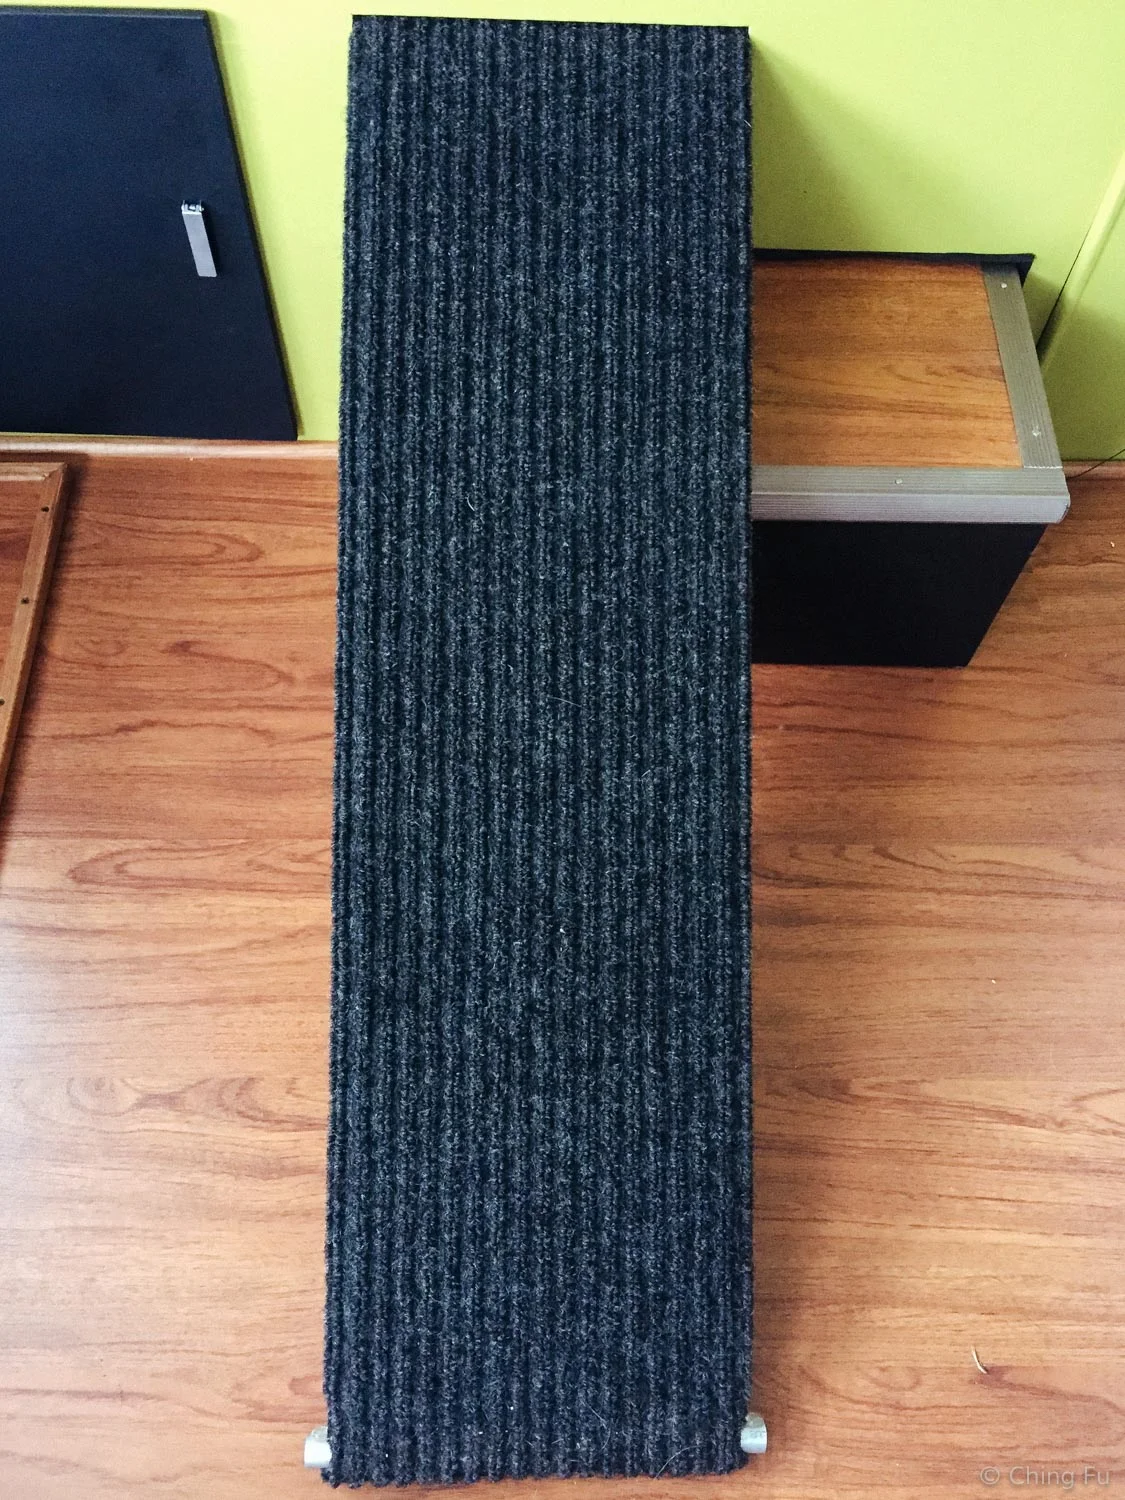
Above the step is a ramp that we built for Tybee. The ramp pushes into the wall when not in use. Tybee is older and has pretty bad arthritis in her back legs. The ramp allows her to go in and out of bedroom on her own. We covered the ramp with carpet so it wouldn't be slippery for her.
There's also an accordion partition in that doorway that faces the living room/dining room. On the other side of the accordion partition is a cellular window shade that we installed so that it would act, in addition to the partition, as additional insulation or just for privacy. These two "doors" help keep the heat inside the bedroom when it's cold outside. The bedroom also has extra insulation in the walls.
Once you walk up into the bedroom/bathroom area, there is a closet door to your left and the toilet is on your right. We took our the original RV toilet and replaced it with an Air Head composting toilet that doesn't use water. We removed the bathroom door and replaced it with a curtain to save weight. Also because the closet door is directly across from the toilet it felt very cluttered and congested with two doors in that small space.
This is our closet door and bathroom sink viewed from where the bed is located.
The picture to the left is our closet door. We removed the door knob because of the tight space and dressed up the leftover hole to use as a finger hole. The door is held closed with a spring loaded ball that fits where the latch bolt used to be.
We also installed a door stopper so that the closet door doesn't swing wide open and hit the cellular shade.
Our bathroom sink is next to the closet. When we installed the new sink and countertop we decided to install it at an angle. This gives us more usable counter space. And just like the kitchen sink, we made a cover for the bathroom sink. I'll let you in on a secret, our bathroom sink is actually a mixing bowl that we drilled a hole into the bottom.
The shower is at the foot of the bed and across from the bathroom sink. We took out the previous shower and installed a corner shower, giving us more elbow room. The wooden platform was built for the dogs and our plan was to put a dog bed on there. But it turns out they still prefer our bed (surprise, surprise) so we use that platform for a variety of other things - it acts like an oversized sink cover! We switched out the old shower head for one that has an on/off button for us to easily stop the water flow while we're soaping to conserve water. We also added LED strip lights above the shower like we did under the kitchen cabinets.
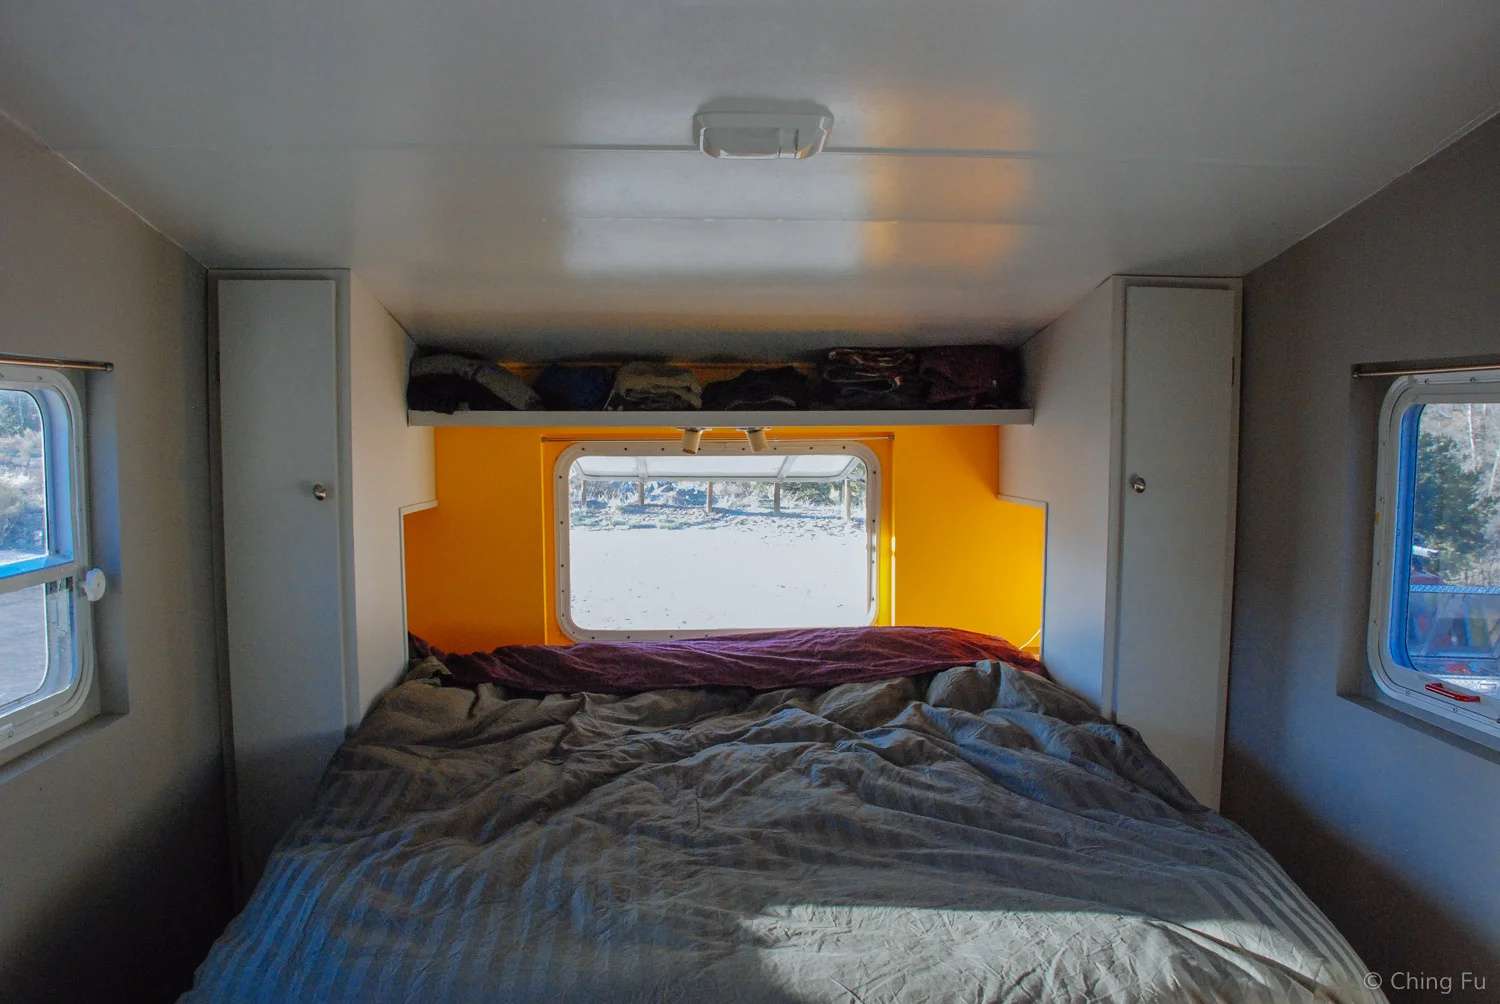
Finally the bedroom. The cabinets next to the bed were totally rebuilt. The window above the bed is also new. We're extremely happy that we spent the extra money and time to add this window in the room. It is wonderful to be able to lay in bed and have a great view of the mountains, sunrises, and night sky.
Each side of the bed has its own built-in night stands. Inside the night stands are two electrical outlets along with a USB charger port and a cigarette lighter socket.
Some other features in our trailer are: in the living room/dining room we also have two USB charger ports and a cigarette lighter port installed. Next to it is the radiant floor heater thermostat. We have two floor heaters installed in the main room and one heater installed in the bedroom floor. The middle is a photo of our sound system controller. We have speakers in the main room and in the living room. All the lights in the RV have been changed to LEDs.
The RV also has three ceiling fans and two ceiling vents. The blue fan in the picture above is a Fantastic Fan. This fan is variable-speed, reversible, has a thermostat, and a rain sensor (so the fan cover will close on its own if it starts to rain). We have another fan that is also made by Fantastic Fan but not as fancy as the living room one. This fan only sucks air out, same as the generic fan in the shower. The bathroom and kitchen have just regular ceiling vents.
Well there you have it, that's our home! Give us a shout if we are in your area (check out where we are on our Currently page) and you are interested in checking it out in person!
THANK YOU FOR MAKING YOUR AMAZON PURCHASES THROUGH OUR AFFILIATE LINK.
Related Posts:

