Installing The Winnerwell Portable Tiny Wood Stove In Our RV
Disclosure: The company mentioned did not sponsor us. But this post contains Amazon affiliate links. As an Amazon Associate, we earn a small commission at no additional cost to you. Please read our disclaimer.
As mentioned in the previous post, Why We Whose The Winnerwell Portable Tiny Wood Stove, the biggest obstacle we had with using a wood stove in the rig was figuring out where and how to install it. The Toaster’s layout doesn’t have any spots where a stove can sit, and we couldn’t run a chimney through the solar panels.
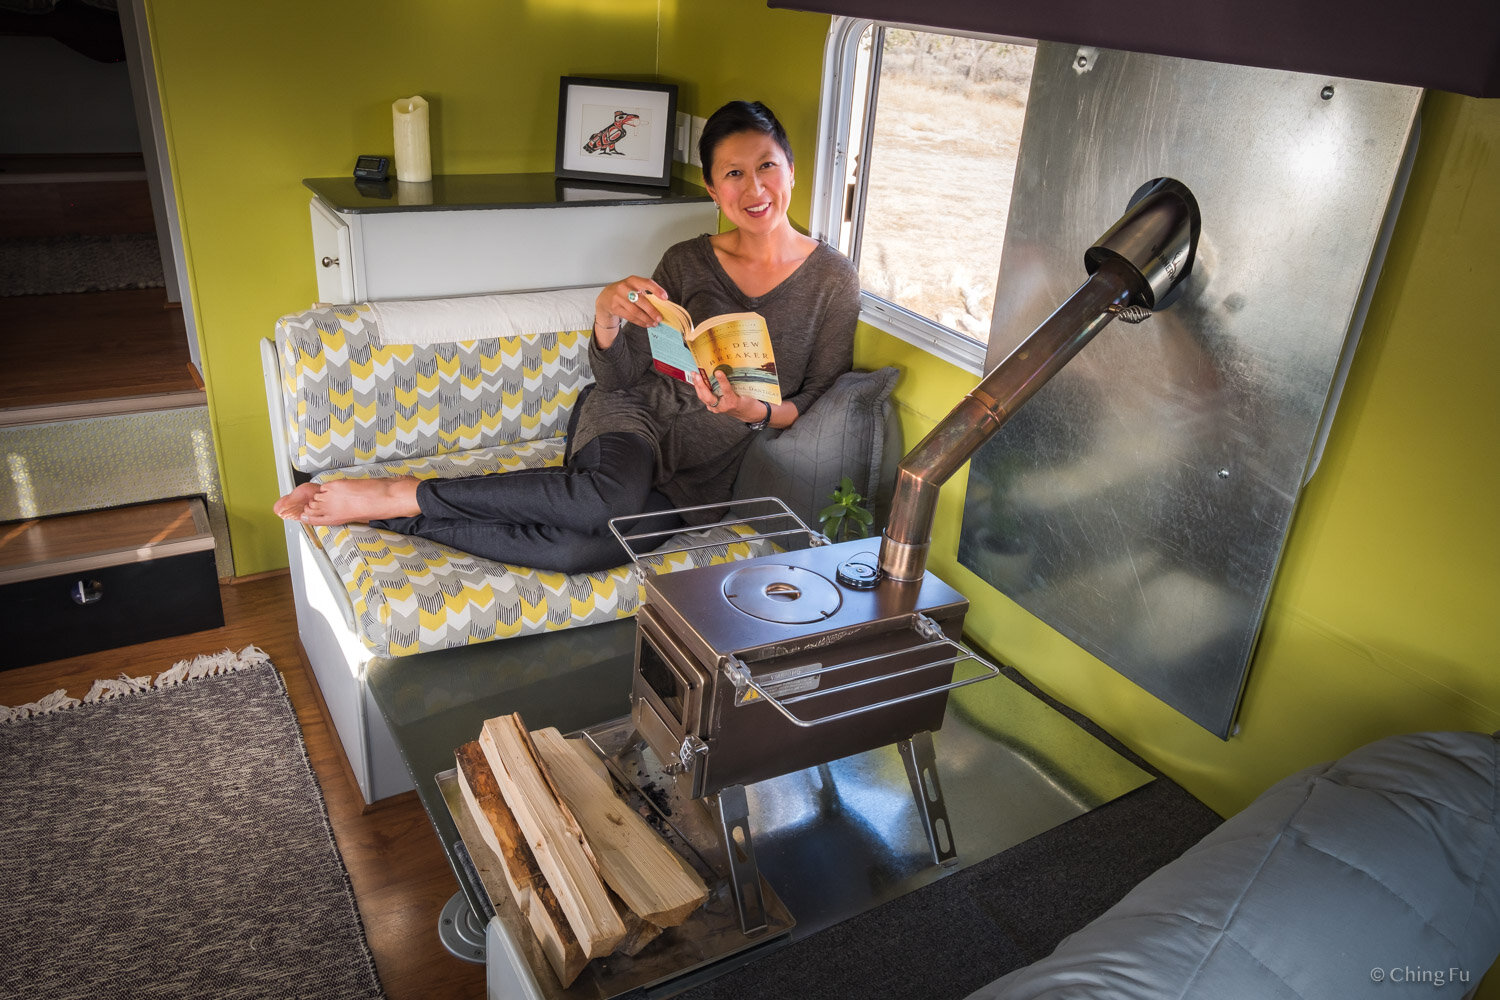
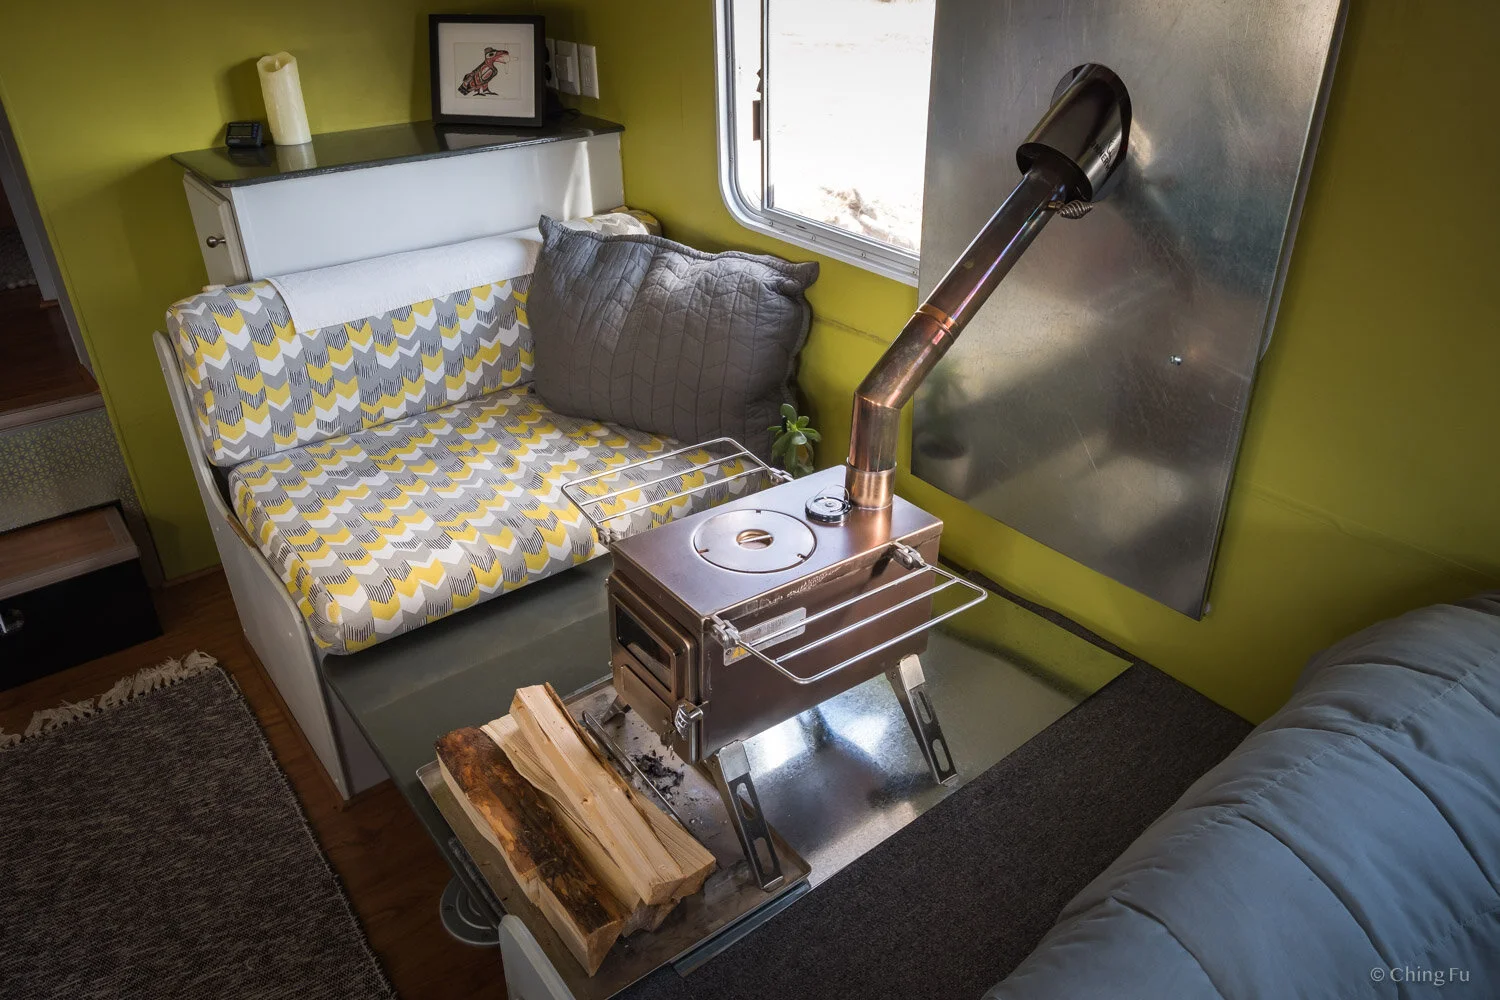
But the Winnerwell tiny wood stove gave us installation options because of its portability. We decided the spot that made the most sense for it is our dinette.
When it’s time to pull the wood stove out of storage, we convert our dinette into “bed mode” without the cushions, set the stove there, and vent it out the window. It’s the most straightforward option for us and doesn’t require cutting into our walls or roof. It does take away our eating space and my workspace. But it’s worth it to stay warm and to stay in cold places we otherwise wouldn’t have.
Installing Our Winnerwell Nomad Wood Stove
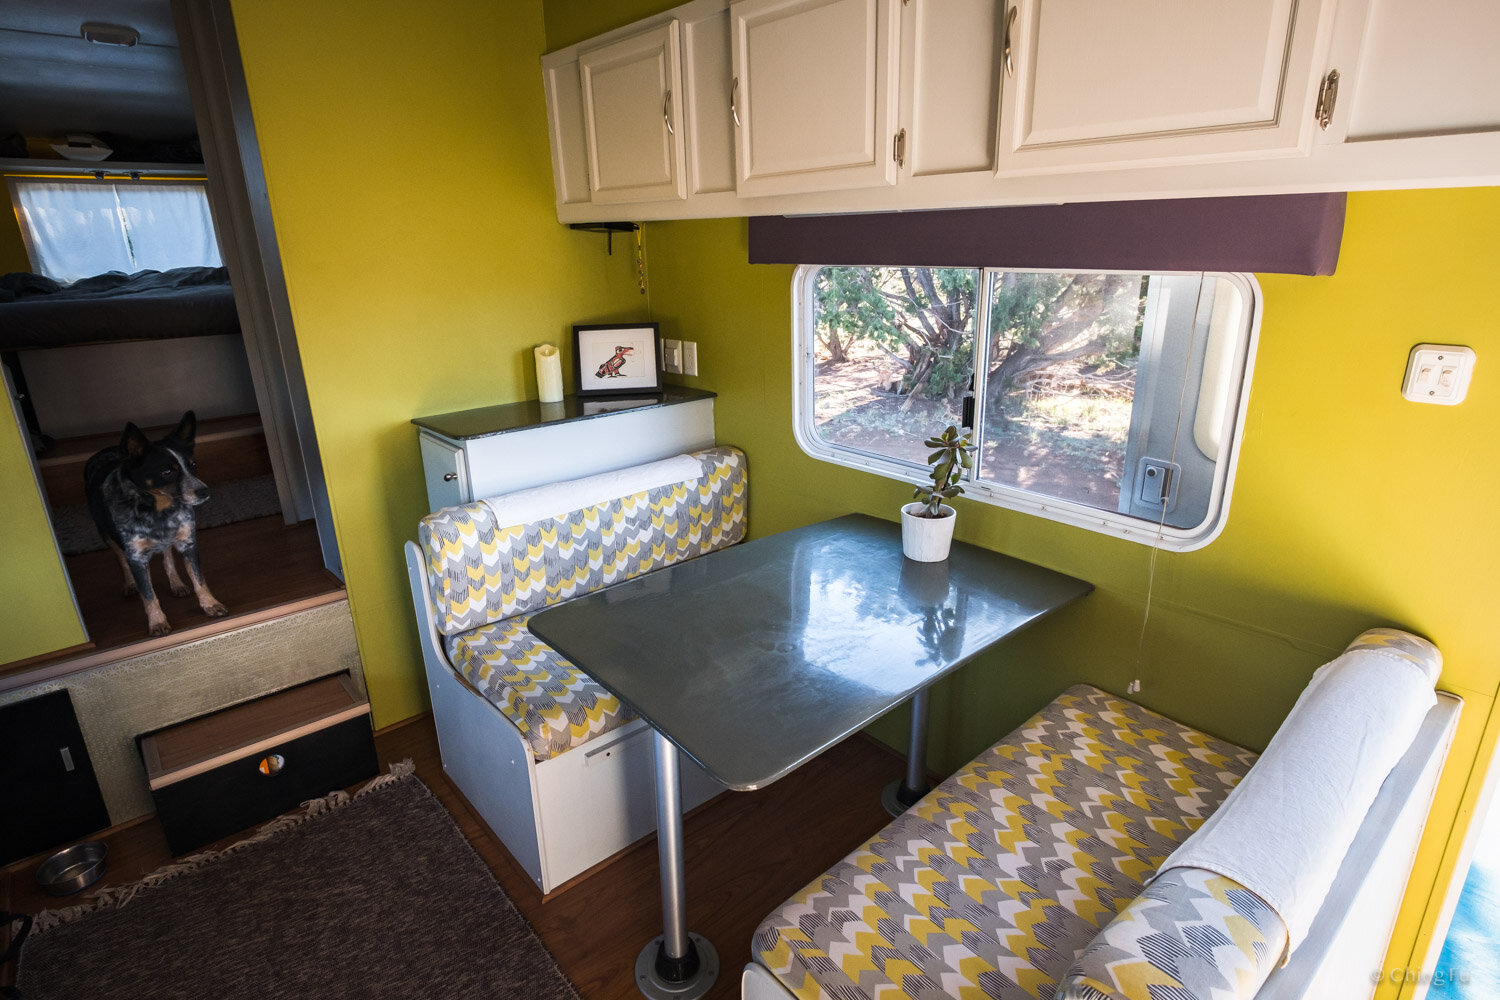
When our Winnerwell Nomad wood stove is stored away, the dinette goes back to its original configuration. But setting up the stove requires a multi-step conversion so it can safely be used.
Any wood stove needs to be 18 inches away from any combustible surfaces. But if you put a heat shield in between, one inch away from the combustible surface, you can reduce that to 6 inches. You may notice in my photos that our stove actually sits more than 6 inches away from the wall/window. There just wasn’t any reason to put the stove closer to the wall because the dinette couldn’t be used for anything else anyway.
Tiny Wood Stove wrote a great article on “How To Build Heat Shield for Wood Stoves”. Please read it before starting your own project.
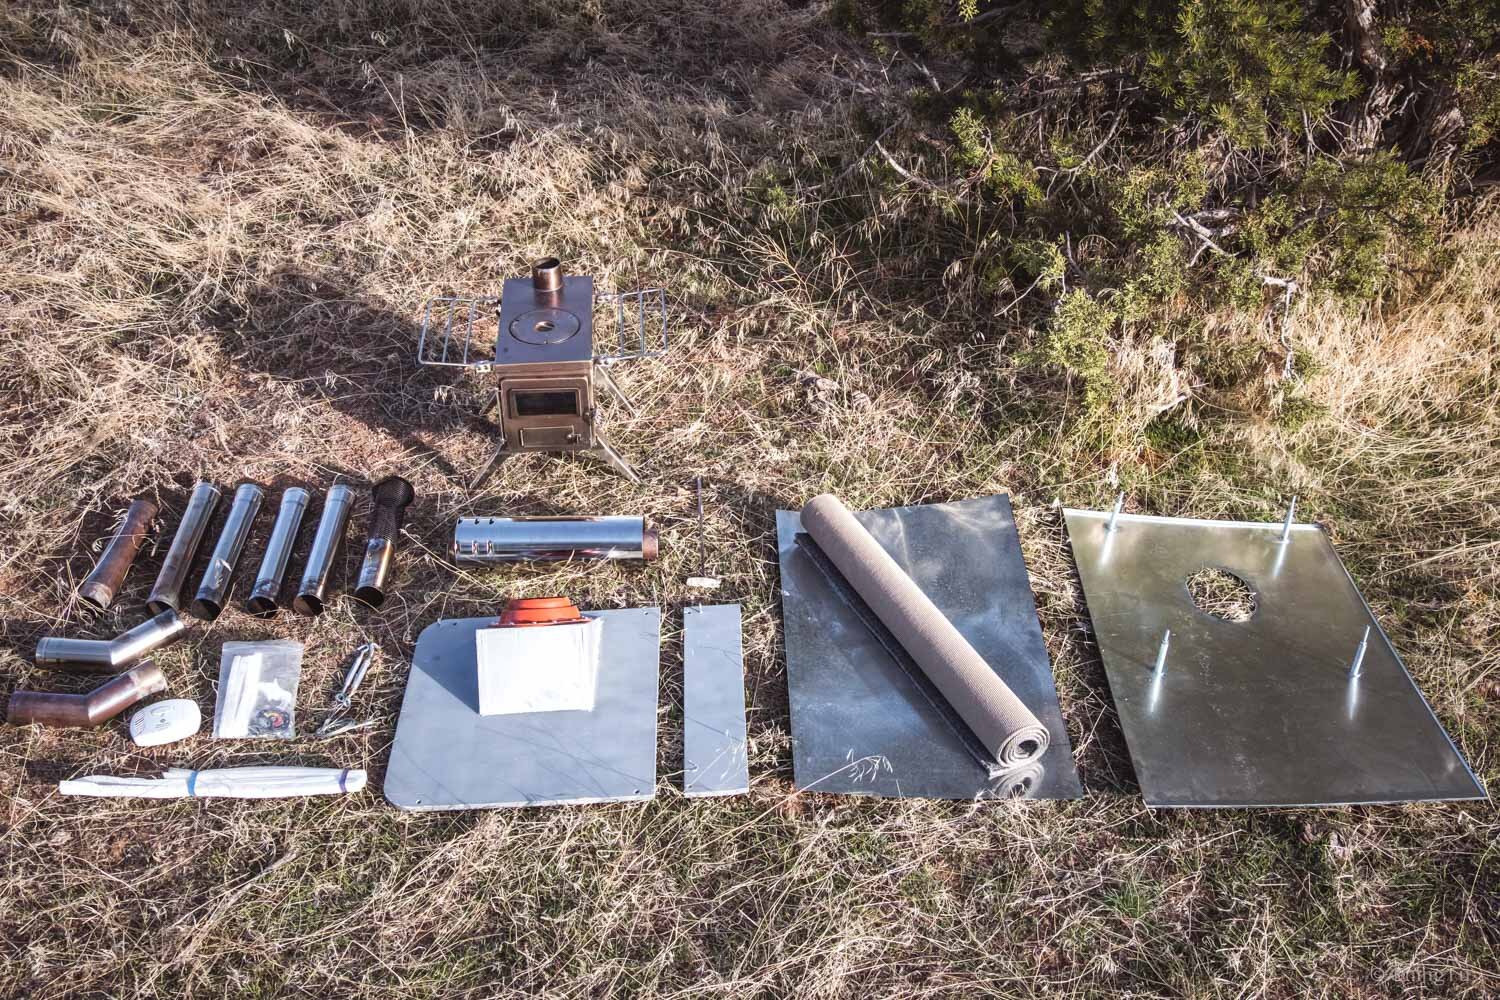
Here’s everything we have to setup and use the Winnerwell wood stove:
First column (left to right): All the flue sections, CO monitor, wood stove thermometer (this one goes on the stove itself rather than the flue because the stove is stainless and magnets won’t work), gasket, cable wire, and turnbuckles.
Second column: Winnerwell Nomad medium-size stove, double wall pipe, ash scraper, and window insert.
Third column: Bottom heat shield and rug we used to cover the dinette seat.
Fourth column: Window heat shield.
Not pictured is the pipe brush.
Window Insert For The Flue
We didn’t want to cut a hole in the walls or roof of the Toaster, since we’d then have to figure out how to cover it up when the stove wasn’t installed. So we ran the flue out a window, and make an insert to keep the cold air and weather out.
To use the window insert, we open our dinette window and remove the screen, leaving a large hole. We set the window insert into the hole and stuff a gasket around it to seal the gap with the window frame.
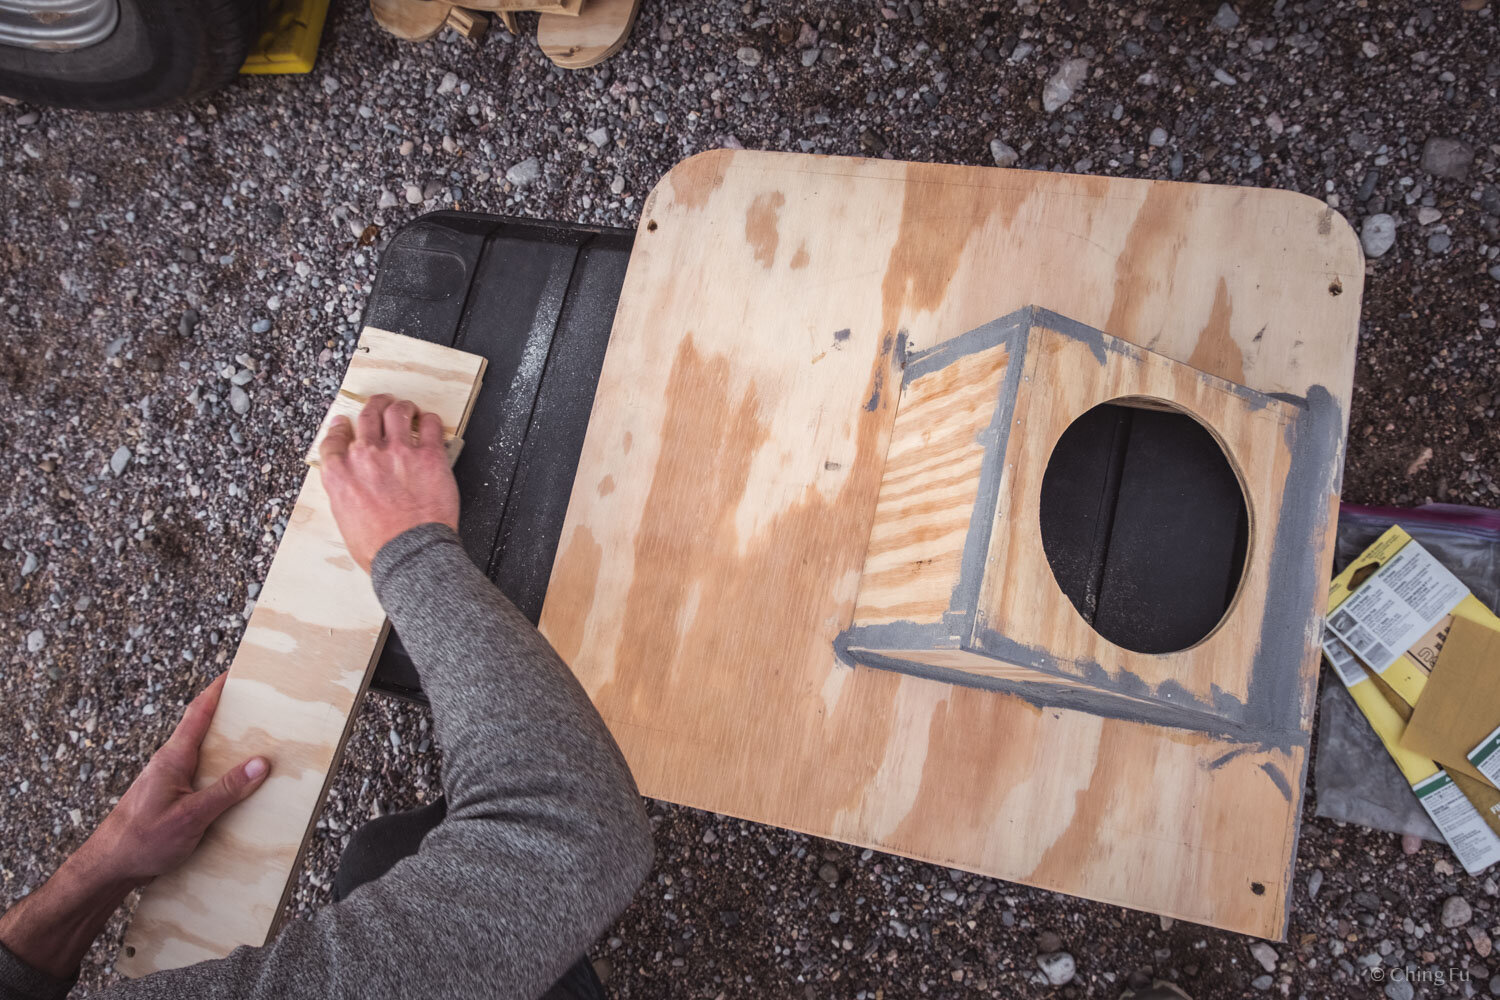
The window insert is made out of plywood that’s cut to the shape and size of our dinette window.
A hole is cut out of the insert where the double-wall pipe exits out the window.
The flue exits at a 45-degree angle. Since the flashing kit (aka boot) can’t accept the flue at that steep of an angle, Jerud added a triangular box to the insert so the flue passes straight through the boot.
Side note: the purpose of the boot is to 1) hold the double-wall pipe in place and 2) to seal the opening where the flue exits the insert.
The insert is sanded, painted, and sprayed with polyurethane coating.
The boot is screwed onto the window insert.
You may notice in photos that there’s a seam on the right side of the window insert. That’s because there’s actually another piece of wood there. The window insert is clamped to the window frame on the left , top and bottom edges. Since there’s isn’t a window frame on the right edge of the insert to clamp it down, that extra piece of wood clamps to the other window pane.


Window Heat Shield
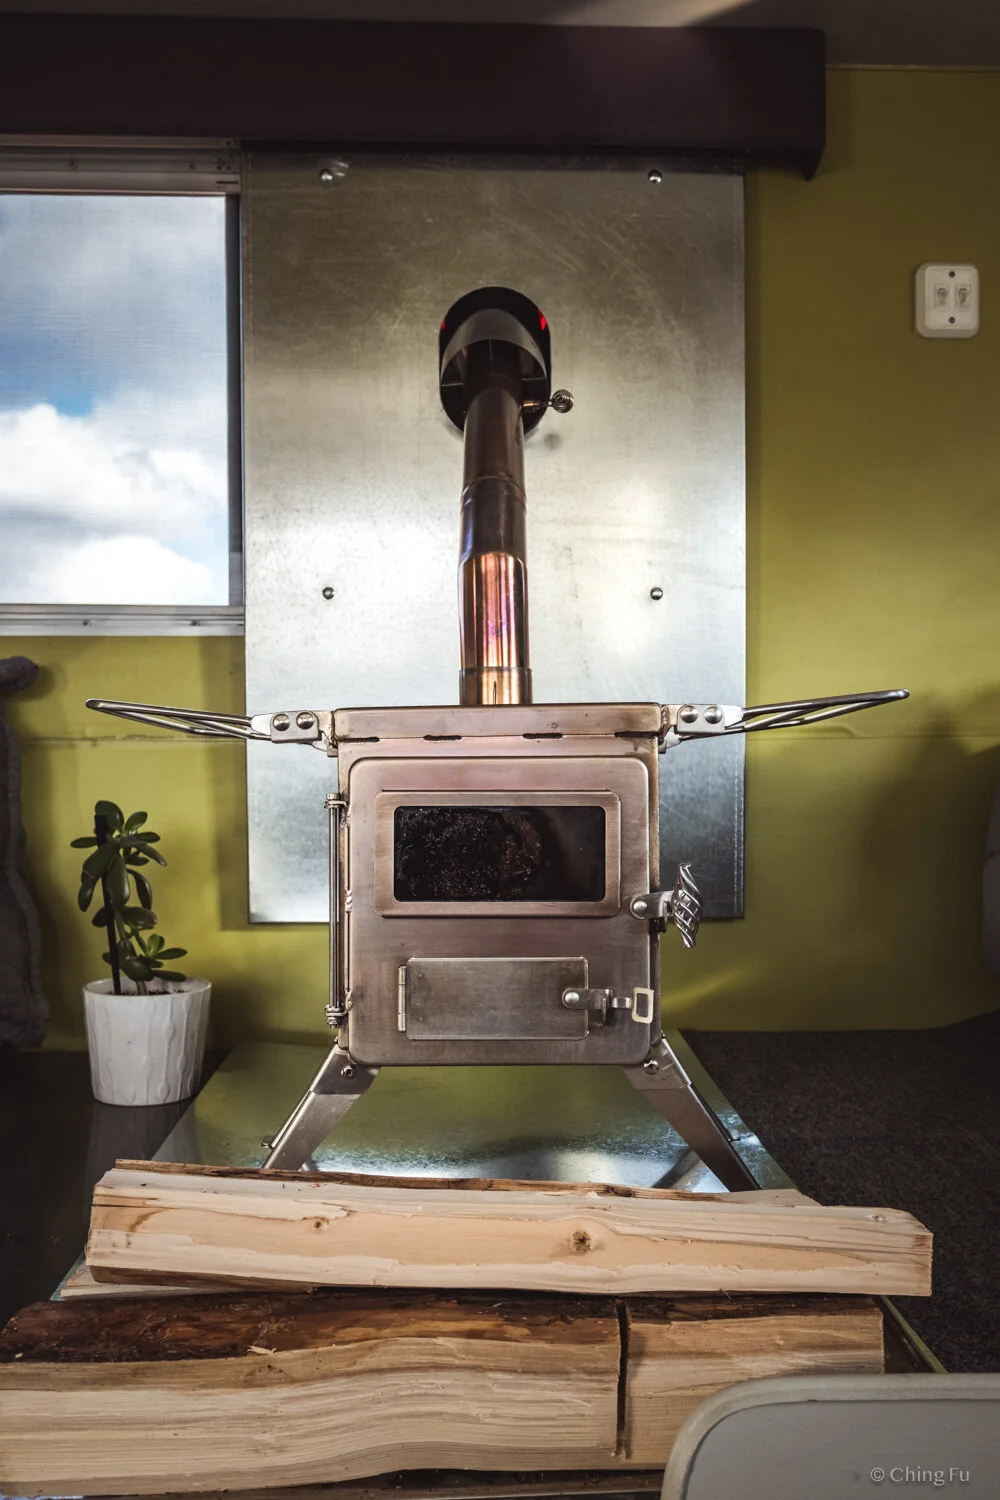
After the window insert is set in place, the heat shield attaches to it with long carriage bolts. The 1-inch spacing that’s needed between the heat shield and window is created by spacers made from aluminum pipe slipped over the bolts. The bottom edge of the heat shield isn’t screwed into anything, it just hangs. To protect the interior wall from being scratched by that edge of the shield, we slip in some more aluminum spacers with felt pads.
We had the heat shield fabricated by an HVAC shop in Vegas from 20-gauge galvanized steel.
We chose that material for a few reasons: 1) It’s what the company had on hand and was familiar with 2) The shield would’ve been too floppy if it was made from a thinner material, making it a hassle to store. 3) Stainless would have looked nicer but costs a whole lot more!
The shop cut a large oblong opening for the double-wall flue section to pass through (at an angle), and four small square holes for the heads of the carriage bolts.
The most difficult part was figuring out the correct size and position of the hole for the flue to go through. We made a cardboard mockup of the heat shield and set the stove in place, then marked the flue position on the cardboard, to find the right location.
We also asked the company to bend a flange around edges of the shield. This was made the shield stiffer, and hid the raw edges so it would look cleaner and not catch on things. The flanges also hold the bottom heat shield in place when it’s nested inside for storage in our rig’s basement.
Bottom Heat Shield
The underside of the stove doesn’t have the same spacing requirement as the top and sides. The stove needs to be set on a noncombustible surface but doesn’t need a heath shield with an air gap behind it.
We purchased a small sheet of 22-gauge galvanized steel, because it was readily available and inexpensive at a hardware shop.
The same company who made the window heat shield cut the 22-gauge steel sheet for us. While we have metal snips and could’ve cut it ourselves, having a nice, clean and straight edge was preferred. This was faster and cheaper than having them provide the material, because they would have had to cut it out of a much larger sheet. Honestly, this sheet is a little too thin. It does the job, but the stove’s feet make indentations in it, so it doesn’t look the best.
Flue Set Up
The Winnerwell stove comes with 5 sections of 14” long, 2.5” diameter straight chimney pipe, a section with a damper, and a spark arrestor for the top. This meant we only needed to purchase two 45-degree pipe sections and the double-wall pipe for our setup. To save money, we didn’t buy the boot Springbar sells because we found a cheaper (and more flimsy) one on Amazon. (We actually also had to buy a CO monitor since we’re all solar and don’t already have one.)
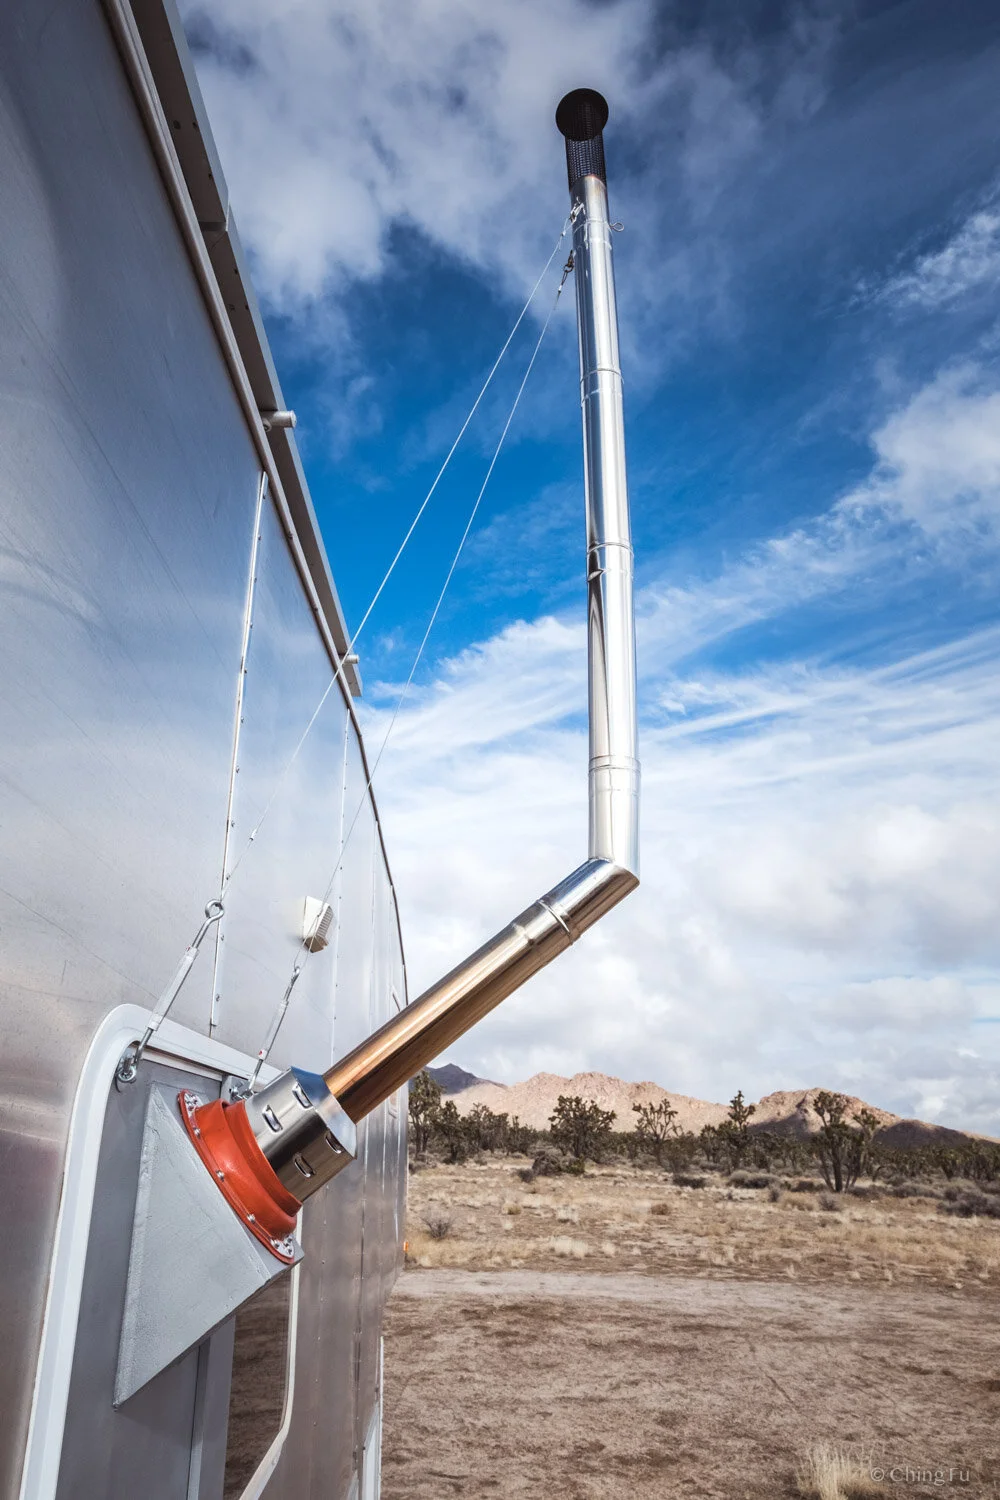
If the flue went straight up, wind wouldn’t be a problem, but because we added 45 degree sections, it can actually be blown over because the 45 acts like a hinge.
To stabilize the flue, we used a small diameter metal cable to attach it to the window insert.
The spark arrestor already has eyelet hooks, so we added two eyelet hooks to the top corners of the window insert.
Loops were formed on both ends of the metal cable.
Then carabiners and turnbuckles are used to attach and tighten the cable.
Jerud did a great job with the design! He managed it keep it as simple as possible so it stores easily in our basement when not in use. The stove fits in its shipping box, the heat shield and insert lay on top of it, and we stash the double-wall section under a dinette seat. It takes about an hour to pull everything out and set it up, which isn’t too bad, but it’s enough trouble that we wouldn’t bother for just a night or two.