
How To Change A Trailer Flat Tire Without A Jack
Disclosure: This post contains affiliate links. Please read our full disclaimer.
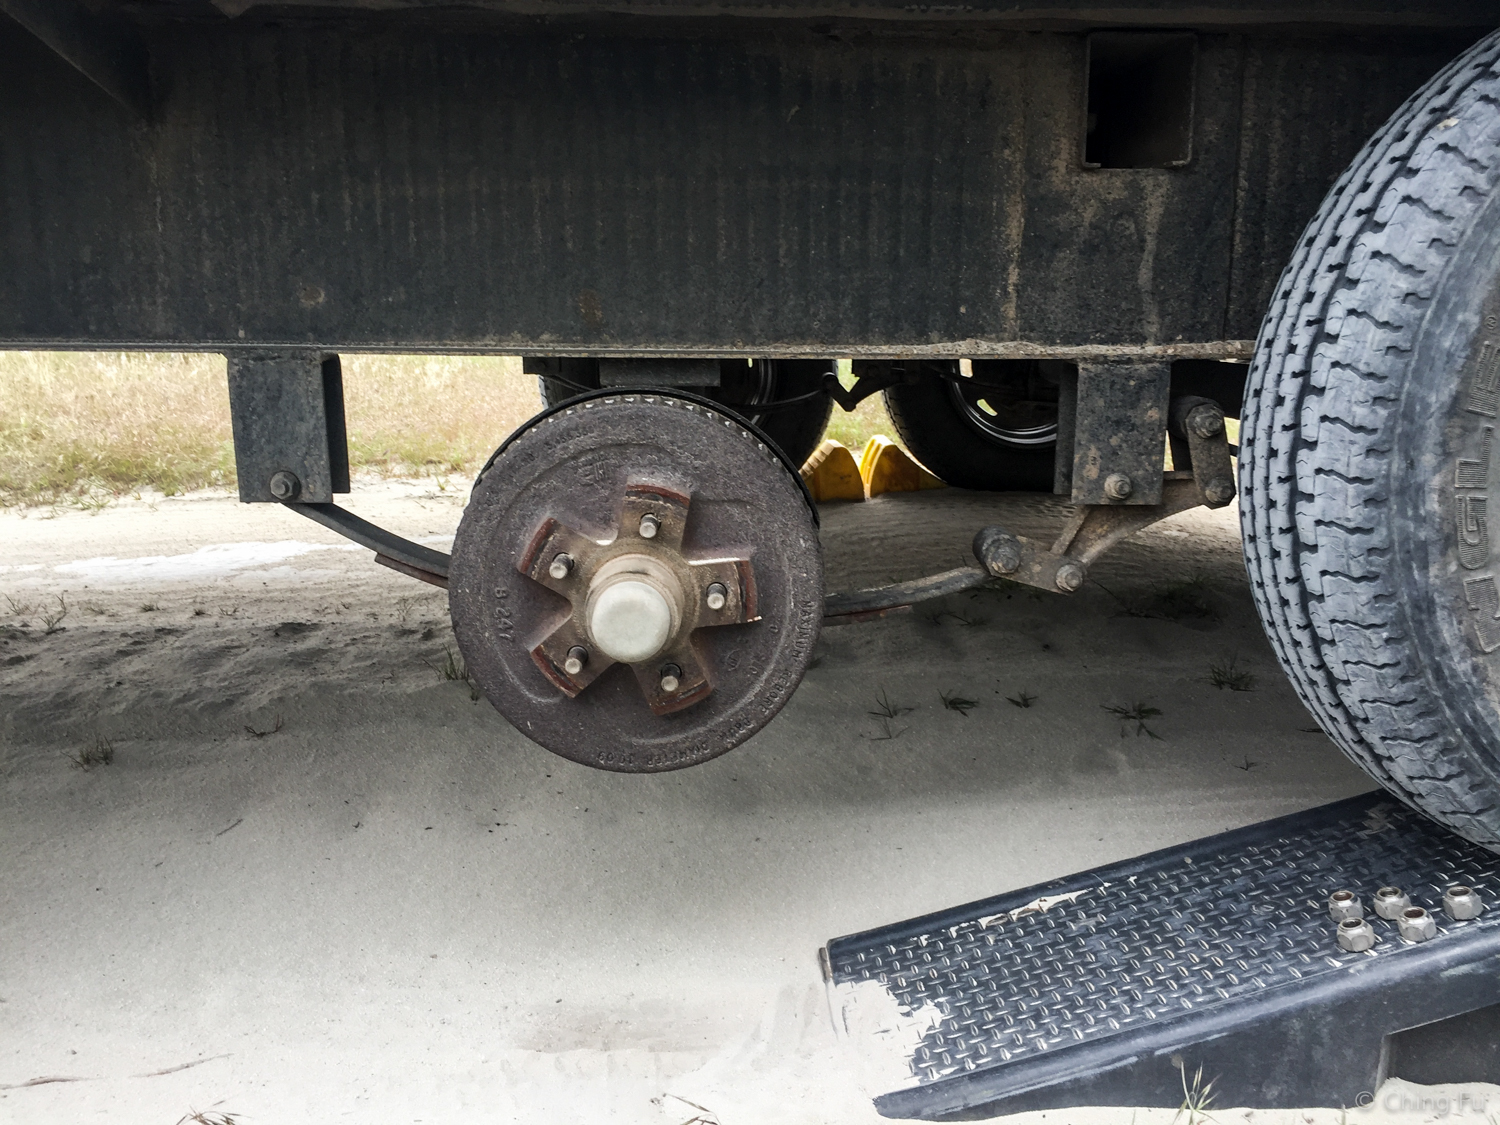
As we were driving down a sandy road to our boondocking site, no more than 500 feet away from it, I heard a strange “thump…thump…thump” sound outside. I turned to Jerud and asked if he heard it too. He did, but also wasn’t sure where it was coming from. I stuck my head out the window to trying to hear it better, but instead saw a puff of sand getting pushed out from underneath one of the Toaster tires. “Jerud, stop the truck.” I got out to check out our tires and saw this -
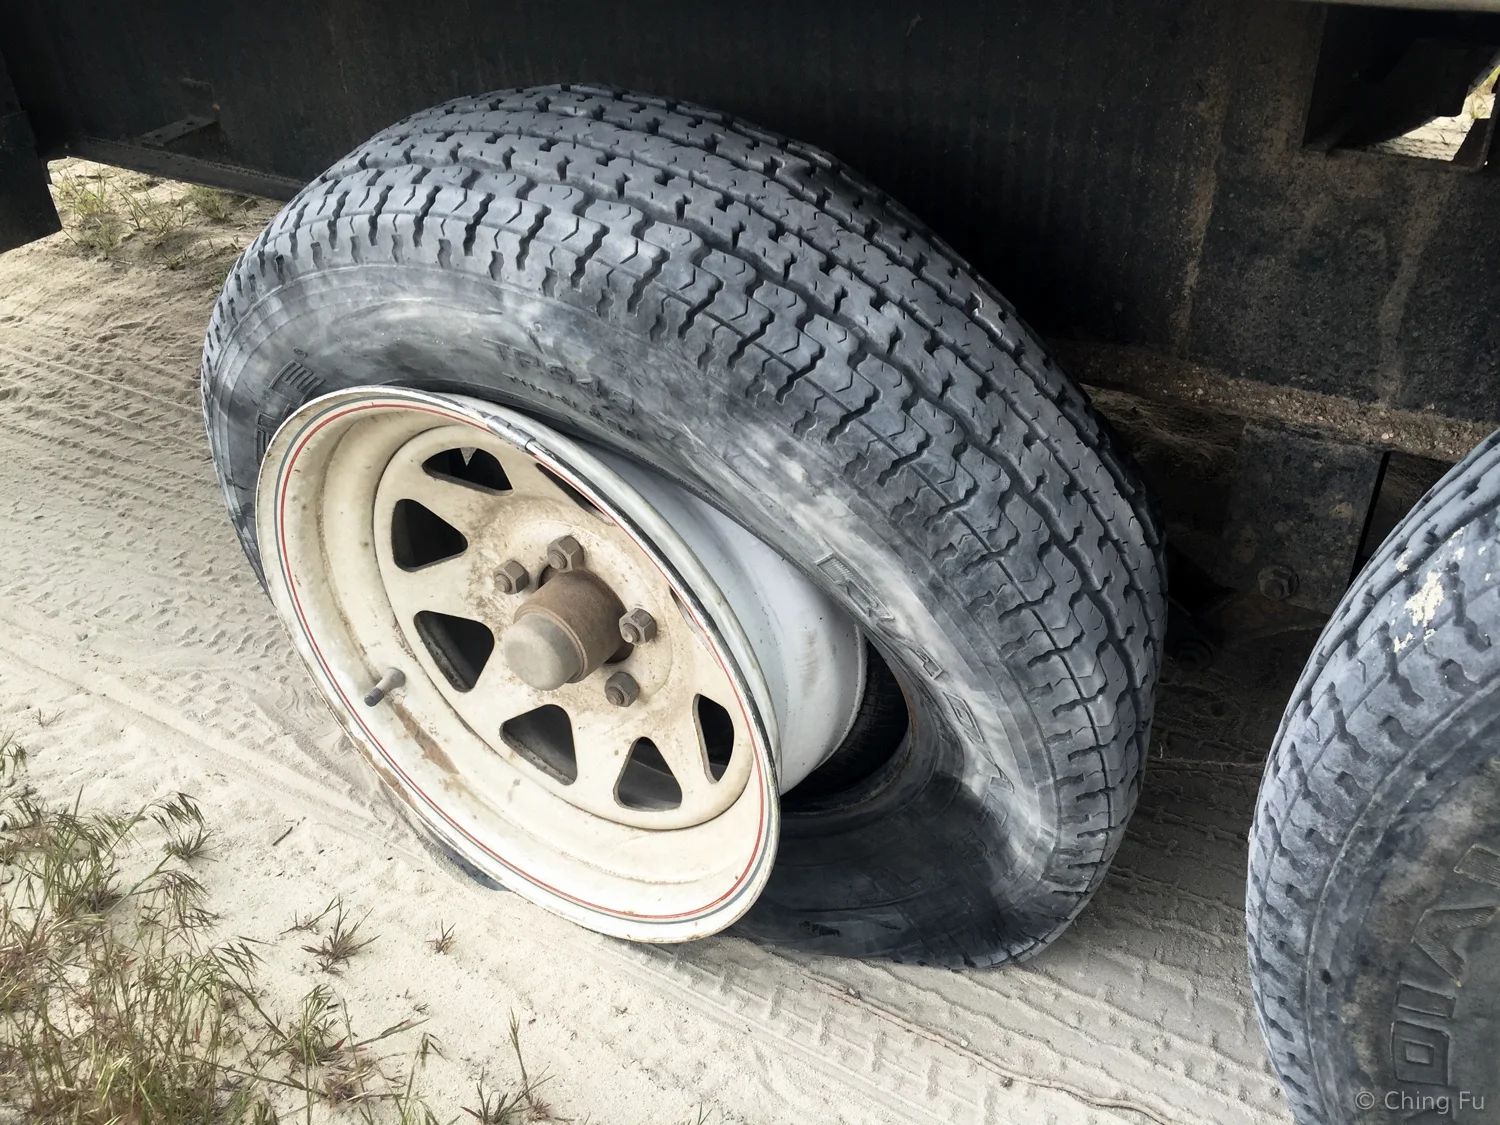
Yep, we just experienced our first RV flat tire. While we had an idea of how to change an RV flat tire and it seemed pretty easy in our heads. Turns out it was as easy as we thought.

Of course there was a sand storm happening and the threat of rain as we got out of the truck to change the flat.
Why change your own flat tire?
You may be wondering why the heck you would want to change your own flat tire when you have roadside assistance. Good point. We usually prefer using our roadside assistance if our rig is in trouble. We paid for it so we might as well use it. But sometimes it makes sense to just do it yourself:
You don't want to wait a long time.
You're somewhere without any cell service.
You're not on a publicly maintained road (where roadside assistance won't respond).
Since we were on a sandy doubletrack just yards away from our intended campsite, two of those reasons applied to us. Besides, it’s always good to know how to change a flat.
I’m going to show you how to use a ramp to change a flat tire on a trailer with 2 or more axles.
You’ll need the following tools
Spare tire: Make sure it’s in good condition and holds air – no point changing a flat with another flat.
Lug wrench: Be sure it fits the lug nuts on your RV wheels. A breaker bar is a convenient alternative to the typical cross-shaped lug wrench.
Socket: If you’re using a breaker bar, make sure you also have a socket that fits both the bar and the lugs on your RV wheels.
Tire pressure gauge
Portable air compressor with air chuck
We upgraded our air compressor in 2018 and got the VIAIR portable compressor that’s worth every single penny!
Chocks
We’ve upgraded to these rubber wheel chocks which are a lot more durable than the plastic ones in these photos.
Ramp – only one is needed
Wrench: A wrench may be needed to remove your spare tire depending on how it’s attached to your RV.
Lubrication: Any light machine oil. WD-40 would work.
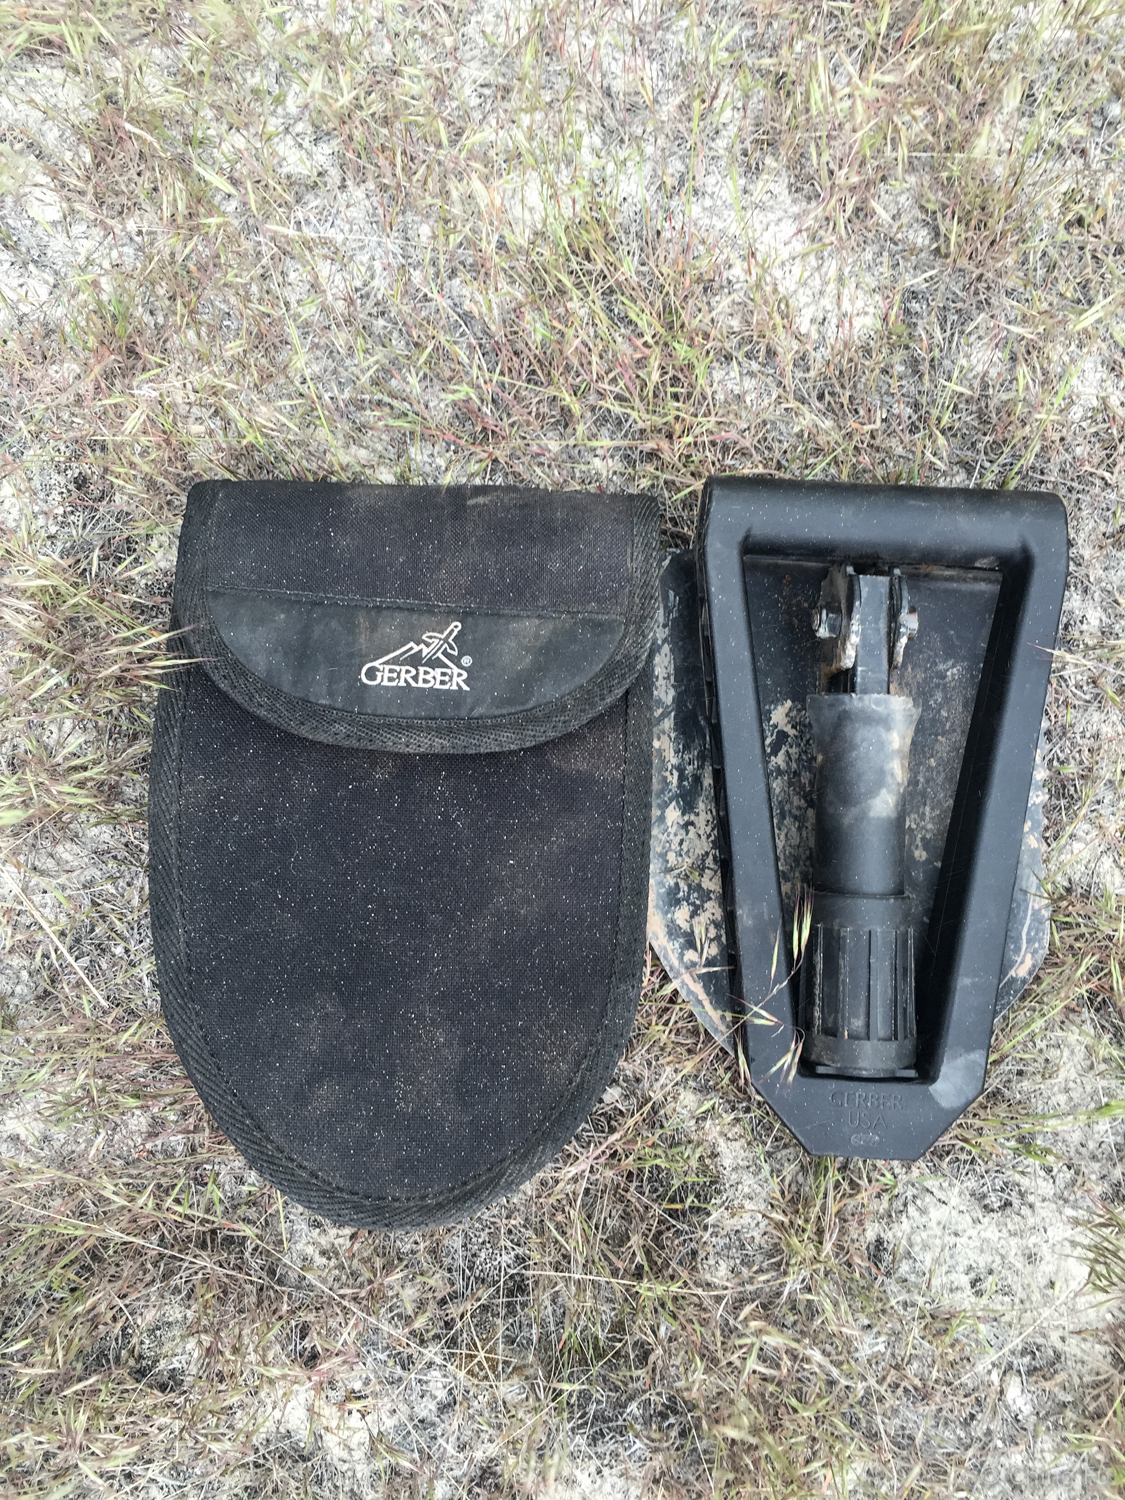
Shovel: This is optional.

We carry all these and more tools in the truck. You’re welcome to borrow any of these if you’re camped by us!
Why use ramps vs. a bottle jack?
A trailer is raised for wheel removal differently than a car/truck. While a car/truck is jacked up at the axle, a trailer is jacked up at the frame rail. We prefer ramps to a jack because the space between the ground and the bottom of an RV frame rail is around two feet. It would take a very large bottle jack to even reach the frame rail, and it’s not very safe or stable to have an RV lifted that high on a bottle jack. Adding blocks to make the jack taller would be even more unstable and risky.
Even though they’re kind of bulky to carry around, we like having ramps because:
RVs remain very stable on them, even if it’s windy.
Ramps won’t sink into soft (sandy) ground.
Ramps can be used for other vehicle maintenance.
In a pinch, ramps could be used for traction if stuck in deep sand.
Sure the ramps may take up a bit more room than a large bottle jack (although a lot lighter), but being useful in multiple ways and being safer always gets bonus points in our book. The ramps we have separate into two pieces each so we can store them around our fifth-wheel hitch in space that is otherwise mostly unusable, anyway.

The ramps we have come apart into two pieces, making it easier to store.
The steps to changing a flat RV tire
Here’s step-by-step guide to changing a flat RV tire:
Pull over to a safe place, away from traffic.
Gather all the tools you’ll need.
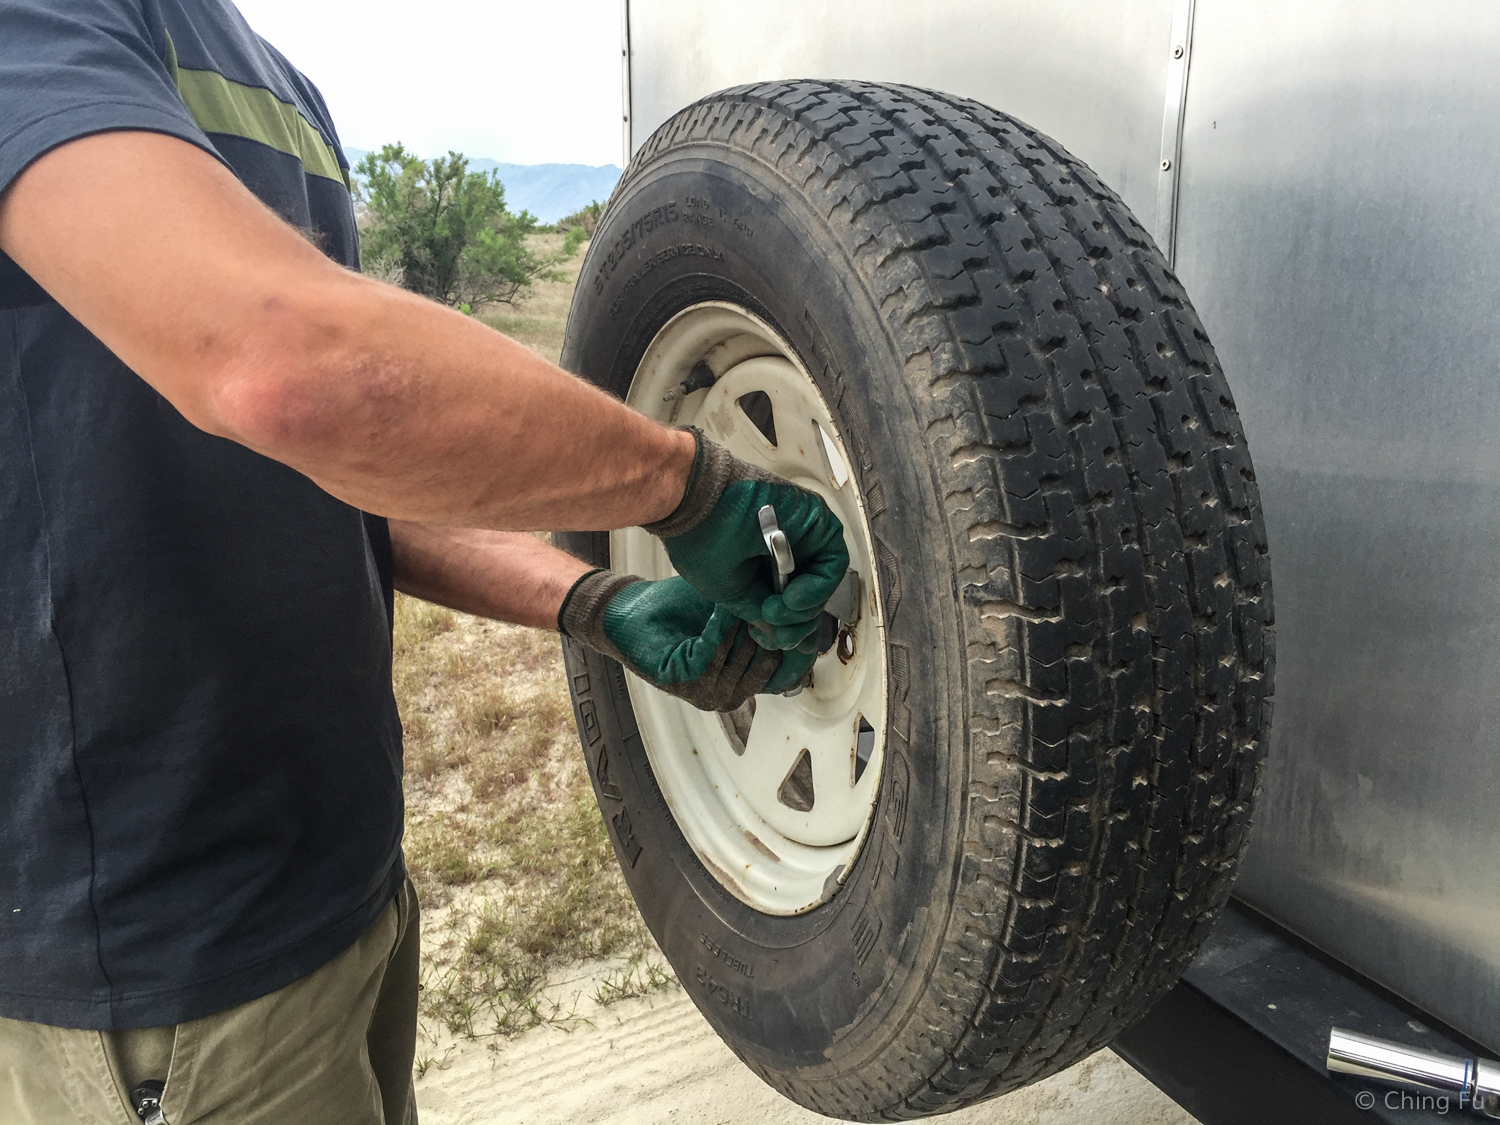
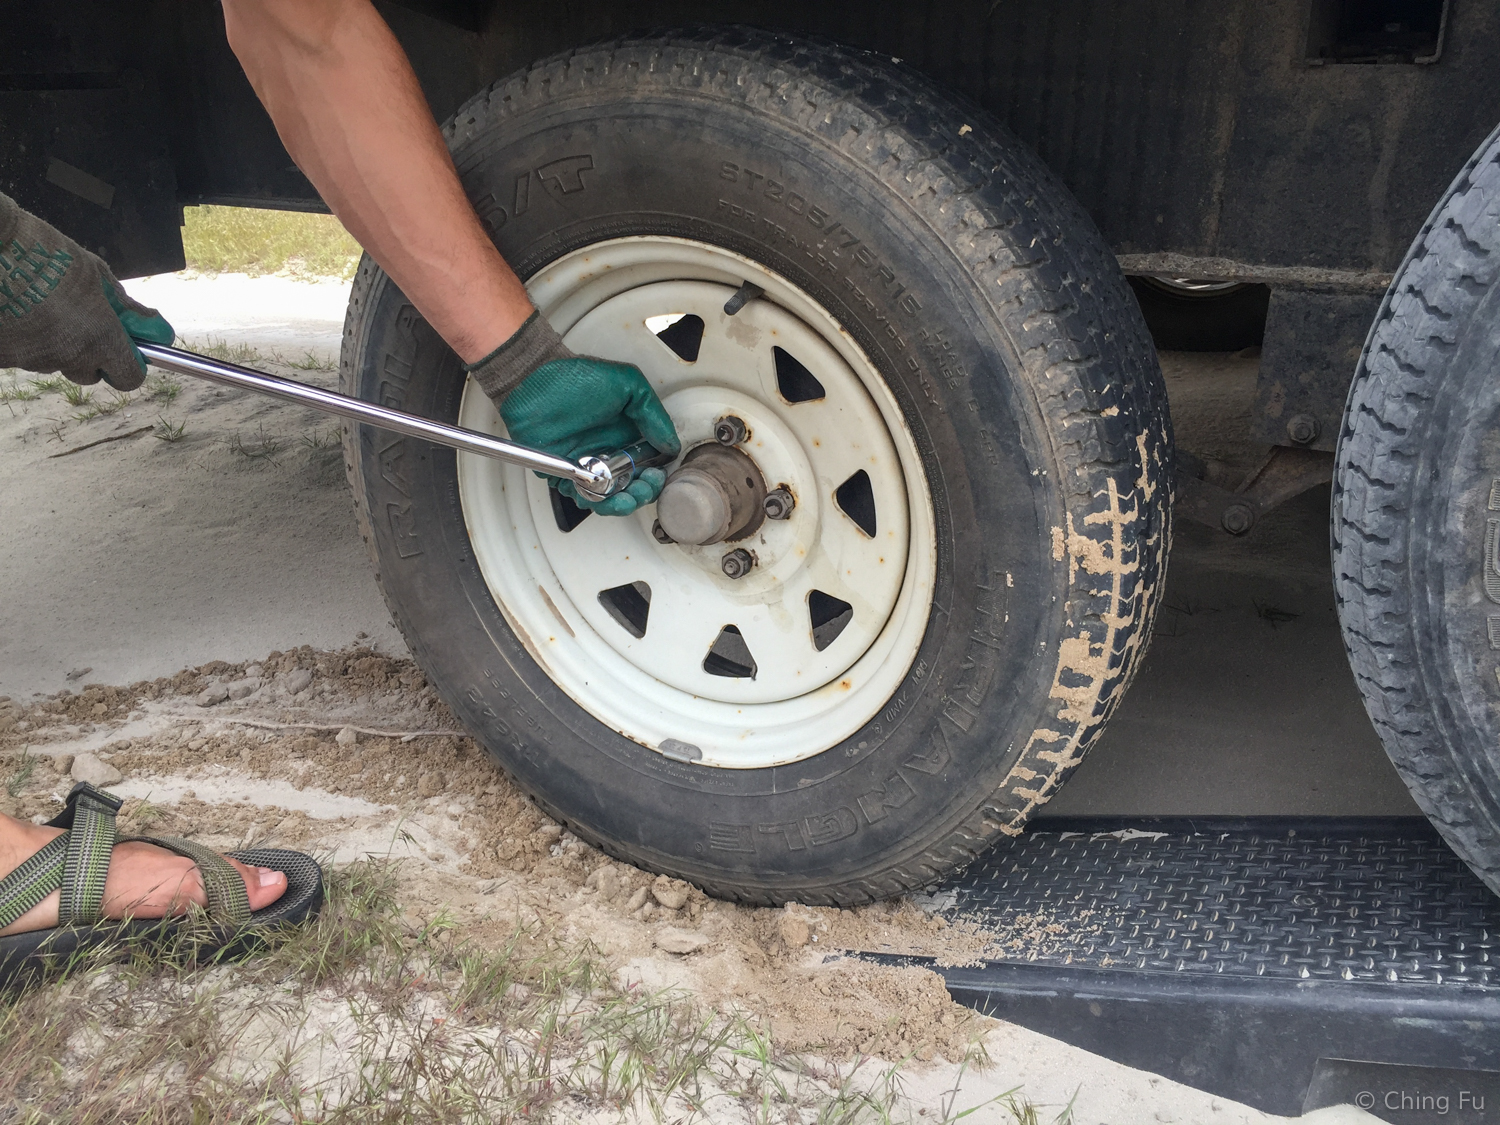
Use the lug wrench to break loose (about ½ turn) the lug nuts on the wheel to be changed. (Easier to break them loose when the wheel can't spin freely.)
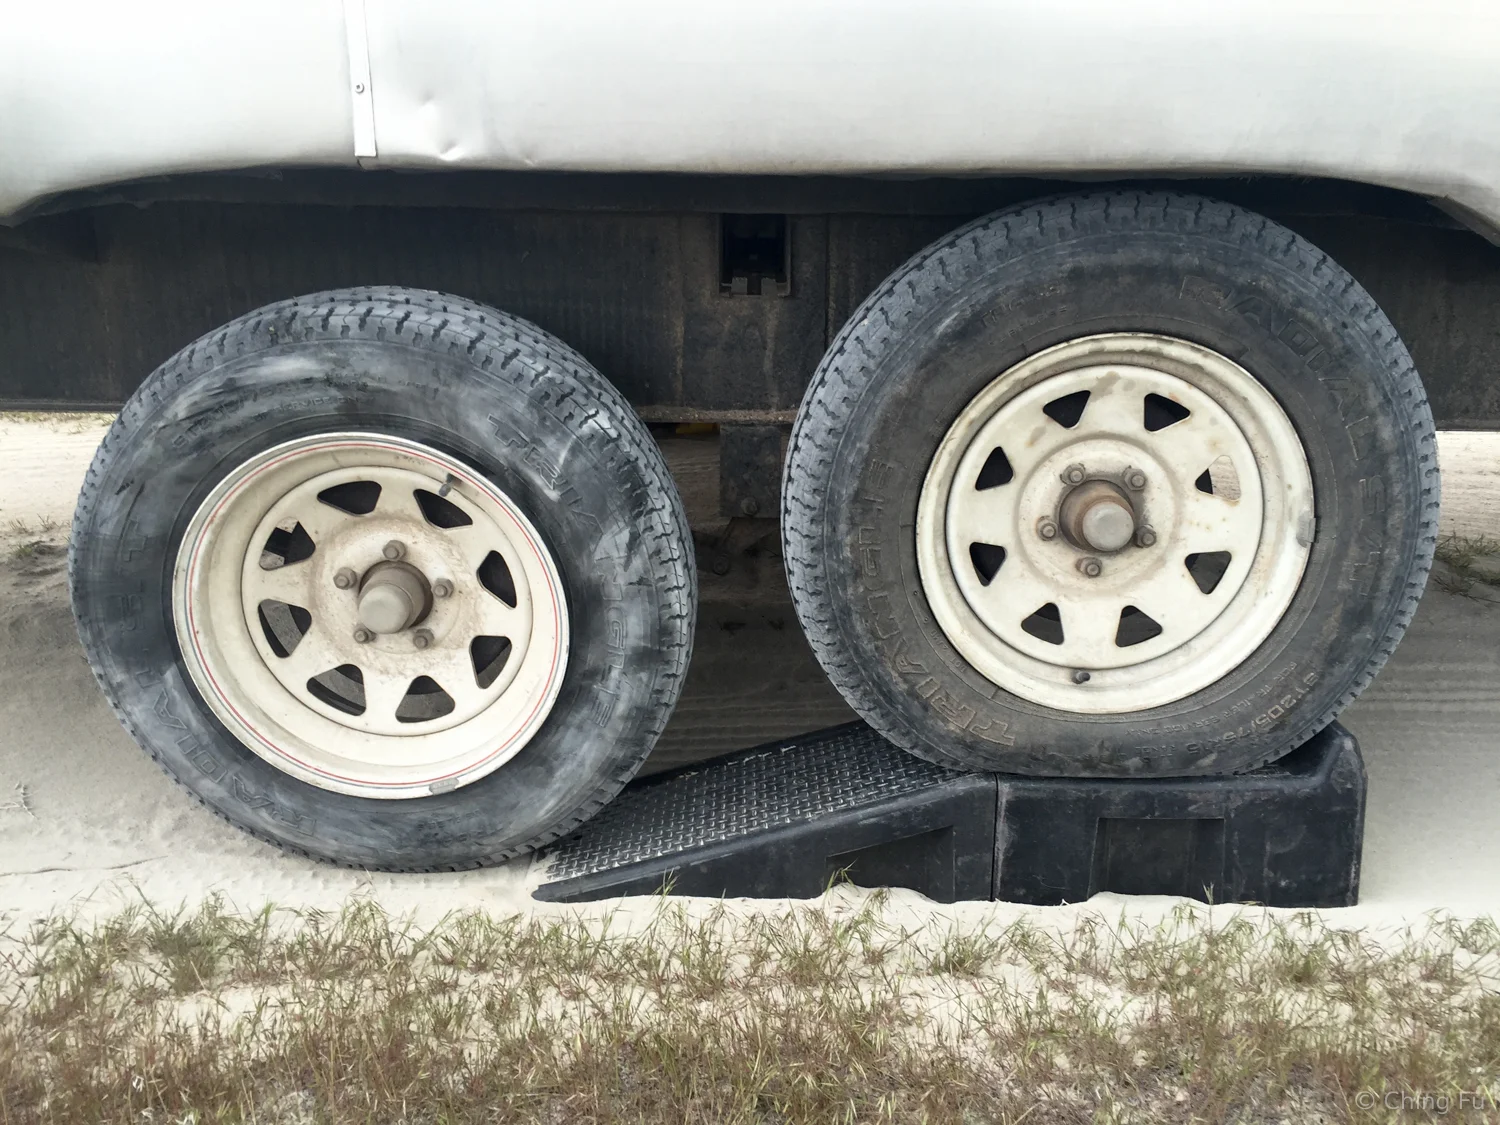
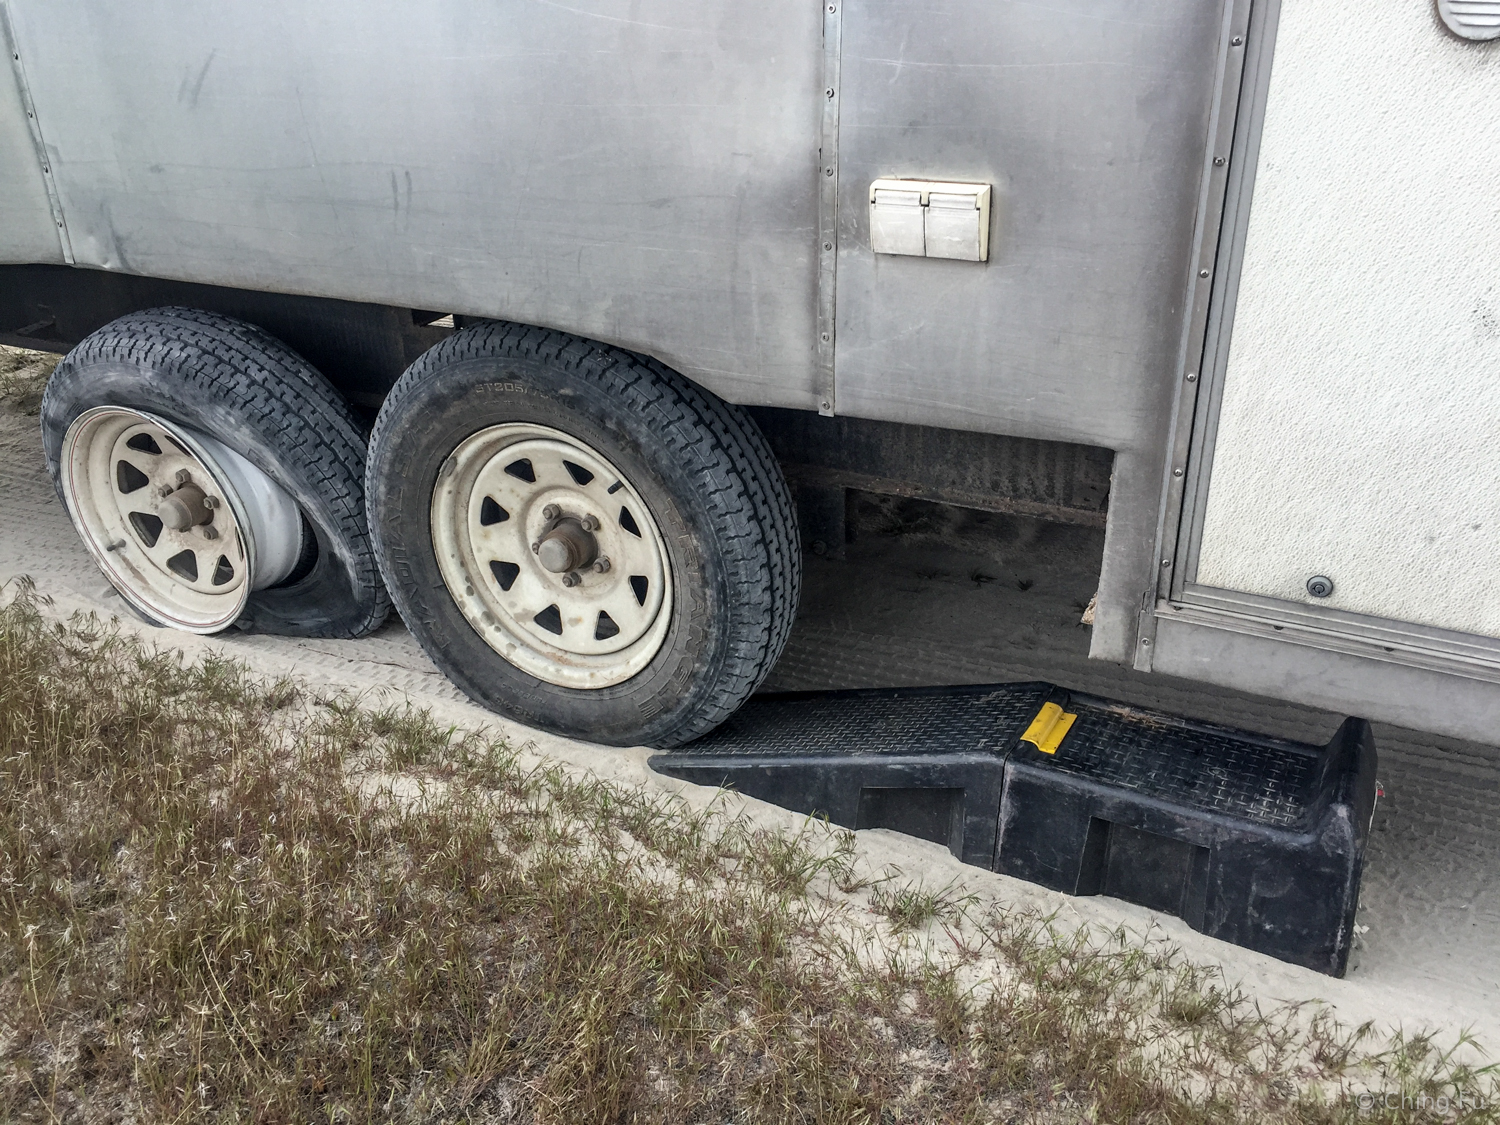
Drive your good tire that’s on the same side as the flat tire onto the ramp (may require backing onto the ramp).
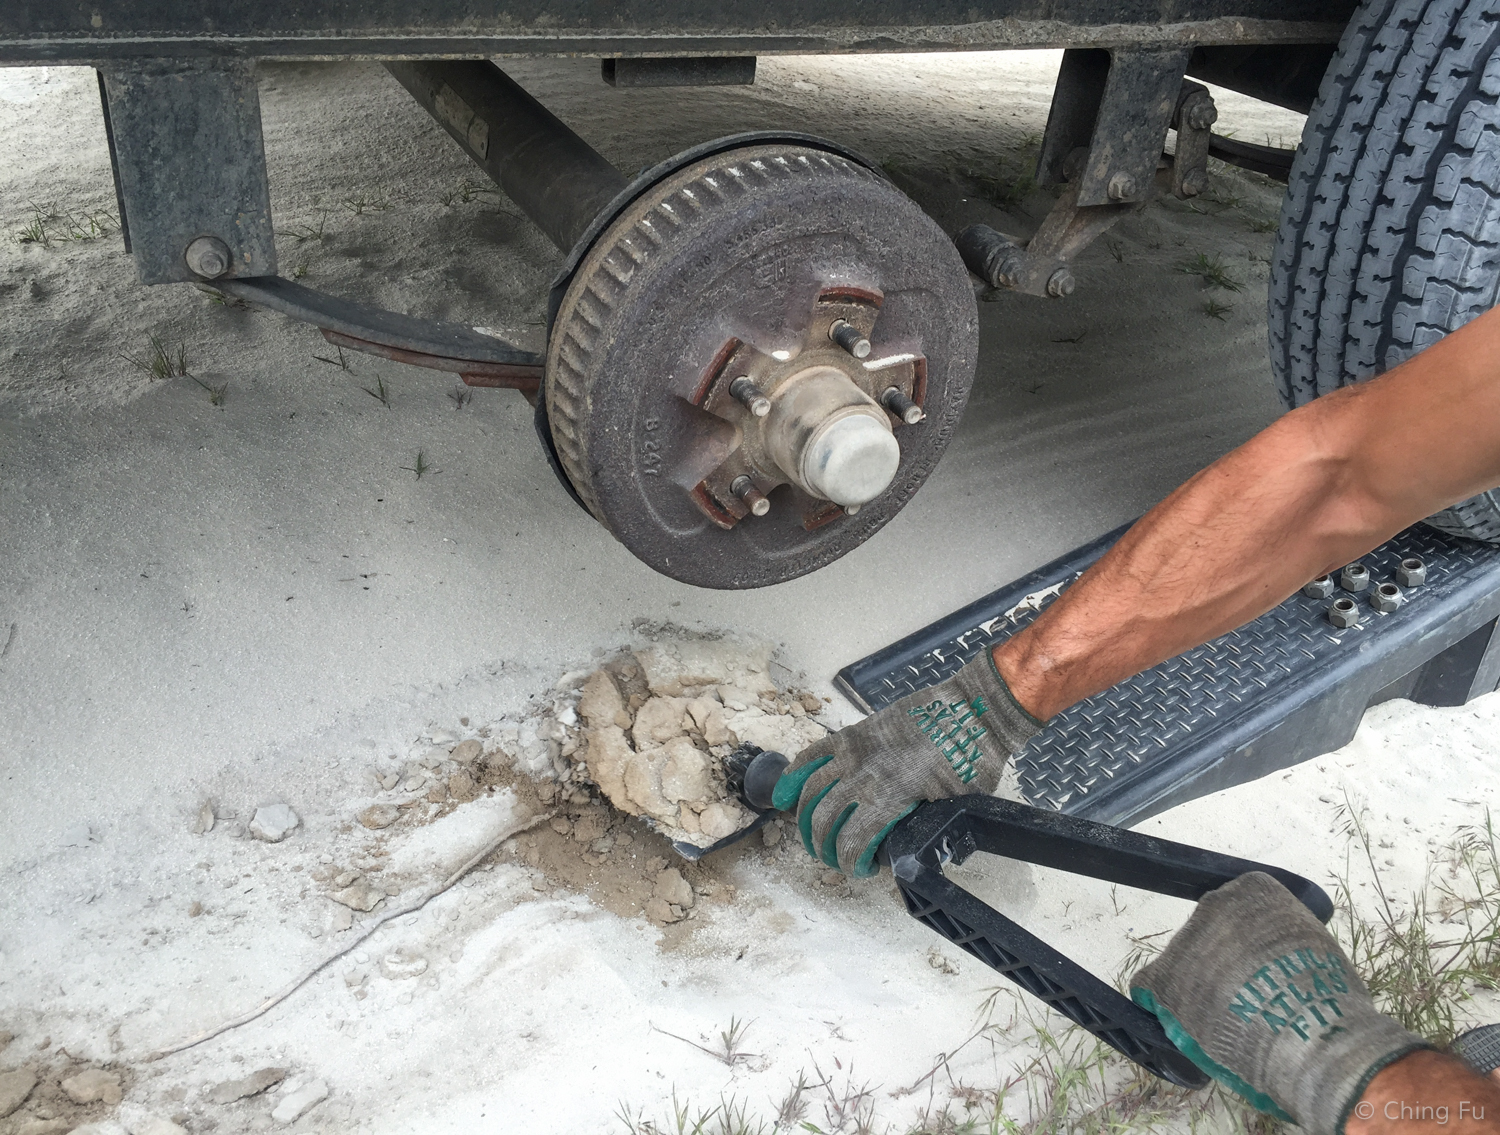
Make sure the wheel that needs to be changed can spin freely. If not, increase the height of the ramp by adding blocks under the ramp -- or you can dig out from beneath the flat tire).
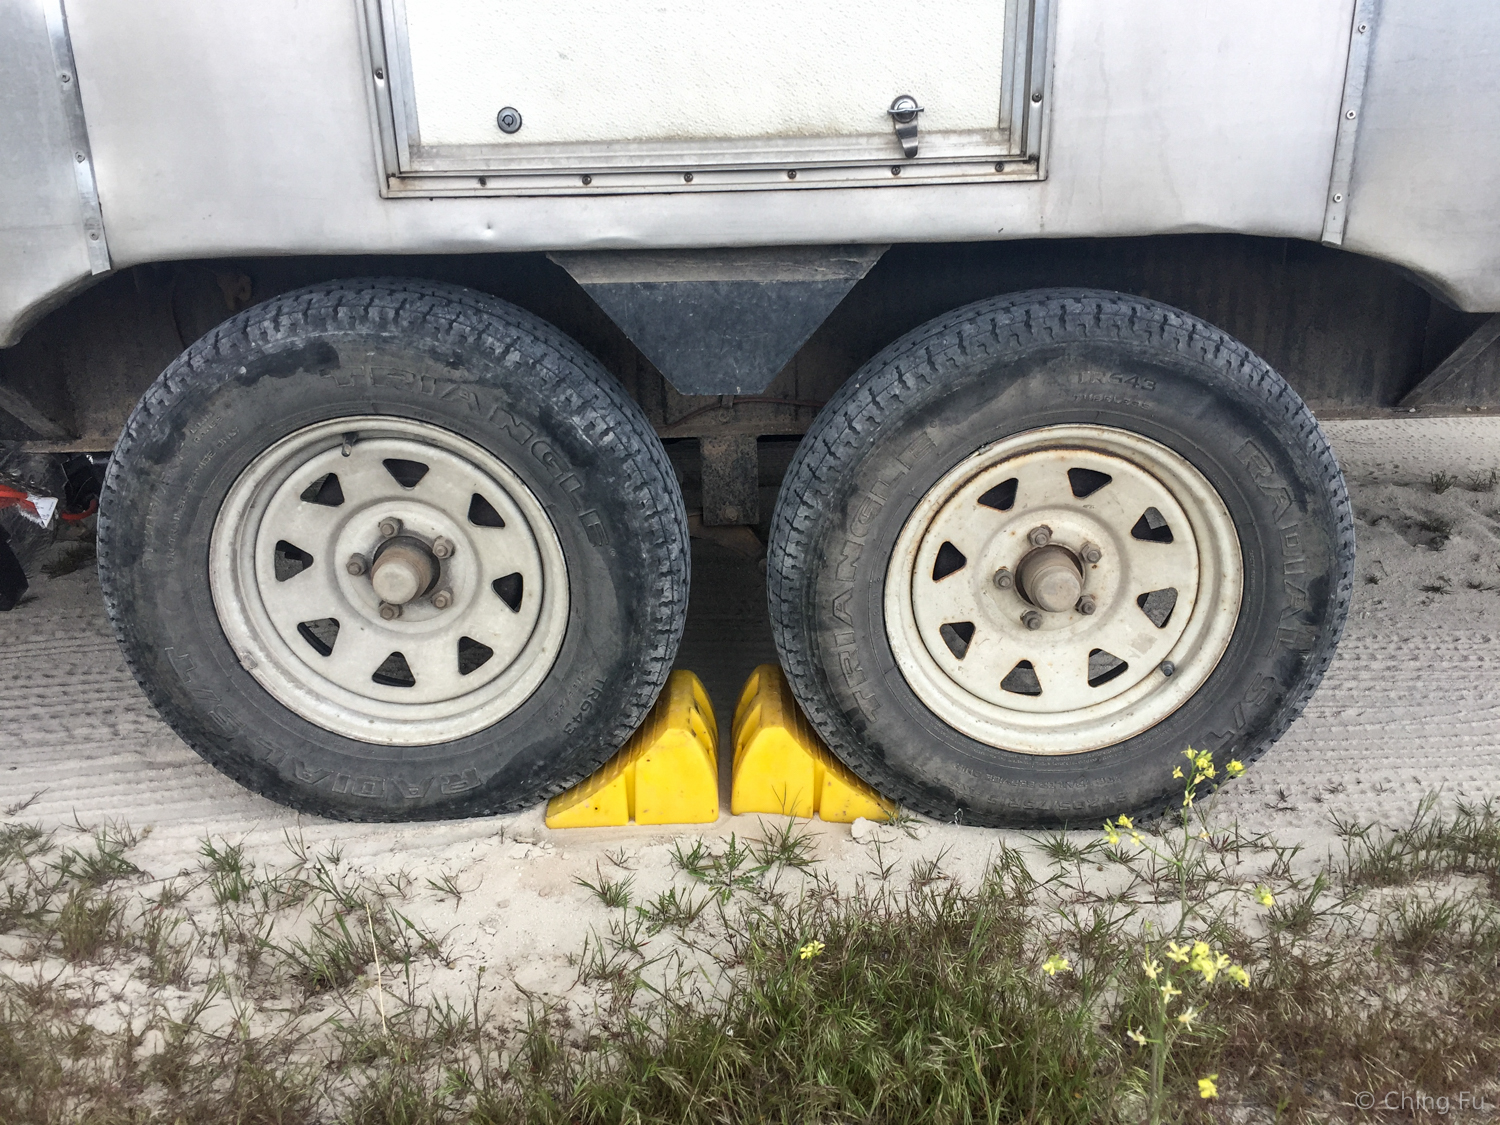
Chock your tires on the side that you won’t be working on, and set the tow vehicle’s parking brake.
Use your lug wrench to remove the lug nuts on the flat tire.
Remove the flat tire from the hub.
Install the spare tire onto the hub.
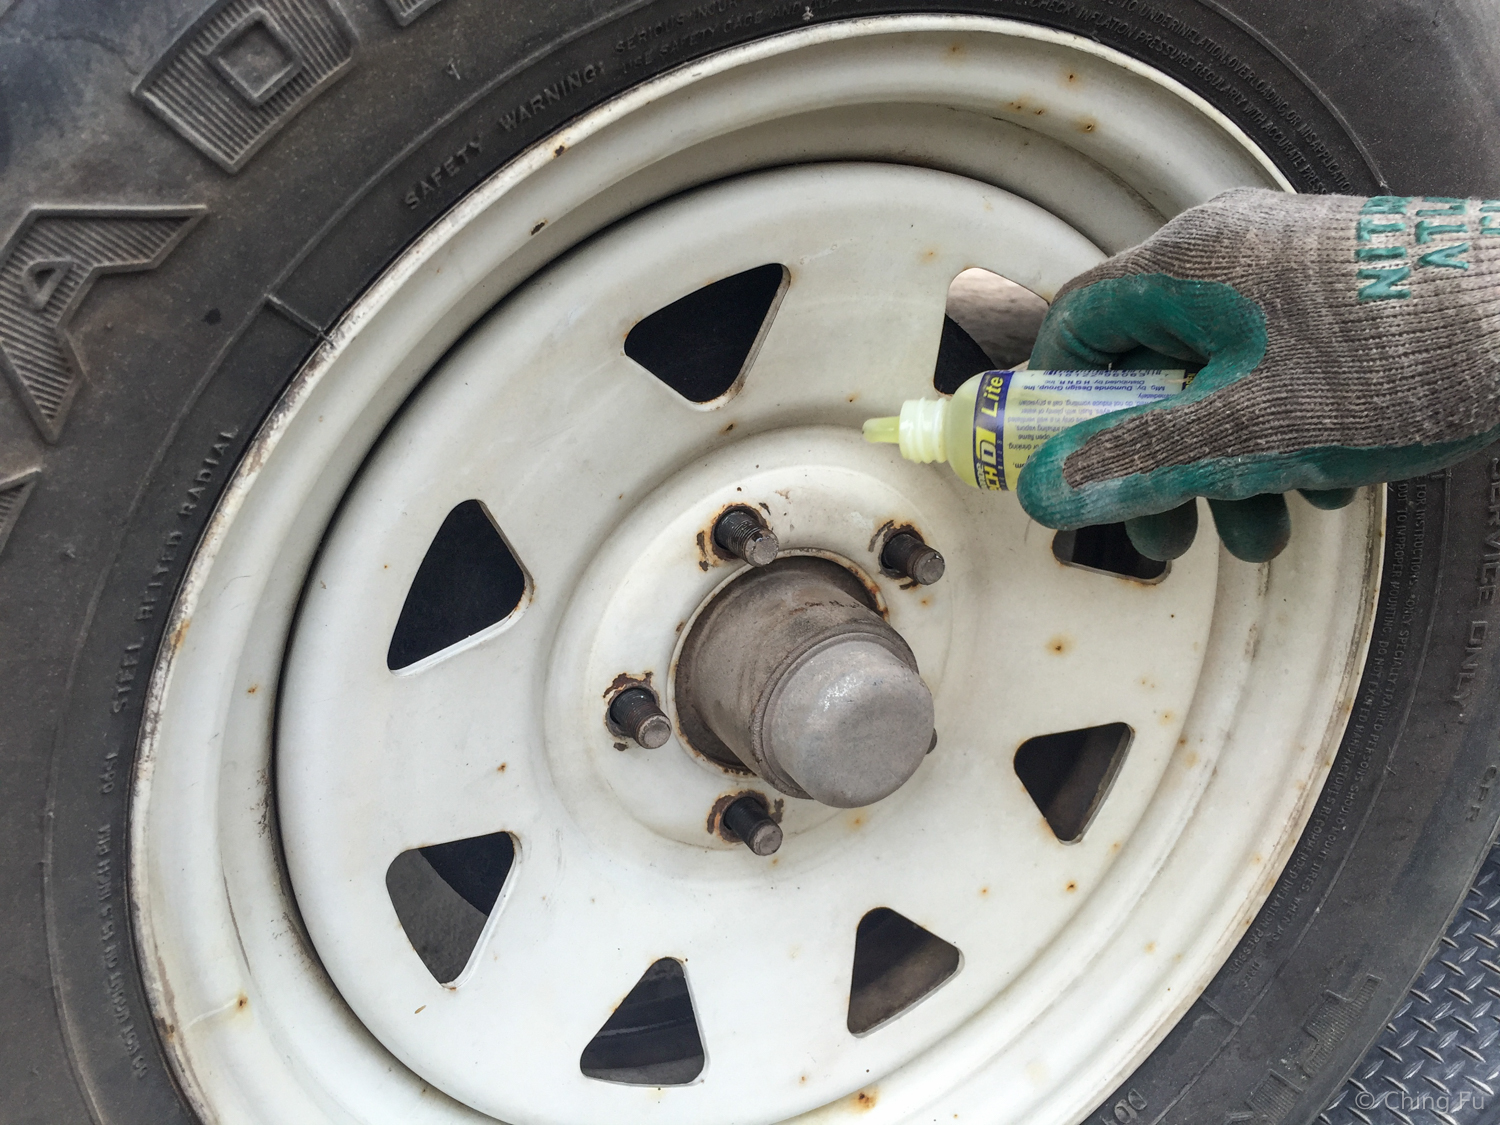
Lubricate the studs before placing lug nuts back on. Lubrication will let you torque the lug nuts all the way.
Tighten the lug nuts in a “star” pattern
Reinstall your flat tire where your spare tire was.
Drive off the ramp.
Now that the tire can’t spin (because it’s on the ground), torque the lug nuts until tight.
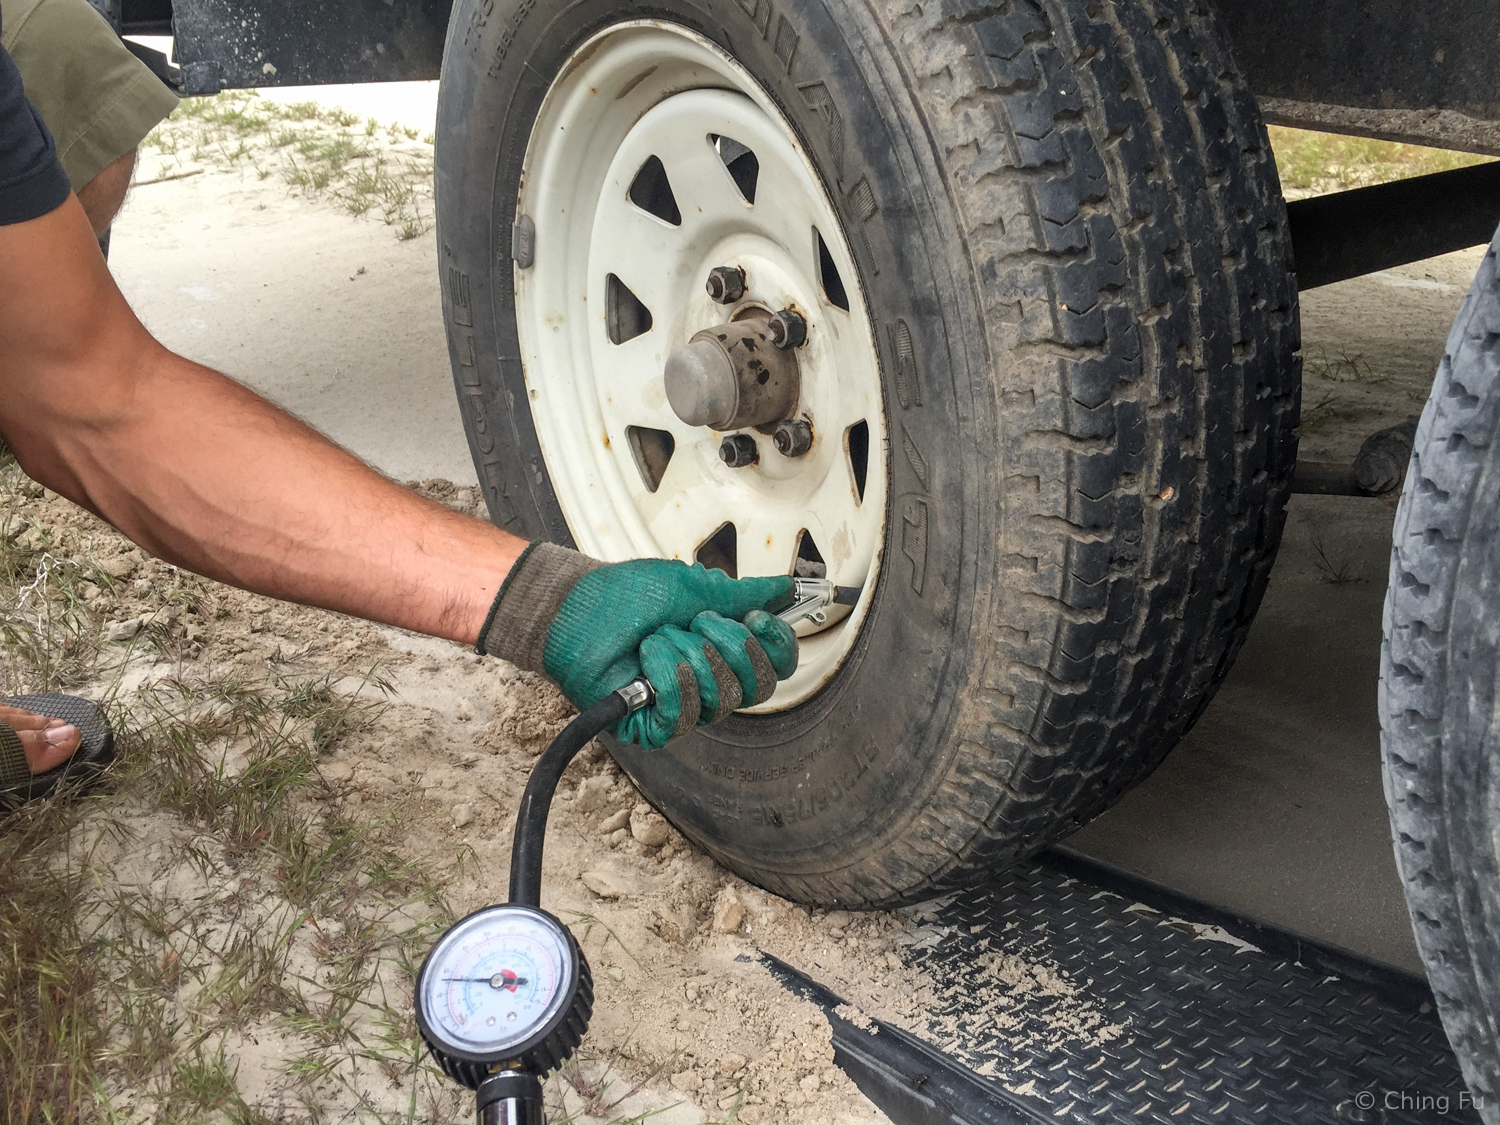
Check the air pressure in your other tires.
Remember to bookmark this page in case when the time comes and you can’t remember what to do!

